



A bathroom wall can look perfectly sound until a soft spot appears beside the shower, the paint starts bubbling, or a repair patch reveals darkened paper underneath. In a Beaverton remodel, that kind of damage usually isn't caused by one dramatic flood. It often comes from choosing a board that tolerates humidity but can't survive repeated wetting, then relying on paint or tile to make up the difference.
Portland, Vancouver WA, and nearby communities have plenty of damp rooms, plumbing penetrations, older homes, and remodels where the wall assembly matters as much as the finish. Moisture resistant drywall can be the right material, but only when you match it to the exposure. Humid isn't the same as wet, and confusing those two conditions is one of the most expensive drywall mistakes I see.
Table of Contents
- Why Moisture Resistant Drywall Matters in Portland Homes
- Comparing Moisture Resistant Drywall Types
- Installation and Repair Best Practices
- Cost Considerations and Selection Guidance
- When to Hire a Professional Drywall Contractor
- Maintenance and Moisture Mitigation Strategies
- Get Professional Help from CS1 Real Interiors
Why Moisture Resistant Drywall Matters in Portland Homes
A homeowner in Portland may replace a bathroom vanity, repaint the walls, and install a new exhaust fan, then discover a year later that the drywall near the sink has swollen. Another homeowner in Vancouver WA may repair a ceiling stain from an old plumbing leak, only to see the joint crack again because the source of moisture was never corrected. In both situations, the board is only one part of the problem, but the wrong board can make the damage spread faster.
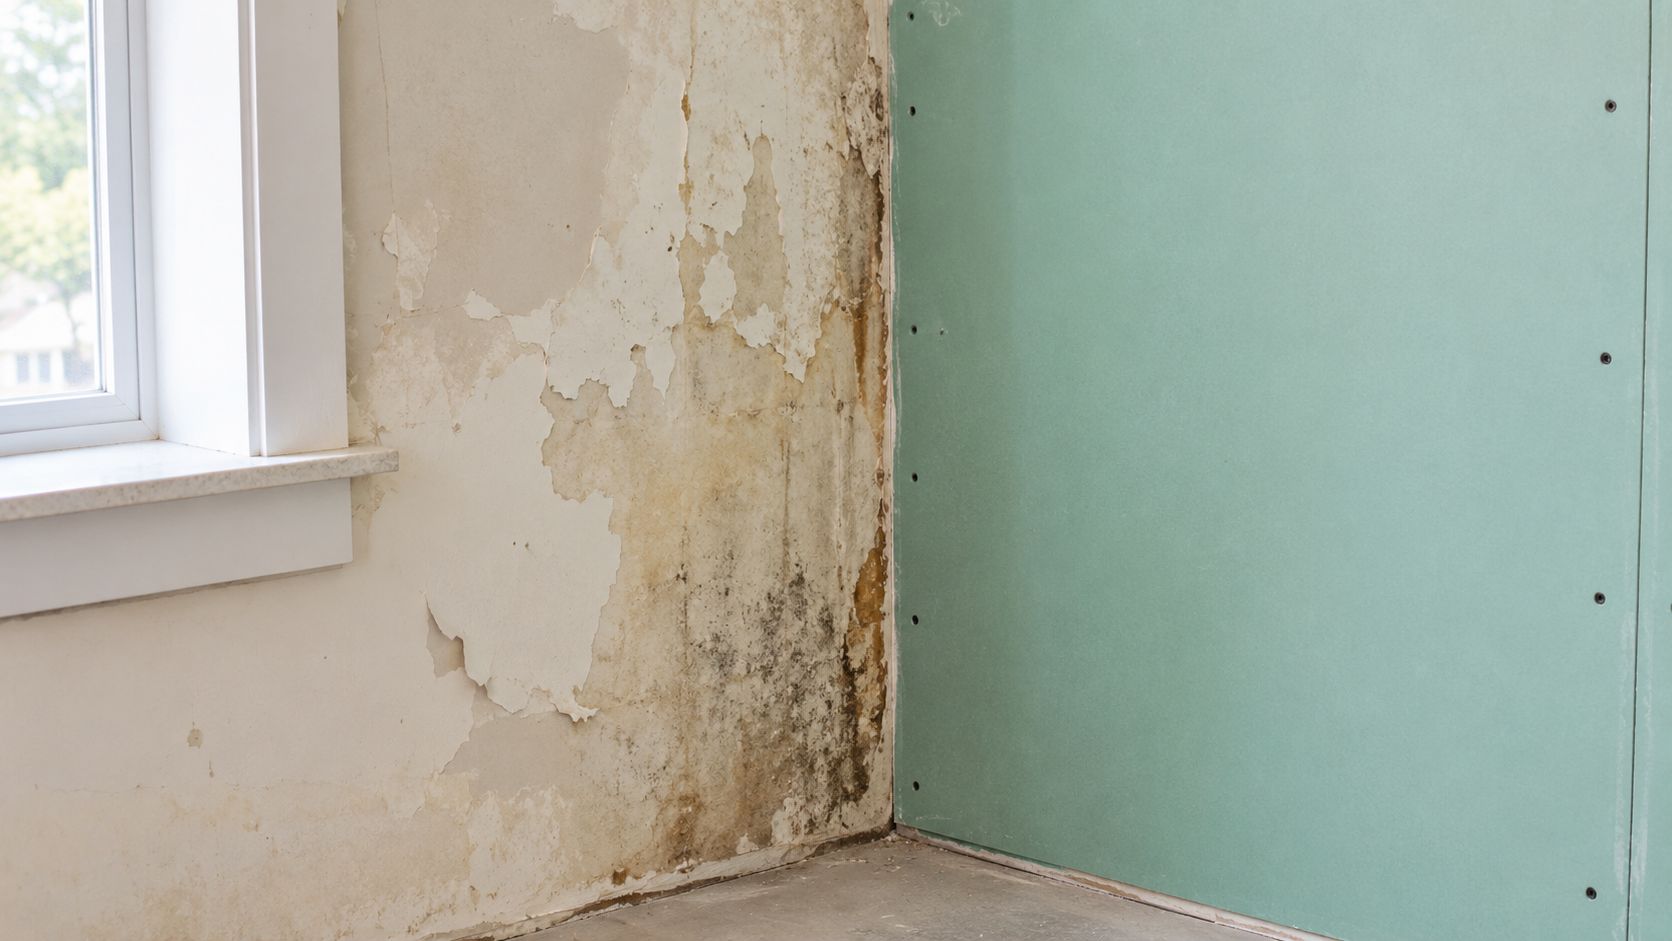
Standard drywall is designed for ordinary interior rooms. It isn't the material I want around persistent humidity, frequent splashes, or a wall that may be exposed to condensation. Moisture resistant drywall uses a treated facing, and some products also use additives in the gypsum core that slow moisture uptake. That protection helps, but the core can still soften when the facing is cut open, punctured, or left against standing water. Technical guidance on green board performance explains why water resistance should never be treated as waterproofing.
Humidity and direct water are different jobs
A powder room, laundry room, utility room, or bathroom wall outside the shower may benefit from a moisture resistant panel. Those areas experience humid air or incidental splashes, but the wall surface should still be allowed to dry. A shower surround, tub surround, steam-prone enclosure, or wall receiving repeated direct spray needs a true wet-area backing system instead.
The Gypsum Association distinguishes between these applications. Its guidance identifies moisture- and mold-resistant panels that meet ASTM C1396/C1396M, while wet-area tile substrates face tighter requirements. Under the International Building Code, coated glass mat water-resistant gypsum backing panels conforming to ASTM C1178/C1178M are the gypsum panels allowed as a tile base in wet areas. Under the International Residential Code, the backing must conform to ASTM C1178/C1178M or ASTM C1278/C1278M. The Gypsum Association's technical FAQ provides the relevant distinction.
Practical rule: If water is expected to hit the wall repeatedly, specify the wet-area assembly first and the decorative finish second.
Why Portland homes need careful diagnosis
A cracked joint, stained ceiling, or soft wall isn't automatically a reason to cover the area with a more expensive panel. First, find the source. Plumbing leaks, failed caulk, poor ventilation, roof or flashing problems, and condensation can all damage drywall. If the source remains active, even a high-performance board will eventually fail.
CS1 Real Interiors handles the surrounding interior work homeowners often need after that diagnosis, including drywall repair, drywall installation, interior painting, insulation, and metal stud framing. For a Portland homeowner, the practical goal isn't to buy a green-colored panel. It's to create a wall assembly that matches the moisture exposure, is finished correctly, and can be maintained.
Comparing Moisture Resistant Drywall Types
The useful comparison isn't based on panel color. It starts with the water the assembly must handle, the finish that will cover it, and the consequences of failure. A paper-faced moisture resistant panel can perform well in a humid bathroom, while a glass-mat gypsum panel or cement board may be the safer choice behind tile or in a more demanding wet location.
Moisture Resistant Drywall Type Comparison
| Type | Best Use | Limitations |
|---|---|---|
| Moisture-resistant gypsum board | Humid rooms, powder rooms, laundry rooms, utility rooms, and bathroom walls outside direct spray | Not waterproof, and not a suitable base for shower or tub surrounds exposed to repeated water |
| Mold-resistant gypsum board | Intermittently damp rooms where surface mold resistance is an additional design consideration | Mold resistance doesn't correct leaks, trapped vapor, poor ventilation, or wet framing |
| Coated glass mat gypsum backing panel | Tile backing in wet areas where the applicable code and manufacturer system allow it | Seams, fasteners, penetrations, and transitions still require correct treatment |
| Cement board | Shower walls, tub surrounds, and other direct-water tile applications | Heavier and harder to cut and handle, and it still needs a properly designed water-management system |
| Standard gypsum board | Dry bedrooms, living rooms, halls, and other areas without recurring moisture | It isn't intended for humid or splash-prone locations |
What the standards actually tell you
ASTM C1396 defines water-resistant gypsum board as a distinct product used primarily as a base for ceramic or plastic tile on walls or ceilings. The specification also addresses properties including water resistance, surface water absorption, flexural strength, and nail pull resistance. This standards summary is useful when a quote lists only “bathroom drywall” without identifying the product category.
Mold performance needs separate consideration. Some moisture resistant boards include mold-inhibiting ingredients and are tested under ASTM D3273. High-performing products can receive the maximum mold-resistance score of 10 out of 10, but that result doesn't mean the wall can tolerate a leak. A representative technical product sheet shows why contractors should evaluate mold resistance and moisture resistance as related but separate characteristics.
Choosing the right substrate for tile
Tile, grout, and caulk don't create a waterproof wall by themselves. Water can move through joints, cracks, penetrations, and changes in plane, so the backing and membrane need to work together. If a contractor proposes paper-faced moisture resistant drywall directly behind a shower tile system, ask what protects the board from direct and prolonged water exposure.
For a dry bathroom wall near a sink, moisture resistant drywall may be appropriate. For a shower enclosure, the conversation should move to a compatible wet-area backing board, approved waterproofing details, and careful treatment of corners and penetrations. This practical guide to moisture- and mold-resistant drywall makes the same important distinction between humidity and direct water.
Installation and Repair Best Practices
A moisture resistant panel doesn't forgive careless installation. The treated face helps only where it remains intact, and the vulnerable locations are usually the ones created during the work: cut edges, screw heads, corners, pipe openings, electrical penetrations, and poorly treated joints.
Prepare the wall before hanging board
Stop the leak, remove compromised material, and inspect the framing before installing a replacement. If the studs or insulation are damp, covering them traps the problem. Check for staining beyond the visible patch, loose fasteners, damaged vapor-control components, and plumbing movement that may cause the repair to crack again.
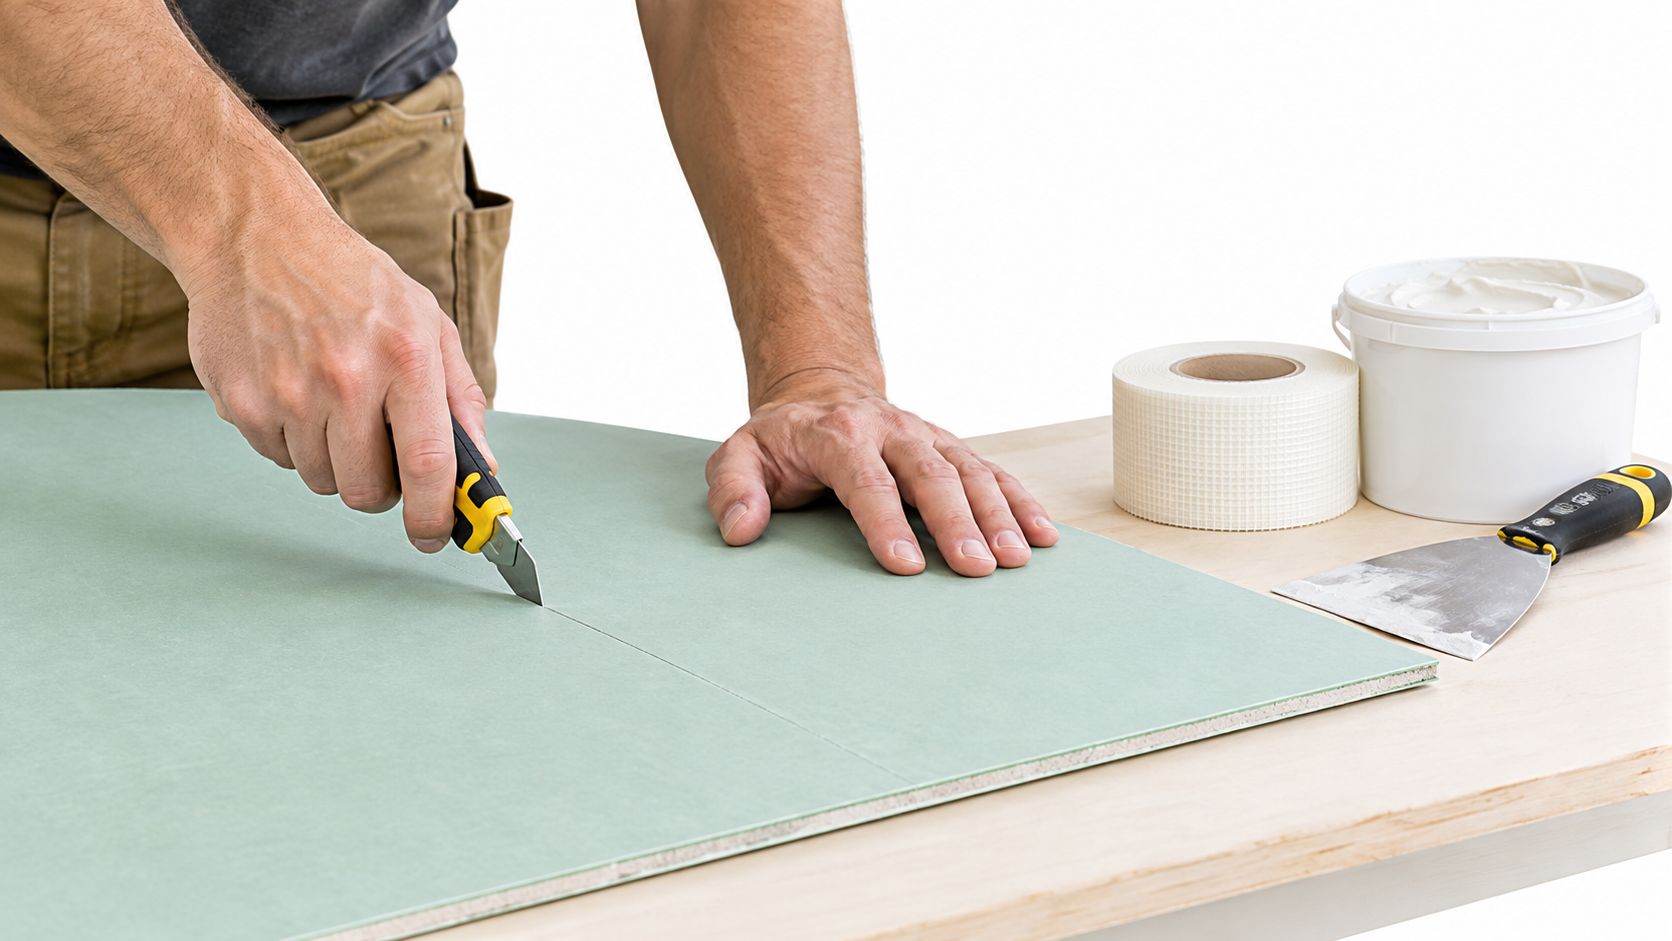
Cut panels cleanly with a sharp utility knife or suitable saw, and avoid tearing the facing. Keep the board off wet floors during staging. Dry-fitting around pipes and boxes is slower than cutting oversized openings, but it leaves less exposed core and produces a cleaner surface for finishing.
Protect the weak points
Fasten panels firmly to sound framing without breaking the face paper. Drive screws just below the surface, not deep enough to crush the gypsum. Treat joints with the compatible tape and compound system, and pay close attention to outside corners, inside corners, and transitions to other materials.
Cut edges deserve extra care because they don't have the same factory-facing protection as the main surface. Seal or protect them as required by the selected assembly, especially at floors, corners, penetrations, and openings near plumbing. The product guidance linked above emphasizes that breaches can allow moisture to bypass the treated face and accelerate core damage.
A strong repair starts behind the visible stain. If the leak, wet insulation, or failed seal remains, a smooth patch only hides the clock.
For a small water-damaged area, remove all loose, soft, swollen, or contaminated board back to solid material. Match the replacement thickness, support the edges, install backing where needed, tape the joints, and reproduce the existing texture before priming and painting. Texture matching is often harder than the patch itself, particularly in older Portland homes where several layers of paint have changed the original pattern.
A detailed RestoTek TX restoration guide for repairing water-damaged drywall can help homeowners understand the sequence of assessment, removal, drying, and replacement before deciding whether a repair is within their skill level.
This installation video provides a visual reference for handling and cutting board, but the correct wet-area assembly still depends on the location and applicable code.
Cost Considerations and Selection Guidance
The cheapest panel isn't always the lowest-cost choice, and the most water-resistant panel isn't automatically the right choice for every room. Material selection should follow the exposure, the finish, the inspection requirements, and the cost of correcting a failure after tile, cabinets, flooring, or paint are already installed.
Start with the exposure
For a powder room or laundry room, a moisture resistant panel may provide useful protection without adding a wet-area backing system where one isn't needed. For a shower, the cost calculation changes. The backing, membrane, corner treatment, fasteners, tile preparation, and labor all contribute to the performance of the assembly.
Over-specifying a product can add handling and installation expense without solving a real problem. Under-specifying can lead to demolition, replacement, repainting, and disruption to the room. The sensible choice is the one that controls the actual moisture path.
Confirm the code path
Portland and Vancouver WA properties are reviewed under adopted building codes and local permitting procedures. The applicable code category matters most where tile is installed in a wet area, where a repair affects a regulated assembly, or where a commercial project has additional design requirements. The IBC and IRC distinctions described by the Gypsum Association should be checked against the code edition and permit requirements governing the specific property.
A contractor should be able to explain:
- Where the board will go: Separate humid-room surfaces from direct-water surfaces on the scope.
- What standard applies: Identify ASTM C1396, ASTM C1178, or ASTM C1278 where relevant.
- What protects the joints: Confirm how seams, penetrations, corners, and transitions will be treated.
- What happens after installation: Plan for primer, paint, tile, or another finish compatible with the assembly.
Think about the full wall system
A laboratory comparison summarized by research on mold resistance in building materials found a more nuanced result than the usual sales pitch. Cement-based boards resisted mold much better than moisture-resistant drywall under tropical conditions, while another Canadian study found that both wood and moisture-resistant drywall can become fungal sources when moisture is present. The practical lesson is that the board, coating, paint, membrane, ventilation, and leak prevention all matter.
For a rental turnover in Gresham or a remodel in Lake Oswego, ask for a written scope that identifies the board type and the moisture-control details. A clear scope protects the owner from substitutions that look similar but serve different purposes.
When to Hire a Professional Drywall Contractor
DIY drywall work can make sense for a small, dry-room patch with accessible framing and a simple finish. Moisture-related work becomes a different job when the cause is uncertain, the damaged area is large, or the replacement sits inside a tile or waterproofing assembly.
Call before the damage spreads
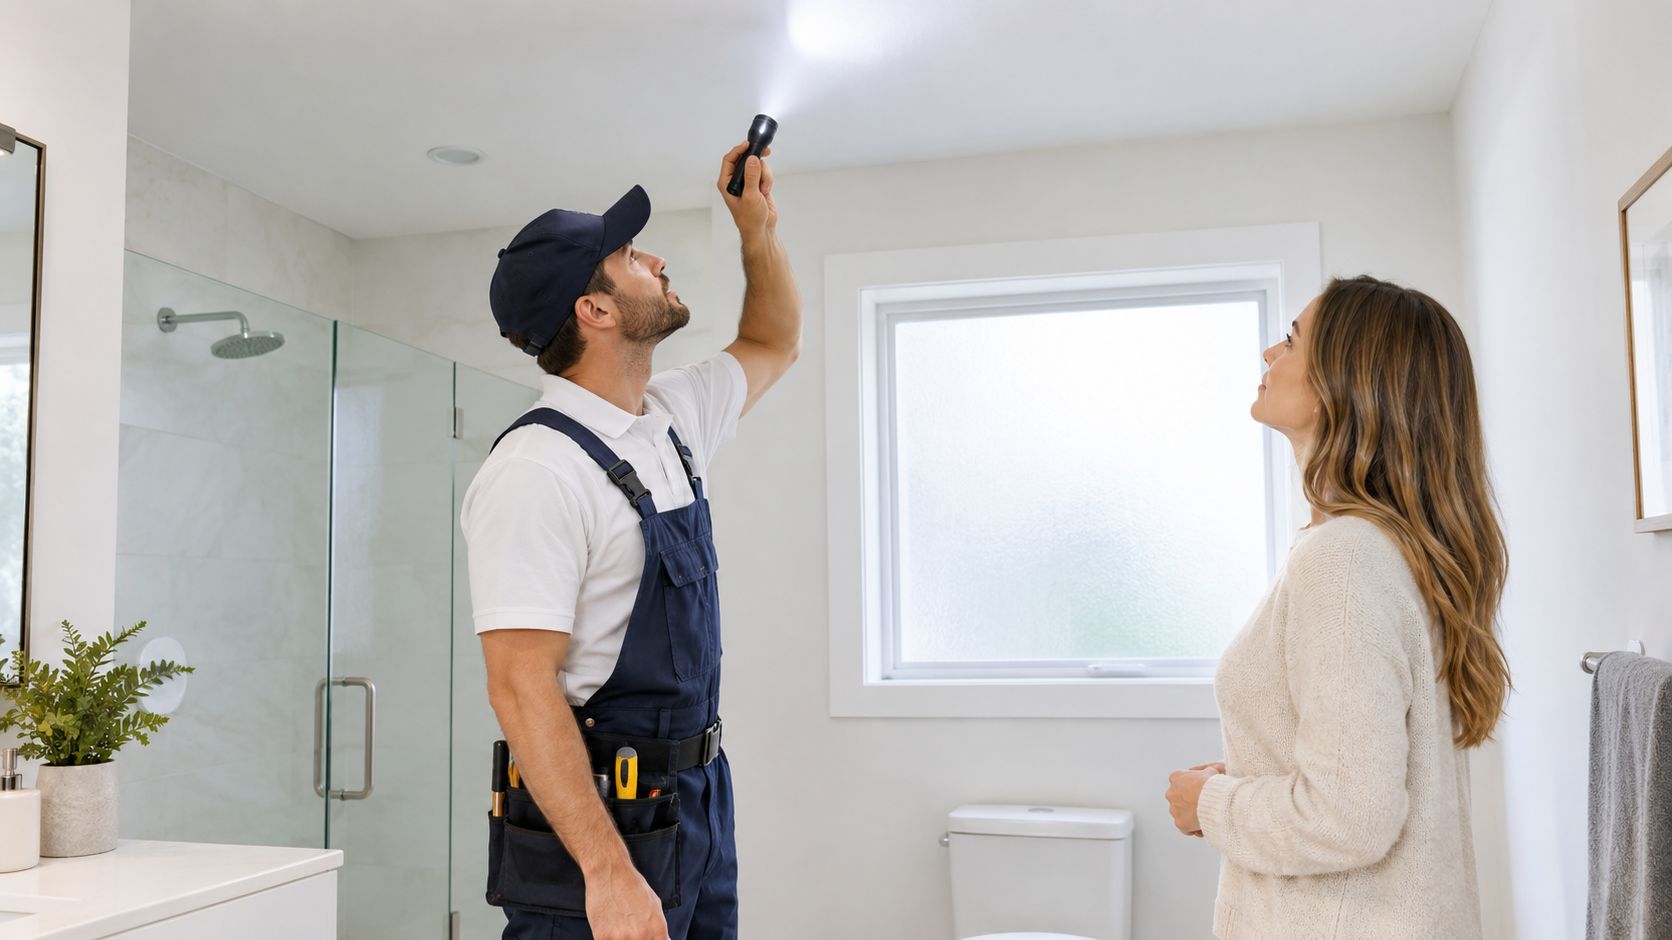
Get professional help when the wall feels soft, the ceiling is sagging, staining keeps returning, or the paper has separated from the gypsum. Call sooner if you see mold-like growth, smell persistent mustiness, find wet insulation, or suspect water behind a shower or tub surround. Those signs require more than filling a crack.
Professional assessment also matters after a plumbing failure or roof leak. A contractor can trace the visible damage, open the necessary areas, coordinate drying and repairs, and make sure the new board isn't installed over a hidden source.
Know the limits of a cosmetic repair
A homeowner may be able to cut out a small damaged section. The difficult parts are matching thickness, supporting seams, blending texture, protecting edges, and making the repair disappear under paint. Bathrooms add another layer of risk because a mistake behind tile may not become visible until the wall assembly has already suffered serious damage.
Property managers in Hillsboro, Tigard, Forest Grove, Cornelius, and Tualatin also need consistent documentation. A professional scope can identify the cause, materials used, affected rooms, and finish level, which helps with turnover records and future maintenance.
CS1 Real Interiors works on drywall repair, installation, finishing, interior painting, insulation, and metal stud framing for homeowners, builders, property managers, and small commercial clients. The team can address anything from water-damaged board and drywall cracks to remodel preparation and paint-ready Level 4 or Level 5 finishes.
If you need help deciding what belongs behind a shower, repairing a damaged bathroom ceiling, or matching an existing wall texture, request a free estimate through the CS1 Real Interiors contact form. Include photos, the room location, and any known leak history so the assessment starts with useful information.
Maintenance and Moisture Mitigation Strategies
The board lasts only as long as the moisture-control habits around it. Even a correctly selected panel can deteriorate if a bathroom stays saturated, a pipe drips inside the wall, or paint and sealant allow water to reach exposed edges.
Industry guidance places moisture resistant drywall in humid rooms such as bathrooms, laundry rooms, powder rooms, kitchens, and utility rooms, but not in shower surrounds, tub surrounds, or locations receiving repeated direct splashing. This guide to green board applications and limitations reinforces the boundary that homeowners and property managers should keep visible in every maintenance plan.
Keep humid rooms drying
Run the bathroom exhaust fan during bathing and long enough afterward to clear humid air. Make sure the fan vents outside, not into an attic or wall cavity. Keep air moving around laundry appliances, avoid pushing cabinets tightly against damp walls, and repair dripping faucets or supply lines promptly.
Inspect caulk at tubs, sinks, backsplashes, and changes of plane. Failed caulk isn't the only cause of water damage, but it gives water an easy path behind finishes. Replace it when it cracks, separates, or remains discolored after cleaning.
Watch for early warning signs
Use a flashlight during routine inspections and look for:
- Soft or swollen surfaces: Pressing lightly around a stain can reveal damage that paint still hides.
- Bubbling or peeling paint: This may indicate moisture behind the coating rather than poor paint adhesion.
- Recurring discoloration: A mark that returns after repainting deserves a source investigation.
- Cracked corners and joints: Movement, framing moisture, or failed fastening may be involved.
- Musty odor: Odor near a wall or ceiling can justify opening the area for inspection.
Mold resistance is not a substitute for drying. If you find suspected growth, determine the extent and source before sanding, scraping, or sealing the surface. A separate resource on checking for mold in Florida homes offers useful general inspection ideas, even though Portland buildings have different climate and construction conditions.
Protect the finished surface
Use a compatible primer and finish coating, especially over repairs and exposed compound. Keep fastener heads, cut edges, and penetrations sealed as part of the finishing process. Property managers should record recurring stains, bathroom ventilation concerns, and repairs across units in Hillsboro and Gresham so small problems don't become repeated turnovers.
Get Professional Help from CS1 Real Interiors
A bathroom repair in Portland often begins with a simple request to replace damaged drywall. Once the wall is opened, the full scope may include wet insulation, a failed plumbing connection, a cracked seam, mismatched texture, and paint that no longer blends with the surrounding surface. Treating those items together produces a more durable result than patching the visible hole and leaving the contributing problem untouched.
CS1 Real Interiors serves Portland, Beaverton, Hillsboro, Tigard, Lake Oswego, Gresham, Vancouver WA, Forest Grove, Cornelius, and Tualatin. Its interior services include drywall repair, drywall installation, taping, texture matching, Level 4 and Level 5 finishing, interior painting, insulation, and metal stud framing for residential and small commercial projects.
The company works with homeowners, custom builders, property managers, restaurants, clinics, retail spaces, and other businesses that need clean interior work and coordinated scheduling. A project may involve one water-damaged bathroom wall, a full remodel preparation, a tenant improvement, or a complete interior build-out.
For a moisture-related project, provide the contractor with the room location, visible damage, known leak history, planned tile or paint finish, and any permit information. That allows the estimate to address the wall assembly rather than treating moisture resistant drywall as a one-product fix.
If you need a focused repair, the Portland drywall repair service page provides a starting point. Homeowners planning work in the city can also review the Portland drywall contractor service area before scheduling an assessment.
Request a free estimate from CS1 Real Interiors for moisture resistant drywall installation, water-damage repair, texture matching, painting, insulation, or interior framing. Professional guidance can help you choose a wall system that fits the room, the local project requirements, and the way the space will be used.
CS1 Real Interiors provides drywall repair, installation, finishing, painting, insulation, and metal stud framing for Portland-area homes and small commercial interiors, including moisture-related repairs and wet-room preparation. Visit CS1 Real Interiors to request a free estimate and get professional help planning your drywall or interior project.


