



Ready-mix joint compound usually needs about 24 hours at 70°F and 50% relative humidity; setting-type compound sets in 30 to 80 minutes, and humidity above 70% can stretch drying to two days or more. Those are planning times, not permission to sand or paint.
You may already have the furniture covered and the paint waiting, but the center of your patch still feels cool. That's when rushing costs more than waiting: sanding tears the surface, another coat hides the moisture, and primer can leave you with a repair that shrinks after painting.
Table of Contents
- Joint Compound Drying Times at a Glance
- Ready-Mix Versus Setting-Type Compound Timing
- How to Tell Joint Compound Is Dry and Paint-Ready
- Why Drying Stalls and How to Fix It
- Deciding Between Drying and Replacing
- Plan Your Repair Around Portland Weather or Call a Pro
Joint Compound Drying Times at a Glance
A skim coat in a dry, heated room can be ready overnight. The same coat on a damp wall in still air can stay soft for most of a week. Drying is a humidity problem before it is a clock problem, so the schedule that matters is the one built from your room's conditions, not the single number on the box.
Setting-type compound is left off this table deliberately. It sets chemically on a grade-based clock, so a humidity row tells you nothing about it.
Ready-mix drying times by room condition
| Room condition at 70°F | Typical drying time | Source |
|---|---|---|
| 0% relative humidity | About 13 hours | USG technical table |
| 30% relative humidity, ventilated room, compound under tape | About 12 hours | Gypsum Association guidance |
| 50% relative humidity | About 24 hours | Gypsum Association guidance |
| 70% relative humidity | 24 to 38 hours | USG FAQ and technical table |
| 80% relative humidity | About 2.25 days | USG technical table |
| 90% relative humidity | About 3.5 to 4.5 days | USG technical table and Gypsum Association |
| 96% relative humidity | About 7 days | Gypsum Association guidance |
| Thick fill, poor airflow, cool room | Several days or more | Planning range; verify by testing |
These figures come from three references testing slightly different applications. The technical table hosted by Lowe's gives about 13 hours at 0% relative humidity, 38 hours at 70%, 2.25 days at 80% and 4.5 days at 90%. For compound applied under tape, the Gypsum Association drying guidance lists about 24 hours at 50% relative humidity, 3½ days at 90% and 7 days at 96%. The USG ready-mix drying FAQ puts a normal application at approximately 24 hours at 70°F and 70% relative humidity.
Because the sources test different applications, taped versus untaped, use the nearest row as your planning figure instead of averaging between rows.
Use the room reading, not the weather forecast
Put an inexpensive hygrometer on the wall near the patch, away from windows, heaters and the dehumidifier outlet. Match the reading to the closest row, then round up: a room at 65% schedules like the 70% row, and anything past 80% belongs on the wet-weather rows with active dehumidification running.
Thickness shifts the answer as much as humidity. A feathered edge over tape sheds water quickly, while a deep fill traps moisture in the middle long after the face feels firm. Bathrooms, kitchens, exterior walls and any surface holding residual moisture all push a repair toward the slower rows, so schedule to the slowest part of the patch rather than the fastest.
Planning rule: Reserve the sanding appointment provisionally. Confirm it only when the slowest part of the repair is dry.
Ready-Mix Versus Setting-Type Compound Timing
Ready-mix behaves like a wet sponge on a drying rack: it becomes ready as water leaves. Setting-type compound behaves more like plaster, hardening through a chemical reaction even when the room isn't ideal for evaporation. One waits on the room, the other waits on the bag. That difference is why a setting compound can rescue a schedule in a damp basement where ready-mix would sit wet for days.
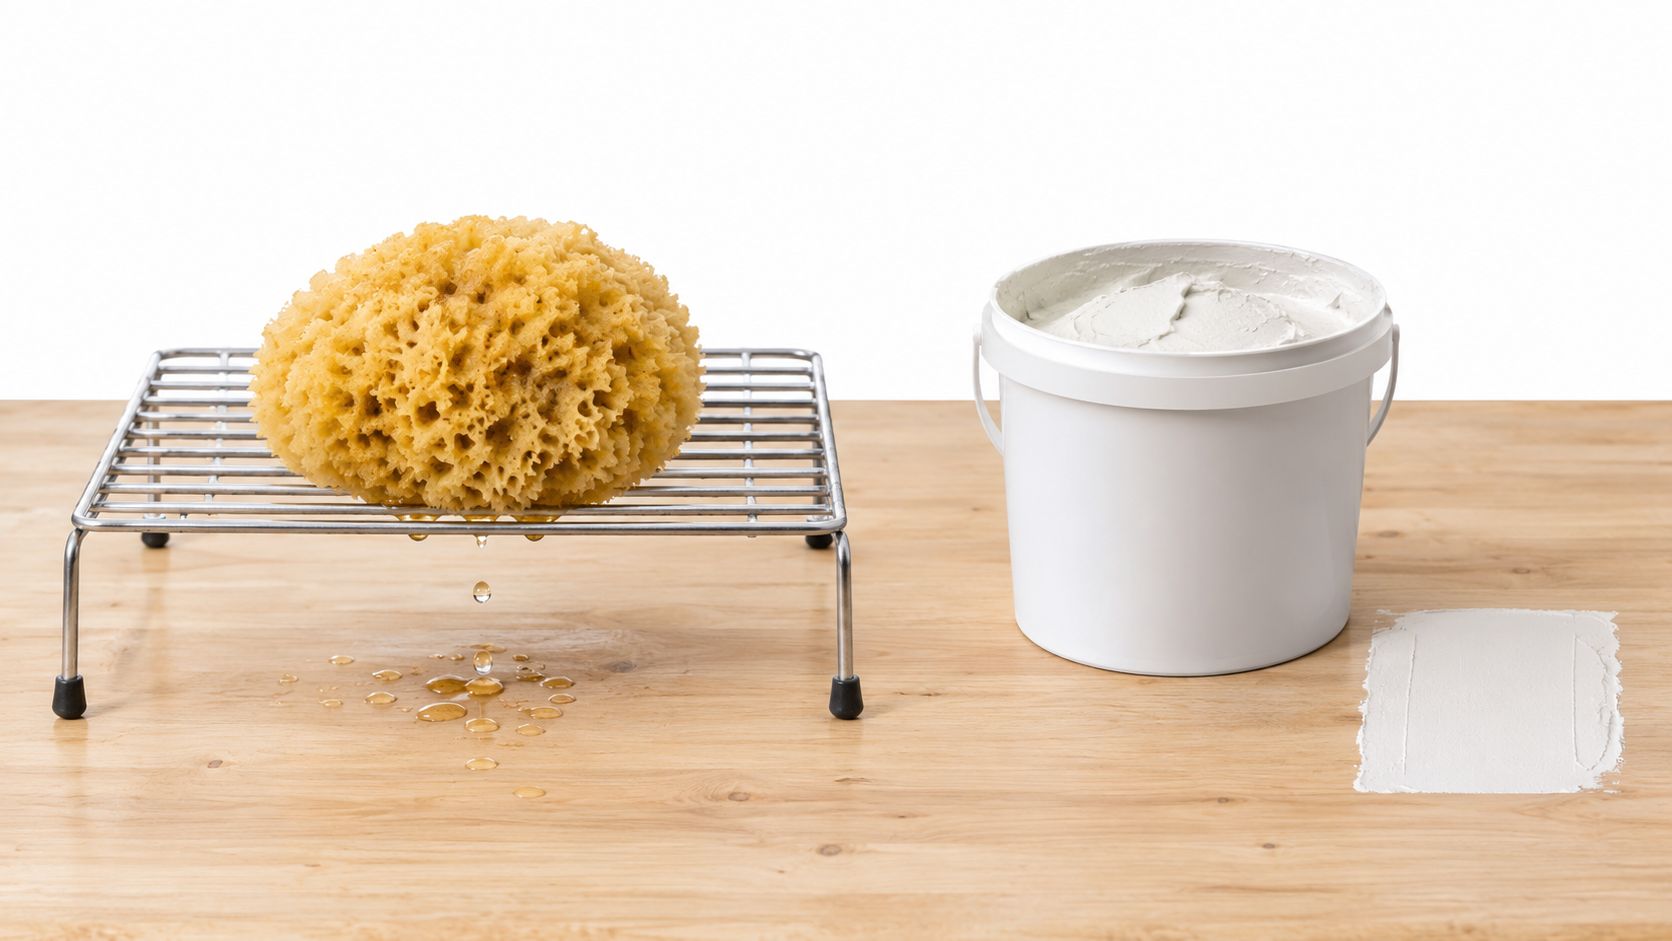
Ready-mix versus setting-type joint compound
| Factor | Ready-mix (air-drying) | Setting-type (hot mud) |
|---|---|---|
| Typical timing | Hours to days, set by the room | Minutes, set by the grade |
| Working time | Open for hours when protected from drying | About 45 minutes for Durabond 45 |
| Best use | Taping, skim coats, final finish coats | Deep fills, rapid repairs, tight schedules |
| What to schedule by | Dryness test and room humidity | Set time plus manufacturer sanding guidance |
| Common mistake | Sanding before the patch is dry throughout | Mixing more than can be applied within the working time |
USG's Durabond 45 specification lists a 45-minute working time and a 30–80-minute setting range, with a hard, plaster-like cured surface. That hardness doesn't automatically mean the repair is ready for sanding or paint. The set is the start of curing, not the finish line.
Choose the fill and finish separately
Take a Hillsboro kitchen wall with a 1-inch-deep damaged pocket. If the surrounding board is sound, a setting compound can handle the fill, followed by a sandable ready-mix finish coat. An open hole still needs backing and a fitted drywall patch rather than a plug of mud.
Choose the grade by the time needed to place and shape the material. Mix small batches in a clean pan, use clean water, and never add water to rescue compound that has begun setting. A batch that stiffens in the pan gets tossed.
Durabond is hard to sand, so leave it slightly below the final surface instead of building a ridge you'll have to grind down. Use the topping coat to establish the finished plane.
How to Tell Joint Compound Is Dry and Paint-Ready
A firm skin isn't proof of a dry center. Non-destructive checks can reveal warning signs, but they can't certify the interior of an oversized fill.
The Gypsum Association's drying guidance identifies approximately 65–80°F and 20–40% relative humidity as ideal conditions; compound under tape in a ventilated room at 70°F and 30% humidity dries in approximately 12 hours, while unfavorable conditions can require at least two days. Readiness still requires inspection of the entire repair.
Check the deepest area first
- Check elapsed time against room conditions. Use the planning chart, then allow extra time on humid days. Don't judge the whole repair by its thin outer edge.
- Look for uniform color. Darker or gray areas commonly indicate retained moisture, though product color differs. A pale surface alone isn't enough.
- Compare the feel. Press gently with the back of a knuckle; the patch should feel firm, without an unusually cool or damp center. Cold exterior walls can complicate this comparison.
- Watch for continuing movement. Shrinkage lines or hairline cracks that are still opening mean the repair hasn't stabilized. Correct the cause before covering them.
- Check the surrounding board with a moisture meter. Compare suspect areas with an unaffected part of the same wall. Use the meter's appropriate material setting rather than assuming a universal acceptable reading.
- Lightly sand a test spot. Dry compound produces powder; damp compound smears or gums up the abrasive. Stop if the paper clogs immediately.
- Inspect under raking light. Hold a work light nearly parallel to the wall to reveal ridges, scratches, and pinholes. Correct defects without sanding into the tape.
- Remove dust and prime before painting. Use drywall primer on clean repairs and stain-blocking primer where residual water staining remains after the moisture problem is resolved.
Match the existing finish before painting
Smooth patches stand out on textured walls even when they're perfectly dry. For help deciding what belongs in a remodeled space, HomeProBadge's guide to choosing wall textures for each room provides useful context before you commit to a finish.
A paint-ready repair is uniform, smooth, dust-free, and free of visible tool marks. Paint won't flatten a ridge or hide a mismatched texture.
If a deep center remains questionable, don't keep probing or bury it under another coat. Remove unsound material and rebuild the repair with appropriate backing, fill depth, and staged finishing.
Why Drying Stalls and How to Fix It
A stalled patch usually means moisture is still leaving the compound. Check thickness, airflow, temperature, and surface condensation in that order, then correct the condition that is actually holding water in the wall.
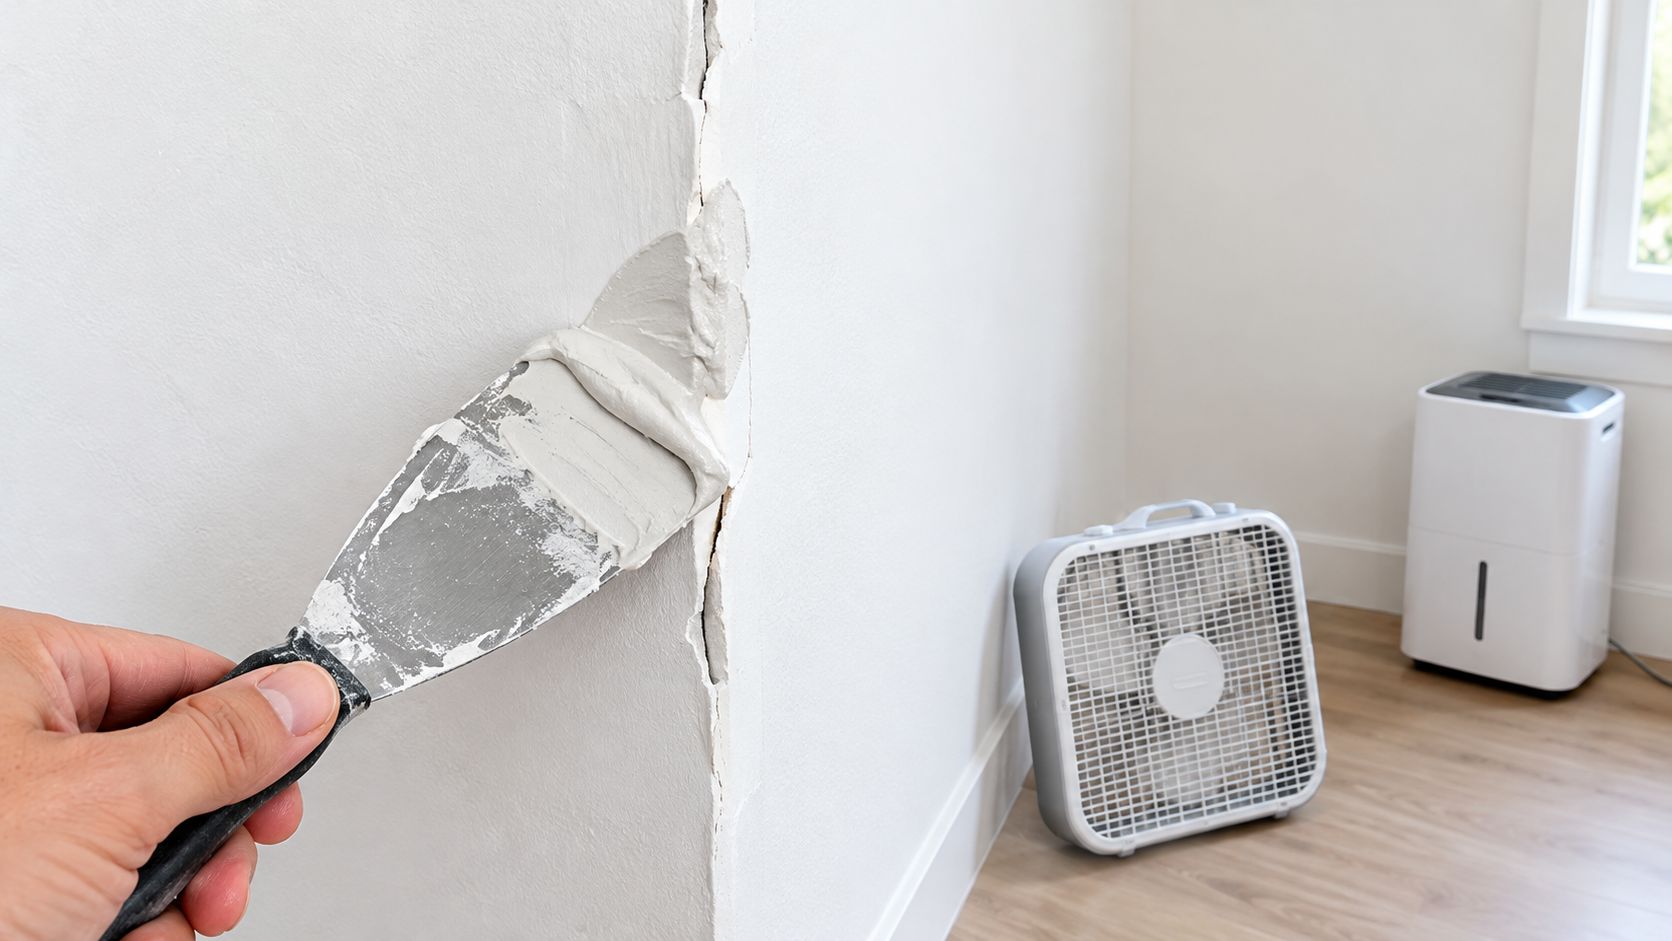
Correct the conditions around the patch
Thick work changes the schedule more than any label can. The USG jobsite environmental guidance bases its chart on a single nominal 1/16-inch coat and recommends maintaining at least 55°F throughout finishing and until completely dry, so use the poor-drying row in the first table as the thin-coat reference rather than the ceiling for a deep fill. A recessed pocket can skin over while the center stays wet; missing board needs a fitted repair, not more compound over weak backing.
Airflow carries released moisture away. A closed bathroom can stay humid even when the rest of the home feels comfortable. Keep gentle circulation moving through the room, aim fans so they move air around the room rather than blasting the wet face, and run a dehumidifier when outdoor air is damp.
Portland outdoor air helps when it lowers indoor humidity. Check whether the incoming air improves conditions, then keep the work area conditioned instead of letting it swing between warm daytime air and a cold room overnight.
Hold temperature steady. Warm cold compound and the substrate before application. Heat that runs only during the work shift leaves the wall cold during the hours when most evaporation should happen.
Surface temperature can lag the thermostat. The USG technical drying guidance gives a dew point of approximately 57°F at 70°F and 65% relative humidity and calls for a surface temperature of at least 62°F, or 5°F above dew point, before compound or coatings are applied. A cold exterior corner can need attention even when the room reads fine; an infrared thermometer finds the spot, and recurring condensation points to a cause worth investigating rather than a finishing inconvenience.
Match the symptom to the repair
Slow-drying symptoms, causes and fixes
| Symptom | Likely cause | Fix |
|---|---|---|
| Still soft or tacky well past the thin-coat window | Thick fill or high indoor humidity | Ventilate, run a dehumidifier, and wait until dry throughout |
| Gummy sanding or clogged paper | Compound isn't fully dry | Stop sanding; allow more time, then use a sanding screen if appropriate |
| Dark or gray patches under primer | Retained moisture or stain bleed | Confirm dryness, investigate moisture, then spot-prime residual stains |
| Shrinkage cracks along the patch | Coat too thick or covered too early | Remove failed material, refill in thinner coats, and dry between coats |
| Bulging or blistering tape | Damp or cold substrate, or inadequate bedding | Cut out loose tape, check the board, and reapply over sound material |
| Musty smell from a patch | Possible moisture in the cavity | Stop finishing and investigate the water damage |
| Setting-type compound hardens in the bucket | Oversized batch or overly warm mixing water | Mix smaller batches with clean, cool water |
Wet compound needs time and airflow before any abrasive will cut cleanly. Stain-blocking primer handles residual stains only after the moisture source is fixed, and tape holds only over sound paper.
As a planning scenario, correcting room ventilation, heat, or humidity may improve conditions within a day. Drying a wet cavity and rebuilding a shrunken finish can occupy a week or longer; neither is a completion promise. Schedule each drying cycle separately in humid weather. If staining, softness, or cracking returns after a second repair, investigate the board and cavity instead of applying another surface coat. For Portland metro repairs with a tight deadline, CS1 Real Interiors scopes drying time into the work through its drywall and interior project estimate form; photos, leak history, room conditions, and the deadline help set that scope.
Deciding Between Drying and Replacing
A patch over damp drywall can look finished at first, then crack, bubble, or bleed a stain through the paint. Drying and replacing are separate jobs: drying preserves sound board, and replacement removes board the water has already damaged.
The EPA's water-damage guidance recommends drying affected areas and materials within 24–48 hours to help prevent mold growth and warns that buildings wet for more than 48 hours will generally contain visible and extensive mold growth. That window controls how quickly wet materials must be dried. The joint compound on the patch afterward dries on its own schedule, set by room conditions rather than the calendar.
Patching over damp board traps moisture that can continue into insulation, framing, and adjacent drywall. Stop the plumbing or roof leak first. No finish schedule matters while water is still entering the wall.
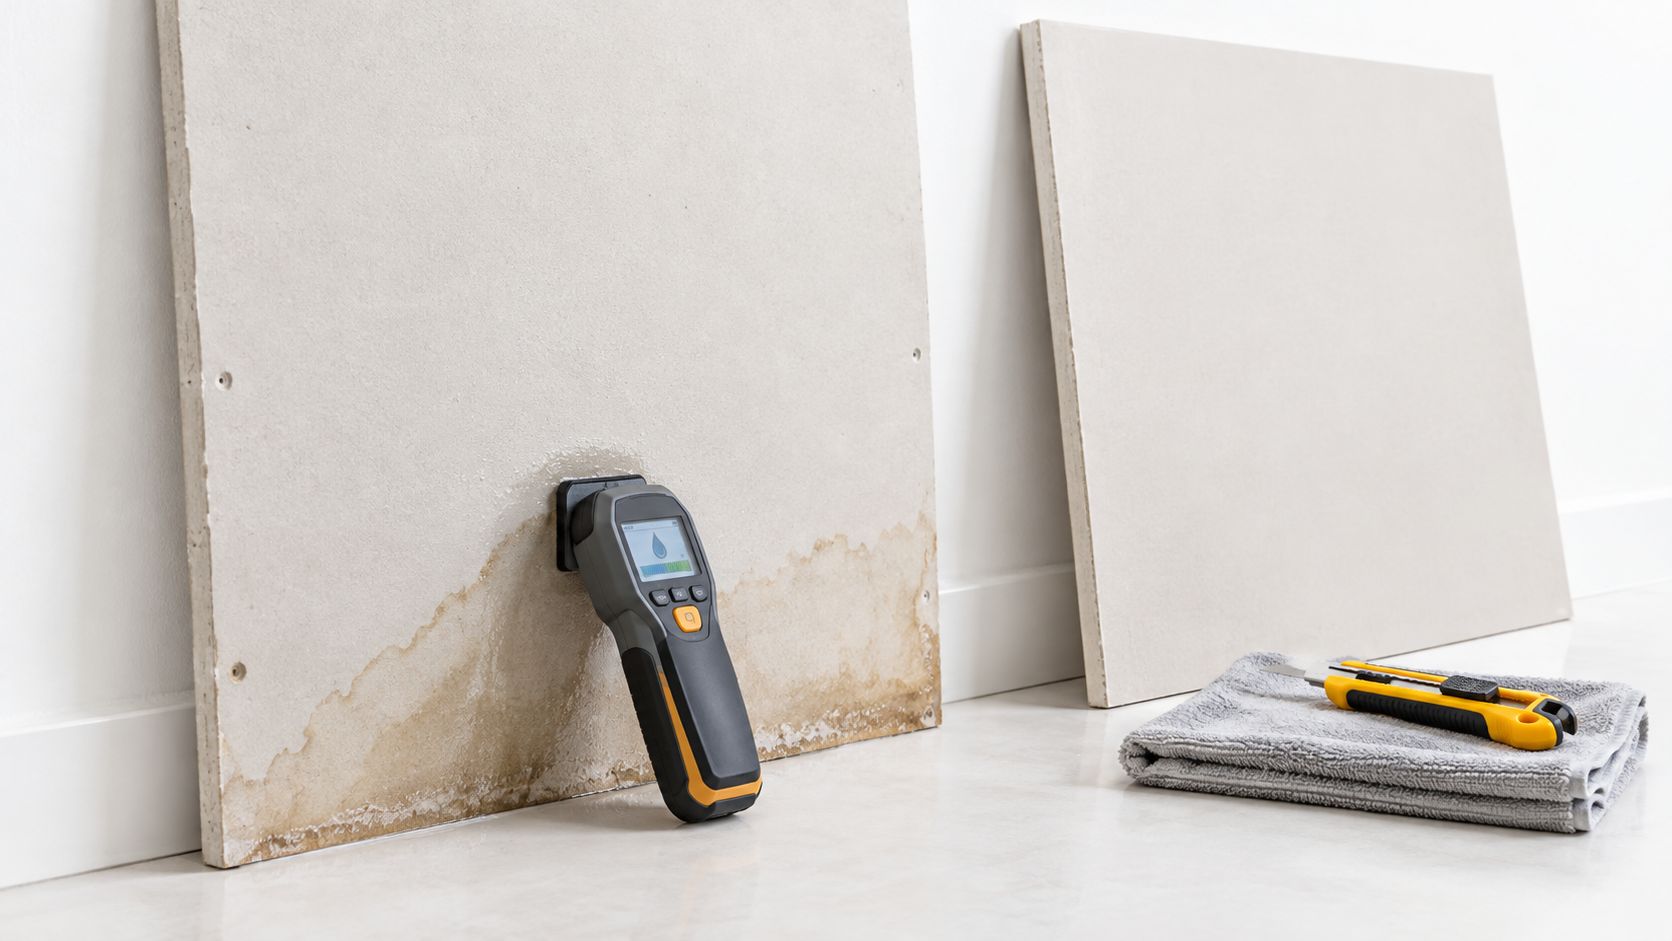
Keep sound board and remove failed board
- Dry in place when appropriate. Board without obvious swelling and with intact seams may be dried in place. Ventilate accessible cavities when possible and confirm dryness with a moisture meter, because a dry-looking surface can hide a wet cavity.
- Replace damaged board. Swollen drywall or failed seams call for removal, disposal, and replacement. A skim coat over swollen board only hides the damage while moisture keeps working. Investigate wet insulation and damaged backing before closing the wall.
Portland rental turnovers often expose ceiling stains after furniture moves out. A dry-looking stain doesn't establish whether the leak is old, active, or recurring, so check the source and surrounding materials before authorizing paint.
Sagging ceilings, contaminated water, suspected mold, or concealed electrical hazards require professional assessment. Don't open a wet ceiling casually.
Base the call on the board. Firm, flat drywall under a stain can dry in place and take a normal patch. Swelling or failed seams mean the panel comes out, and the drying schedule then applies to the replacement board and the cavity behind it.
Plan Your Repair Around Portland Weather or Call a Pro
Portland's damp fall, wet winter, and cool spring complicate drying in basements, garages, and bathrooms, but the air in the room matters more than the season on the calendar. A heated, ventilated space in February can carry a patch to dryness faster than a stuffy basement in July. Homeowners in Beaverton, Hillsboro, Tigard, Lake Oswego, Gresham, and Vancouver, WA should schedule around indoor temperature and humidity readings rather than the forecast.
The practical rule: in damp conditions, plan for each coat to run longer than the box says. Keep steady heat on the room, move air across the repair, and hold off on paint until the patch passes the dryness checks through its full depth. Primer and paint applied over damp compound seal moisture into the joint, and that trapped moisture is what telegraphs through the finish later as flashing and weak adhesion.
Know when the scope needs a contractor
- Damaged assemblies. Swollen board, broken seams, ceiling damage, or recurring cracks need more than cosmetic filling.
- Demanding finishes. Multi-room work, texture matching, and Level 4 or Level 5 finishes require careful preparation, especially under raking light.
- Fixed deadlines. Commercial openings and occupied rental turnovers need a coordinated plan for access, dust control, drying, and painting.
CS1 Real Interiors is a family-owned drywall and interior finishing contractor serving the Portland metro area, handling repair, installation, texture matching, painting, insulation, and metal stud framing under one schedule. For drywall repair or a Portland-area interior project, request a free estimate at CS1 Real Interiors and include your location, photos, finish expectations, and deadline.
CS1 Real Interiors offers drywall repair, installation, and interior finishing with drying conditions built into the schedule. Visit CS1 Real Interiors to discuss your project, or request a free estimate for professional help getting damaged walls and ceilings ready for paint.


