TL;DR: Level 5 is the highest possible drywall finish, involving a full skim coat of joint compound over a completed Level 4 surface. It creates a perfectly flat, uniform surface ideal for glossy paints or areas with critical lighting.
You see this most often when a remodel is getting close to the fun part. Cabinets are chosen, lighting is in, paint colors are taped to the wall, and then someone says the room needs a Level 5 finish. For a lot of Portland homeowners, that’s the moment the drywall conversation suddenly matters.
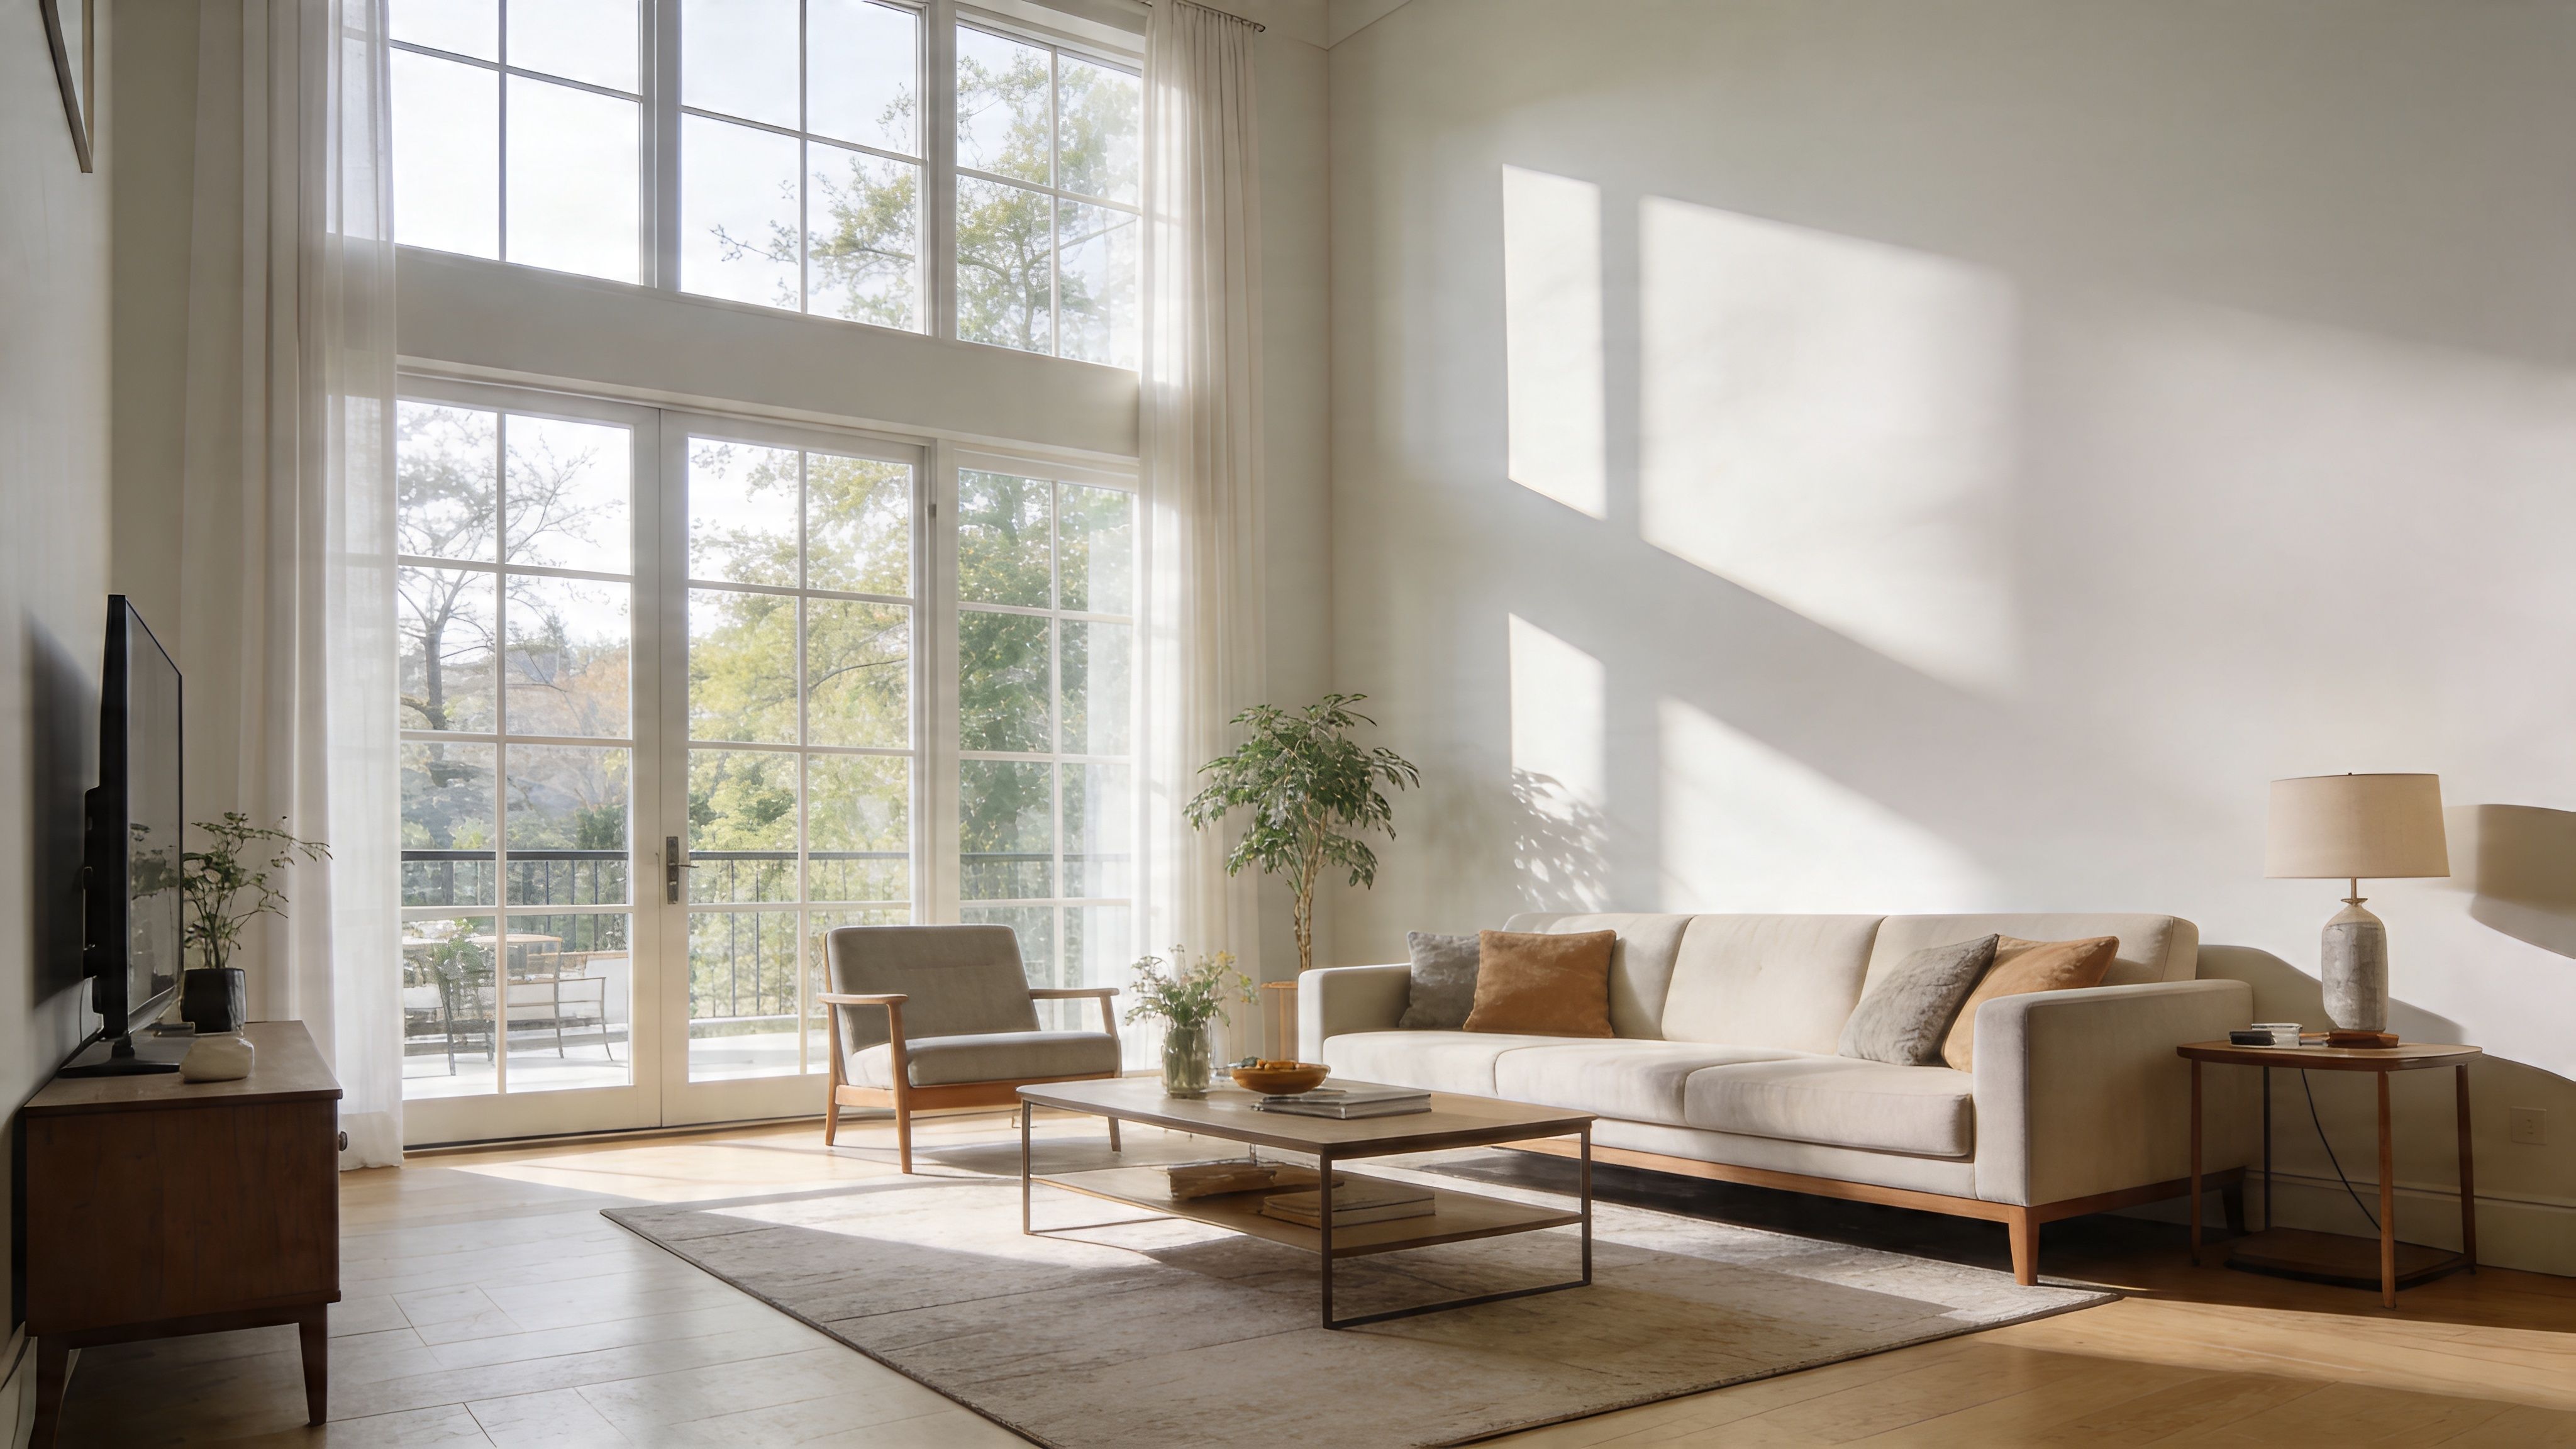
A modern home in Lake Oswego with large windows can flood a room with side light for hours. A remodeled craftsman in Beaverton might look perfect at noon, then show every seam and fastener shadow once the evening light hits the wall at an angle. The drywall finish under the paint decides whether the room looks crisp and clean or slightly off every time the light changes.
That’s why understanding what is level 5 drywall finish matters before paint goes on, not after. It’s not just a nicer version of standard drywall work. It’s the finish used when the wall itself has to disappear so the design, trim, lighting, and color can do the work.
Table of Contents
- Introduction The Quest for Perfect Walls in Your Portland Home
- What Exactly Is a Level 5 Drywall Finish
- The 6 Levels of Drywall Finish Compared
- When Is a Level 5 Finish Necessary for Your Project
- Mid-Article CTA Not Sure Which Drywall Finish You Need
- The Level 5 Drywall Application and Painting Process
- Hiring a Professional for Flawless Level 5 Results
- FAQs From Portland Homeowners and Builders
Introduction The Quest for Perfect Walls in Your Portland Home
A lot of homeowners don’t think much about drywall until they’re standing in a nearly finished room and something looks wrong. The trim is clean. The paint color is right. But in the late afternoon light, you can see a seam line, a slight ridge, or a patch that flashes differently than the rest of the wall.
That happens all over the Portland area. Homes in Hillsboro, Tigard, and Lake Oswego often have bigger windows, more open floor plans, and stronger natural light than older layouts. Those design choices look great, but they’re unforgiving on wall surfaces.
Why smooth walls matter more in modern remodels
A standard finish works fine in many rooms. Flat paint, softer lighting, and limited wall exposure can hide a lot. But once a homeowner chooses dark paint, semi-gloss, LED downlighting, or a long hallway that catches side light, small drywall flaws stop being small.
Practical rule: The more light that travels across the wall instead of straight at it, the more surface quality matters.
That’s why builders, designers, and property owners ask for a higher finish level in certain spaces. They’re not asking for drywall that is “good enough.” They’re asking for a wall surface that stays visually consistent after primer, paint, daylight, and artificial light all start working against it.
The hidden foundation under the paint
A Level 5 finish is the top end of gypsum board finishing. It exists for projects where appearance is part of the build quality, not an afterthought. In practical terms, it’s what helps a living room wall look flat and even when sunlight pours in across it, or keeps a remodeled clinic or office from showing tape lines under bright fixtures.
For homeowners preparing for sale, custom builders finishing a high-end interior, or property managers trying to avoid callbacks, wall finish is part of project success. It affects how the room photographs, how the paint lays down, and whether the final result looks finished or just completed.
What Exactly Is a Level 5 Drywall Finish
A Level 5 drywall finish is the highest finish standard recognized in the Gypsum Association’s GA-214 guidance. It requires a completed Level 4 finish first, then a full skim coat of joint compound over the entire surface. CertainTeed notes that this standard was developed to address problems like visible joints under paint and that it typically adds 20-50% higher labor and material costs compared to Level 4 in projects where a premium result matters, as outlined in CertainTeed’s explanation of Level 5 drywall finish.
What makes it different from standard finishing
Drywall finishing typically involves covering seams, tape, and screw holes. Level 5 goes beyond that. Instead of only treating joints and fasteners, the finisher applies a thin skim coat across the whole face of the wall or ceiling.
Consider the process of finishing a countertop. If you only spot-fix the low areas, the surface may still read uneven once light moves across it. A skim coat evens the visual field so the wall reads as one continuous plane.
A proper Level 4 base is still part of the job. That means taped joints, multiple coats over joints and fasteners, and sanding to a smooth surface. Level 5 adds the final pass that unifies everything.
Why the skim coat matters
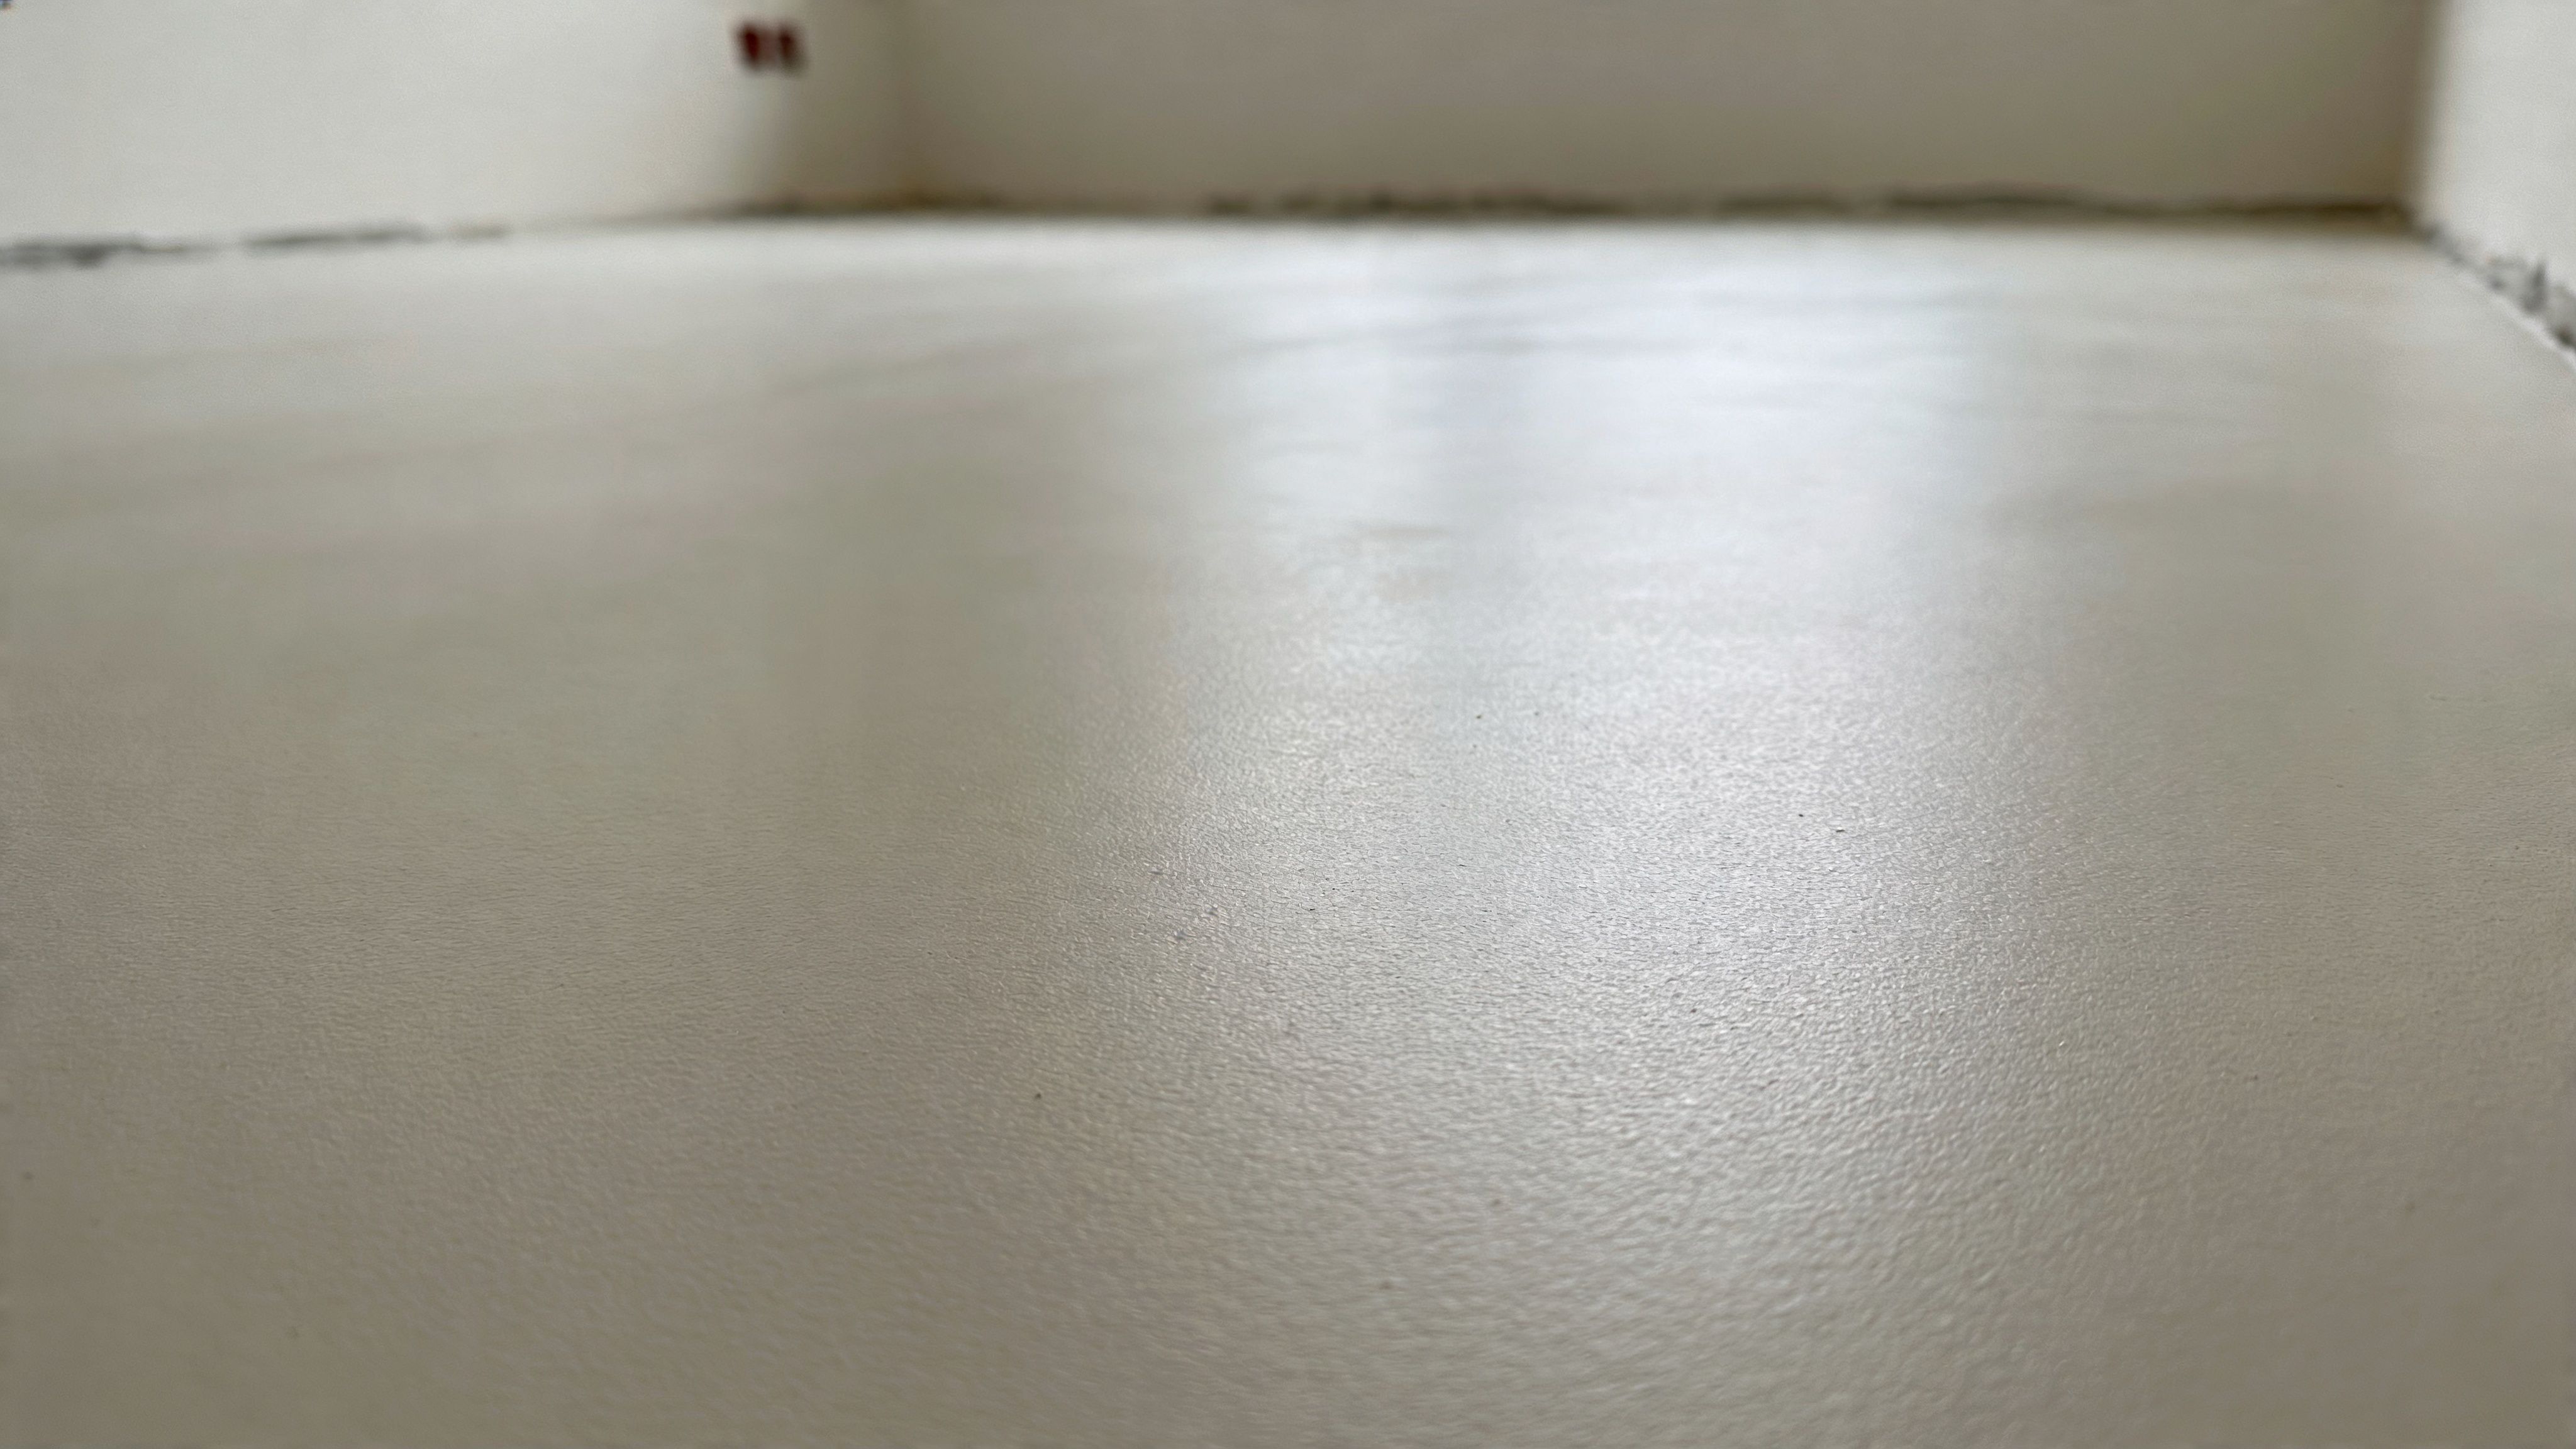
The skim coat is not there to build thickness. It’s there to create uniformity. It fills tiny surface variations, softens tool marks, and reduces the difference between the face paper of the drywall and the finished joint areas.
A true Level 5 wall doesn’t draw your eye to the drywall work. It lets the room read as architecture, not patched sheetrock.
That’s especially important in Portland-area homes with large windows and simple modern interiors. A smooth white wall in a bright room sounds easy. In practice, it’s one of the hardest finishes to get right because the wall has nothing to hide behind.
A simple way to understand this is:
- Level 4 treats the joints and fasteners well
- Level 5 treats the entire surface for visual consistency
- The goal is a monolithic, paint-ready wall that won’t show shadows and transitions easily
If you’re remodeling for a cleaner look, repairing water damage in a visible area, or upgrading walls before painting, this is the finish people usually mean when they say they want “perfectly smooth walls.”
The 6 Levels of Drywall Finish Compared
Drywall finish levels run from 0 to 5. The numbers describe how far the board has been finished, not how “good” the installer is. Each level fits a different use.
If you only hear “we’ll finish the drywall,” that’s not enough. You need to know which level the project calls for. A garage, a utility space, a textured wall, and a formal dining room with dark paint should not all be treated the same way.
Drywall Finish Levels 0-5 At a Glance
| Level | Description of Finish | Typical Application |
|---|---|---|
| 0 | Board is hung. No tape, no joint compound, no finish work. | Temporary conditions, spaces awaiting later finish work |
| 1 | Joints are taped. Surface is not built out for appearance. | Concealed areas, service spaces, areas not open to view |
| 2 | Tape is embedded and joints and fasteners receive a basic coat. | Garages, substrate areas, spaces receiving tile or limited finish |
| 3 | Additional compound is applied beyond Level 2. Surface is prepared for heavier texture. | Walls or ceilings that will receive texture |
| 4 | Joints and fasteners receive full finishing and sanding for a standard paint-ready appearance. | Typical residential walls with flat paint or less demanding light |
| 5 | A completed Level 4 surface receives a full skim coat over the entire wall or ceiling. | High-end interiors, glossy or dark paints, critical lighting, premium remodels |
Where Level 4 ends and Level 5 begins
Level 4 is the common standard on many residential jobs. It can look very good. In the right room, it’s absolutely appropriate. But it still leaves the face paper and the finished joint areas behaving a little differently under light and paint.
Level 5 solves that by treating the whole surface instead of only the problem spots.
That’s the key distinction. Not every wall needs it, and that’s where experience matters. If you specify Level 5 everywhere without a reason, you may spend more than necessary. If you skip it where the wall is fully exposed to light and sheen, you may save on finishing and lose the result at the end.
A practical way to separate them is this:
- Use Level 4 when the room has forgiving paint and forgiving light
- Use Level 5 when the room has demanding paint, demanding light, or a design standard that expects a very flat visual finish
- Don’t guess based on room type alone. A bedroom can be easy. A bedroom with tall windows and dark paint can be demanding.
The finish level should match the final conditions, not just the framing plan.
That matters in Portland and nearby cities because the same house may have very different conditions room to room. A hallway in Gresham might be simple. A vaulted living room in Lake Oswego with large glass and angled light may need a much higher standard to look right.
When Is a Level 5 Finish Necessary for Your Project
A Level 5 finish becomes necessary when the wall surface will be examined by light, paint sheen, or both. That’s why this finish shows up so often in remodels with open layouts, oversized windows, and cleaner modern trim details.
National Gypsum states that Level 5 is recommended in 60-70% of high-end projects, especially where non-flat paints or critical lighting are present. The added skim coat can conceal 95% of minor shadows, and joint visibility can drop from up to 20% in Level 4 to under 2% in Level 5 under halogen or LED light, according to National Gypsum’s discussion of Level 4 versus Level 5 drywall finish.
Critical lighting changes everything
Critical lighting means light that skims across the wall and exposes every small variation. In real homes, that usually comes from:
- Large windows: Common in remodeled homes in Portland and Lake Oswego
- LED can lights: Especially in kitchens, hallways, and living rooms
- Wall sconces: Light traveling across a smooth painted wall can highlight ridges fast
- Long sight lines: Open-plan rooms give your eye more time to catch defects
A wall may look fine in soft light and poor in side light. That’s why people get surprised after paint. They judged the surface during the wrong part of the day or before the final lighting was in.
Paint sheen and dark colors raise the bar
Flat paint hides more. Semi-gloss, gloss, and deeper colors reveal more. The wall reflects light differently, and small defects become visible as flashing, shadowing, or uneven sheen.
This comes up all the time in remodel prep. A homeowner in Beaverton chooses a dark dining room color. A builder in Hillsboro is finishing a bright stair hall. A property manager in Vancouver, WA wants a repaired wall to disappear after repainting. Those are all situations where the drywall finish matters more than people expect.
Here’s when Level 5 usually makes sense:
- Dark or saturated paint colors
- Semi-gloss or higher sheen
- Large uninterrupted walls
- Tall ceilings or entry walls
- Rooms with strong natural light
- Spaces where appearance is part of the value, such as custom homes, showrooms, clinics, or higher-end listings
If the wall is going to be a feature, the finish needs to be treated like finish work, not basic prep.
Mid-Article CTA Not Sure Which Drywall Finish You Need
The right finish level is easier to choose after someone sees the room in person. On Portland projects, that decision often changes once the window size, wall length, and paint sheen are part of the conversation.
A builder may plan for Level 4, then add large glass, dark paint, and clean modern lighting. That changes the standard. A homeowner may only need Level 5 on the main living area, stair wall, or another high-visibility surface, not every room in the house. That is where an on-site review saves money and avoids disappointment after paint.
CS1 Real Interiors helps homeowners and builders sort that out before the finishing and painting stages begin. If you want an estimate, use the form in the final CTA at the end of this article.
The Level 5 Drywall Application and Painting Process
Late afternoon sun hits a Portland living room hard. On a project with big west-facing windows, that light will show every ridge, lap mark, and shallow patch. A true Level 5 finish is built to hold up under that kind of inspection, but only if the whole sequence is handled correctly from board to paint.
The finish starts before the skim coat
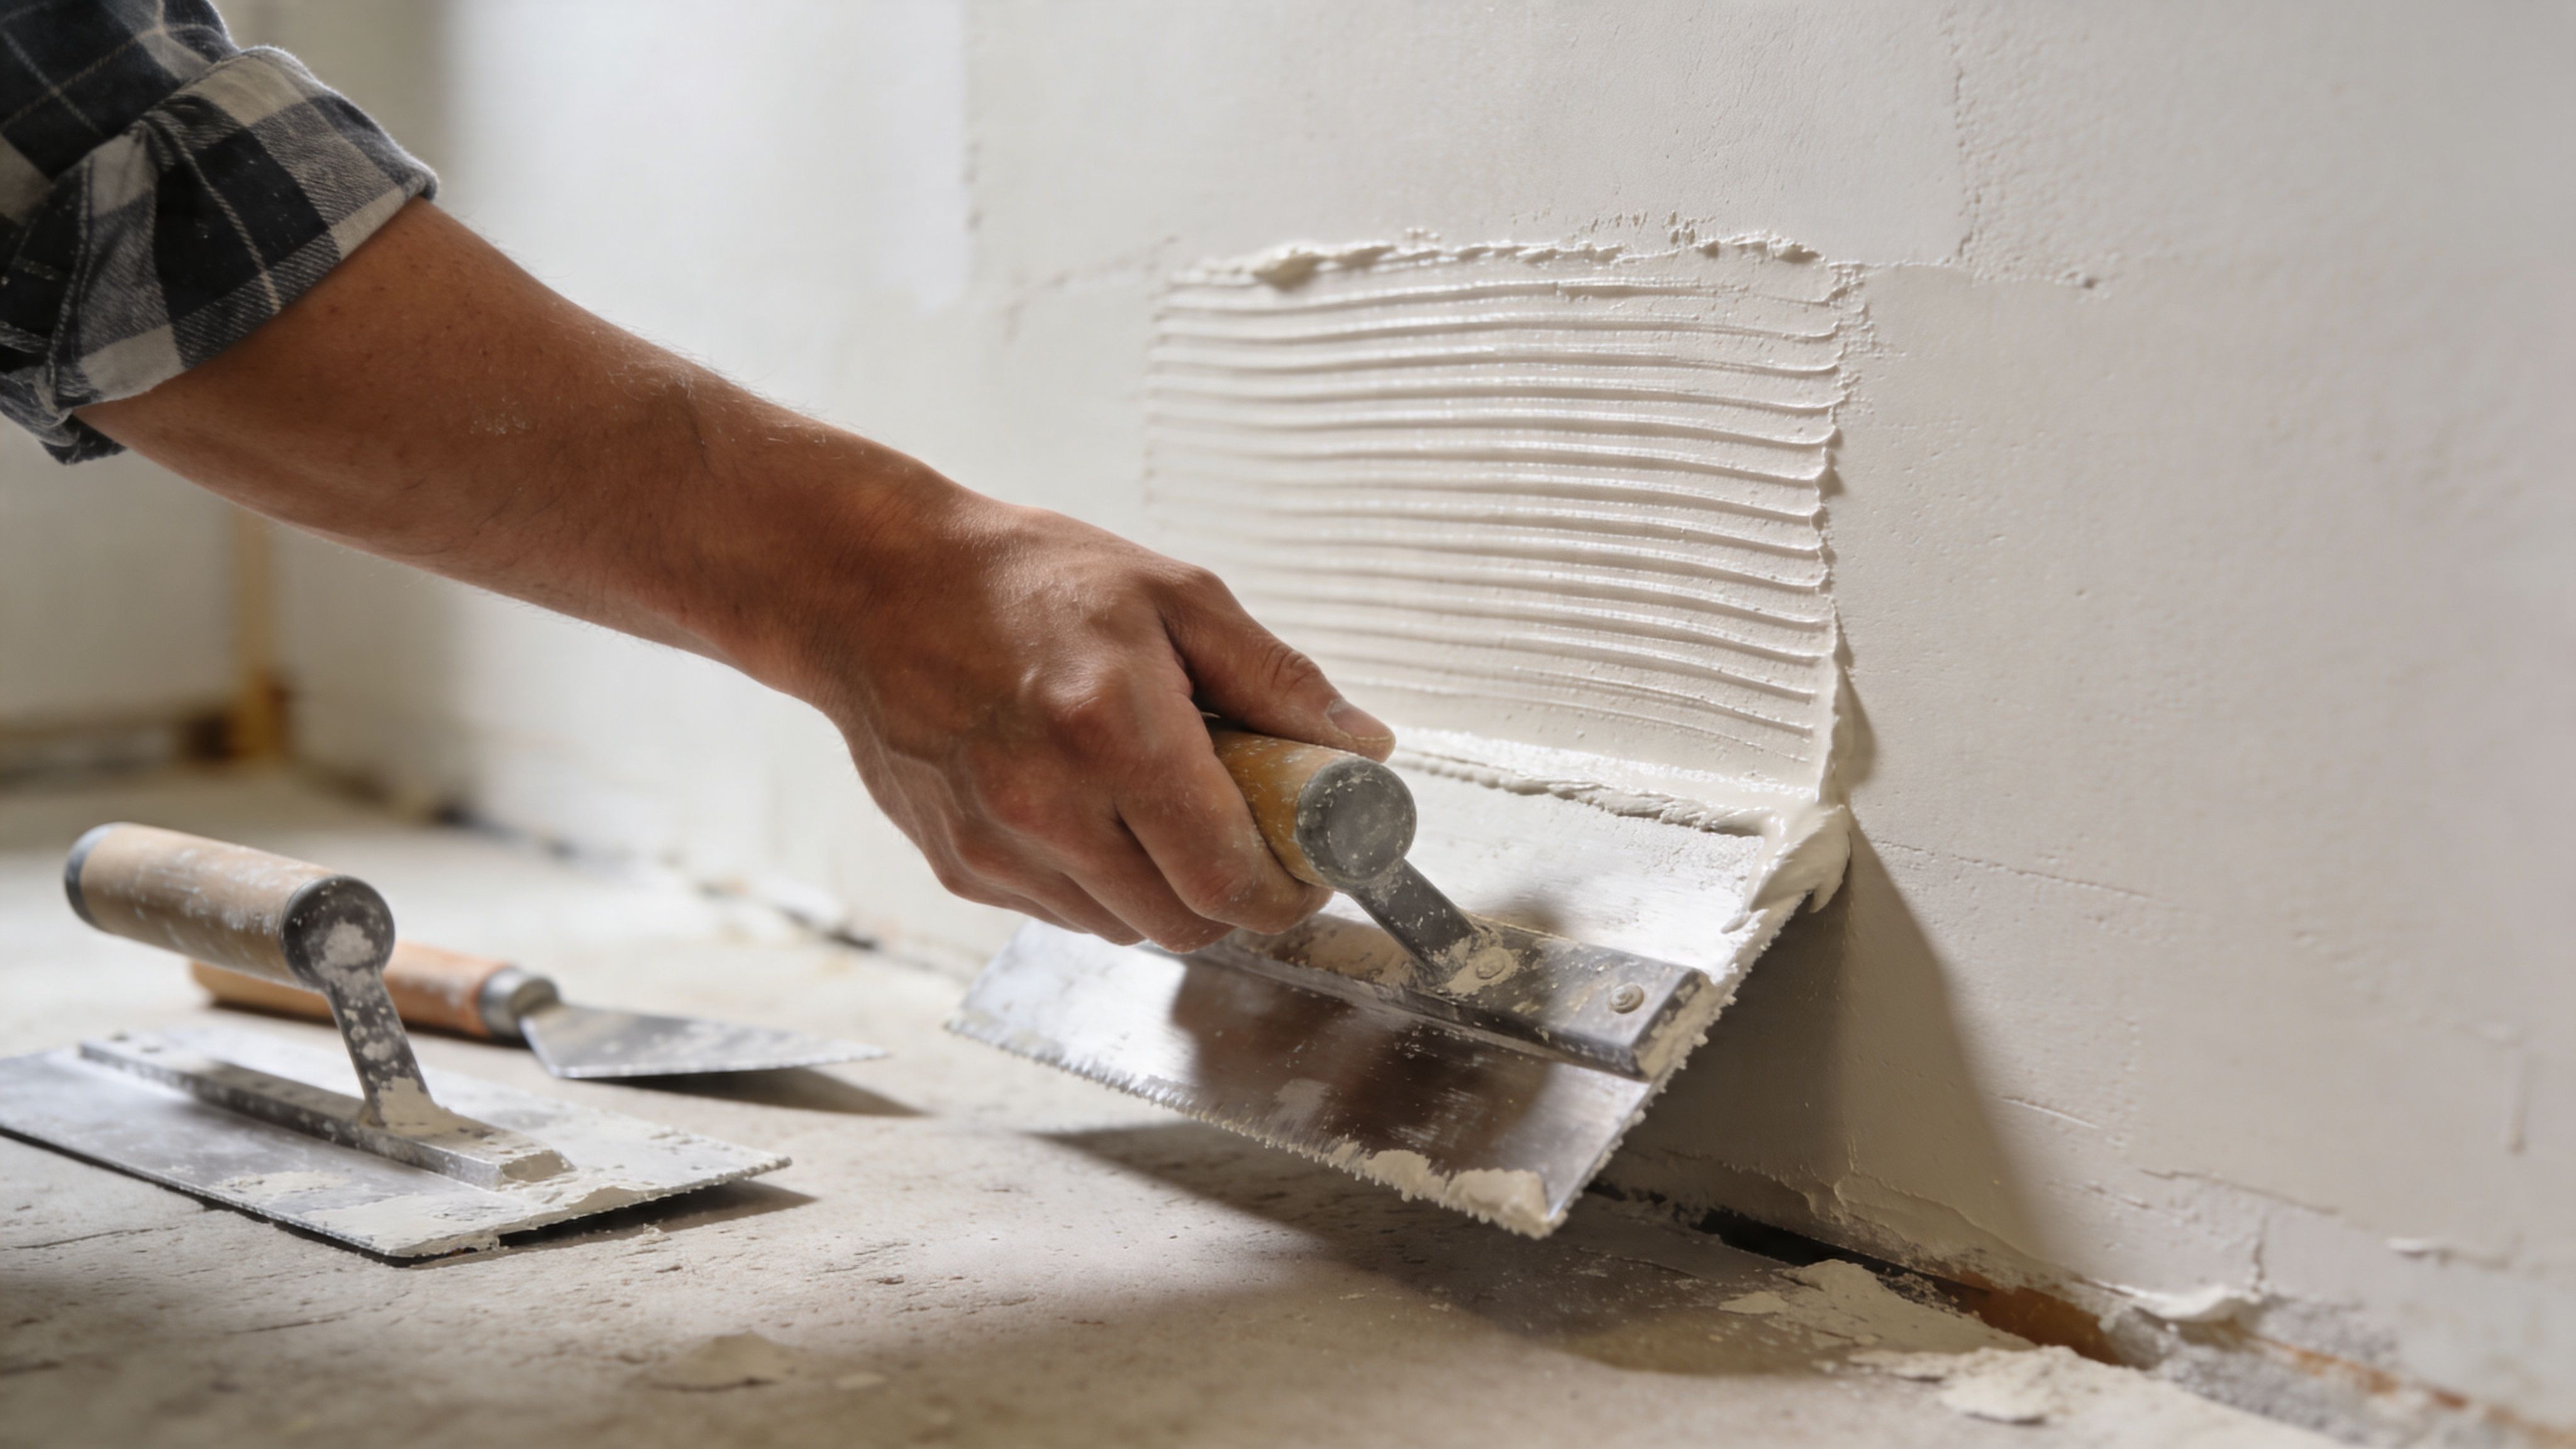
Level 5 begins with a clean Level 4 base. Joints have to be taped properly, fasteners set right, angles straight, and the surface sanded evenly. If the hanging or taping is off, the skim coat does not hide the problem. It often makes the problem read across a larger area.
The skim coat is a thin, continuous layer over the face of the drywall. Crews may apply it by hand or by spray, then knock it down or sand it to a uniform plane. The method matters less than consistency. Thickness, drying time, room conditions, and sanding pressure all affect how the wall looks after primer and paint.
Good finishers pay attention to the field of the wall, not just the joints. That matters in Portland homes with long hallways, open stair walls, and great rooms full of natural light. A wall can feel smooth by hand and still show waves once the sun hits it from the side.
Repairs take the same discipline. On remodel work, the patched area has to be widened and feathered far enough into the existing surface so the transition disappears after paint. Experienced drywall repair services in Portland help match the old wall to the new work, which is often the hardest part of getting a room to read clean.
For a quick visual on field application, this walkthrough shows the type of surface work involved:
Priming and paint make or break the result
A lot of walls described as Level 5 fall short after the painter starts. The drywall work may be close, but poor dust removal, uneven primer, or the wrong paint build can bring back joint lines, flashing, and picture framing.
Paint manufacturer technical bulletins commonly call for a quality drywall primer over a properly prepared Level 5 surface, especially under higher sheens and critical lighting. That recommendation lines up with what happens in the field. Primer helps equalize porosity between the paper face and the finished joints so the topcoat dries and reflects light more evenly.
That step matters even more in Portland's modern homes, where flat walls are paired with satin, eggshell, or occasional higher-gloss finishes. Large windows, LED cans, and clean minimalist trim leave very little room for surface error.
A reliable process usually looks like this:
- Complete the Level 4 base correctly
- Apply a uniform skim coat across the full surface
- Allow proper drying time before sanding
- Sand for flatness and consistency
- Remove dust completely
- Prime with a drywall primer suited to the finish level and sheen
- Apply finish paint only after the surface is sealed evenly
This is one reason builders and homeowners often prefer a single contractor to carry the interior finish scope. CS1 Real Interiors handles drywall finishing, interior painting, insulation, and metal stud framing, which helps keep the wall standard consistent from framing corrections through final paint.
Hiring a Professional for Flawless Level 5 Results
Level 5 is one of those finishes that sounds simple until you watch what it takes to get right. The skim coat itself is thin. The skill is in making that thin coat read flat over the whole room once daylight and paint hit it.
Often, DIY attempts go sideways. Homeowners can patch a hole or fix a minor dent. But finishing a room to a true Level 5 standard takes consistency over a broad surface, careful sanding, dust control, and a strong understanding of how the final paint will behave.
Why this work is hard to fake
A wall can feel smooth to the touch and still look wrong under raking light. That’s the trap. Level 5 is judged by appearance after paint, not by how it feels during sanding.
The trade-off is real. CertainTeed notes that Level 5 typically adds 20-50% to the labor and material cost compared with Level 4 in work that calls for a premium finish. In the right room, that added cost protects the final appearance. In the wrong room, it may be unnecessary.
The value of hiring a professional crew is less about speed alone and more about avoiding rework:
- They read lighting conditions early
- They know when a patch needs to be widened and feathered
- They have the tools to apply and sand the skim coat consistently
- They control dust better
- They coordinate drywall finishing with primer and paint prep
Cheap finish work gets expensive after the paint reveals it.
What to ask before you hire
If you’re comparing drywall contractors in the Portland metro, ask direct questions. Don’t settle for “yes, we do smooth walls.”
Ask things like:
- Do you regularly finish to Level 5 in occupied remodels and new work
- How do you handle critical lighting walls
- What does your prep and dust control look like
- Do you also coordinate primer and paint-ready prep
- Can you evaluate whether this room needs Level 5
It also helps to hire someone who understands local housing stock. Older Portland homes, newer homes in Beaverton and Hillsboro, and tenant improvements in Vancouver, WA all present different wall conditions. If you’re looking at service coverage, CS1’s Portland area drywall service locations show the local market this work is built around.
FAQs From Portland Homeowners and Builders
Does Level 5 help in Portland’s damp climate
Portland’s climate affects drywall assemblies, but Level 5 itself is a finish standard, not a moisture solution. A skim coat can improve surface uniformity and help the wall look better under paint, but it will not correct framing movement, roof or window leaks, or poor ventilation.
In the Pacific Northwest, the bigger question is whether the wall system is built correctly for the space. In bathrooms, basements, and rooms near exterior openings, board selection, moisture management, and paint choice matter just as much as the finish level.
Is a Level 5 skim coat thick
A Level 5 skim coat is very thin. It is applied to even out the face of the drywall and reduce visible surface variation across joints, fasteners, and paper.
That thin application is exactly why craftsmanship matters. If the coat is uneven, over-sanded, or rushed into primer too early, the wall can still show lap marks, joint banding, or flashing once light hits it from the side.
Are materials changing
Yes. Finishing materials continue to improve, especially in low-VOC products and compounds designed for better workability and jobsite efficiency. That helps on occupied remodels and tighter schedules, but it does not lower the standard for prep or application.
The job still comes down to the crew. Large windows, long wall runs, and higher-sheen paints in many Portland homes will expose weak finishing fast.
For Portland homeowners and builders, the practical takeaway is straightforward:
- Level 5 is usually the right call for modern interiors with heavy natural light
- It adds cost, so it makes the most sense where appearance is a priority
- Newer materials can help the process, but they do not replace good technique
- The final result depends on drywall finishing, primer, and paint prep working together
A lot of people ask whether Level 5 is overkill. In a low-light bedroom with flat paint, sometimes it is. In a Portland custom home with oversized windows and smooth walls painted in eggshell or satin, it often saves you from seeing every seam after move-in.
If your walls need to hold up visually in daylight, evening LED lighting, and after the final coat of paint, get the finish level decided before painting starts. Contact CS1 Real Interiors for drywall repair, drywall installation, interior painting, insulation, or metal stud framing in Portland, Beaverton, Hillsboro, Tigard, Lake Oswego, Gresham, and Vancouver, WA.