You bump a wall moving a chair, and suddenly that smooth painted surface has a crater in it. In older Portland homes, it might be a doorknob hit behind a bathroom door. In a rental turnover, it might be a cluster of anchor holes and one ugly dent right at eye level. Most homeowners look at that damage and think a sheetrock patch kit should make it disappear in an hour.
Sometimes it will. Sometimes it won’t.
A patch kit can be a smart fix for small wall damage, especially if the drywall is dry, stable, and in a low-stress area. But the difference between a patch that blends in and one that flashes through the paint usually comes down to prep, patience, and knowing when the kit has reached its limit. Around Portland, Beaverton, Hillsboro, Tigard, Lake Oswego, Gresham, and Vancouver WA, humidity and older wall textures add another layer of challenge.
Table of Contents
- That Unfortunate Hole in Your Wall
- Choosing the Right Sheetrock Patch Kit
- Preparing Your Wall for a Flawless Patch
- Feeling Overwhelmed? Let the Pros Handle It
- Applying, Finishing, and Painting Your Patch
- Common DIY Mistakes and When to Call a Pro
That Unfortunate Hole in Your Wall
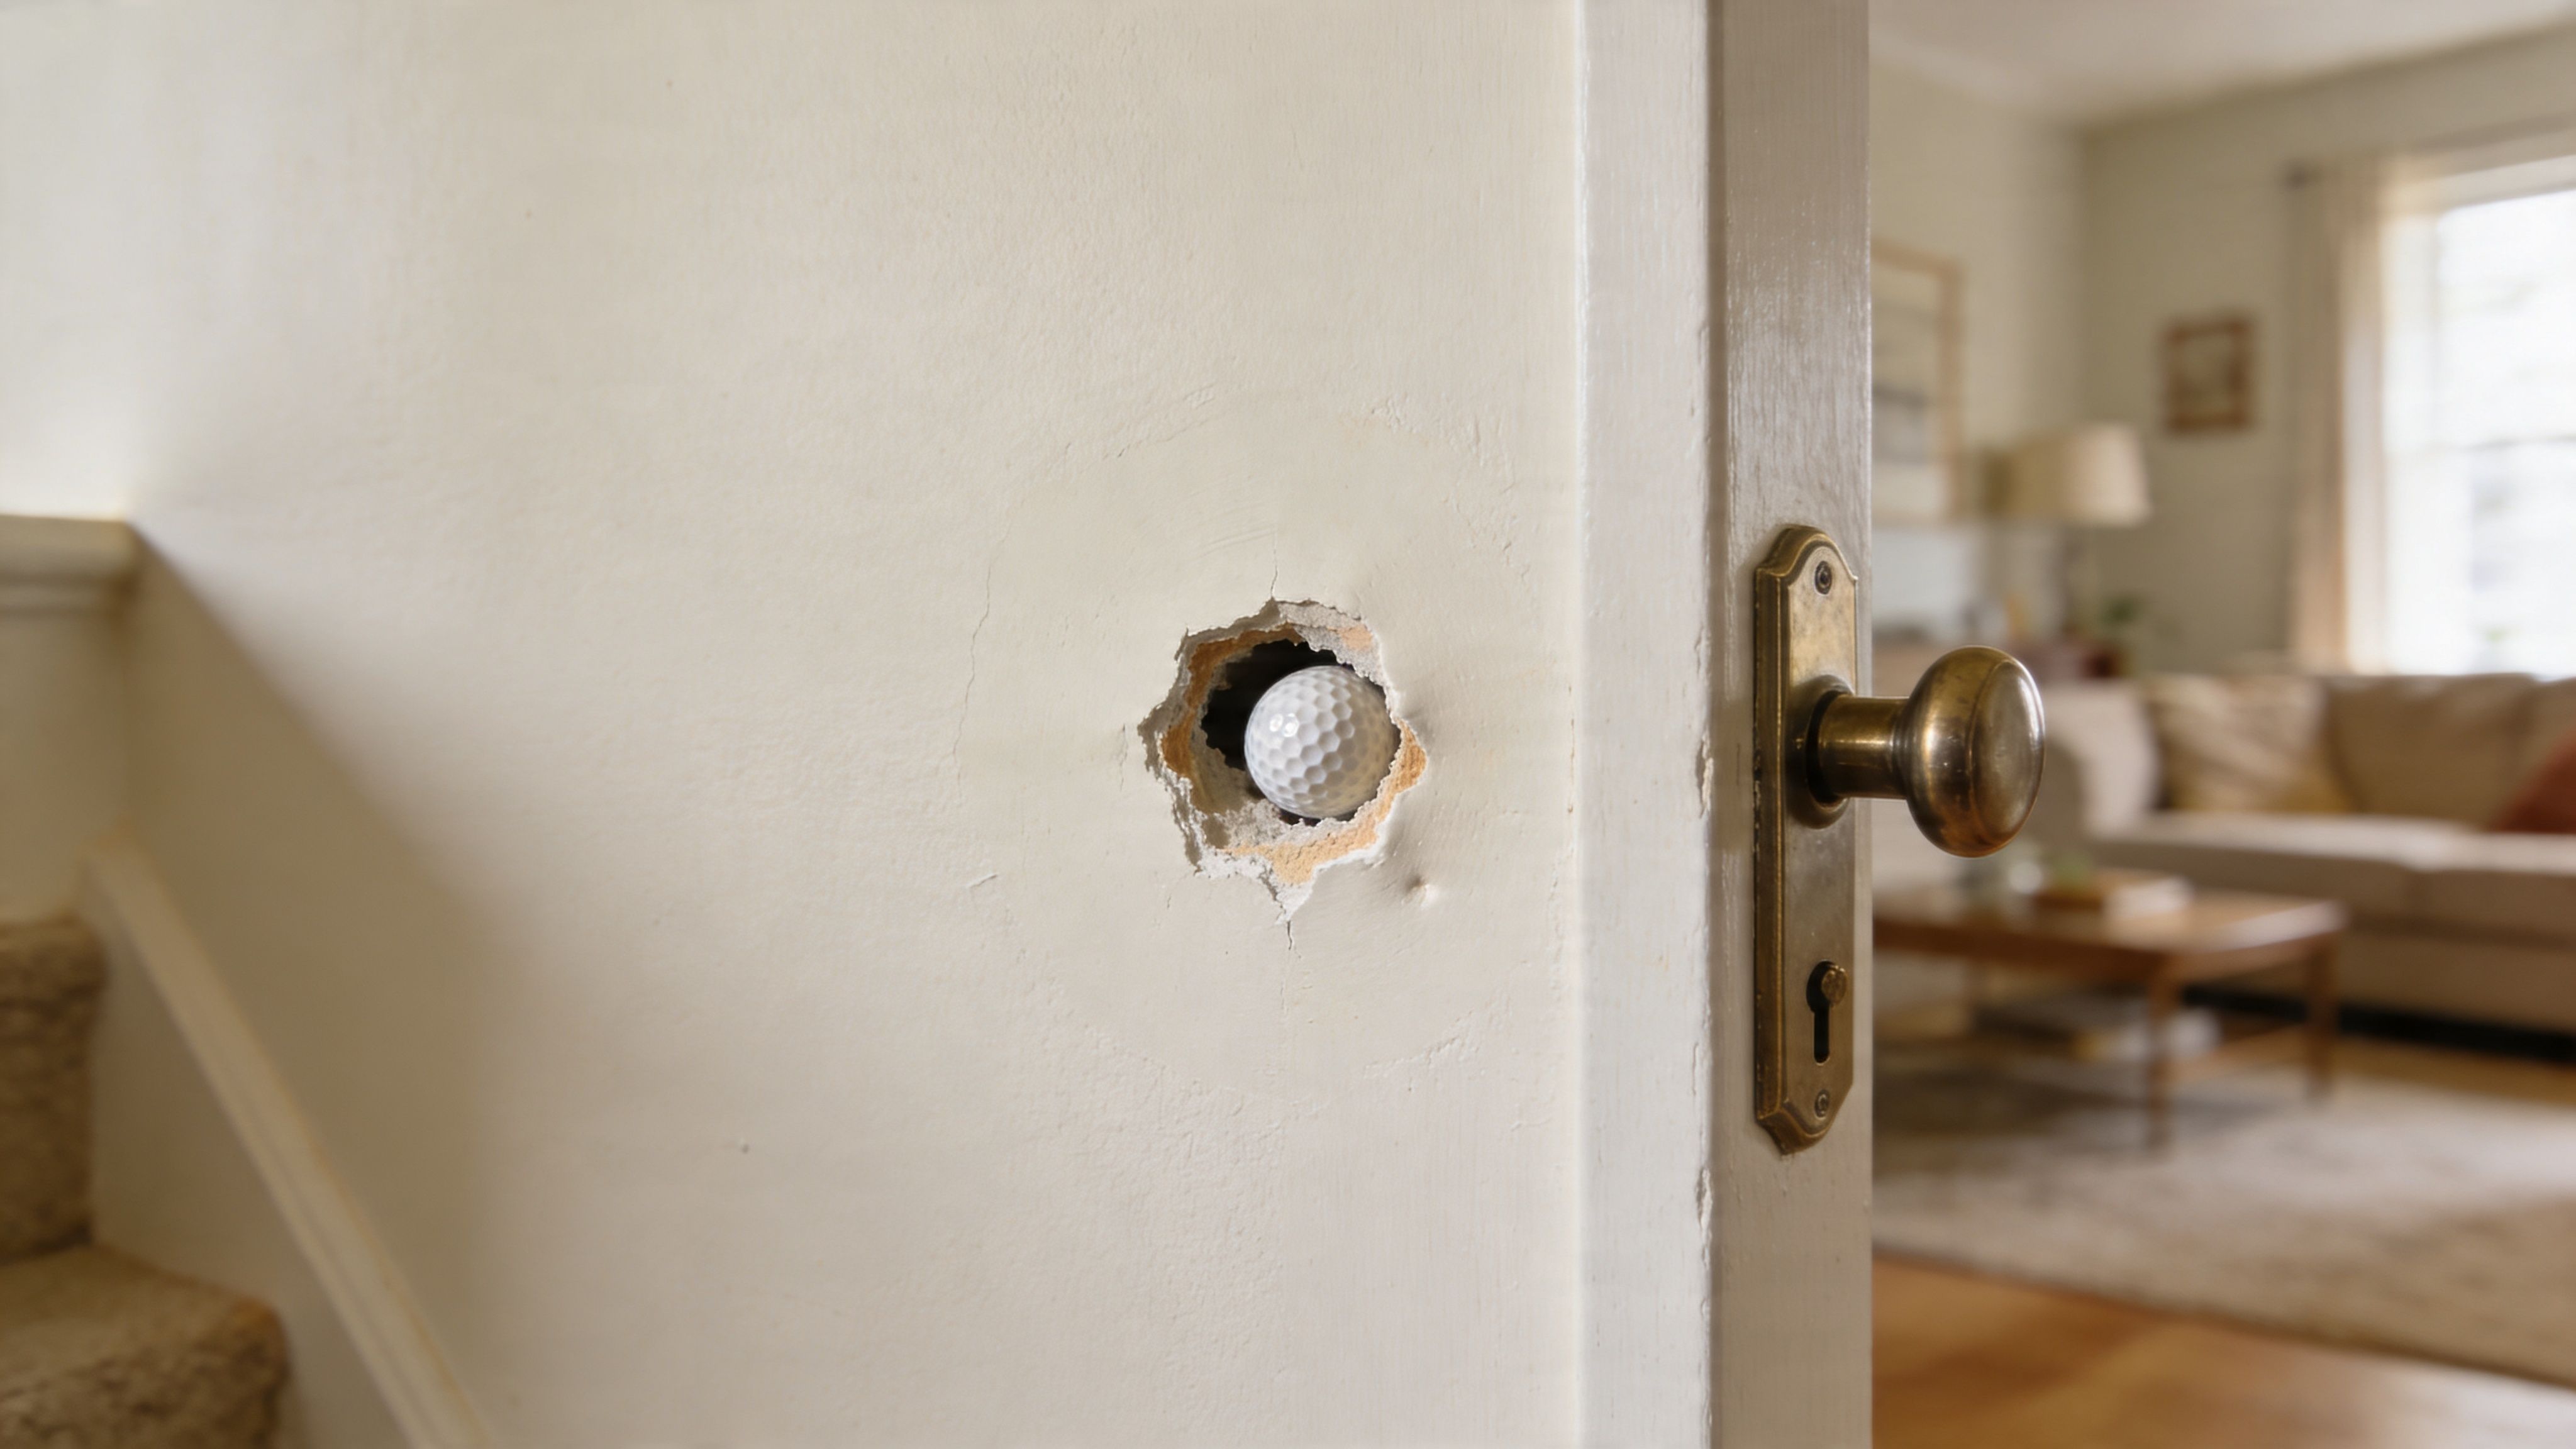
It usually starts small. A golf-ball-sized hit in the hallway. A torn section where an anchor pulled out. A dent in the living room wall that catches light every time the sun comes through the window.
That kind of damage feels annoying, but it’s also one reason drywall became so practical in the first place. Sheetrock was introduced by USG in 1916 as a faster alternative to lath and plaster, and after World War II its use surged. It eventually captured over 90% of residential wall finishes in North America and reduced labor costs by up to 70% per project, according to this history of drywall and Sheetrock adoption.
Why patch kits exist at all
Modern drywall is efficient to install and, compared with old plaster, much easier to repair. That’s why the basic sheetrock patch kit has become a common item in garages, maintenance rooms, and property management closets.
For the right kind of damage, these kits are useful:
- Small impact holes: Doorknob hits, furniture bumps, and accidental dents
- Minor hardware damage: Old TV mounts, anchors, screws, and picture hanging holes
- Touch-up work before painting: Small cosmetic repairs before listing a home or turning over a rental
Practical rule: A patch kit works best when the drywall around the damage is still solid. If the paper is loose, the gypsum is soft, or moisture caused the problem, slow down before you patch.
In Portland-area homes, another issue comes up often. The patch itself may be easy. Matching the wall so the repair disappears is the hard part. Smooth walls show knife marks. Textured walls expose flat spots. Bathrooms, laundry rooms, and exterior-facing walls dry slower than people expect.
That’s why a repair can be technically “done” and still look unfinished.
Choosing the Right Sheetrock Patch Kit
Walk into a hardware store in Portland, Hillsboro, or Beaverton and the patch kit aisle looks simple until you get home and realize half the products solve different problems. The right choice starts with the hole size, the condition of the drywall around it, and where that wall sits in the house.
A small nail hole in a spare bedroom needs one kind of repair. A fist-sized hit in a hallway, or a soft spot on an exterior wall, is a different job.
Drywall Patch Kit Comparison
| Patch Type | Best For | Pros | Cons |
|---|---|---|---|
| Self-adhesive mesh patch | Small holes and shallow damage | Fast, easy to place, good for simple repairs | Can show through paint if compound is applied too thin or the edges are not feathered wide enough |
| Metal-reinforced patch | Slightly larger impact holes | Better support across the opening | The outline can stay visible if the finish work is rushed |
| Patch-and-compound all-in-one kit | Small cosmetic repairs | Convenient for one-time DIY work | The included compound is usually limited, so there is little room for a second coat or practice |
| Backed patch or cut-in repair | Medium holes with broken edges | Stronger repair with better long-term hold | Takes more skill, more drying time, and usually more than one coat to look right |
Match the kit to the damage
Surface patches work best when the drywall around the hole is still solid and flat. If the paper is torn, the gypsum is crushed, or the opening has spider cracks around it, a stick-on patch often leaves a hump that shows up after paint.
That matters even more in Portland-area homes, where slower drying conditions can stretch a quick repair into a two-day project. Bathrooms, basements, laundry rooms, and exterior-facing walls often hold moisture longer, so lightweight compounds and thick patch builds take more time to set and sand cleanly.
A few buying rules keep people out of trouble:
- Buy for the actual damaged area, not the smallest patch that barely covers it: You need room to feather compound beyond the hole.
- Consider the wall location: Hallways, stairwells, and kids' rooms get bumped again. A stronger repair makes sense there.
- Pay attention to lighting: Dining rooms, entries, and walls that catch side light show every ridge and low spot.
- Be honest about edge condition: Clean holes are patch-kit friendly. Broken or soft edges usually need a more involved repair.
What I’d skip for most homeowners
I would not use a basic patch kit for water-damaged drywall, recurring cracks, ceiling damage, or holes large enough that the wall flexes when you press near them. Those repairs are less about covering the opening and more about rebuilding a stable surface.
That is usually the point where DIY stops being cheaper.
If the repair needs backing, taping, multiple skim coats, texture matching, or paint blending across a visible wall, it may be smarter to call a pro. At CS1 Real Interiors, we see this all the time. A homeowner starts with a small kit, then ends up with a raised patch, flashing paint, and extra sanding dust all over the room.
A good patch kit saves time on the right repair. The wrong one turns a small hole into a larger finish problem.
Preparing Your Wall for a Flawless Patch
Good prep is what separates a patch that disappears from one that keeps catching your eye every time the light hits it. I see rushed prep all the time in Portland homes, especially when someone is trying to finish before company comes over or before painting the room on Sunday.
Clean up the damage before you patch it
A patch kit needs a solid surface around the hole. Loose paper, crushed gypsum, old caulk, and glossy paint all make the repair harder to bond and harder to finish flat.
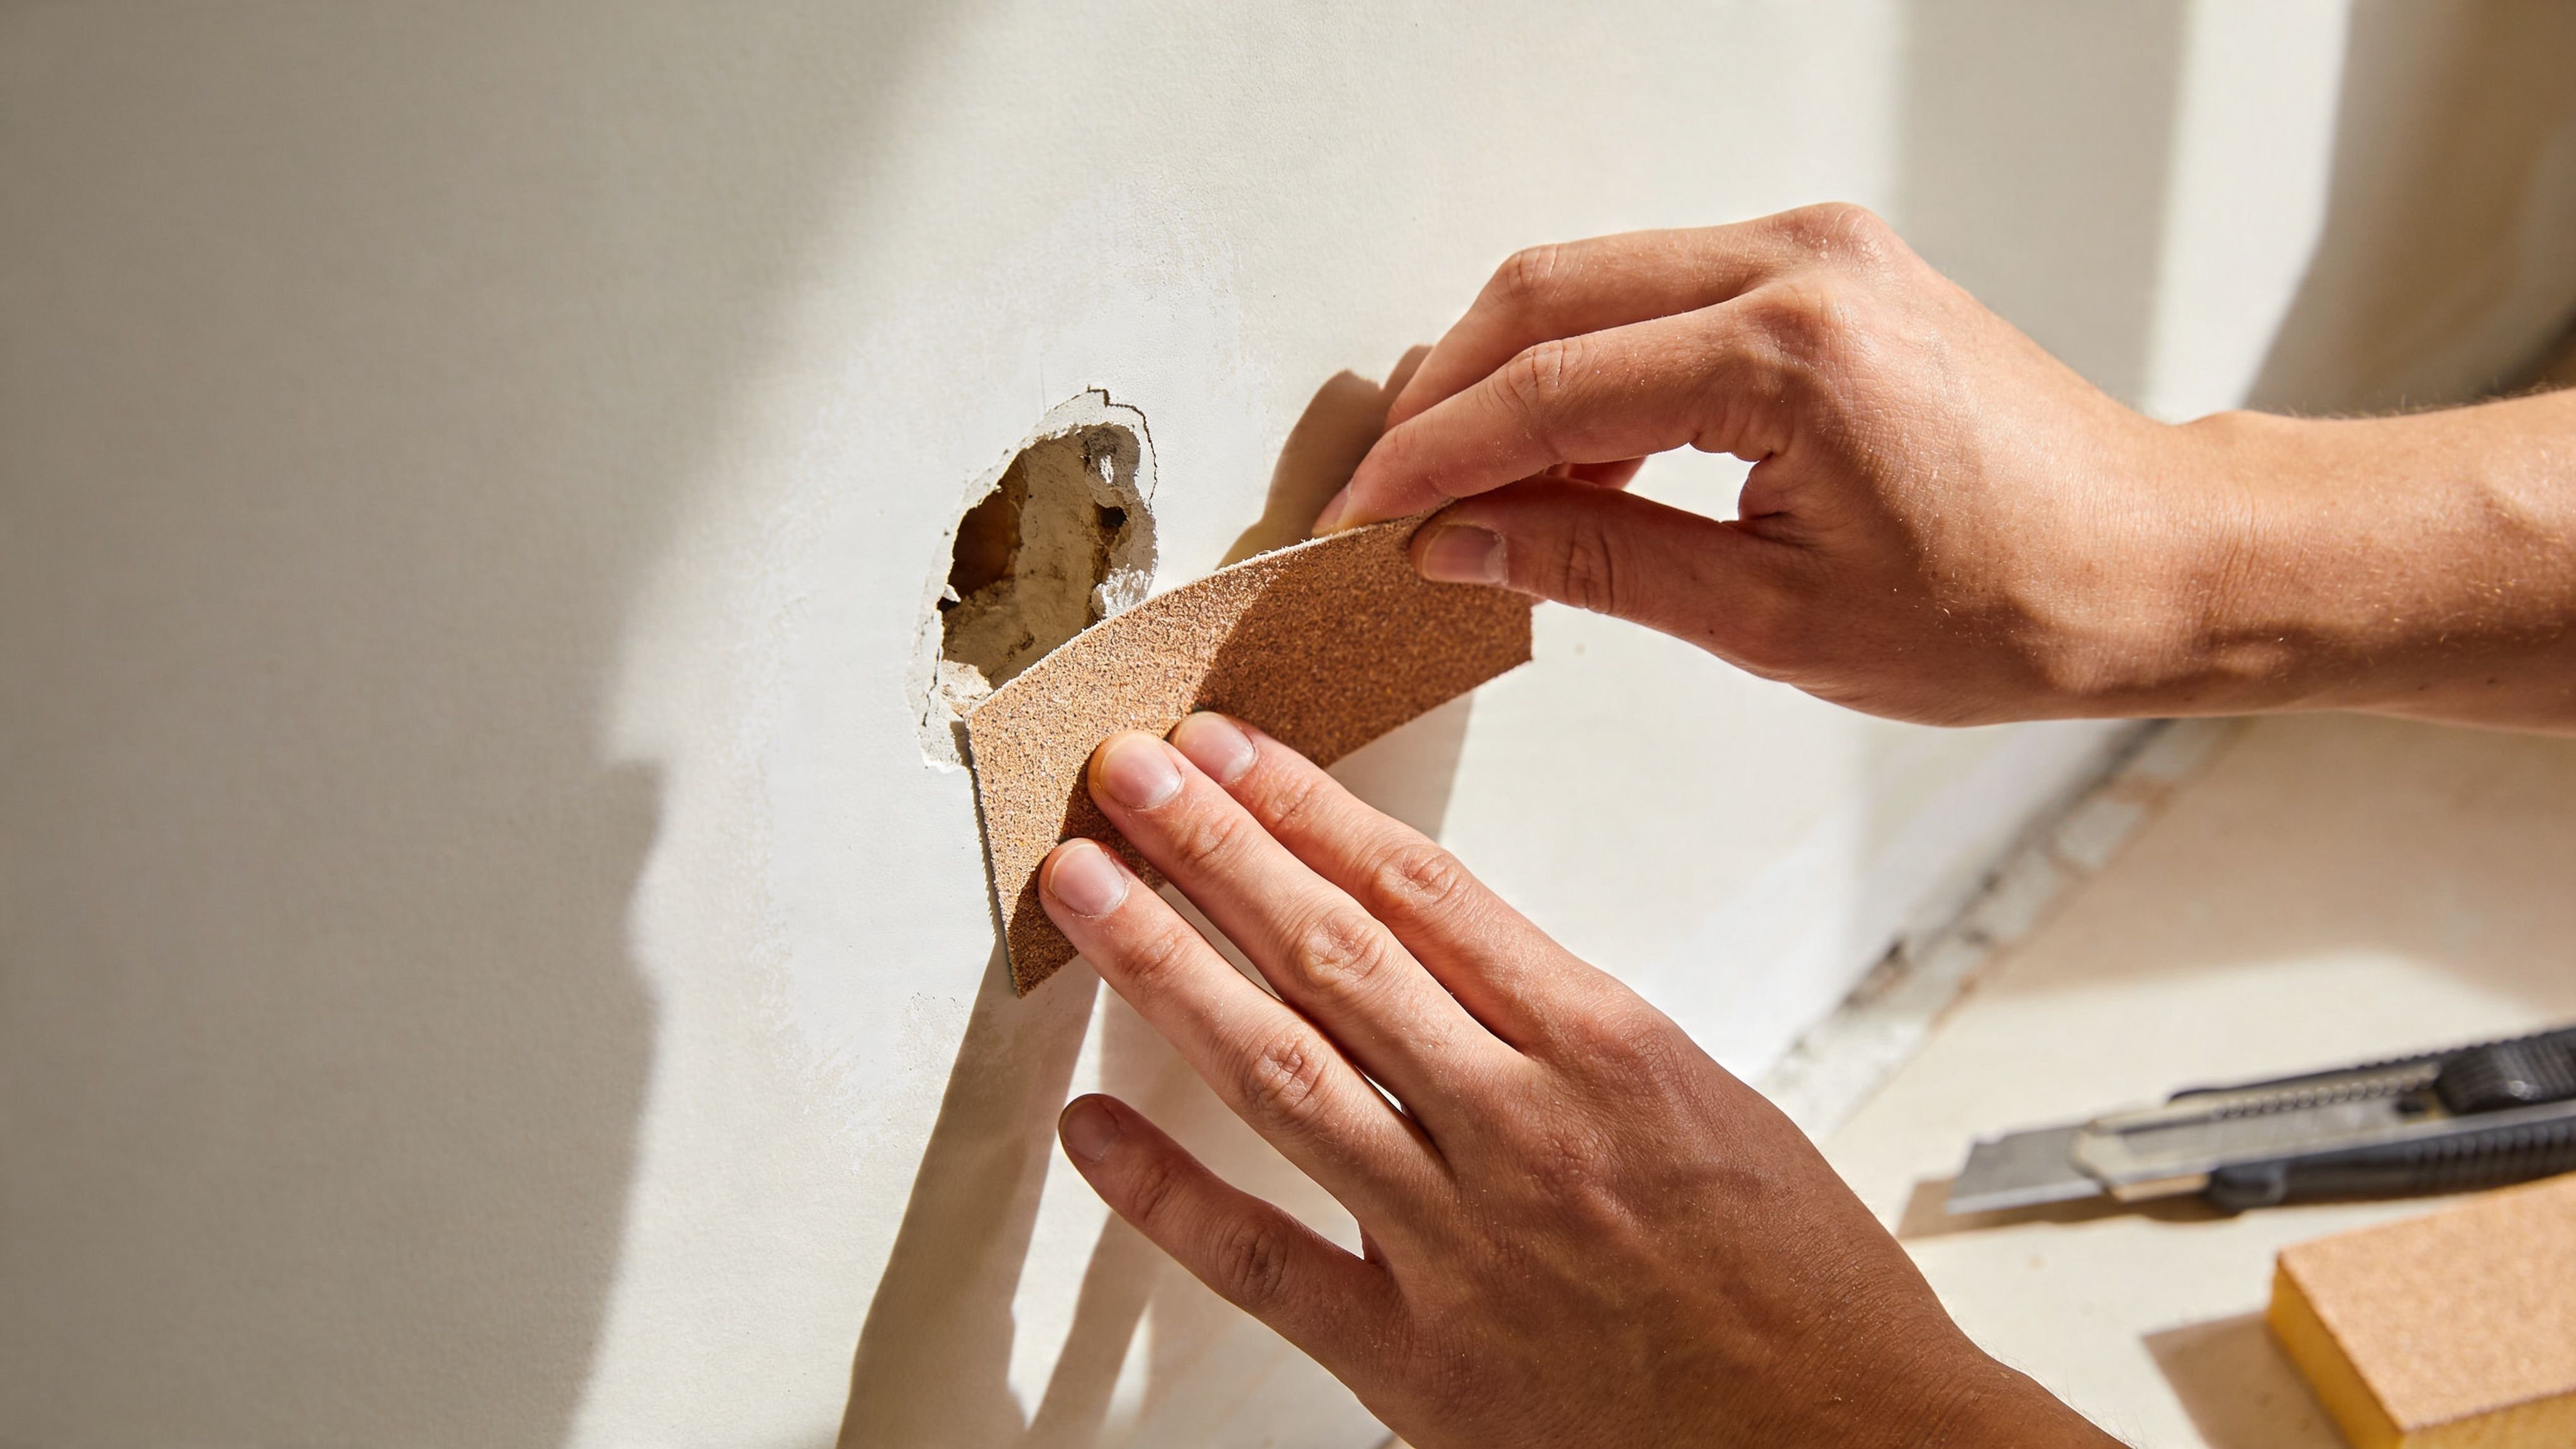
For small holes, start by making the damaged area clean and predictable:
- Trim away loose material with a utility knife.
- Square or straighten the opening if the edges are broken or ragged.
- Lightly bevel the perimeter so compound can grab the edge better.
- Scuff the painted surface around the repair so you are not patching onto slick paint.
- Wipe off dust with a damp cloth and let the wall dry fully.
That last part matters more in the Pacific Northwest than people expect. In Portland, cooler rooms and higher indoor humidity can slow drying, especially on exterior walls and in bathrooms, basements, or houses that stay closed up during wet weather.
Why prep changes the result
Joint compound sticks and feathers better on a clean, dull surface. If you patch over torn paper or dust, the repair can bubble, crack at the edges, or leave a raised ring that shows through paint.
Side light makes every shortcut obvious.
That is why I tell homeowners to look at the wall from an angle before they start. A hole near a window, hallway light, or stair landing needs cleaner prep than one hidden behind a couch.
Clean edges and a stable surface give you a flatter patch with less sanding later.
A few prep calls that matter in Portland homes
Older Portland houses often have layers of past repairs under the paint. What looks like a simple dent sometimes turns into loose tape, soft filler, or patched-over texture once you start scraping. Cut back to solid material instead of trying to patch over weak spots.
If the drywall feels damp, looks stained, or the paper is soft, stop there. That is no longer a basic patch-kit job. Dry the area out first and make sure the moisture source is handled, or the repair will fail again.
One more practical call. If the hole keeps growing as you clean it up, or the wall flexes when you press near the damage, a surface patch is usually the wrong repair. At that point, backing, taping, or replacing a section of drywall is the better fix, and that is often where calling a pro saves time, dust, and a second round of work.
Feeling Overwhelmed? Let the Pros Handle It
A drywall patch looks simple until you are halfway in and the wall still shows every edge in the afternoon light.
That is usually the point where a kit stops being a time-saver. Small repairs can go fine in a spare room or low-traffic area. A hole at eye level in a hallway, next to a window, or on a ceiling is less forgiving, especially in Portland homes where cool, damp weather can slow dry times and turn a one-evening project into a weekend of waiting, sanding, and repainting.
I tell homeowners to be honest about the finish they want. If “good enough” works, a patch kit may get you there. If you want the repair to disappear, the job often takes more than the kit suggests.
CS1 Real Interiors handles drywall repair for Portland-area homeowners who would rather skip the dust, the repeat coats, and the trial-and-error that comes with matching an existing wall. We also see the problems that hide behind a basic hole, loose tape, previous bad repairs, soft drywall, and moisture-related damage that should be fixed before any patch goes on.
Sometimes calling a pro is the cheaper move. One clean repair costs less than patching the same spot twice, then repainting a wider area to hide the result.
Applying, Finishing, and Painting Your Patch
Once the wall is prepped, the repair becomes a sequence of controlled steps. During this process, patience pays off. The homeowners who get decent DIY results usually do one thing right. They resist the urge to rush thick mud onto the wall.
Set the patch before you touch the mud
Center the patch over the opening and press it down firmly so it sits flat. If it rocks, bows, or bridges over broken material, stop and fix the opening first. The patch has to sit on a stable surface.
For a small wall repair, a simple sequence works well:
- Place the patch flat: Press from the center out so it bonds evenly.
- Check the perimeter: Make sure every edge has contact with the wall.
- Use the right knife size: A flexible small knife helps for the first coat. A wider knife helps later when blending.
If the patch stands proud of the wall too much, don’t assume compound will hide it. It usually won’t. It just creates a larger hump to feather.
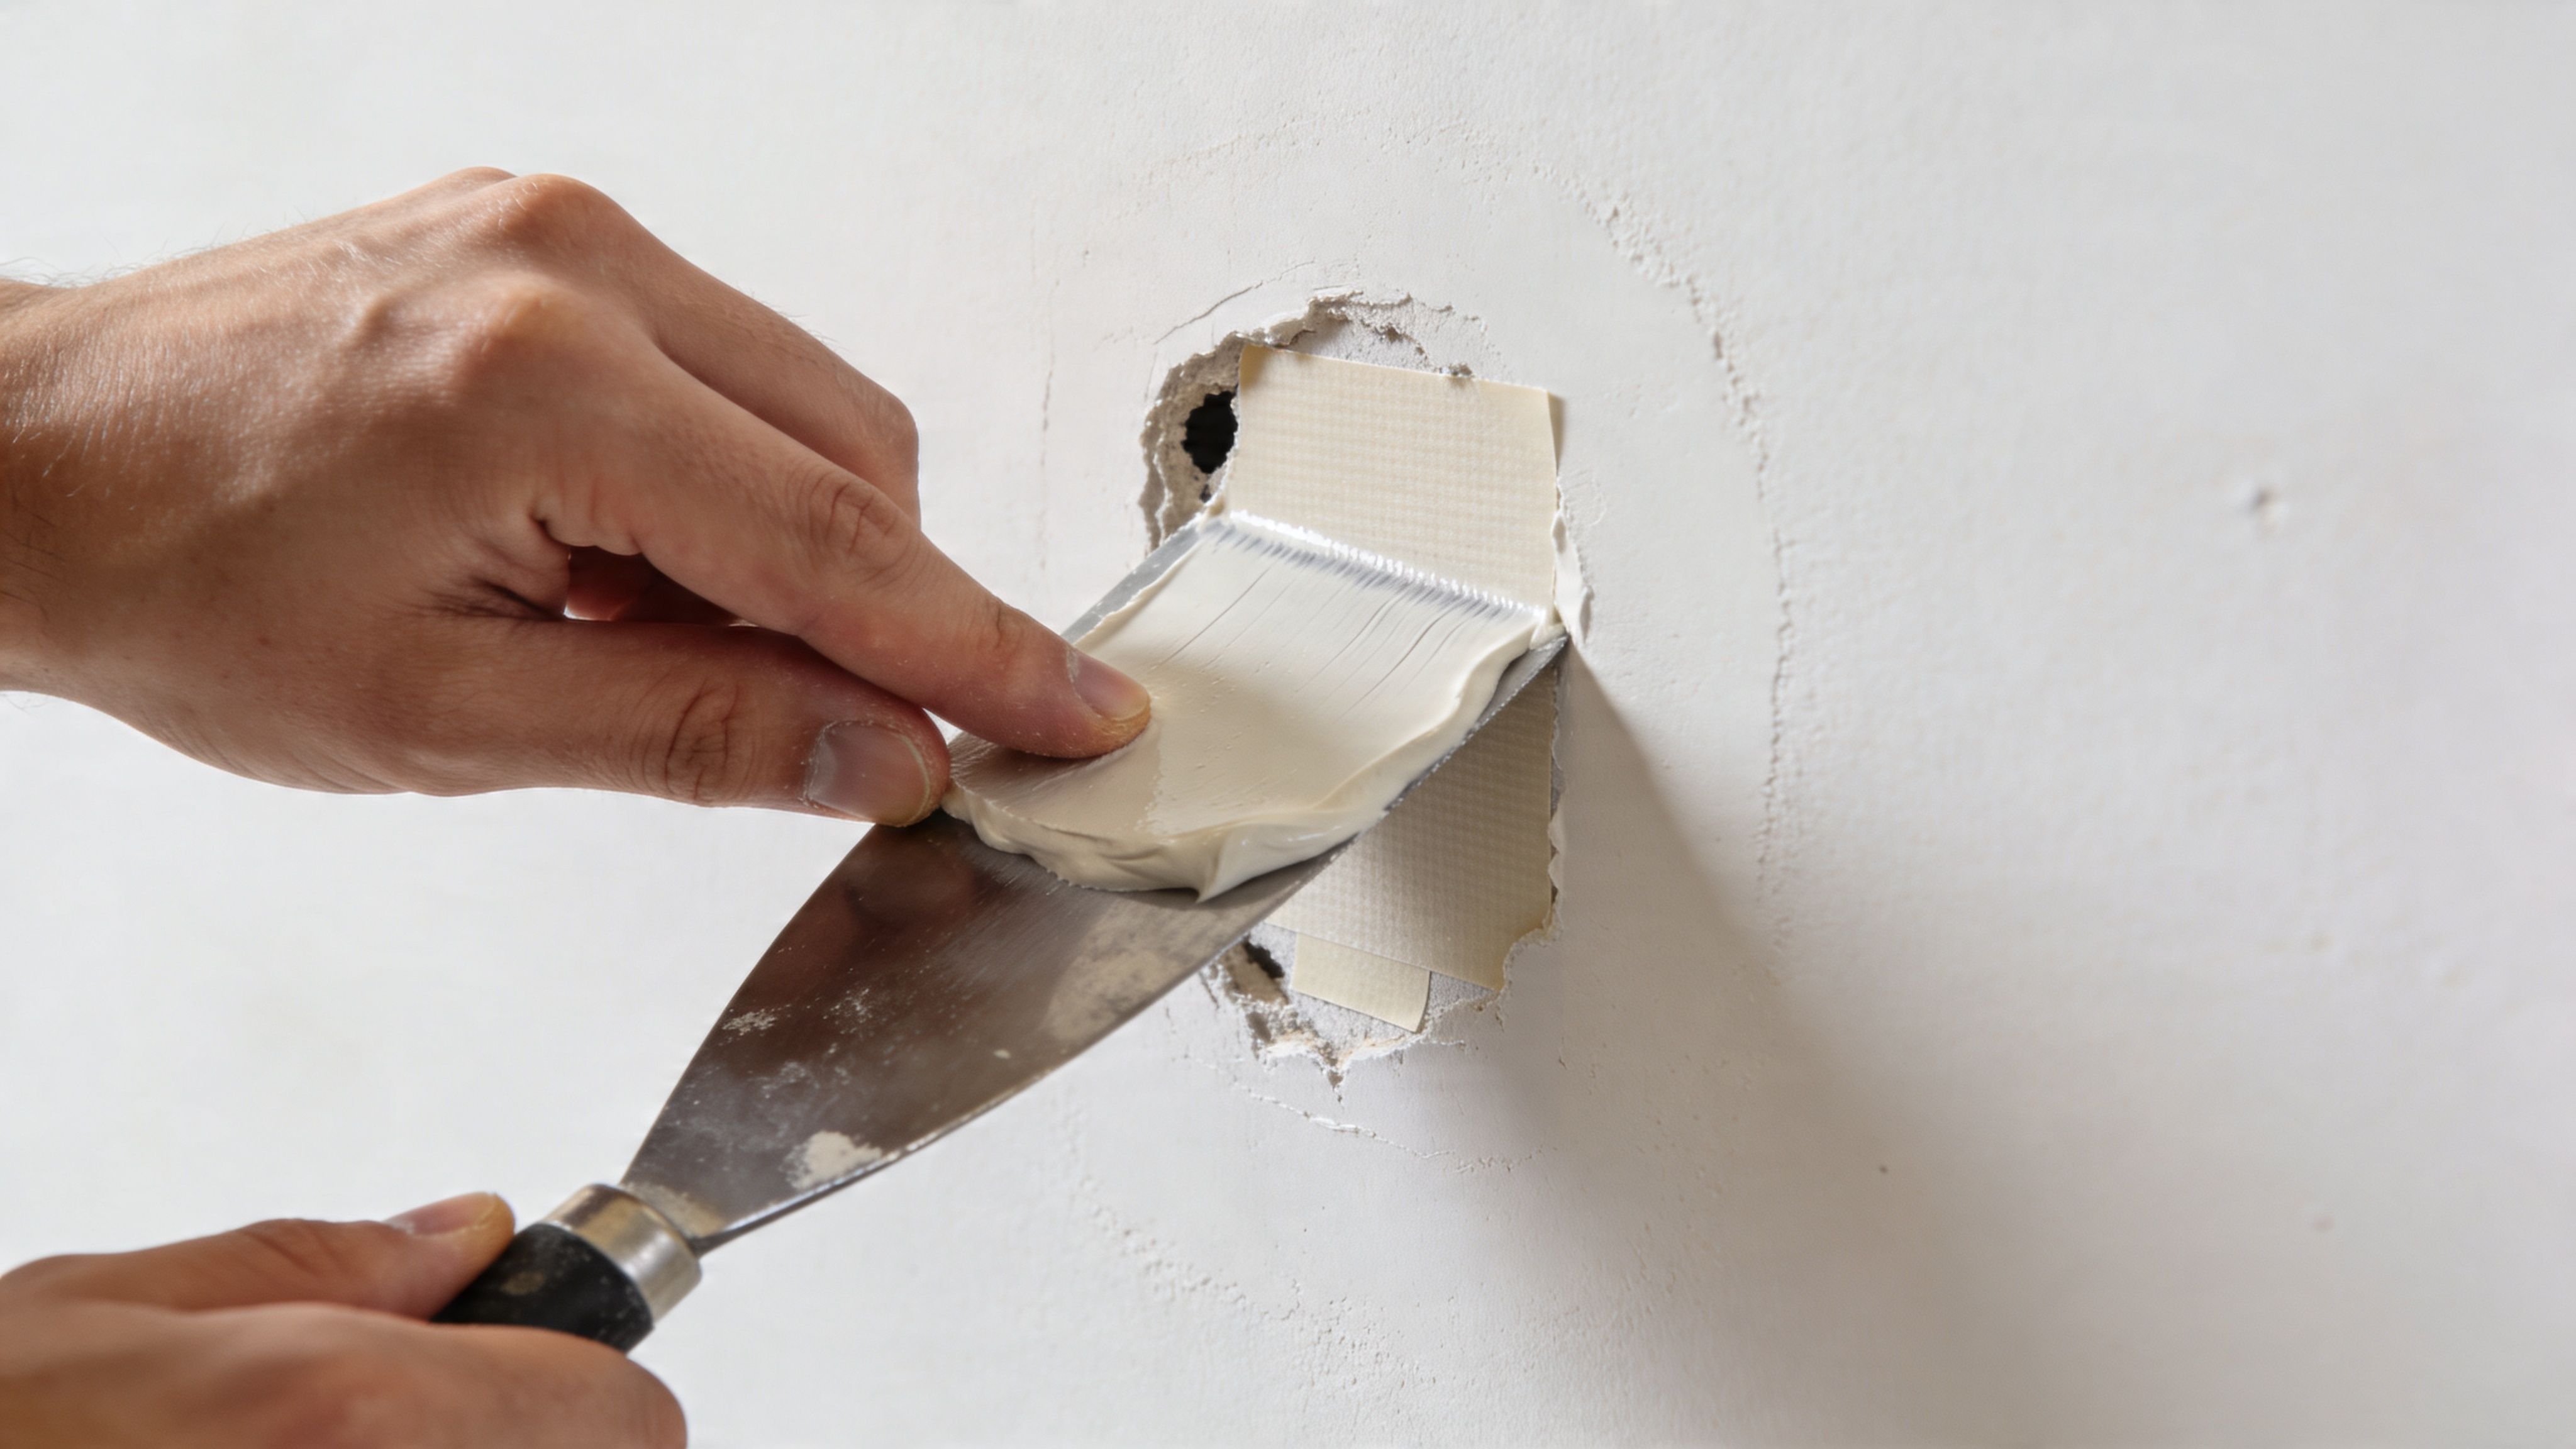
Build the repair in thin coats
The first coat is for embedding and covering, not for perfection. Pull a thin layer of compound across the patch and extend it beyond the repair area. Keep the knife angle shallow and remove extra mud as you go.
Let that coat dry fully before sanding or recoating. In Portland and nearby cities, indoor humidity can slow things down, especially in bathrooms, basements, and exterior-facing rooms. Drywall mud that feels dry on top can still be soft underneath.
A practical flow looks like this:
First coat
Cover the patch and feather the edges outward. Don’t leave ridges if you can help it, but don’t chase every line while the mud is wet.Light sanding
Knock down high spots only. You’re shaping, not digging.Second coat
Go wider than the first coat so the repair starts to disappear into the wall plane.Final skim coat
Use a wider knife and very little material. This coat does the visual blending.
A flat patch usually comes from several modest coats, not one heavy coat.
This is also where many DIY jobs become visibly amateur. If you overwork the mud, you drag it. If you put it on thick, it shrinks and leaves a crown. If you sand too hard between coats, you expose the patch or damage the paper around it.
For homeowners who decide this is more work than they want, drywall repair services in Portland are often the cleaner option, especially when the patch is in a main living area or needs to be ready for paint fast.
Texture and paint make or break the final look
A smooth patch on a textured wall always stands out. So does a rough patch on a smooth wall. The compound work matters, but the finish work is what people see.
Before painting:
- Feel the wall with your hand: Your fingers catch bumps better than your eyes do.
- Look from the side: Raking light shows ridges and low spots fast.
- Prime the repair first: Fresh compound and old paint absorb differently.
If the surrounding wall has orange peel or knockdown, practice matching the texture on scrap cardboard before spraying the actual repair. Texture that’s too heavy is hard to undo cleanly.
The process is easier to understand when you can watch the mud handling and knife movement:
A final point that surprises a lot of homeowners: the patch may be repaired before it’s invisible. Paint sheen, window light, and wall texture decide whether the repair disappears or still catches your eye every morning.
Common DIY Mistakes and When to Call a Pro
A sheetrock patch kit can clean up a small wall ding or a simple doorknob hole. It stops being a good DIY project once the repair has to stay flat, blend into the existing finish, and hold up over time.

In Portland homes, I see plenty of patches that looked fine at night and looked rough the next morning once window light hit them. That is common in living rooms, hallways, and stairwells where side light shows every ridge, dip, and hard edge. The repair may be solid. It still does not disappear.
Mistakes that make a patch obvious
A patch usually gives itself away for a few predictable reasons:
- Too much compound at once: Thick coats dry slowly, shrink, and often leave a mound or small cracks
- Sanding the middle too hard: That hollows the repair and creates a dish that shows after primer and paint
- Feathering too narrowly: Short, tight edges telegraph through the finish
- Skipping primer: Fresh mud and painted drywall absorb differently, so the patch can flash or leave a visible ring
- Ignoring local drying conditions: In the Pacific Northwest, humidity can stretch dry times well past what the label suggests
Run your hand over the wall, then check it from the side. Your eyes catch what your hand misses, and side light is usually less forgiving than overhead light.
If you can still see the repair before paint, paint usually will not hide it.
Jobs a sheetrock patch kit should not handle
Some damage calls for more than a self-adhesive patch and a putty knife. Mid-size holes often need backing so the new piece stays firm and does not flex. Soft drywall, stains, or past leaks need the cause fixed first, or the new patch can fail for the same reason as the old one.
That comes up a lot in older Portland houses, remodels around Lake Oswego, rental turnovers in Gresham, and busy homes in Beaverton where there is often more than one damaged spot. A kit is usually the wrong choice for:
- Water-damaged drywall: Swelling, softness, staining, or any sign of an active or past leak
- Corner repairs: Inside corners and outside corners require different materials and cleaner knife control
- Recurring cracks: Surface filler does not stop movement in the wall or framing
- Ceiling damage: Gravity exposes weak support and poor bonding fast
- Larger openings: Once you need backing, a cut-in patch, or framing repair, the job gets more technical
- Texture matching in visible rooms: A structurally sound patch can still stand out if the finish does not match
Here is the honest cutoff. If the repair is in a main room, under strong natural light, on a ceiling, or tied to moisture or movement, a professional repair usually costs less than redoing a failed DIY patch.
CS1 Real Interiors helps homeowners and small commercial clients across Portland, Beaverton, Hillsboro, Tigard, Lake Oswego, and nearby areas with drywall repair, installation, interior painting, insulation, and metal stud framing. If the wall damage is more than a small cosmetic fix, request a free estimate and get it handled before the patch turns into a bigger repair.