You notice it at the worst time. A crack shows up above the doorway right before guests arrive. A doorknob punches through the hallway wall during a move. A ceiling stain appears after a hard week of rain, and suddenly your search for drywall services near me stops being a casual task and turns into a priority.
That's how most drywall projects start in Portland. The visible damage is obvious, but the right fix usually isn't. Some problems need a clean patch and texture match. Others point to movement, moisture, bad prior work, or a finish that was never done correctly in the first place.
Homeowners in Portland, Beaverton, Hillsboro, Tigard, Lake Oswego, Gresham, and Vancouver, WA usually want the same thing. They want the wall or ceiling to look normal again, without guessing, without extra mess, and without finding out later that the repair only covered up a bigger issue.
Table of Contents
- That Crack in the Wall A Homeowner's Starting Point
- What Do Drywall Services Actually Include
- Common Drywall Problems We Solve in the Portland Area
- Ready for Flawless Walls Get Your Free Estimate
- Understanding Drywall Project Costs and Timelines
- From Damaged to Flawless Before and After Examples
- Your Checklist for Hiring a Portland Drywall Contractor
- Frequently Asked Questions About Drywall Work
That Crack in the Wall A Homeowner's Starting Point
A small drywall problem rarely feels small when it's in your house. Ceiling cracks draw your eye every time you walk into the room. A patch from an old repair can stand out worse than the original damage. Water stains make people wonder what's happening behind the paint.
In older Portland homes, a hairline crack may come from settling or seasonal movement. In a busy family home in Beaverton or Hillsboro, it may be impact damage from daily life. In rental properties, one damaged section often comes with scuffs, corner bead dents, and mismatched texture from previous quick fixes.
Most drywall problems aren't hard because the board is damaged. They're hard because the repair has to disappear into the rest of the room.
That's where people get stuck. Store-bought patch materials can fill a void, but they usually don't recreate a flat plane, a clean corner, or a consistent texture. The result is a wall that looks “fixed” instead of looking untouched.
A good local contractor starts by figuring out what failed. Was it the drywall itself, the finish, the framing behind it, or moisture from above? Once that's clear, the repair plan gets simpler. You stop guessing and start looking at the job in practical terms: patch, replace, finish, sand, match, paint, and move on with confidence.
What Do Drywall Services Actually Include
When homeowners search for drywall services near me, they are often looking for one thing but need three. The board may need repair or replacement. The seams and fasteners need finishing. Then the surface has to match the surrounding wall so it looks right under paint and light.

Repair work is more than filling a hole
Repair work covers a wide range of problems, including nail pops, stress cracks, damaged corners, ceiling issues, and holes from plumbing or electrical access. Small repairs still take planning because a patch has to tie into the existing wall without creating a hump, dip, or flashing under paint.
A proper repair often includes:
- Cutting back to sound material: Soft, broken, or loose drywall has to be removed before anything else happens.
- Adding backing where needed: A patch won't hold well if there's nothing solid behind the seam.
- Taping and coating correctly: Joint compound works in layers. Rushing it usually shows later.
- Matching the surrounding surface: Smooth walls, orange peel, and knockdown all need different handling.
For targeted patch work and damaged-wall restoration, a service page like drywall repair in Portland gives homeowners a clearer idea of what's involved.
Installation and finishing are separate skills
Full drywall installation usually comes up during remodels, additions, basement work, garage conversions, and tenant improvements. Hanging board is the framing-side part of the job. Finishing is what makes it look clean once the sheets are up.
That distinction matters because a room can be structurally boarded and still be far from paint-ready. The final appearance depends heavily on the finish level, sanding discipline, corner work, and surface consistency.
Practical rule: If the room gets a lot of natural light across the wall, finishing quality matters more than most people expect.
Level 5 finishing is the premium option for spaces where wall appearance is critical. It requires a complete skim coat of joint compound over a fully prepared Level 4 surface to create a uniform plane free of tool marks, and it can add 15% to 25% to the project timeline compared with Level 4, according to Level 5 drywall finishing standards and methods.
That's why smooth modern interiors in Lake Oswego, West Linn, and newer remodels across the Portland metro often need more than a basic patch and sand. If the goal is flawless walls under strong window light or designer lighting, the finish has to be treated as its own craft.
Drywall services can also overlap with painting, insulation, and metal stud framing on larger interior projects. For homeowners and small commercial clients, that coordination reduces handoff issues and keeps the finish quality more consistent from one stage to the next.
Common Drywall Problems We Solve in the Portland Area
The Portland area has a mix of older homes, remodel-heavy neighborhoods, rental properties, and commercial spaces that see a lot of interior wear. The drywall issues look different from job to job, but the patterns are familiar. Water damage, cracks, dents, failed patches, and ceilings with visible seams are common calls.
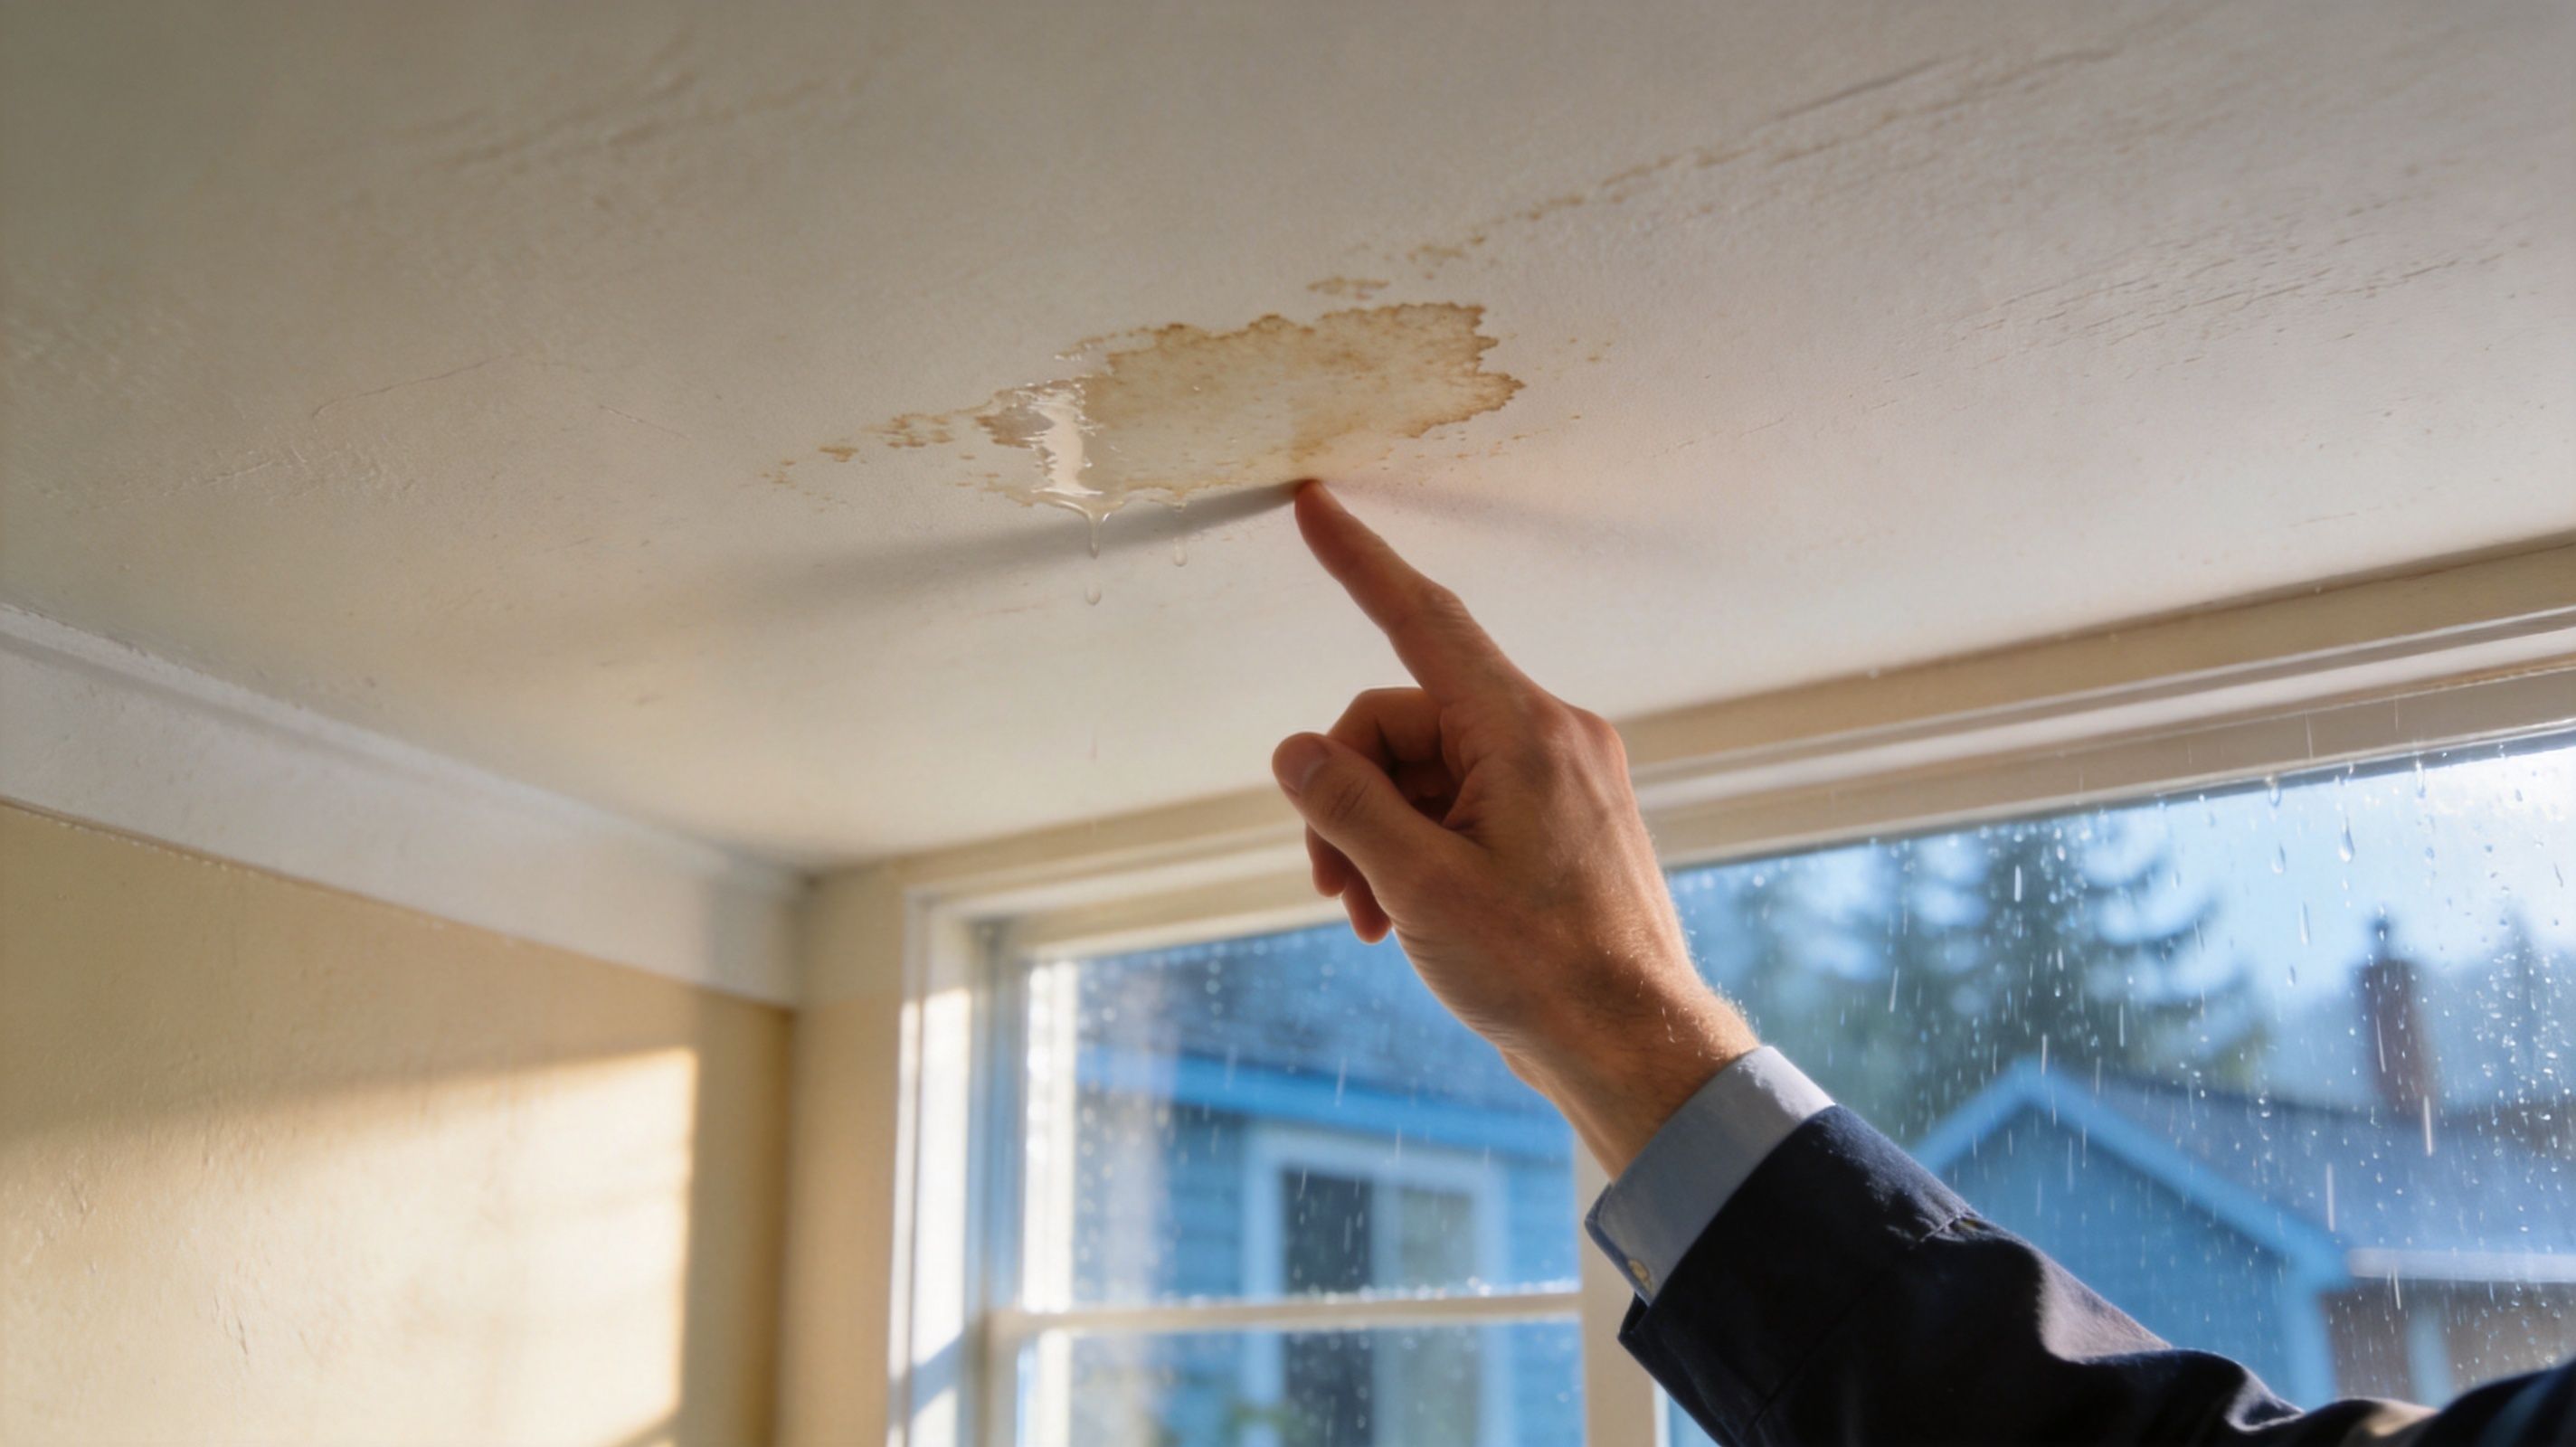
Water damage needs a full repair approach
This is one area where shortcuts usually create a second repair. In the Pacific Northwest, Portland averages 43 inches of rain annually, and water-damaged drywall should be removed rather than patched. Proper remediation means identifying the moisture source and allowing 48 to 72 hours of drying before new material goes in, according to drywall finishing guidance for moisture-related repair.
That matters in Portland, Gresham, and Vancouver, WA because a stained ceiling isn't just a cosmetic problem. If the drywall softened, swelled, or stayed wet, the material has already lost integrity. Covering over it with compound and paint may hide the issue for a while, but it doesn't fix it.
Typical situations include:
- Roof or flashing leaks: Stains near exterior walls or upper-floor ceilings.
- Plumbing failures: Openings required behind sinks, tubs, laundry hookups, or supply lines.
- Bathroom moisture: Repeated humidity problems that damage ceilings and upper wall sections.
Other issues that show up in local homes
Not every repair involves moisture. A lot of service calls are straightforward but still need skilled finishing to disappear after paint.
Common examples include:
- Settlement cracks: Often near doors, windows, and ceiling transitions.
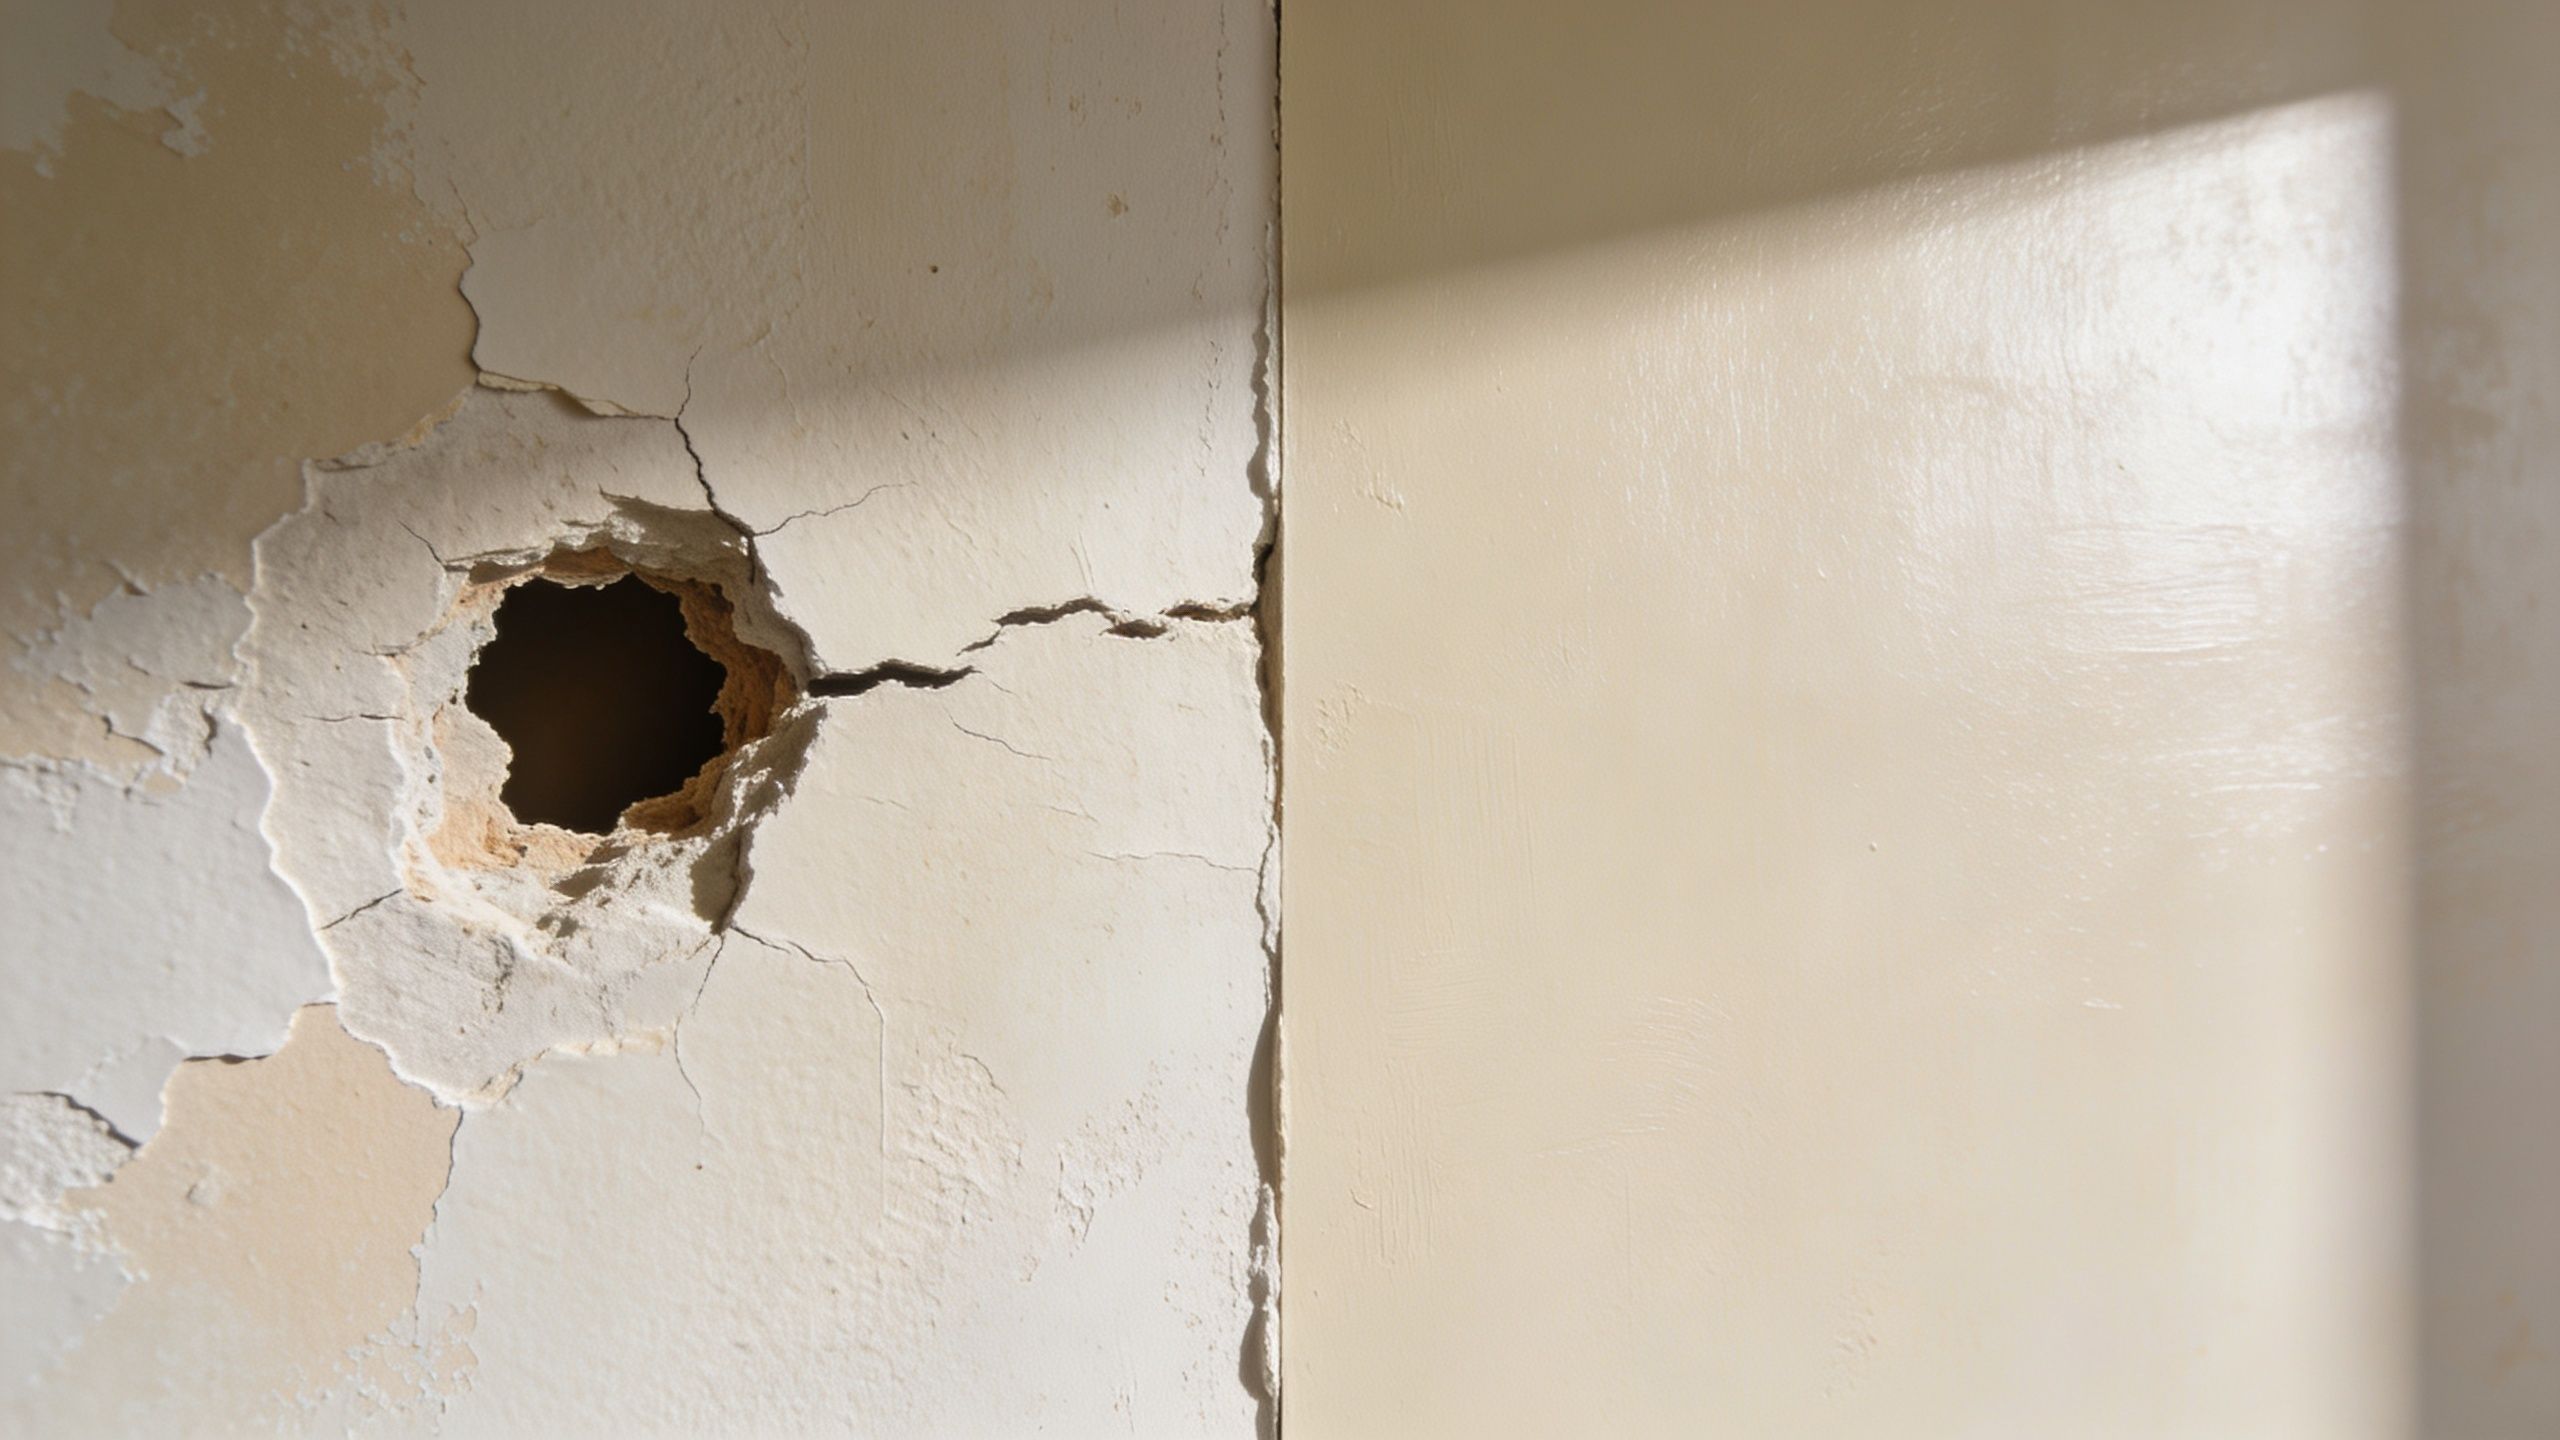
- Impact holes: Hallways, stairwells, garages, and kids' rooms take the most hits.
- Bad previous patches: Raised mesh, flashing seams, rough sanding marks, or texture that doesn't blend.
- Pre-sale preparation: Homeowners often want walls cleaned up before listing so buyers don't focus on cosmetic flaws.
- Remodel prep: Once cabinets, trim, or old built-ins come out, drywall damage shows up fast.
A professional repair isn't just about closing the opening. It's about restoring a flat, stable surface that won't announce itself later under primer and paint.
Ready for Flawless Walls Get Your Free Estimate
A drywall problem usually feels small until light hits it from the side, paint goes on, and the repair shows from across the room. In Portland homes, that happens a lot with ceiling stains, long settlement cracks, and patches done after plumbing or electrical work.
A good estimate should do more than give you a price. It should tell you whether the drywall can be repaired or needs replacement, whether moisture has compromised the board, and what finish level makes sense for that room. A basic patch may be fine in a garage or utility area. In a living room, entry, or smooth-wall hallway, higher-end finishing is often the difference between a repair you forget about and one you keep noticing.
If you want clear next steps, contact CS1 Real Interiors for an on-site estimate. We look at the actual cause of the damage, the surrounding wall condition, access, and how the repaired area will look after primer and paint so you know what you are agreeing to before work starts.
We serve Portland and nearby communities, including Hillsboro, Tigard, and Lake Oswego.
Understanding Drywall Project Costs and Timelines
Drywall costs in Portland can swing more than homeowners expect, even when two jobs look similar at first glance. A patched ceiling under an old leak, a smooth wall in a dining room with strong window light, and a garage repair after a plumbing cut all carry different labor, prep, and finish demands.
The biggest mistake I see is comparing estimates by the bottom-line number alone. A better question is what the estimate includes, how visible the repair will be when painted, and whether the contractor is pricing for a quick cover-up or a finish that will hold up in a lived-in home.
What usually drives the price
Material cost matters, but labor and conditions usually decide the final number.
- Extent of damage: Clean, dry damage is faster to repair than swollen board, soft edges, failed tape, or broken corners.
- Ceiling vs wall: Ceiling work takes longer, needs more setup, and is harder to finish cleanly overhead.
- Moisture history: In Portland homes, water staining or humidity exposure can mean replacement instead of a simple patch.
- Finish level: A basic repair in a utility space costs less than a smooth-wall finish in a main living area. Level 5 work adds time, but it pays off where side light exposes every flaw.
- Texture matching: Matching older orange peel, knockdown, or hand texture takes patience and often more than one attempt.
- Access and protection: Tight stairwells, furnished rooms, floor protection, and dust control all add labor.
If one quote is far lower than the others, ask whether it includes full prep, multiple coats, sanding, texture matching, and cleanup. Those are common places where shortcuts show up later.
Typical Drywall Project Cost Ranges Portland Metro
These ranges reflect typical project patterns we see in the Portland area, based on local scope, finish level, and site conditions. Final pricing depends on the room, access, moisture damage, and how closely the new work has to blend with the existing surface.
| Service Type | Typical Cost Range | Estimated Timeline | Basis |
|---|---|---|---|
| Small drywall repair | Small service-call pricing varies by damage size, location, and finish needs | Often one visit for minor repairs, with a return visit if additional drying or coats are needed | Based on CS1 Real Interiors local project experience |
| Drywall installation | Usually priced by square footage, finish level, and room complexity | Depends on room size, board layout, finishing schedule, and drying time between coats | Based on CS1 Real Interiors local project experience |
| Drywall installation project | Full-room and multi-area projects vary widely by scope | Small rooms can move quickly. Whole areas take longer when protection, trim work, and finishing are included | Based on CS1 Real Interiors local project experience |
| Taping and texturing | Pricing depends on patch visibility, texture style, and blending difficulty | Usually takes longer than homeowners expect because matching and drying take time | Based on CS1 Real Interiors local project experience |
Timing follows the same pattern. Hanging board can go fast. Finishing is where the schedule stretches, especially with multiple coats, sanding, texture work, and drying time between steps.
Portland weather can slow things down too. In homes with poor ventilation, cool temperatures, or lingering moisture, compound and texture do not always cure on the fastest schedule. That does not mean the job is off track. It means the contractor is letting materials dry properly instead of rushing to paint over work that is not ready.
For occupied homes in Tigard, Beaverton, and Lake Oswego, the best estimate is the one that explains disruption as clearly as price. Homeowners need to know when the room can be used again, when painters can start, and whether the finish selected fits the space. That clarity is usually a better sign of a professional contractor than a fast ballpark number.
From Damaged to Flawless Before and After Examples
Some drywall projects are easiest to understand when you picture the room before the work starts. The damage is usually obvious. What's harder to picture is how much better the space feels when the walls and ceilings finally look consistent again.
A rental turnover with visible damage everywhere
A typical Beaverton turnover might have a few fist-sized holes, scraped corners near the stairs, and old patch marks that telegraph through paint. On paper, that sounds like a collection of small problems. In person, it makes the whole unit feel worn.
The fix usually isn't dramatic. Clean out the failed areas, patch the damaged sections correctly, re-establish the corners, and match the texture so the walls read as one surface again. Once the finish is uniform, the paint has a chance to look clean instead of highlighting every previous repair.
A remodel tells a different story. In Lake Oswego and Portland neighborhoods with updated interiors, the issue is often not damage but inconsistency. A room may have old heavy texture on one wall, smoother surfaces on another, and patches around electrical changes that catch side light all day. After the right finishing work, the room looks quieter, sharper, and more intentional.
Here's a visual reference that helps show what proper drywall finishing looks like in practice.
A remodel that needed cleaner lines
Commercial spaces add one more constraint. They often need the repair done without dragging out reopen dates or creating a messy jobsite for other trades. In a downtown Portland tenant space, water damage and wall openings from trade work can leave surfaces looking rough even after the systems behind the wall are fixed.
That's where sequencing matters. Board replacement, finish work, texture or smooth-wall matching, then paint prep. When those steps are handled correctly, the finished wall stops looking repaired and starts looking like part of the original build.
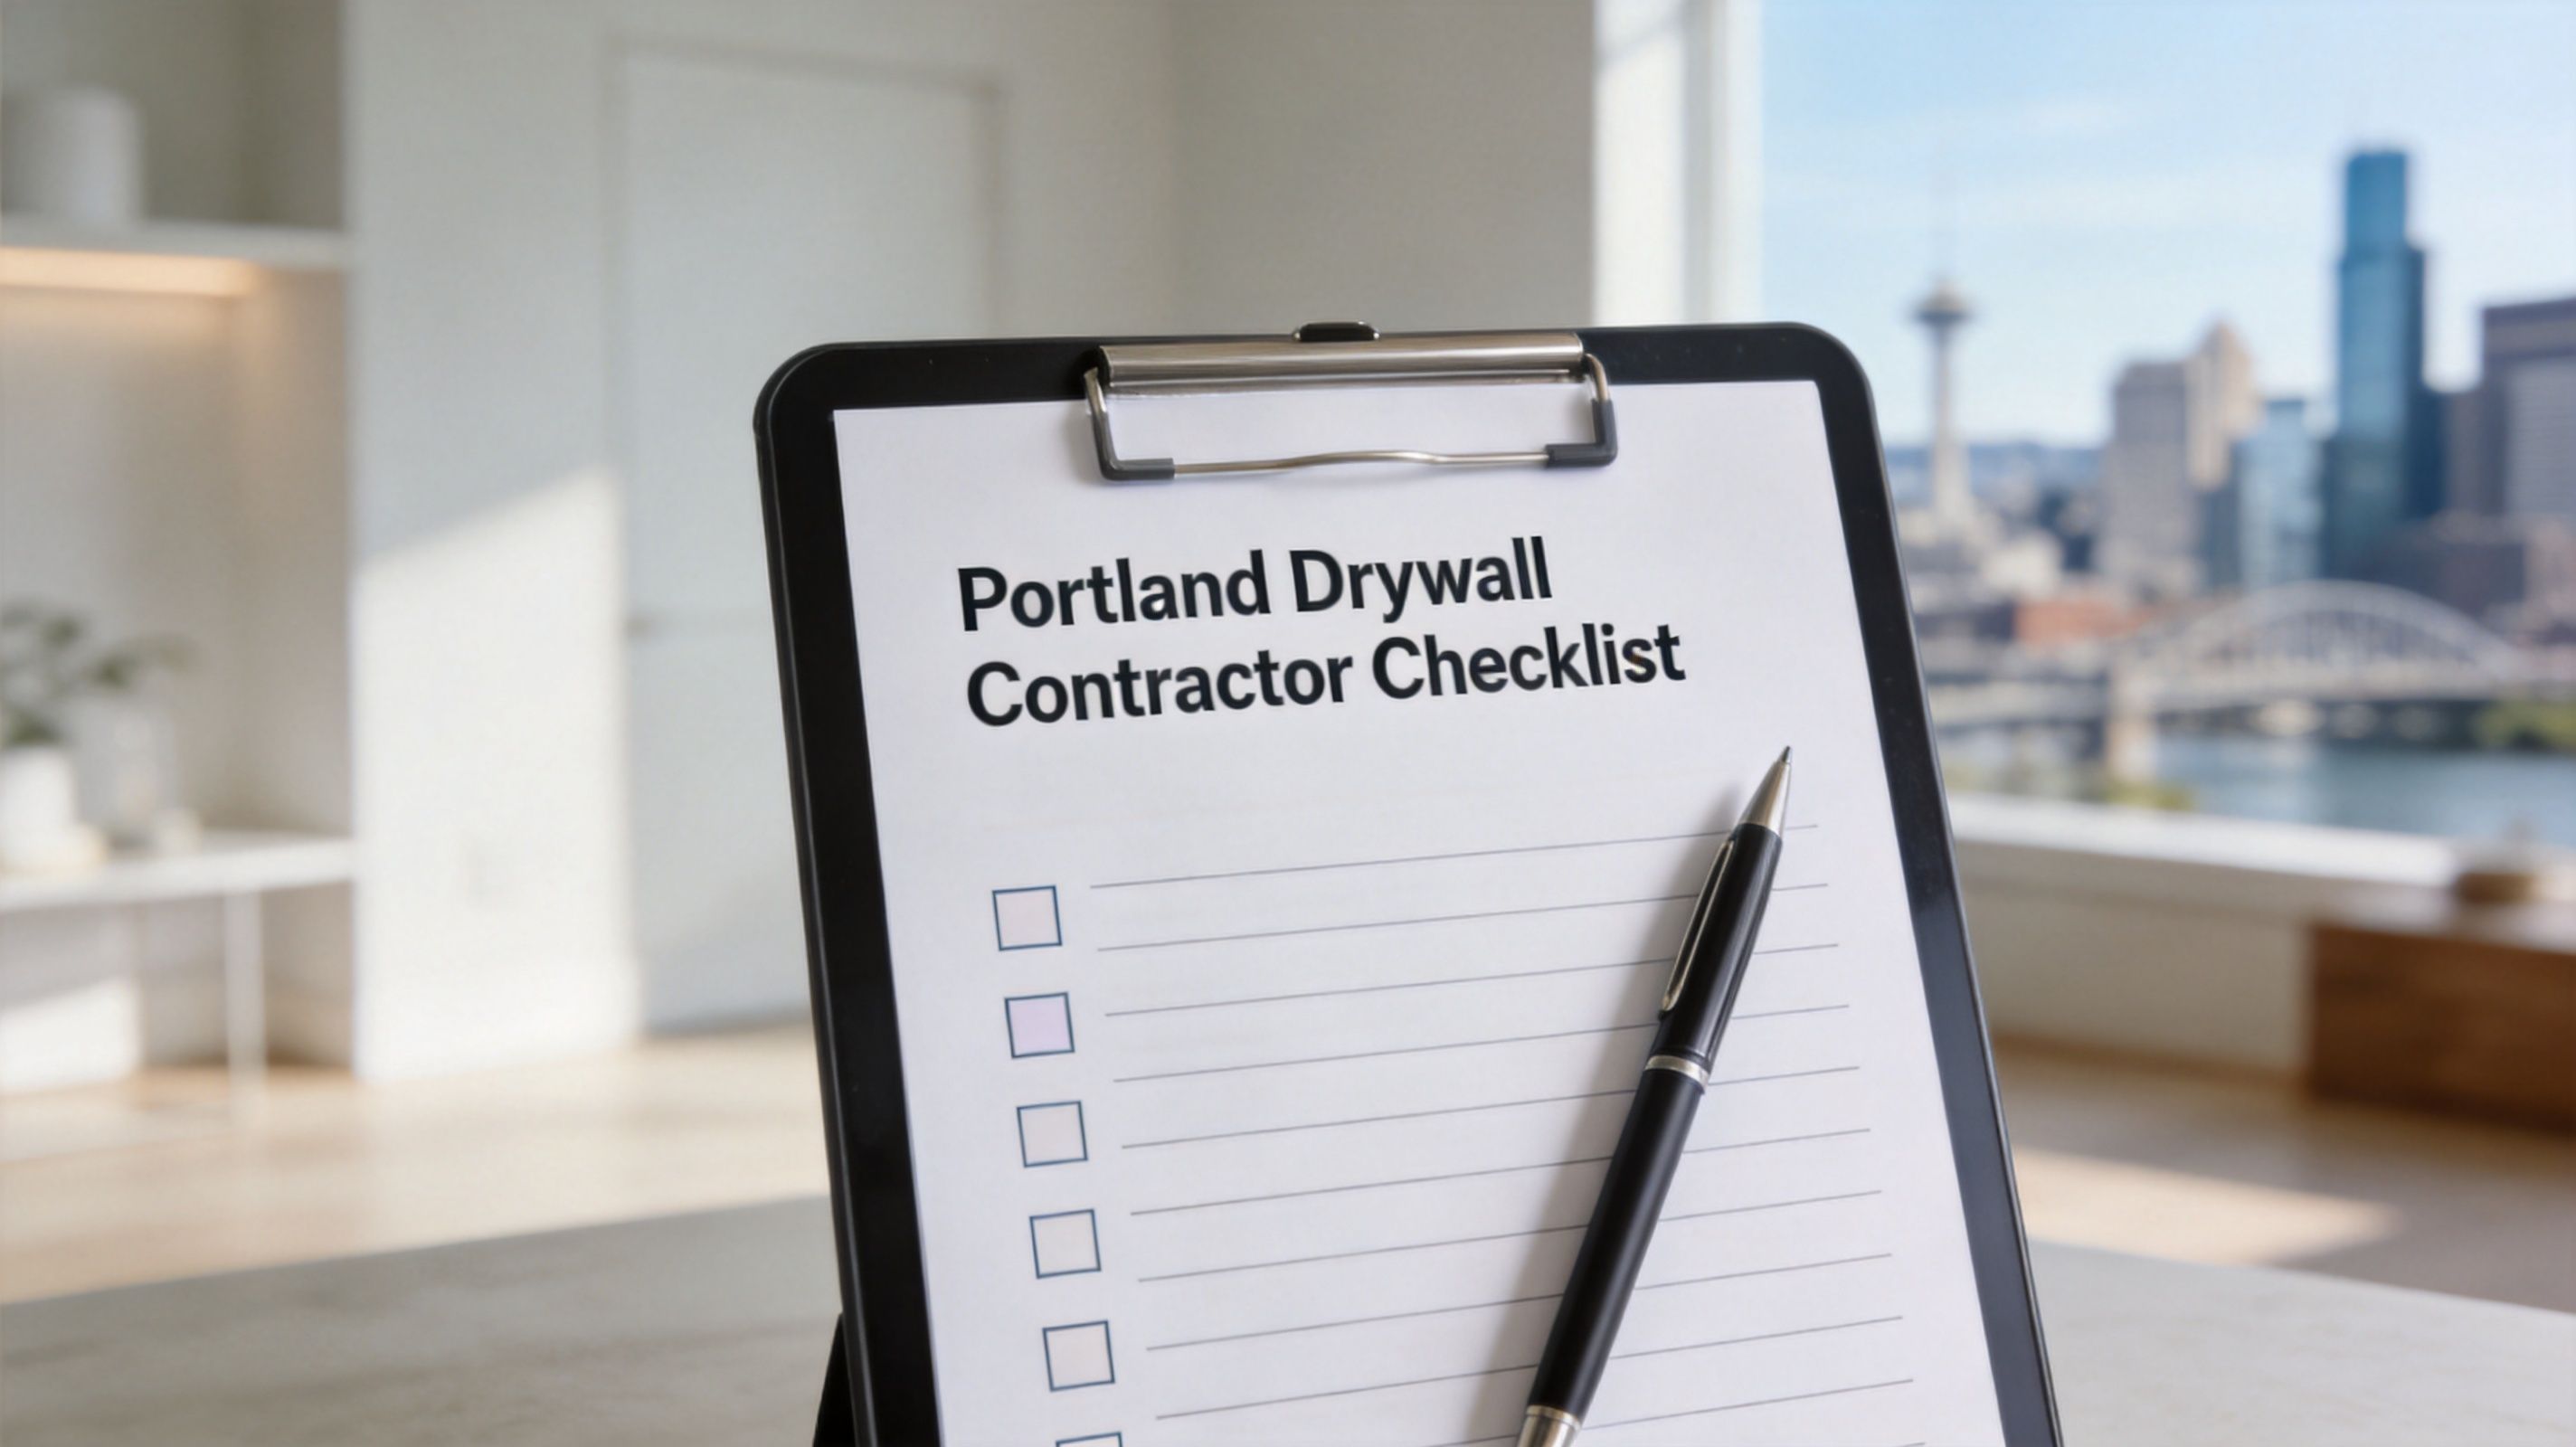
Your Checklist for Hiring a Portland Drywall Contractor
A drywall job can look fine when the crew packs up, then fall apart the next morning when Portland light hits the wall from the side. Seams show. Patches flash through paint. A ceiling repair looks flatter or rougher than the field around it. Hiring well is what prevents that.
Questions that protect your budget
Start with licensing and insurance, but do not stop there. A contractor can be legal to operate and still be a poor fit for a finish-sensitive job inside an occupied home.
Ask how they handle Portland-specific conditions. Older homes often have uneven framing, plaster-to-drywall transitions, previous patch layers, and ceilings that have seen moisture at some point. In the Portland area, I would also ask how they decide between drying, repairing, and replacing after a leak. If the answer sounds generic, the repair usually will too.
A solid checklist includes:
- Ask about local project experience: Homes in Portland, Beaverton, and Lake Oswego all bring different wall conditions, especially in older remodels and below-grade spaces.
- Request photos of similar finished work: Look for close-up patch repairs, inside corners, smooth-wall finishing, and texture matching after paint prep.
- Clarify the finish level: “Paint-ready” is not specific enough. Ask whether the job calls for a basic patch blend, a full skim in repaired areas, or a higher-end finish such as Level 5 for walls that get strong side light.
- Ask how they handle moisture-damaged material: Staining over a problem is not the same as fixing it. Soft board, swollen seams, or recurring ceiling cracks usually mean more than a cosmetic repair.
- Ask who protects floors, furniture, and adjacent rooms: Dust control should be part of the plan before sanding starts.
- Ask what documentation they provide: For water-damage jobs, a professional should be able to clearly describe the cause they observed, what materials were removed, what was replaced, and what conditions need attention before closing the wall.
A good contractor can explain the scope in plain language, including what will be visible after paint and what will not.
For homeowners comparing local options, reviewing a city-specific page like Portland drywall contractor services helps narrow the search to firms that regularly work in the area. One local option is CS1 Real Interiors, which provides drywall repair, installation, painting, insulation, and metal stud framing for residential and small commercial interiors in the Portland metro.
What a solid estimate should include
A useful estimate does more than give a price. It shows how the wall or ceiling will get from damaged to ready for primer and paint.
Look for these details:
- Scope of removal: Important after leaks, plumbing access, or damaged corners.
- Patch or replacement method: A small cut-in patch, partial sheet replacement, and full rehang all affect cost and finish quality differently.
- Surface finish plan: Existing texture match, smooth wall, skim coat work, or Level 5 where lighting makes imperfections easier to see.
- Site protection and cleanup: Floor protection, dust containment, masking, debris removal, and whether sanding happens with extraction.
- Schedule and drying time: Multiple coats take time. If a bid promises a perfect finish too fast, ask how they plan to manage cure time between coats.
- Paint prep boundaries: Find out whether the price includes priming repaired areas only or leaves the surface ready for a painter to finish.
Cheap bids usually leave out labor-intensive finish work. That is where homeowners get surprised later.
The best estimate feels specific, calm, and practical. It should tell you what the contractor found, what they recommend, where the finish standard lands, and what trade-offs come with each option.
Frequently Asked Questions About Drywall Work
Can you match my existing wall texture
Yes, in most cases a skilled finisher can match common wall and ceiling textures closely enough that the repair blends into the surrounding surface after paint. The key is to match not only the pattern, but also the density, spread, and edge fade of the existing texture. That's where many DIY repairs fall short.
Do I need to move furniture and protect floors
It helps to clear smaller items, wall décor, and fragile pieces near the work area. A professional crew should still protect floors, isolate the work area as needed, and manage dust and debris during sanding and cleanup. If the space is tight, ask in advance what needs to be moved before the job starts.
Should I repair the wall or replace it
If the drywall is dry, stable, and the damage is limited, repair usually makes sense. If the material is soft, swollen, crumbling, or affected by moisture, replacement is often the better choice. The right answer depends on what caused the damage, not just how the surface looks today.
For homeowners in Portland, Beaverton, Hillsboro, Tigard, Lake Oswego, Gresham, and Vancouver, WA, the safest move is to get the damaged area evaluated before patching over it and hoping for the best.
If your walls or ceilings need attention, CS1 Real Interiors can help you figure out the right next step. Use the free estimate request form to contact CS1 Real Interiors for professional drywall repair, installation, finishing, painting, insulation, or metal stud framing in Portland and nearby cities.