You open a wall and find metal studs instead of wood. That usually happens in Portland remodels, basement finishes, tenant improvements, and a lot of clinic, restaurant, and retail work around Beaverton, Hillsboro, Tigard, Lake Oswego, and Vancouver, WA. The project still looks simple on paper. Hang drywall, tape it, paint it. Then the first screw spins out, the panel flexes, and the outlet cutout lands just a little off.
That’s where metal framing changes the job. It’s clean, straight, and dependable, but it doesn’t forgive the same mistakes wood does. Fastener choice matters more. Screw depth matters more. Framing movement at the top track matters more. If you want a wall that stays flat, finishes clean, and doesn’t come back with cracks or screw pops, you need to treat metal studs like their own system.
Table of Contents
- An Introduction to Working with Metal Studs
- Essential Tools and Materials for Metal Studs
- Planning Your Layout and Cutting Panels
- Hanging Drywall The Professional Way
- Need a Flawless Finish? We Can Help
- Professional Taping and Finishing Techniques
- Common Problems and When to Call a Pro
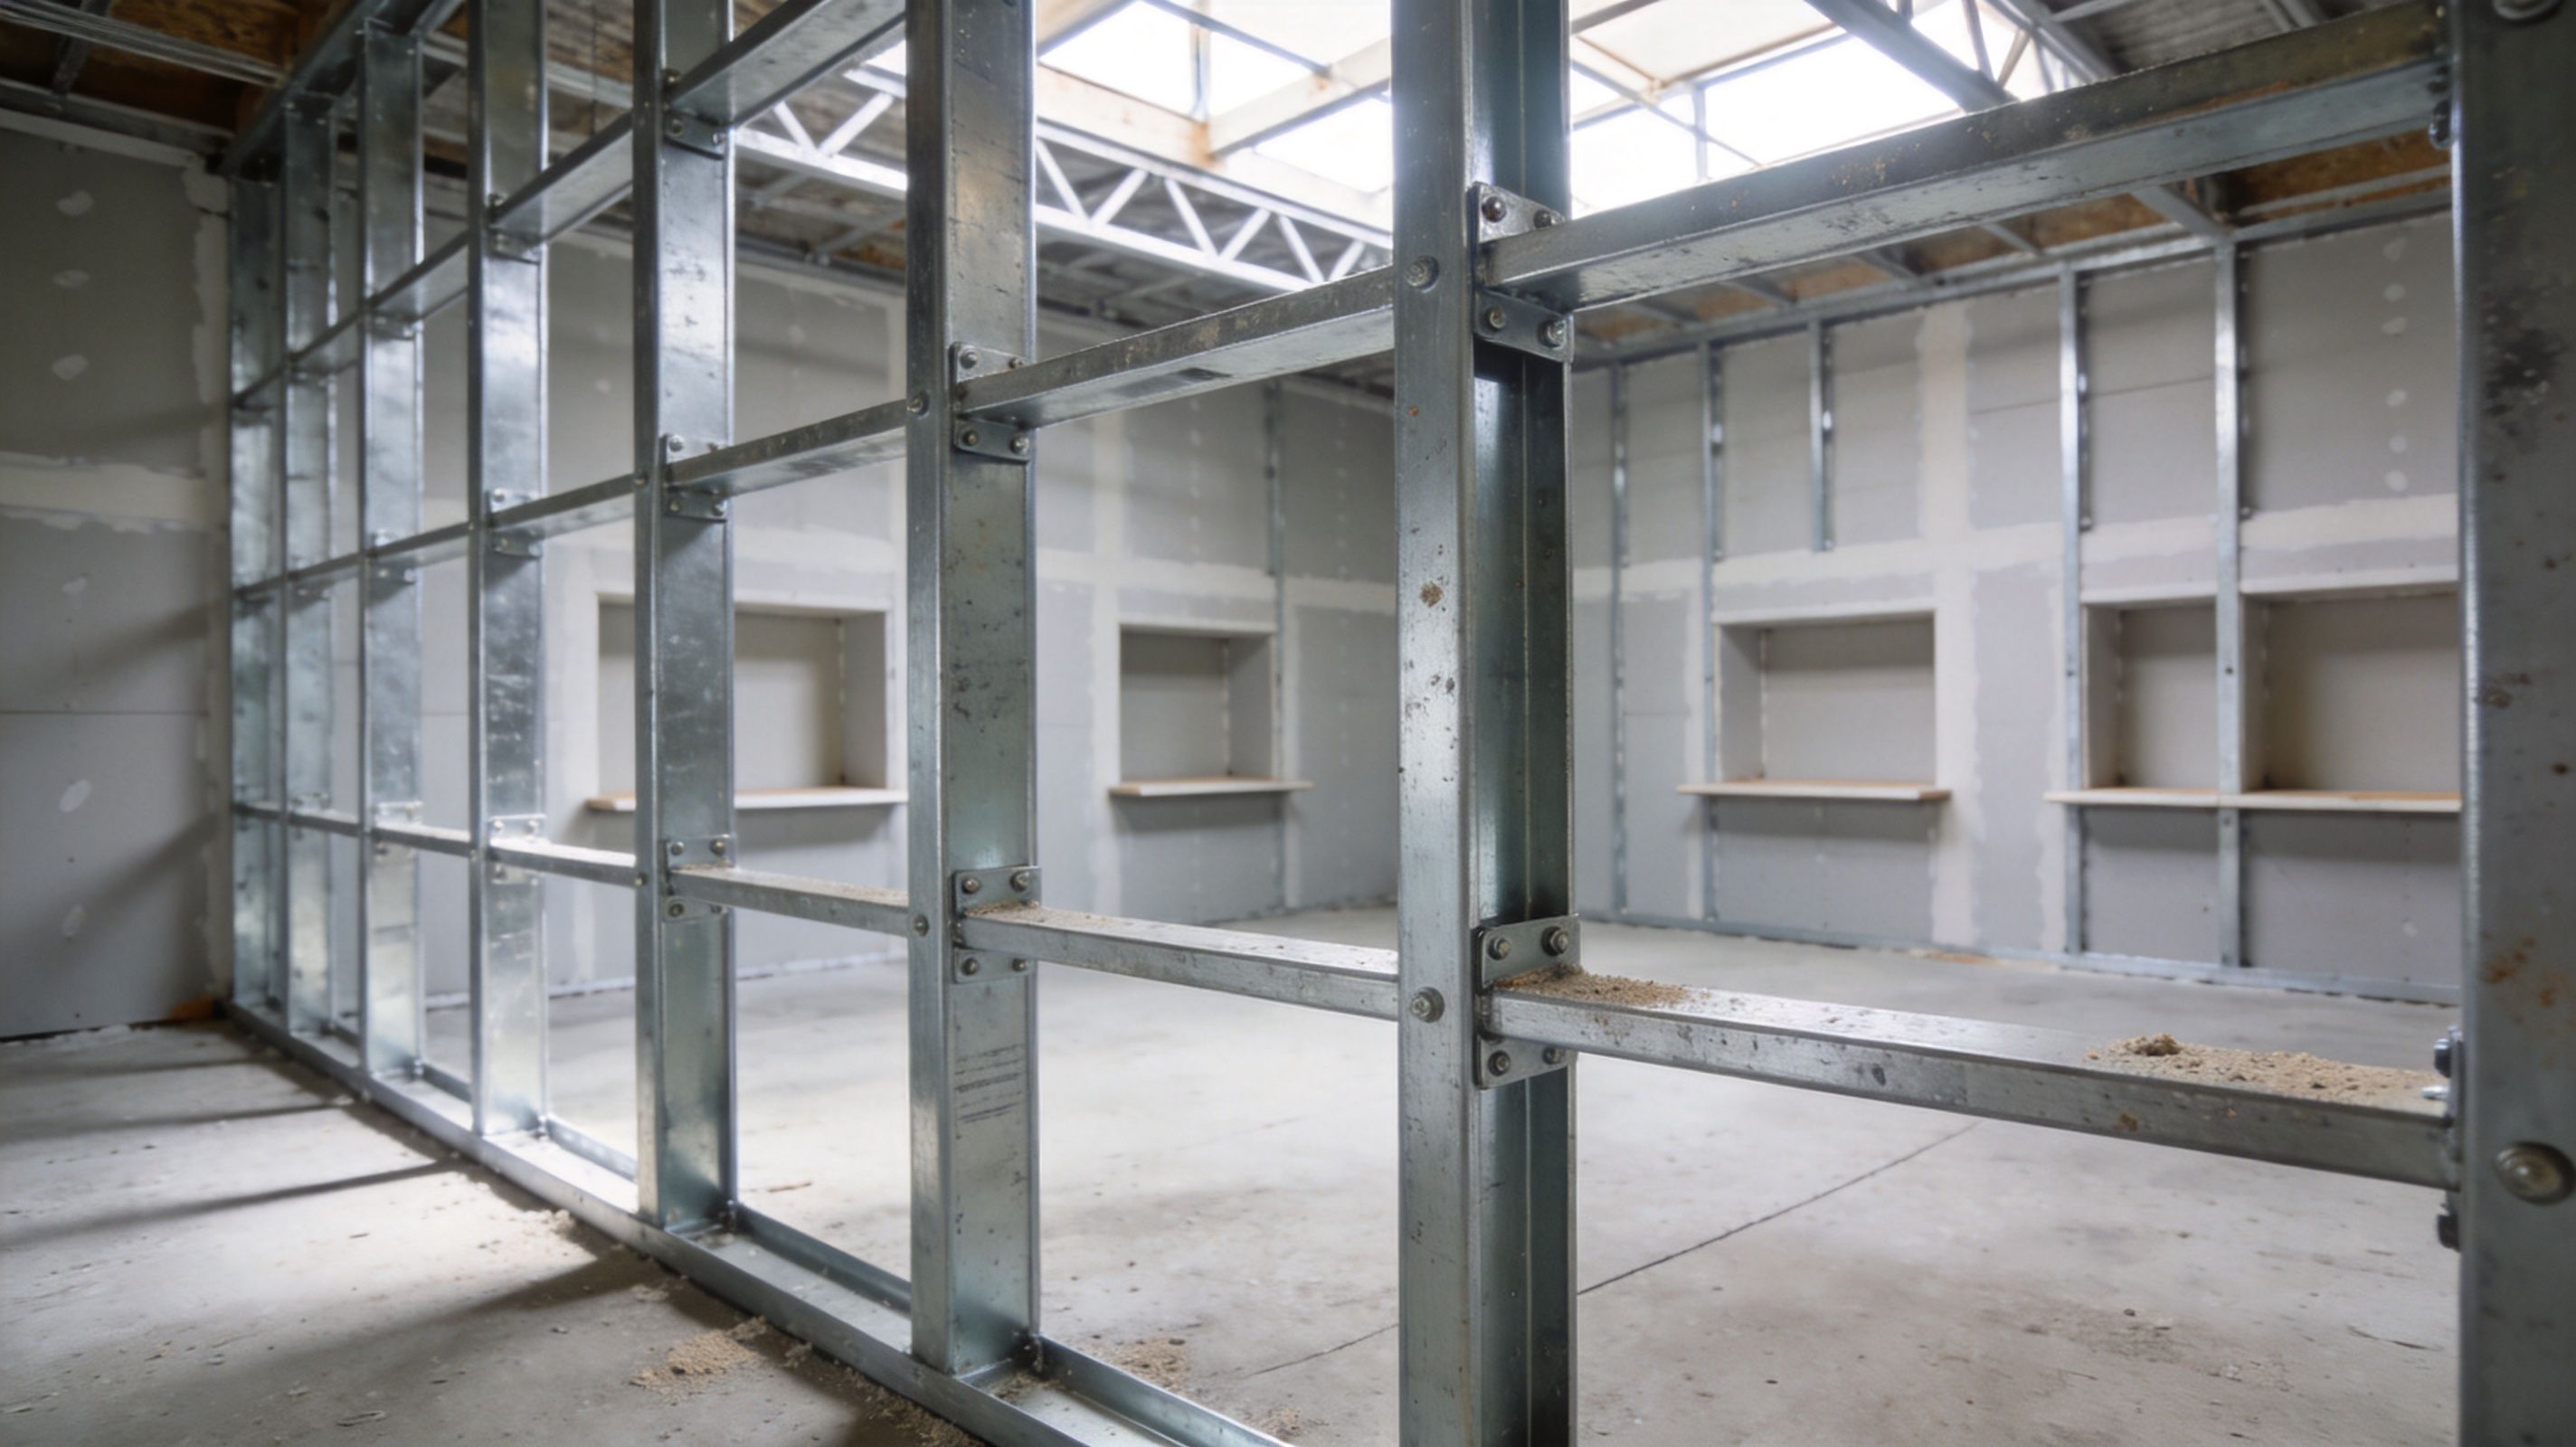
An Introduction to Working with Metal Studs
A lot of capable DIYers hit the same moment. The framing looks straight, the room is squared up well enough, and the drywall should go fast. Then they learn that metal studs don’t behave like wood studs when a screw starts to wobble, when a panel edge doesn’t land cleanly, or when the building has a little movement overhead.
Metal studs became common after World War II and now account for over 70% of U.S. commercial interiors, largely because they’re lightweight, fire-resistant, and cost-effective for non-structural partitions, as noted in this overview of metal stud drywall work. If you manage a small commercial property in Portland or you’re reworking rooms in a Beaverton home addition, there’s a good chance you’re dealing with them already.
What changes most is the margin for error. Metal framing can be very straight, but it can also flex differently than wood. That affects how you plan seams, how you support cutouts, and how carefully you set screws.
Practical rule: Metal studs reward precision. If your layout, screw choice, and fastening pattern are right, the wall goes together smoothly. If they’re off, the finish stage gets harder fast.
Metal studs are excellent for remodels, repairs, and tenant improvements. They resist pests, won’t twist like wet lumber, and fit well with clean interior build-outs. But if you want to know how to hang drywall on metal studs the right way, the answer isn’t “same as wood, just use different screws.” The process is similar. The details are not.
Essential Tools and Materials for Metal Studs
The right tools save more than time on metal framing. They prevent torn paper, stripped screws, dimpled faces, and loose panels that show up later as callbacks.
What belongs in your kit
Start with a drywall screw gun or drill with adjustable clutch. On metal studs, screw depth is everything. You want the head set just below the paper so it dimples cleanly without breaking the face. If the clutch is too aggressive, the screw tears through. If it’s too weak, the board sits proud and finishing turns into patchwork.
A sharp utility knife, T-square, and rasp still matter, but layout tools matter more on steel framing than many people expect. A laser level helps keep sheets aligned to studs, especially when the framing is long, open, and repetitive. A keyhole saw or rotary cutting tool is useful around boxes and penetrations where accuracy matters.
You’ll also want these on hand:
- Drywall lift or panel support: Full sheets get awkward quickly, especially on ceilings or tall walls.
- Aviation snips: Helpful when you need to trim light-gauge metal accessories or deal with framing obstructions.
- Joint knife and pan: Even if hanging is the focus, you’ll want to set a few fasteners or prefill small gaps as you go.
- Dust control and PPE: Gloves, eye protection, and a respirator are worth it around cut edges, sanding dust, and remodel debris.
Screw choice is where many jobs go sideways. Light-gauge and heavier-gauge framing don’t respond the same way.
Metal stud screw selection guide
| Stud Gauge | Recommended Screw Type | Pro Tip |
|---|---|---|
| 25-gauge | Fine-thread drywall screws | These usually drive cleanly into light framing without fighting the metal. |
| 20-gauge | Self-drilling bugle-head screws | Heavier studs can strip or resist standard drywall screws, so use a screw made to cut its own path. |
Hardness can vary in steel made from recycled content, and that’s why some screws feel fine in one stud and useless in the next. When a screw starts stripping repeatedly, stop and replace it right away instead of trying to force the same hole.
A bad screw rarely gets better with one more try. It usually turns into a larger hole and a weaker hold.
Adhesive also has a place on some interior partitions. Used correctly, it can reduce the amount of mechanical fastening you need in the field and can speed up the job. Used carelessly, it can lock in a bowed panel or make future repairs messy.
For material selection, match the board to the room. Standard gypsum board works in dry spaces. Type X belongs where the assembly requires a fire-rated approach. In kitchens, baths, or repair zones with prior moisture issues, choose board suited to those conditions. Corner bead choice matters too. Paper-faced bead often finishes cleaner on straight interior corners, while metal bead still earns its place in tougher areas that take abuse.
Planning Your Layout and Cutting Panels
Most drywall problems that look like “finishing issues” start in layout. Bad seams, unsupported edges, and sloppy cutouts all show up later under paint.
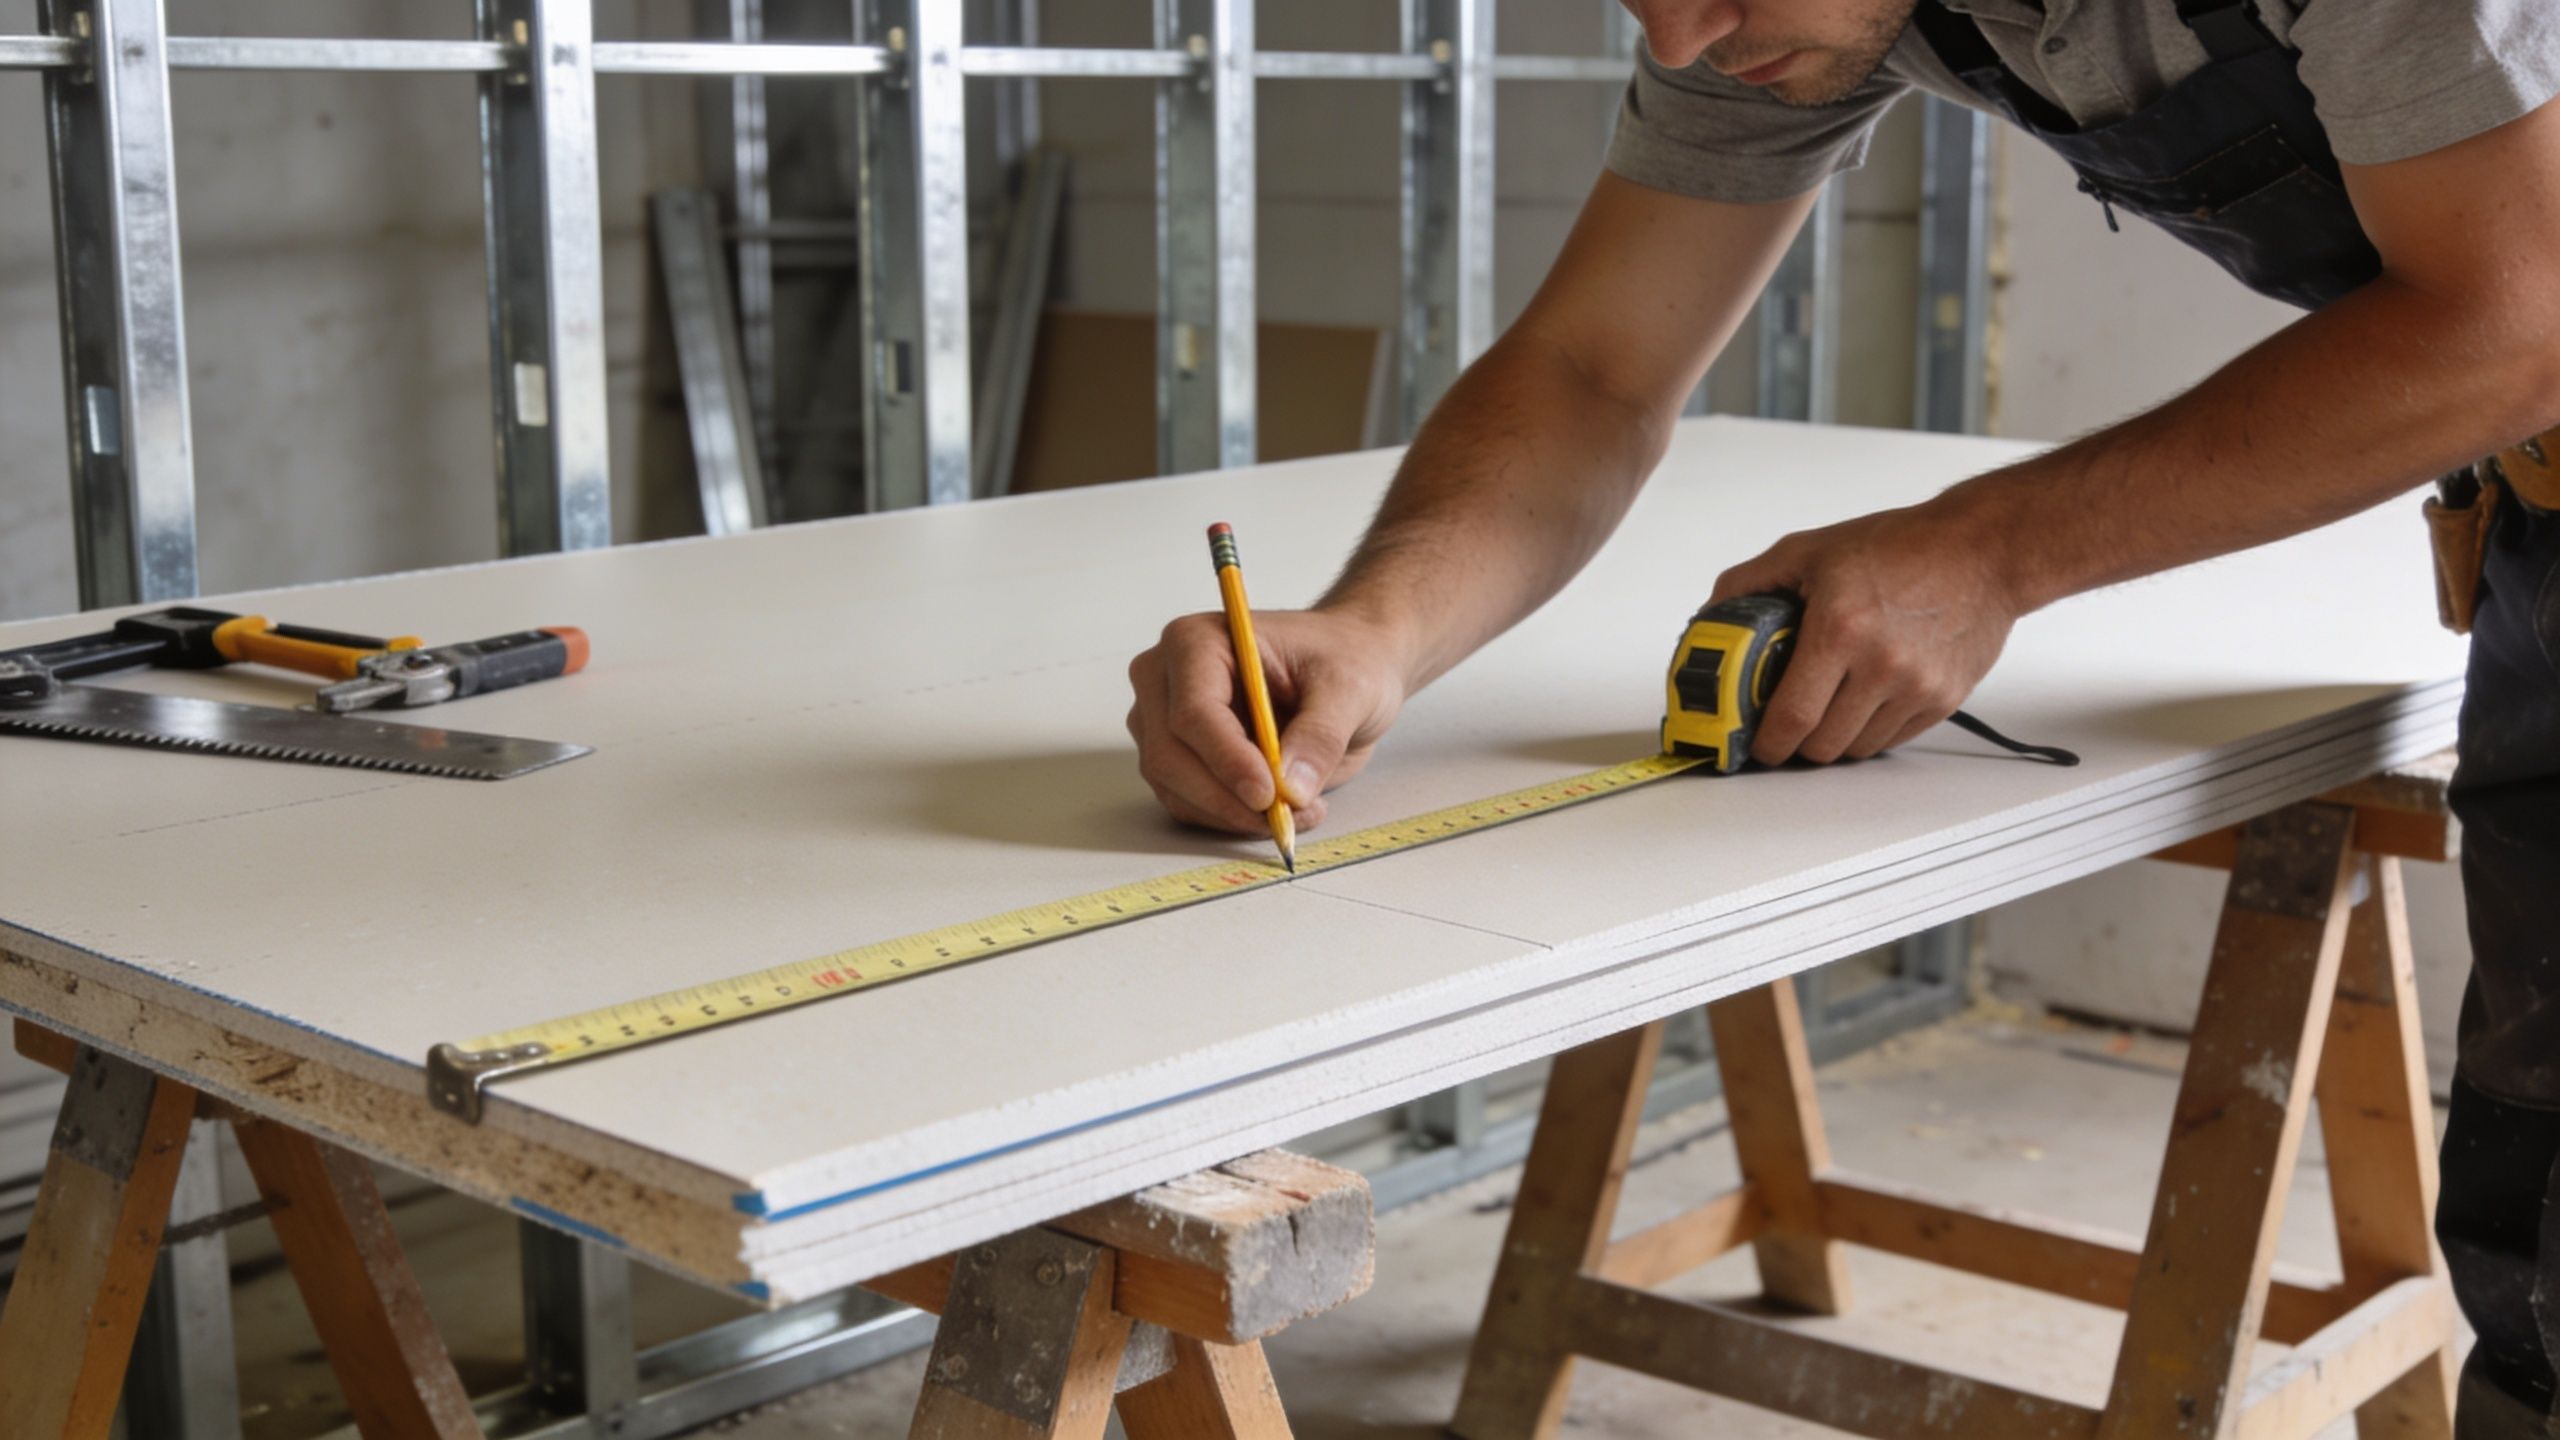
Lay out the wall before you lift a sheet
Check where every sheet edge will land. On metal framing, you want clean fastening lines and enough support at joints so the board doesn’t move when someone leans on the wall or when the building shifts a little over time.
A good layout usually means:
- Staggering seams where possible: That keeps the wall from building one long weak line.
- Avoiding small slivers at corners or above doors: Narrow pieces are harder to fasten and finish cleanly.
- Checking box and fixture locations early: Don’t wait until the sheet is on the wall to discover an outlet sits near an unsupported edge.
If the wall is tall or includes soffits, bulkheads, or narrow returns, dry-fit mentally before cutting. Property managers doing unit turns in Portland and Hillsboro often lose time here because the room looks simple but has enough penetrations to punish rushed work.
Cutting around boxes and penetrations
Electrical boxes are one of the most common failure points. A cutout that’s too tight pushes on the box and breaks the face paper. A cutout that’s too loose leaves the device unsupported and the trim plate doesn’t hide the mistake.
Handling boxes is a common DIY problem. A practical approach is to pre-cut openings 1/8 inch oversized and use metal stud notches or backing clips for alignment and edge support, which can reduce cracks around fixtures by up to 40% according to this box-cutting reference.
Use a consistent sequence:
- Mark from fixed points. Measure from the floor and from the nearest stud edge, not from a guessed centerline.
- Transfer marks carefully. Drywall is less forgiving once the opening is cut.
- Test the fit before fastening the whole sheet. If the box is slightly off, it’s easier to adjust one opening than to fight a fully screwed panel.
- Support weak edges. If the cutout lands close to a stud edge, add backing so the board doesn’t flex around the device.
Cutouts should fit cleanly, not tightly. Drywall needs a little tolerance. The finish coat hides precision work. It does not fix missing support.
Plumbing penetrations, low-voltage boxes, thermostat openings, and recessed accessories all follow the same rule. Keep the opening neat, keep the edge supported, and don’t let the panel hang on the device itself.
Hanging Drywall The Professional Way
This is the part that seems straightforward until screws are driven into steel. The sheet has to sit flat, the screw has to bite correctly, and the board has to stay intact for finishing.

Set the first sheets carefully
Start with the straightest, most visible runs first. If the room allows it, hang full sheets before cutting in smaller pieces. On walls, many installers prefer a pattern that reduces unsupported horizontal seams and keeps finishing manageable. What matters most is consistency, good backing, and keeping tapered joints where they’re easiest to finish.
Before the first screw goes in, press the sheet tight to the framing and check that it’s landing where you planned. If a stud bows or twists slightly, forcing the panel with fasteners can telegraph that defect right through the finish.
A few habits make a big difference:
- Hold the board tight to the studs before fastening.
- Start fastening near the center of the sheet and work outward.
- Keep panel edges aligned to framing.
- Leave a small gap at corners so the board isn’t jammed hard into adjacent surfaces.
Drive screws without tearing the face paper
On metal framing, screw technique matters more than speed. The screw should dimple the paper slightly without breaking through it. If the paper tears, the holding strength drops and the finisher has to correct a problem that didn’t need to exist.
For optimal strength, drywall screws should be spaced 12 inches on center along panel edges and 16 inches on center in the field, a standard noted earlier in the source material on metal stud fastening. That pattern helps the wall resist movement and reduces future sagging or cracking.
Here’s the feel you want:
- Keep the driver perpendicular to the board.
- Apply firm, even pressure so the screw engages the steel instead of skating.
- Stop as soon as the head forms a neat dimple.
- If a screw spins out, move over and set a new one. Don’t trust a stripped hole.
If you’d like to see the basic rhythm of hanging and fastening, this walkthrough is useful:
For larger remodels, additions, and commercial interiors, consistent fastening is one reason many owners bring in a crew for professional drywall installation in Portland. The wall may look simple, but bad screw depth shows up everywhere later.
Where adhesive helps and where it does not
Adhesive can help on the right job. It can reduce fastener demand in the field and can make a wall feel more solid once cured. It’s most useful when the framing is straight, the sheets are fit well, and the installer works methodically instead of smearing adhesive onto a surface that still needs adjustment.
Skip adhesive when the framing is inconsistent, when future access is likely, or when the wall assembly requires a fastening approach you need to inspect clearly. Adhesive is not a fix for bad layout, bad framing, or poor screw technique.
Need a Flawless Finish? We Can Help
A wall can look fine when the sheets first go up, then fail the moment Portland daylight rakes across it or a tenant turns on bright side lighting. That is usually when small alignment issues, uneven joints, and corner waviness show up.
If the job needs a paint-ready surface, matched texture, or clean lines in a remodel, medical office, restaurant, or rental turnover, bringing in a pro often costs less than correcting a bad finish twice. Metal stud work is less forgiving than wood framing. Slight stud twist, missed backing, and inconsistent fastening tend to telegraph through the finish, especially in common Portland remodels where new partitions tie into older walls and ceilings that are not perfectly true.
We handle those problem areas every day. CS1 Real Interiors works across the Portland metro on residential and small commercial interiors, including drywall installation, finishing, interior painting, insulation, and metal stud framing. For owners who want the wall to look right under real lighting and hold up over time, that contractor perspective matters.
Professional Taping and Finishing Techniques
A clean finish starts before the first coat of mud. If the panels were hung flat, the fasteners set correctly, and the joints supported well, finishing becomes controlled work instead of damage control.
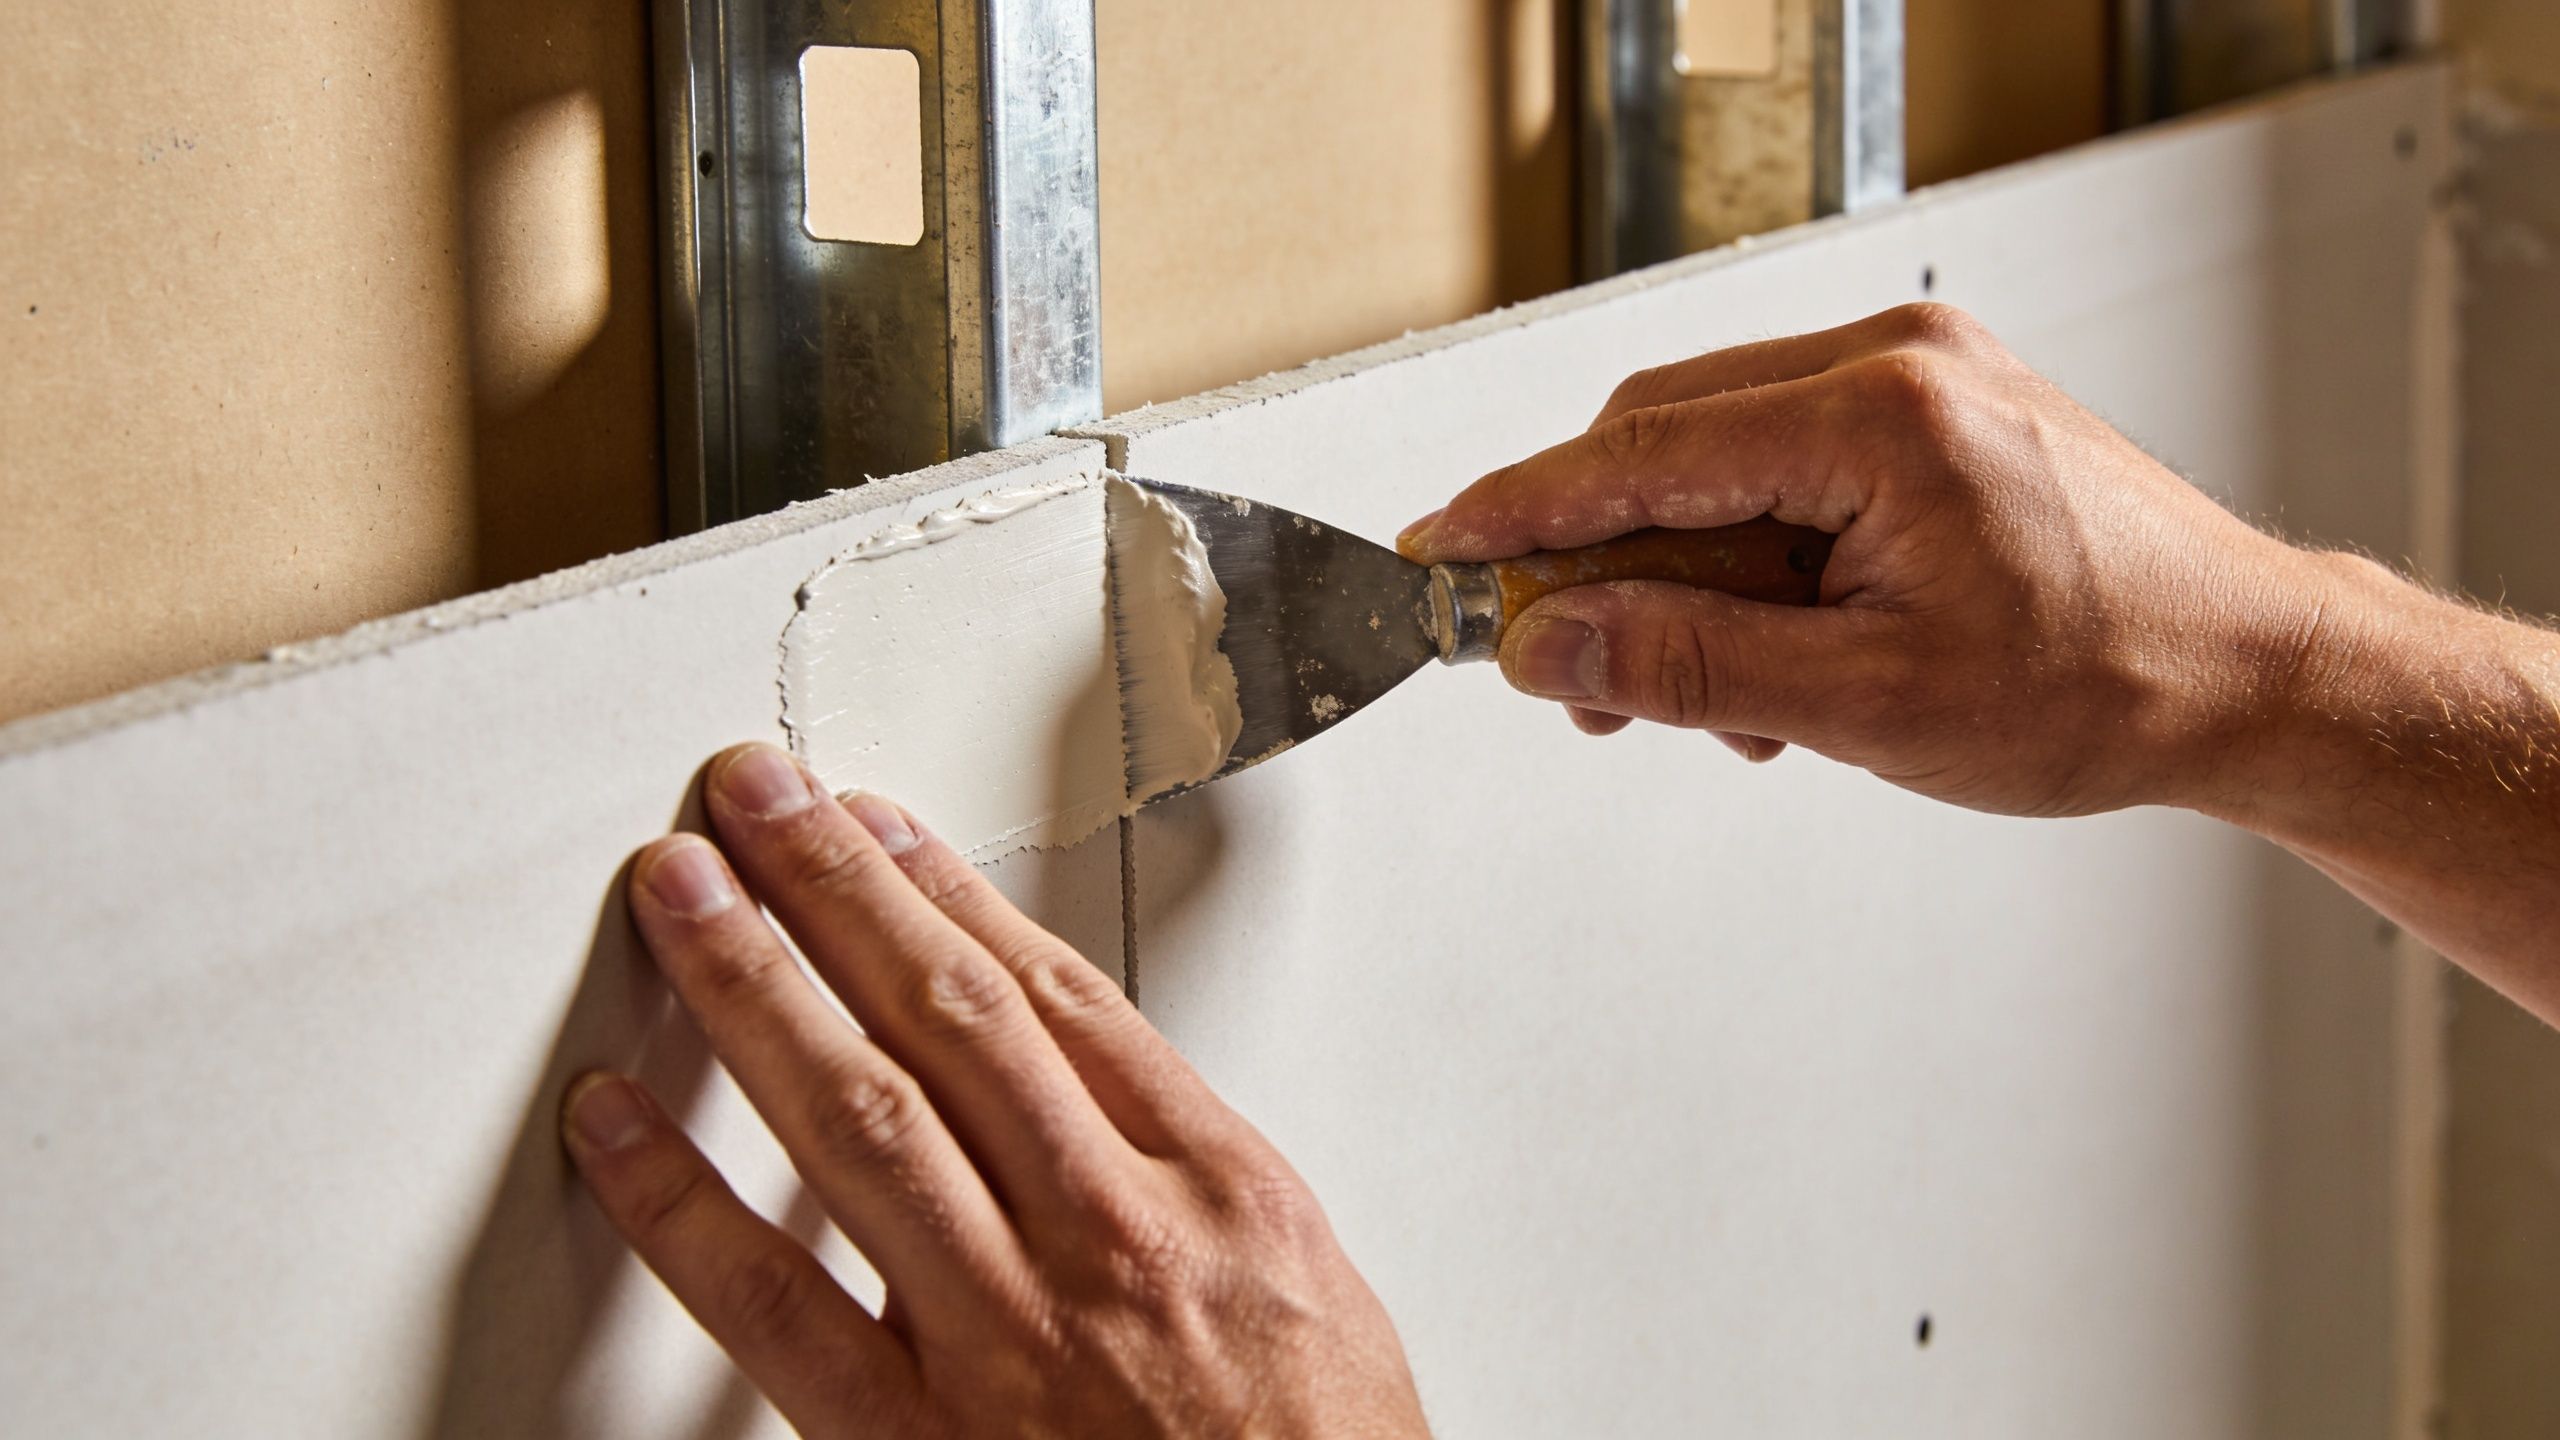
Good hanging makes good finishing possible
Start by checking every fastener before mudding. Proud screws need to be set. Torn-paper screws need attention. Gaps that are too large for tape alone should be prefilled so the tape isn’t bridging empty space.
A typical finishing sequence looks like this:
- Prefill where needed. Don’t leave voids at cut edges or small gaps.
- Embed tape fully. The tape has to sit tight without bubbles.
- Build coats gradually. Wide, smooth coats hide joints better than heavy ridges.
- Sand with control. Aggressive sanding scars the face paper and creates more repair work.
The corner treatment matters too. Paper-faced bead often gives the cleanest line in finished interiors. Metal bead can still be the better choice where corners take abuse, such as corridors, utility areas, and some commercial settings. The right answer depends on the use of the space, not on habit alone.
The finisher can hide a lot. The finisher cannot make a loose panel act like a solid wall.
Corners, joints, and long wall runs
Long walls need movement planning. On larger runs, control joints every 30 feet are tied to a 95% crack-free surface at the 2-year mark, while skipping them can drop that to 70%, based on the GA-216 figure summarized in the earlier verified material. That matters in open layouts, commercial corridors, and any remodel with long uninterrupted walls.
For smoother work around metal framing, keep these finishing points in mind:
- Inside corners: Don’t overfill them. Too much mud makes them hard to keep sharp.
- Horizontal joints: Make sure there’s backing where needed so the seam doesn’t move.
- Level 5 work: Every framing irregularity and every screw pattern decision gets exposed under light.
Level 5 finishes are often the right call in custom homes, bright open interiors, dental clinics, and modern commercial spaces with strong side lighting. They take more control, more inspection, and better substrate prep. That’s also why some projects that look manageable during hanging become clearly professional work during finishing.
For owners combining wall repairs with repainting, it also helps to treat finishing and painting as one workflow. Once the surface is flat and stable, interior painting services produce a much cleaner final result than trying to patch and paint in disconnected phases.
Common Problems and When to Call a Pro
Metal stud drywall usually fails for predictable reasons. The board was fastened too hard and the paper broke. A joint landed where the framing flexes. An electrical cutout took too much material off an unsupported edge. Then paint and window light expose every shortcut.
Some repairs are reasonable for a capable DIYer or a maintenance team. Small screw pops, a few proud fasteners, or a localized crack on an otherwise stable wall can often be corrected if you stop and fix the cause first, not just the surface. Reset the fastener, add support where needed, and patch it before the finish coats continue.
A slightly oversized box cut can sometimes be saved too. The key is whether the surrounding board is still firm. If the face moves when you press it, the repair needs backing and a more careful approach than simple filler.
Problems start to cross into contractor territory when the wall is telling you something about the framing, not just the finish. Repeated cracking in the same spot, loose board around doors or windows, waviness along a long run, or deflection at the top track usually means the assembly needs to be corrected before it can be made presentable.
That matters in Portland more than many generic guides admit. We see it in older homes tied into additions, mixed wood-to-metal remodel conditions, and commercial tenant improvements where structure movement shows up at partitions. In seismic areas, even minor movement patterns can telegraph through a badly hung wall.
Call a pro for larger repairs, high-visibility surfaces, and any project where texture match or Level 5 blending has to disappear under paint. Property managers also benefit from bringing in a contractor sooner when the space is occupied, because dust control, schedule control, and clean access around tenants matter as much as the patch itself.
If you are sorting out a visible repair or planning a bigger interior project, local experience helps. Homeowners and managers can start with Portland service area information.
A good drywall contractor finds the reason the wall moved, the reason the seam cracked, and the reason the finish reads uneven under light. Then the repair lasts.
If you want clean, paint-ready results without trial and error, CS1 Real Interiors is ready to help. We handle drywall repair, drywall installation, interior painting, insulation, and metal stud framing throughout Portland, Beaverton, Hillsboro, Tigard, Lake Oswego, Forest Grove, Cornelius, Tualatin, and nearby Vancouver, WA.