If you're looking at open studs after a remodel, planning a basement finish, or staring at drywall damage from a leak, the same question usually comes up fast: how do you get walls that look clean, stay solid, and don't turn into a repaint or repair problem a few months later?
Drywall installation looks simple from a distance. In practice, it decides how your whole room feels when the paint goes on and the lights are turned back on. Uneven seams, bad board layout, rushed drying, or poor prep all show up later. In Portland-area homes, moisture, older framing, and tricky ceiling lines make that even more important.
For homeowners in Portland, Beaverton, Hillsboro, Tigard, Lake Oswego, Gresham, and Vancouver, WA, good drywall work isn't just about covering studs. It's about getting a straight, durable, paint-ready surface with as little disruption as possible. There are about 118,600 drywall installers, ceiling tile installers, and tapers in the U.S., which gives local property owners access to a broad skilled labor pool for projects ranging from repairs to full interior build-outs, according to the Bureau of Labor Statistics drywall occupation profile.
Table of Contents
- Your Guide to Flawless Drywall Installation
- The Drywall Installation Process from Studs to Finish
- Choosing Your Drywall Type and Finish Level
- Need a Professional Finish for Your Portland Project
- Project Planning Costs Timelines and Preparation
- DIY Drywall vs Hiring a Professional Contractor
- Why Portland Chooses CS1 Real Interiors
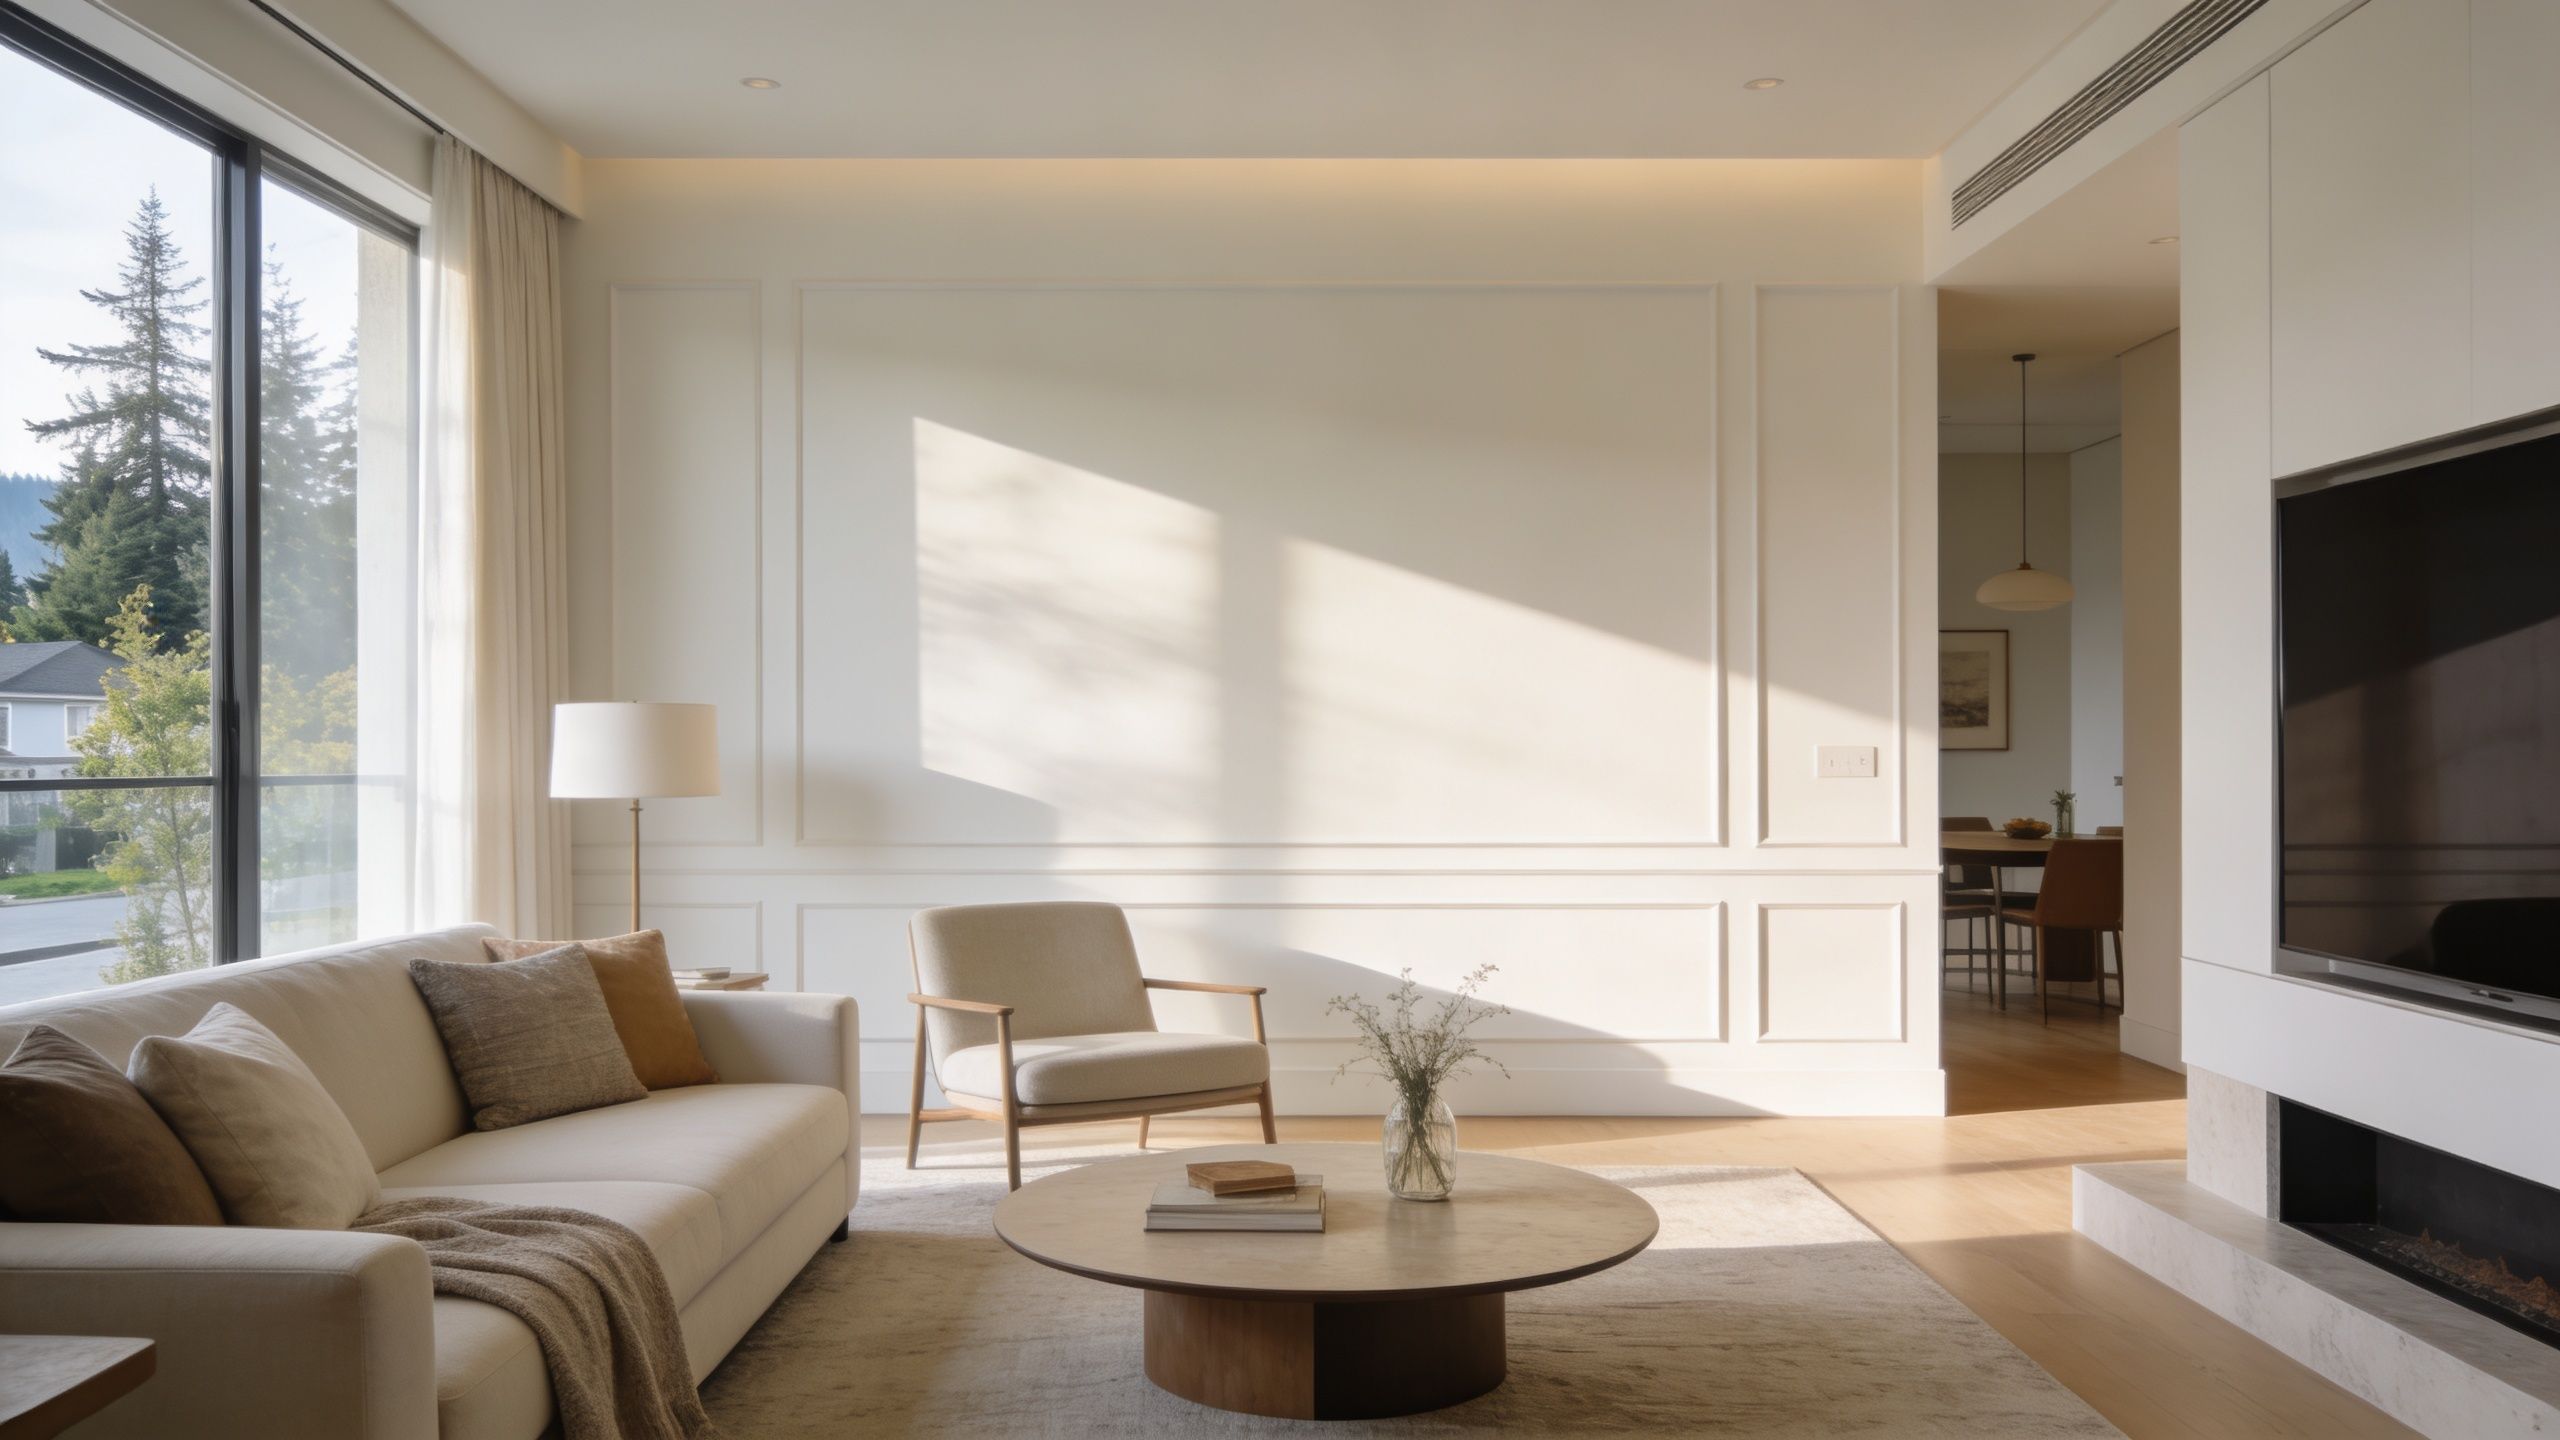
Your Guide to Flawless Drywall Installation
Drywall is the surface you see every day, but most of the quality is decided before the finish coat ever goes on. Homeowners usually notice the final paint color, the trim, or the lighting first. What they keep living with is the flatness of the walls, how corners look, and whether seams stay invisible.
In Portland, a drywall project often starts because something else happened first. A bathroom leak damaged a ceiling. A kitchen remodel opened up walls. An older home in Sellwood or Alberta needs straightened surfaces before paint. A rental turnover in Beaverton or Gresham needs holes, cracks, and rough patches fixed fast so the unit can go back on the market.
Practical rule: Drywall is the finished surface underneath your paint. If the board layout or finishing is off, better paint won't hide it.
Good installation work balances three things at once:
- Surface quality: Walls need to look smooth in daylight and under evening lighting.
- Durability: Seams, corners, and patched areas need to hold up through seasonal movement and normal use.
- Disruption control: Dust, access, drying time, and room protection need to be managed so the project doesn't take over the house.
That matters whether you're finishing a basement in Hillsboro, remodeling a primary suite in Lake Oswego, or preparing a small commercial tenant improvement in Vancouver, WA. Drywall installation isn't one single step. It's a chain of decisions, and each one affects the next.
The Drywall Installation Process from Studs to Finish
A professional drywall job follows a sequence for a reason. Skipping ahead usually creates visible defects later, especially once primer and paint hit the wall.
Prep comes before board
Before any sheet goes up, the framing has to be checked. That means looking for bowed studs, backing where edges need support, rough openings that aren't clean, and ceiling or wall planes that will create a hump or dip later. In remodel work, this stage often includes correcting older framing that wasn't built for a modern smooth-wall finish.
If the project includes metal stud framing, soffits, or reconfigured walls, that framing needs to be square and stable before drywall starts. Drywall doesn't fix bad structure. It only covers it.
In Portland's damp climate, water damage is a common issue. A proper repair is more than patching a soft spot. It means checking for hidden mold, making sure the area is fully dry, and often replacing insulation before new board goes in, as discussed in this Fine Homebuilding guide on hanging drywall on a gable end.
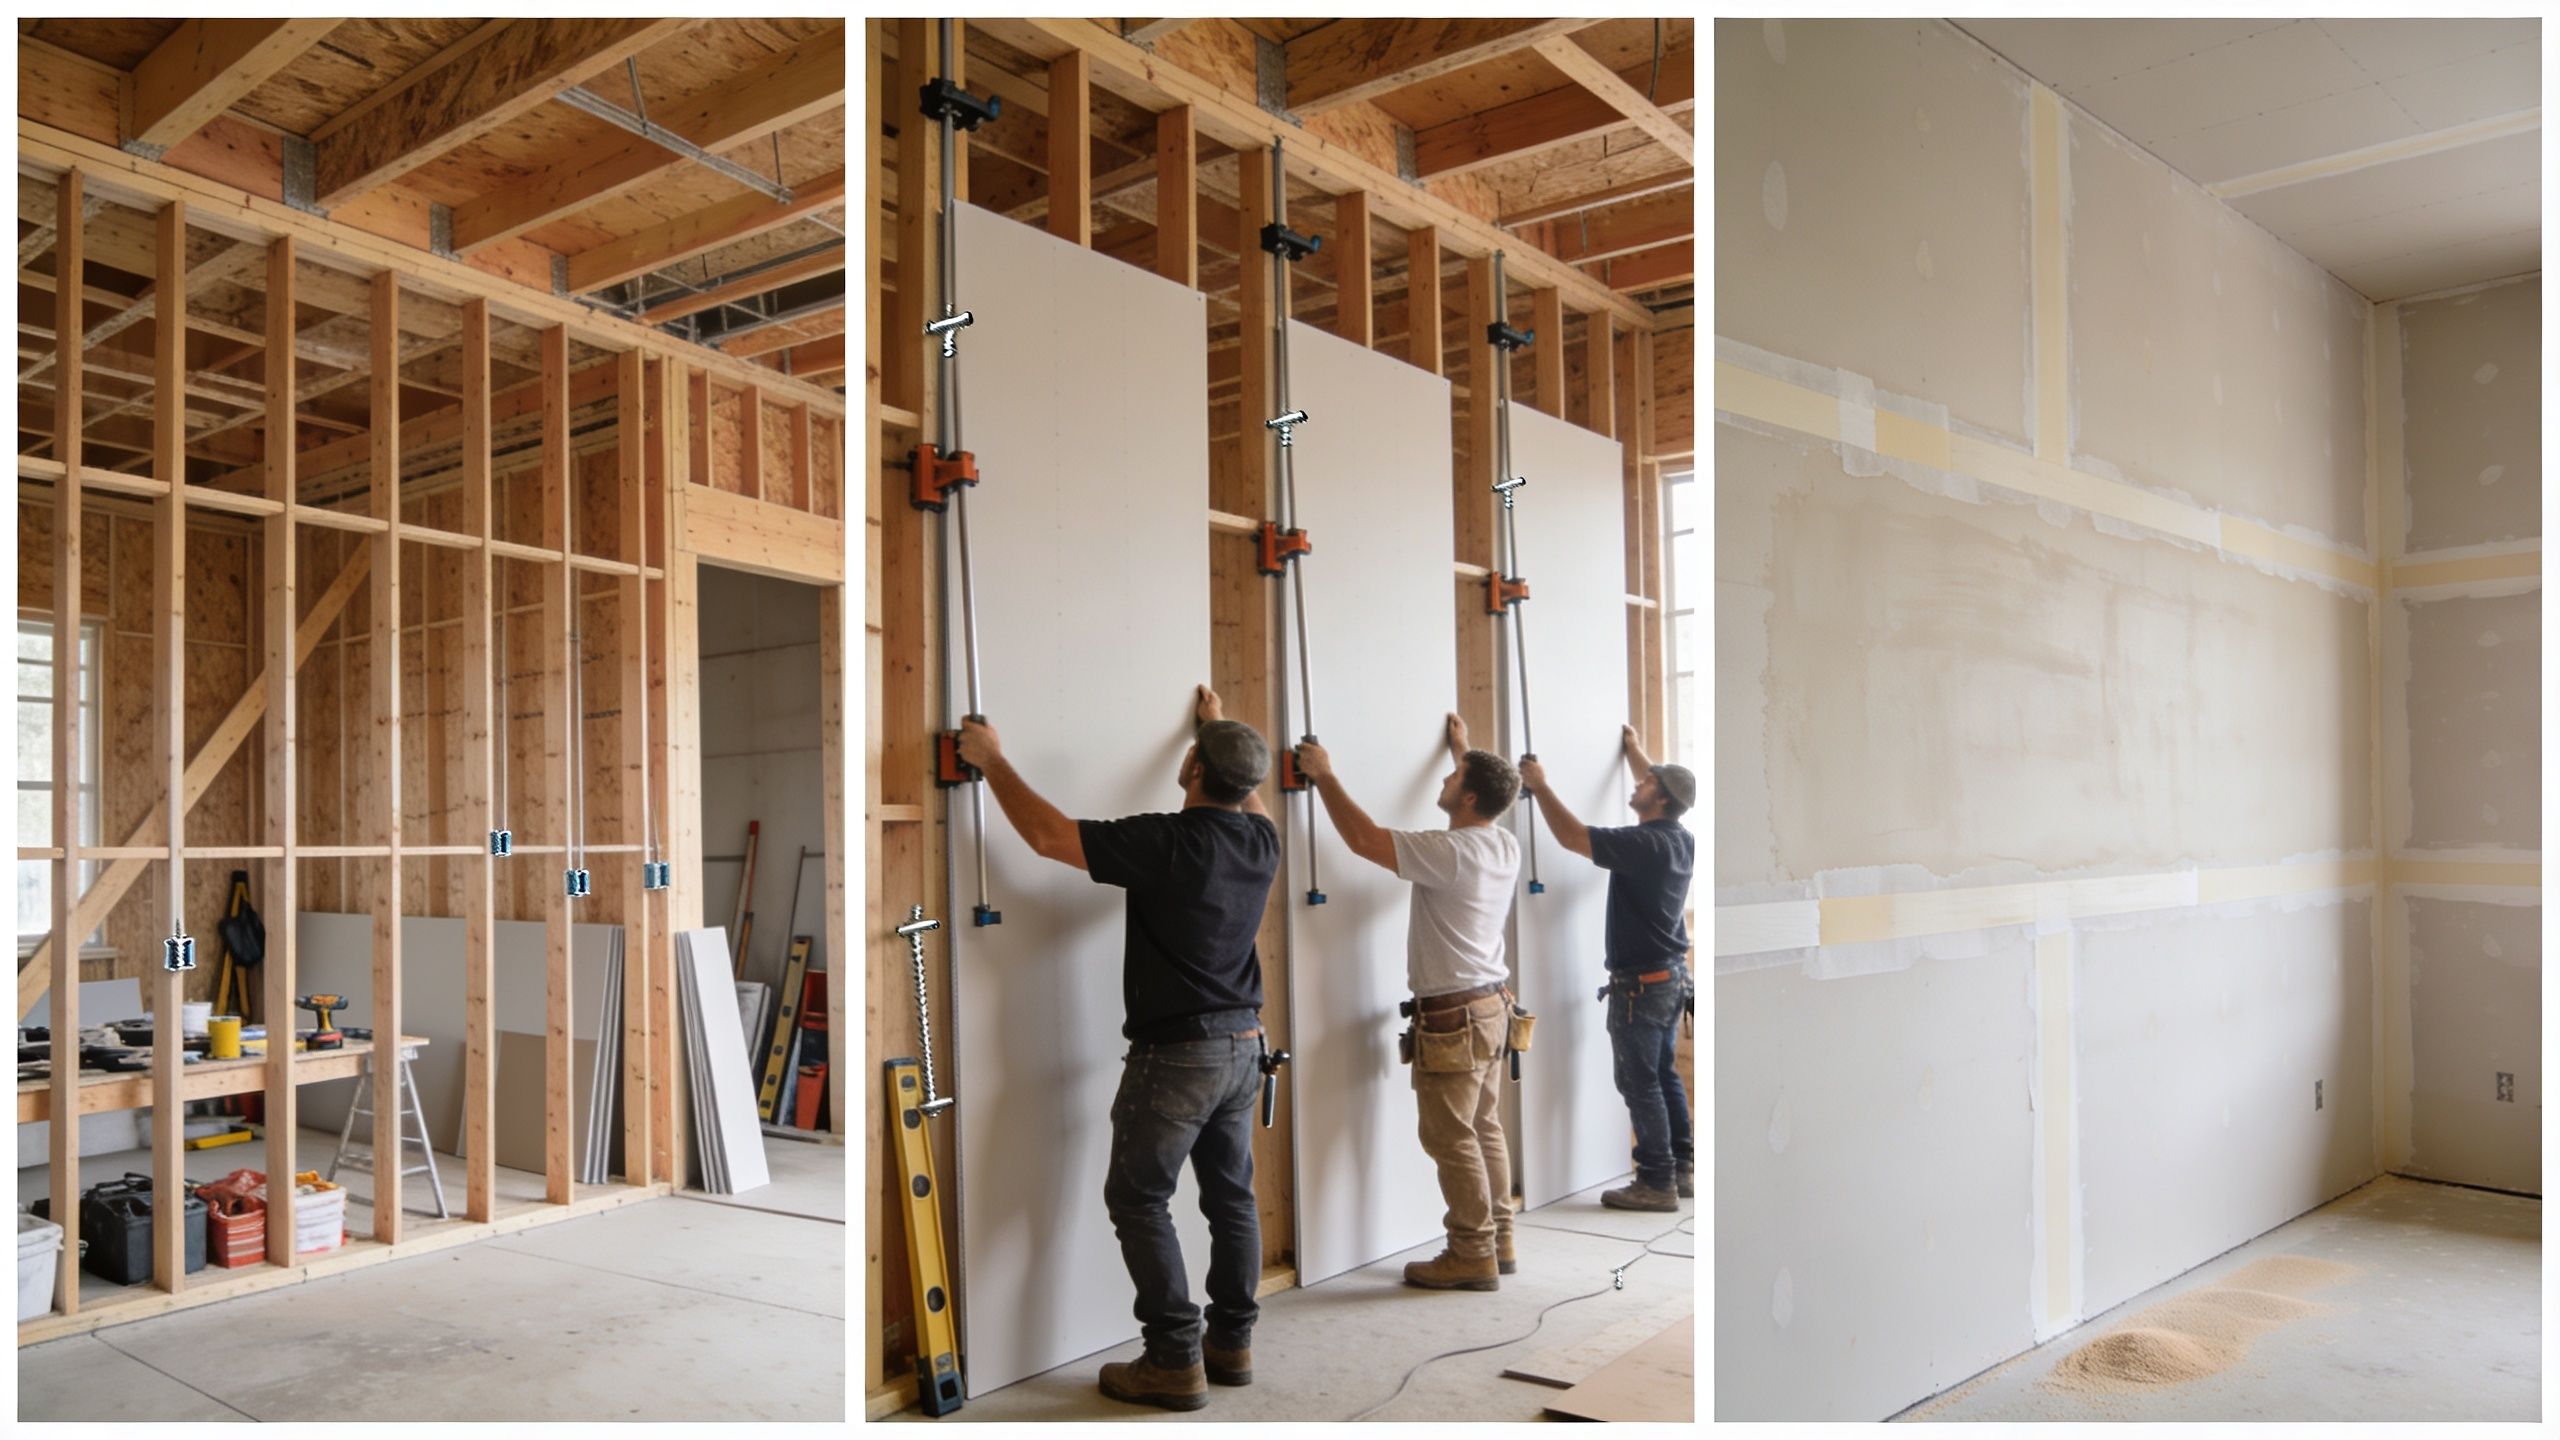
Hanging board the right way
Board layout matters more than most homeowners expect. A good hanger thinks about seam placement, unsupported edges, outlet alignment, corner strength, and how the finisher will treat the wall later. Fewer awkward joints usually means a cleaner final appearance.
On ceilings and long walls, sheet direction and joint placement can help reduce visible lines. In vaulted spaces or off-angle sections, the cuts need to be tight and intentional. That's one reason complex rooms take longer than a basic rectangular bedroom.
For homeowners comparing scopes, it helps to see local examples of full-service work such as drywall installation in Hillsboro, where planning, board layout, finishing, and paint-readiness all need to line up.
A quick look at the hanging stage helps explain what happens on site:
Taping mudding and sanding
The visual quality of the job hinges on these steps. Tape reinforces the joints. Joint compound builds the transition from board to board. Sanding removes ridges and tool marks without gouging the surface.
The biggest mistake on rushed jobs is trying to make one coat do too much. Heavy buildup shrinks, cracks, and leaves wide humps that show under paint. Good finishers build joints in stages and let each stage do its job.
The cleaner the hanging work is, the cleaner the finish work can be. Bad layout forces extra mud. Extra mud usually means extra sanding and more visible flaws.
Homeowners should also expect some variation based on the room. A garage conversion, a kitchen remodel, and a repaired ceiling after plumbing damage don't get finished the exact same way. The target is always the same though: a surface that looks even, accepts primer properly, and doesn't telegraph the work underneath.
Choosing Your Drywall Type and Finish Level
Not every room should get the same board, and not every wall needs the same finish level. If you choose both correctly at the start, you avoid paying for the wrong upgrade in the wrong space.
Picking the right board for the room
Most homeowners hear "drywall" and think it's one material. It isn't. The board should match the conditions in the room and the assembly behind it.
Here are the common decision points:
- Standard board: Good for typical living spaces, bedrooms, hallways, and many remodel areas with normal conditions.
- Moisture-resistant board: A better fit where humidity is a concern, such as some bathroom or utility areas.
- Fire-rated board: Often used where code or assembly requirements call for added fire resistance.
- Ceiling-specific planning: Ceilings often need extra attention because sag, seam placement, and lighting make defects more visible.
Older Portland homes add another wrinkle. You may be tying new drywall into plaster, uneven framing, or repaired sections from previous work. In those cases, the right board choice is only half the equation. The finish level matters just as much.
Understanding the 5 levels of drywall finish
Homeowners hear "Level 4" and "Level 5" a lot, but the practical difference is simple. Level 4 is a solid standard finish for many rooms. Level 5 is the highest finish standard and includes a full skim coat over the entire surface after joints and fasteners are coated, which helps eliminate joint photographing and creates a more uniform surface under critical lighting or gloss paint, as described in this overview of drywall finish levels.
| Finish Level | Description | Common Use Case |
|---|---|---|
| Level 0 | Board is hung or placed with no finishing work | Temporary or unfinished areas |
| Level 1 | Tape is embedded at joints with minimal finish work | Areas hidden from view |
| Level 2 | Joints and fasteners receive additional compound | Utility rooms or areas behind tile in some scopes |
| Level 3 | More complete finishing, often suitable before heavier texture | Surfaces that won't receive a smooth painted appearance |
| Level 4 | Standard smooth finished wall for many painted interiors | Bedrooms, living spaces, and common remodel work |
| Level 5 | Full skim coat over the full surface for the most uniform result | Rooms with large windows, critical lighting, or glossy paint |
A few practical guidelines make the decision easier:
- Choose Level 4 when the room has forgiving light and a standard painted wall finish.
- Choose Level 5 when the wall will be smooth, highly visible, and exposed to raking light from large windows or strong fixtures.
- Spend where it shows: Entry areas, kitchens, open living rooms, and feature walls usually justify the upgrade more than storage areas.
Smooth walls don't just depend on better sanding. They depend on choosing the right finish level before the crew starts.
Need a Professional Finish for Your Portland Project
A Portland drywall job usually looks simple until the room is empty and the walls are under real light. Morning sun from large windows, uneven framing in an older house, or leftover moisture from a past leak can turn a routine installation into a finish problem that shows every seam and patch.
That is where experience pays off in a practical way. A professional crew checks the framing before board goes up, looks for signs of past water damage, plans for dust control, and matches the finish to how the room will be used. In Portland-area basements, lower levels, and older remodels, those decisions matter because moisture history and out-of-plane walls can affect both the installation and the final appearance.
Homeowners usually feel the trade-off in three places. Budget, disruption, and how the walls look after paint. Saving money on the front end can make sense in a storage room or utility area. It usually does not pay off in an entry, kitchen, open living space, or any room with strong natural light where surface flaws are easy to see.
High-end results also require the right scope from the start. Vaulted ceilings, patch tie-ins, and Level 5 finishes take more than basic board hanging. They require careful layout, tighter finishing work, and time for proper drying between coats so the wall looks consistent instead of rushed.
For property owners in Portland, Beaverton, Tigard, Lake Oswego, Hillsboro, Gresham, and Vancouver, WA, the smart first step is an on-site evaluation. CS1 Real Interiors can look at the actual conditions, explain where a standard finish will work, and point out where upgraded prep or a higher finish level will make a visible difference.
If you want the walls to look right the first time, get the scope right before the work starts.
Project Planning Costs Timelines and Preparation
Most homeowners want three answers before approving drywall installation. What's the likely cost, how long will it take, and what should be done before the crew arrives?
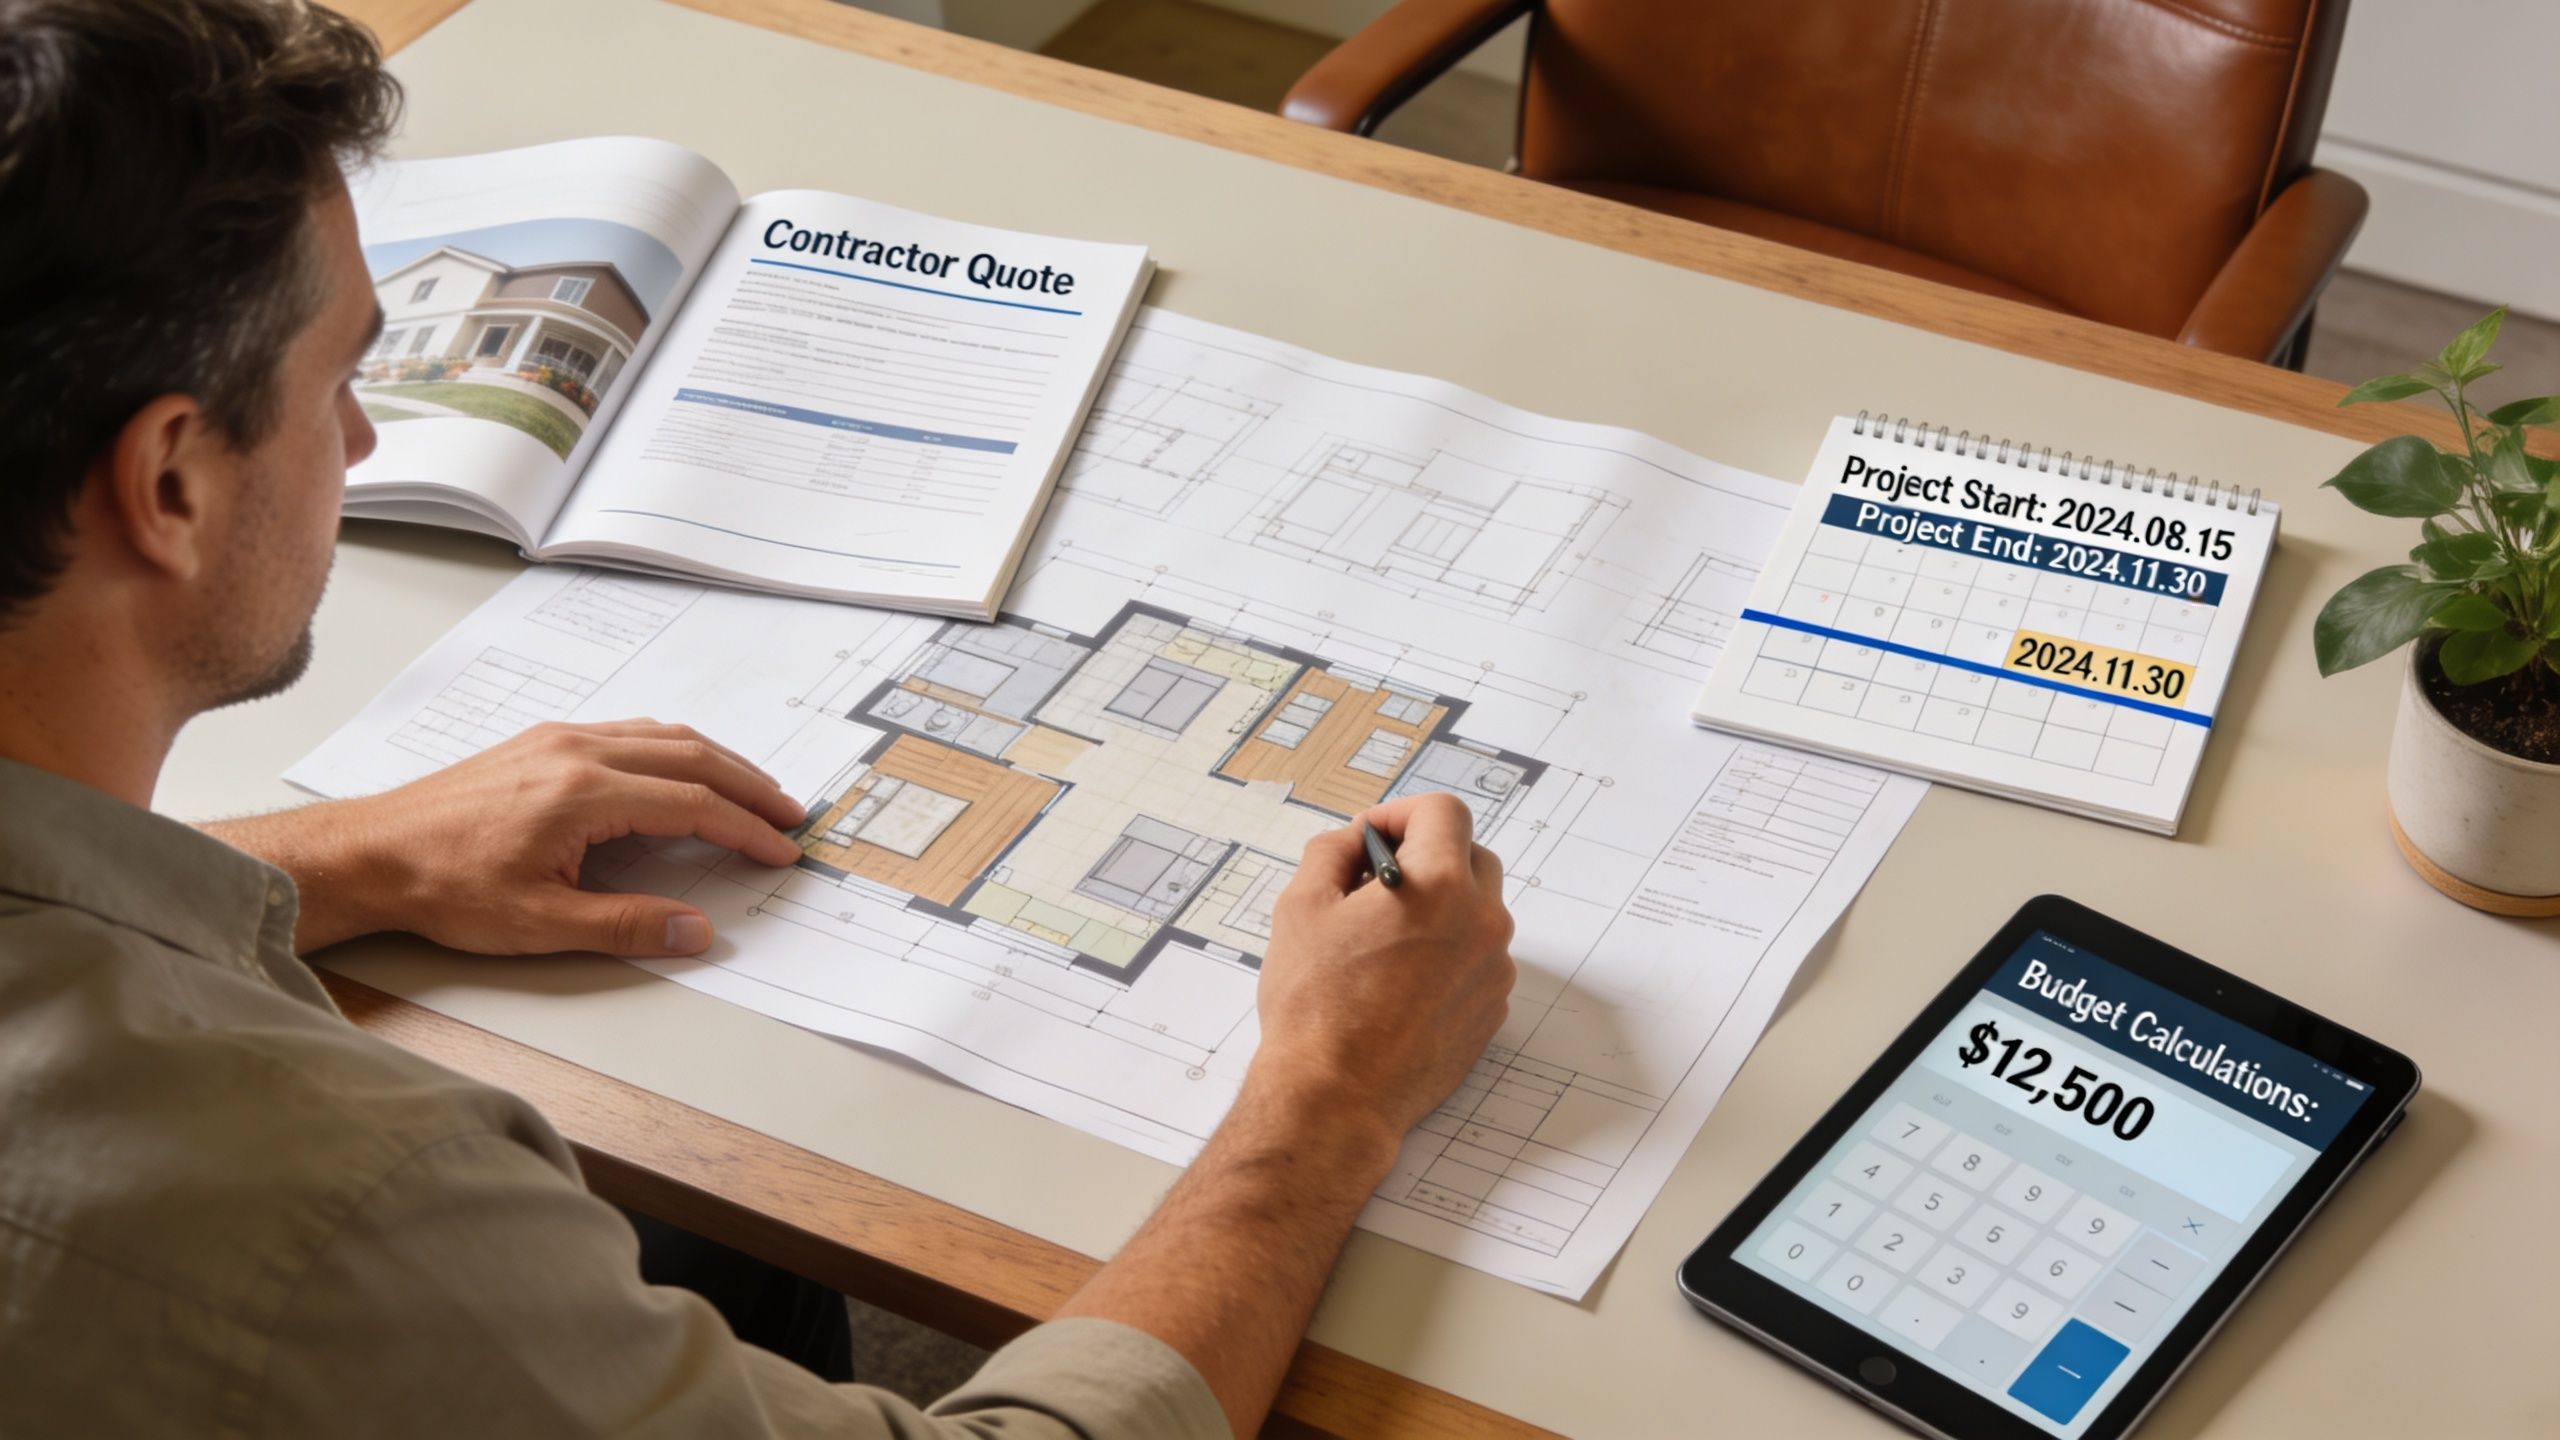
The baseline numbers help. Drywall installation typically costs $1.50 to $3.00 per square foot including materials and labor, and labor accounts for roughly 70% of the total, according to these drywall installation cost and safety figures. That same source notes a 100 square foot bathroom install totals $400 to $650, while full projects can range from $987 to $3,217, with an average of $2,102.
What drives the price
Two rooms with the same square footage can price very differently. The biggest factors are usually complexity, finish expectations, and how much prep is hiding behind the visible work.
Common cost drivers include:
- Room shape: Vaulted ceilings, tight closets, stairwells, and angled walls take more labor than flat square rooms.
- Repair vs new installation: Tying into existing finishes, matching old surfaces, or removing damaged material adds time.
- Finish level: A smoother final wall takes more labor than a basic utility finish.
- Access and protection: Occupied homes require floor protection, dust control, and careful staging.
- Follow-on work: If painting, insulation, or framing is tied into the scope, scheduling and sequencing matter.
Timelines also depend on drying time, not just labor hours. Drywall finishing happens in stages, and each stage has to cure properly before the next one goes on. That means a job may look quiet for part of the day while compounds are drying.
Jobsite reality: Homeowners often estimate drywall time by how fast sheets go up. Finishing and drying usually control the schedule, not hanging alone.
How to prepare your home before installation starts
A little preparation makes the project smoother for everyone. It also protects your belongings and cuts down on avoidable delays.
Use this checklist before the crew arrives:
- Clear furniture: Move furniture, wall art, and fragile items away from the work area.
- Protect valuables: Fine dust can travel, especially in remodel work. Store electronics, textiles, and décor in sealed or separate spaces when possible.
- Plan access: Make sure crews can get sheets, tools, and ladders into the work area without obstacles.
- Set expectations: Ask when sanding happens, which rooms will be inaccessible, and when primer or paint can start.
- Flag concerns early: If you have pets, work-from-home hours, or parking restrictions, bring those up before day one.
For occupied homes in Portland and nearby cities, good prep is part of good service. It keeps the schedule cleaner and reduces stress while the work is underway.
DIY Drywall vs Hiring a Professional Contractor
Some drywall work is reasonable for a homeowner. Most full installations are not. The challenge isn't just getting board on the wall. It's getting the room to look finished when light hits every seam.
When DIY can make sense
A small nail hole, a minor dent, or a very limited patch can be manageable if you're patient and understand that paint matching may still be the harder part. Small repairs let you work slowly, sand lightly, and redo a patch if needed.
That changes once the project includes ceilings, multiple sheets, corner bead, water-damaged material, or rooms that need a smooth painted finish. At that point, drywall becomes physically demanding and quality-sensitive very quickly.
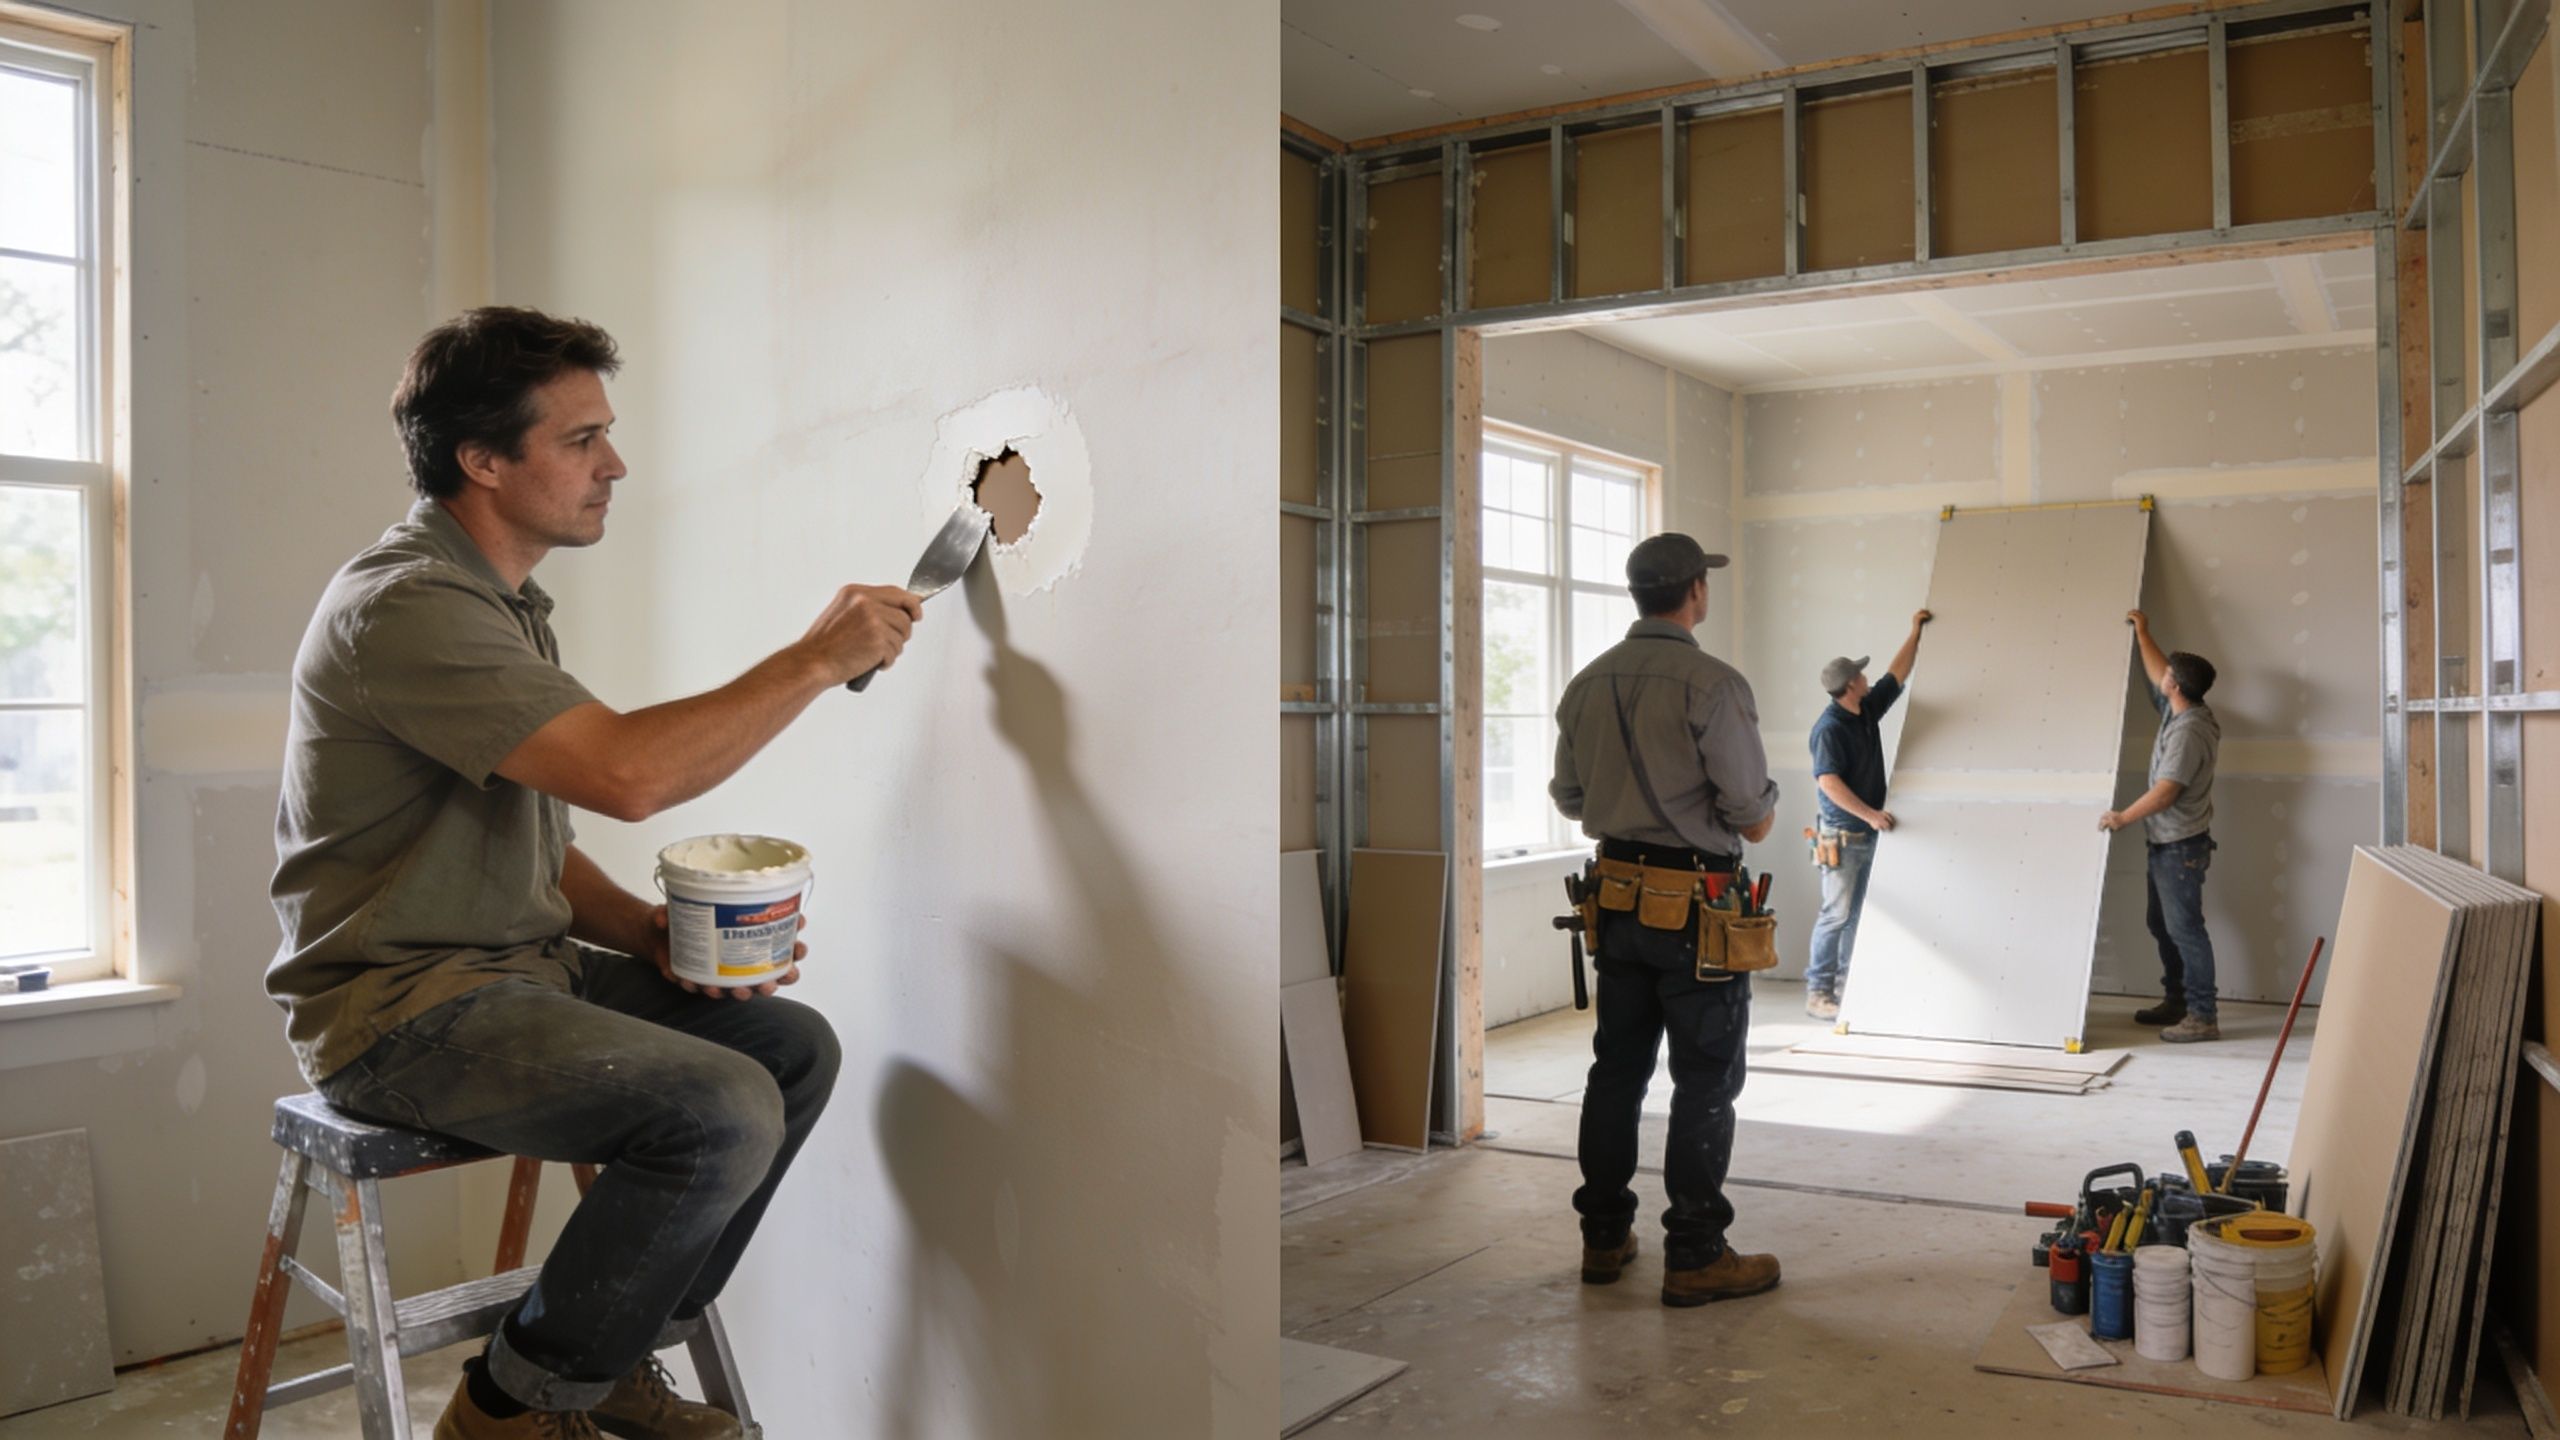
Where homeowners usually get stuck
The first problem is handling. Full sheets are awkward, heavy, and difficult to place accurately, especially overhead. The second problem is finishing. Most DIY work looks acceptable until primer or low-angle sunlight exposes every ridge, hollow, and tape line.
Safety is the other issue. Drywall installation carries real occupational risks. Overexertion accounts for 37% of injuries and falls account for 32%, based on the safety data already noted above. For a homeowner without training, lifts, staging, or good handling technique, large-scale work is less forgiving.
Three practical reasons many owners hire out bigger drywall jobs:
- Finish quality: Smooth walls, clean inside corners, and invisible patches take repetition and touch.
- Tool access: Large knives, sanding tools, lifts, dust control equipment, and repair materials add up.
- Time cost: A homeowner may spend weekends getting a result that still needs to be corrected.
If your issue is damaged walls, recurring cracks, ceiling problems, or patching after plumbing or electrical work, it often makes more sense to hire a contractor who handles this type of work every week. For example, homeowners comparing options for patching and restoration can review a dedicated drywall repair service in Portland.
Hiring a pro isn't just buying labor. You're paying for layout judgment, finish control, dust management, and fewer visible mistakes.
One practical option for homeowners and small commercial clients is CS1 Real Interiors, which handles drywall installation, drywall repair, painting, insulation, and metal stud framing for Portland-area interior projects.
Why Portland Chooses CS1 Real Interiors
A drywall job feels very different when people are living in the house. Furniture gets shifted, rooms are partly closed off, dust control matters, and every extra day affects your routine. Property owners want a contractor who arrives on time, explains what is happening, protects the work area, and leaves walls that still look right once the paint dries and the afternoon light hits them.
Local projects need local judgment
Portland-area homes regularly bring conditions that change the installation plan. Older houses can have uneven framing, patched plaster, settled ceilings, and walls that are far from square. In basements, lower levels, and homes with a history of leaks, moisture concerns also need to be addressed before new board and finish work begin. If that step gets skipped, the finished surface may look fine for a short time and then show movement, joint issues, or paint failure.
High-end finish work also takes judgment, not just labor. A Level 5 result in a newer home with large windows is different from blending drywall into an older room where surfaces are already imperfect. The goal is not to force every project into the same standard. The goal is to match the finish to the space, the lighting, and the owner's expectations so the budget goes where it matters most.
Many homes in the area also have vaulted ceilings, remodel transitions, and off-angle corners. Those details can turn into visible humps or cracked corners if layout and finishing are rushed. A contractor needs to know when a repair can be blended, when a full wall or ceiling skim makes more sense, and when framing or moisture problems need to be corrected first.
That kind of project judgment matters across Portland and the surrounding service area, including Beaverton, Hillsboro, Tigard, Lake Oswego, Forest Grove, Cornelius, Tualatin, Gresham, and Vancouver, WA.
One contractor for connected interior work
Drywall work often overlaps with other interior needs. After a leak, insulation may need replacement before walls are closed. A remodel may need metal stud framing, new board, texture matching, and painting in sequence. Keeping that scope with one contractor reduces scheduling gaps and cuts down on the common problem of one trade blaming the next for a bad result.
That approach helps in several situations:
- Home remodels: Kitchens, baths, basements, additions, and full interior updates
- Rental turnovers: Faster repairs and repainting between tenants
- Small commercial spaces: Offices, clinics, restaurants, and retail improvements
- Builder support: Framing, board, finish, and related interior scope under one roof
Clear communication and clean work are part of the job. They help keep an occupied home livable and make the process easier on owners who are already balancing cost, timing, and finish quality.
If you're planning drywall installation, dealing with water-damaged walls, or trying to get a paint-ready finish that will hold up, CS1 Real Interiors can help with a clear scope and a free estimate. Use the estimate request form to contact the team and discuss your project in Portland, Beaverton, Hillsboro, Tigard, Lake Oswego, Gresham, or Vancouver, WA.