


You notice the stain after a week of rain, or a ladder has scraped a rough patch from the ceiling above the dining table. The natural response is to reach for a putty knife, joint compound, and matching texture. In Portland-area homes, that can be the wrong first move.
A durable texture ceiling repair starts with triage. Before the texture is patched, determine whether the ceiling is dry, whether the underlying drywall is sound, and whether the building's age raises an asbestos concern. A popcorn ceiling in a 1968 Beaverton ranch requires a different approach from a knockdown repair in a 2021 Tigard townhouse. The pattern matters, but the history underneath it matters more.
Table of Contents
- Why Your Textured Ceiling Needs a Closer Look First
- Safety and Prep Before Any Texture Gets Touched
- Matching the Four Common Texture Types
- The Repair Workflow That Actually Holds Up
- DIY or Hire a Pro in the Portland Metro
- Getting to a Paint-Ready Finish
- Ready to Fix It Right the First Time
Why Your Textured Ceiling Needs a Closer Look First
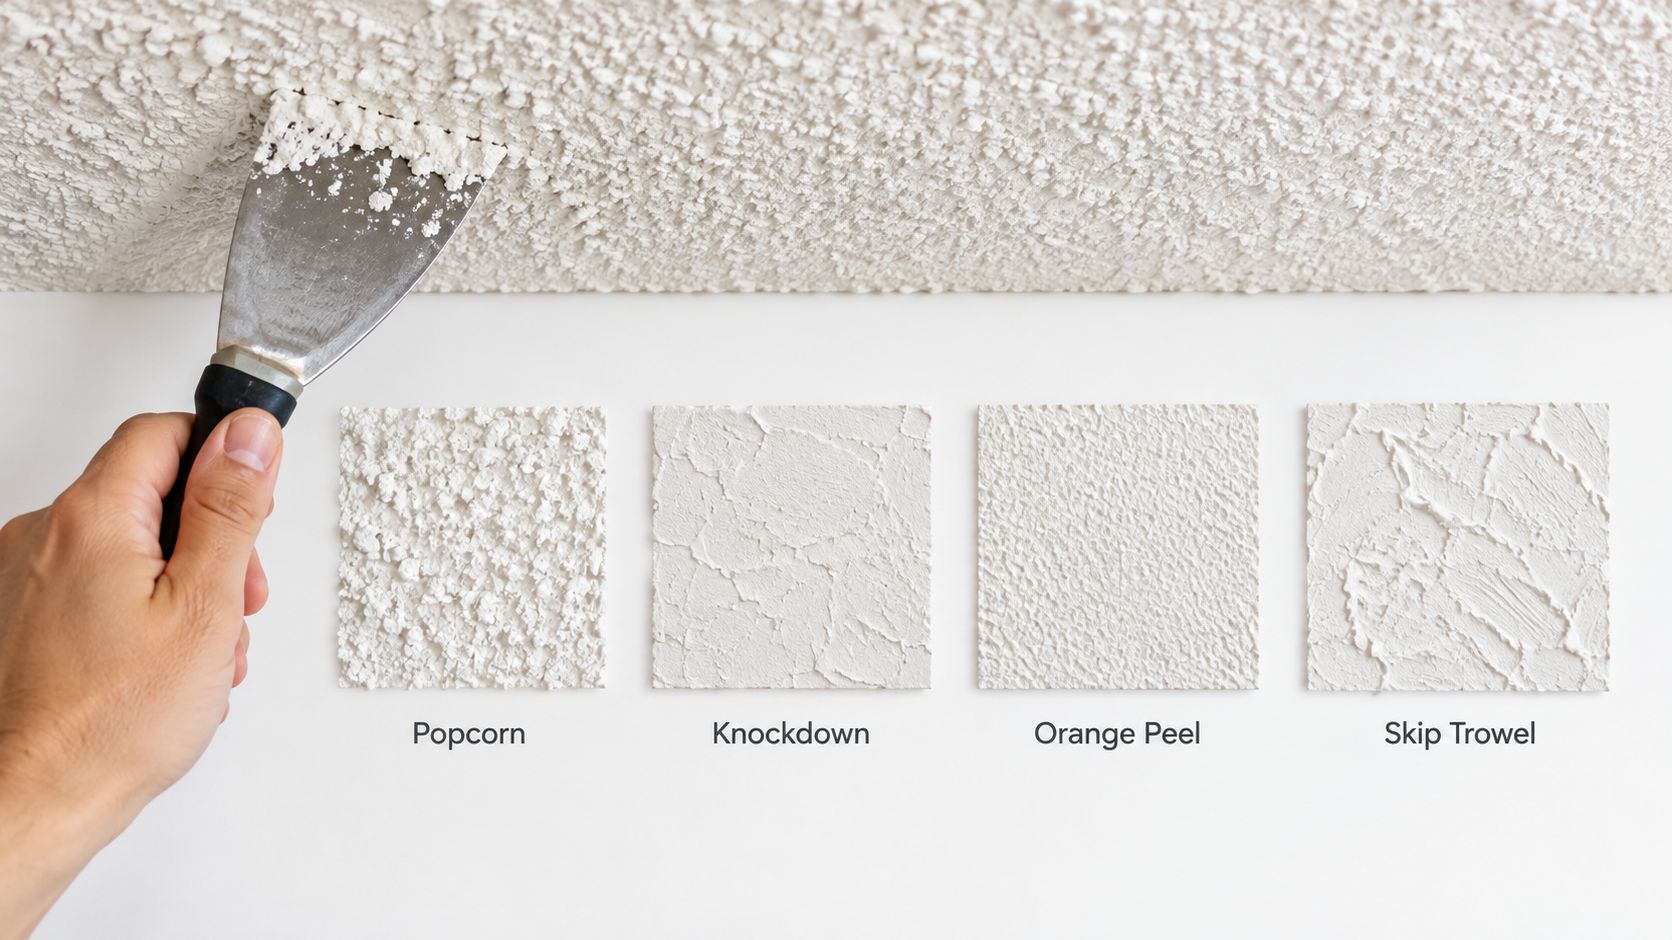
A ceiling can look like a simple cosmetic problem while hiding a leak, weak drywall, or a coating that shouldn't be disturbed. Portland homes commonly have popcorn, knockdown, orange peel, or stipple textures. Each can be repaired, but none should be treated as interchangeable.
Start with construction history
The first screening question is the building's age. The EPA states that homes built or remodeled from 1945 through 1978 may contain asbestos-containing materials, including some textured finishes and joint compounds. The CPSC also identifies sprayed decorative materials, textured paints, and ceiling or wall-joint compounds as possible asbestos-containing products. You can review its asbestos safety guidance for homes before any renovation work.
The dates help identify risk, but they don't certify a ceiling as safe. Products manufactured or installed before restrictions could remain in a building afterward. EPA regulation of spray-applied asbestos materials began in 1973, and the CPSC banned asbestos-containing patching compounds in 1977, but those milestones don't tell you what's inside a particular ceiling.
Read the surface, not just the pattern
A sound texture is generally firm and attached. A suspect surface may feel soft, powdery, crumbly, or loose. Peeling after a leak, flaking under a ladder scrape, or dust falling during a minor disturbance deserves more caution than an intact, stable finish.
Moisture history is the third check. Look for yellow or brown staining, bubbling paint, sagging drywall, recurring discoloration, or a damp smell. A roof or plumbing issue can spread beyond the visible mark, so a small stain isn't automatically a small repair. For broader roof-related context, western Oregon homeowners can review this guide for western Oregon homeowners.
Practical rule: A ceiling's color and texture pattern can't tell you whether it contains asbestos or whether the drywall behind it is dry.
A 1972 Beaverton ranch with intact popcorn texture may need assessment before any scraping. A newer Hillsboro ceiling with a clean nail hole and no moisture history may be a straightforward drywall finishing job. If the texture is old, damaged, or connected to water damage, stop treating it as a routine patch.
Safety and Prep Before Any Texture Gets Touched
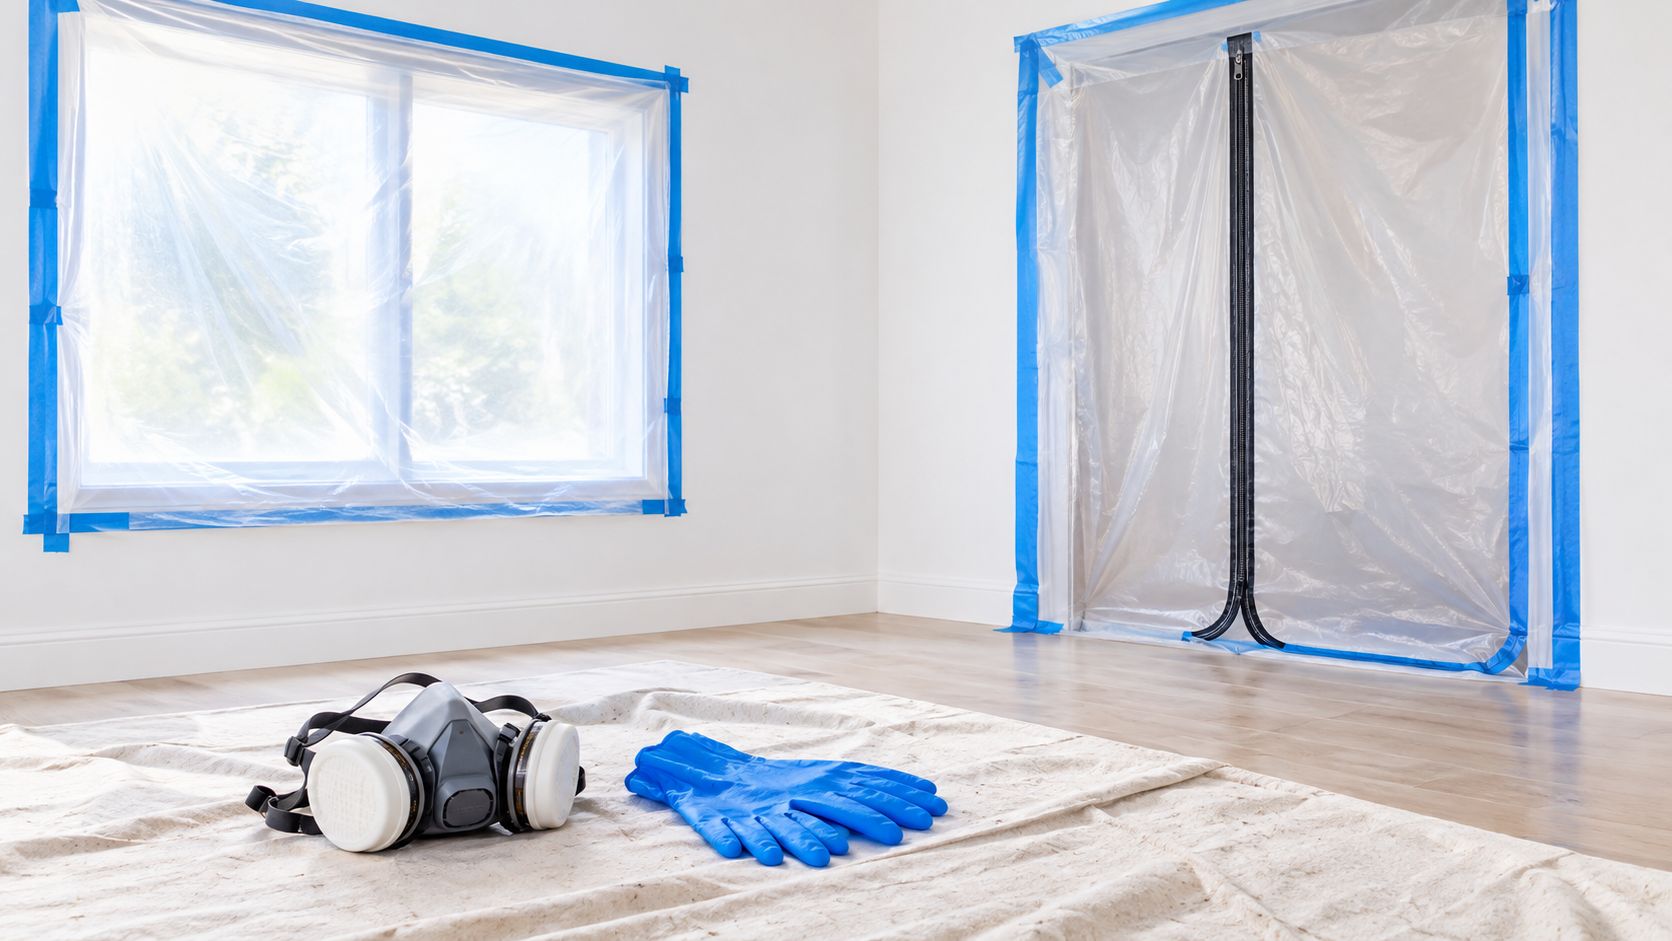
The safest preparation is controlled and deliberate. Don't dry-scrape an older popcorn, acoustic, stippled, or textured ceiling to “see what happens.” The CPSC warns that sanding, scraping, drilling, or disturbing loose or water-damaged material can release fibers. EPA guidance likewise says suspected asbestos material shouldn't be disturbed and that sampling and repair should be handled by trained, accredited professionals.
Decide whether testing comes first
For an older ceiling, especially one that is crumbly, soft, or likely to be scraped, arrange a professional assessment before repair. A homeowner can't reliably identify asbestos by appearance. If testing confirms asbestos-containing material, repair may still be possible, but the work needs appropriate controls and qualified handling. Removal isn't automatically the safest choice. EPA guidance recognizes repair, enclosure, or encapsulation as options when the material is suitable and can remain stable.
If a qualified professional determines that suspect material must be disturbed, the work area should be isolated with plastic sheeting. Occupants should stay outside the containment zone, tracking should be minimized, and the material should be wetted with a fine mist rather than aggressively disturbed. Respiratory and protective equipment must match the work and applicable requirements. Don't improvise with a casual dust mask.
Treat water before texture
A stained ceiling is first a moisture problem. Correct the roof, plumbing, appliance, or framing source before rebuilding the finish. EPA guidance identifies the first 24 to 48 hours as a critical period for drying water-damaged areas, and FEMA says porous materials that can't be properly cleaned and dried within that period may need to be discarded. See the EPA mold remediation guidance for the reasoning behind rapid drying.
Check the insulation, framing, and cavity above the visible mark when access allows. FEMA guidance says soaked wallboard may need to be cut out to approximately 1 foot above the visible water mark, with the cavity checked for hidden mold. A soft, sagging, bubbling, or mold-affected ceiling isn't ready for texture. It may need controlled removal and replacement instead.
For sanding joint compound on a non-asbestos repair, use dust extraction or wet-sanding methods, HEPA vacuuming, and wet cleanup. OSHA sets a respirable-crystalline-silica permissible exposure limit of 50 micrograms per cubic meter as an 8-hour time-weighted average and requires applicable construction employers to use exposure controls, training, housekeeping procedures, and a written plan. Its construction silica information also distinguishes drywall work from other silica-generating tasks, but nuisance dust still deserves control.
Matching the Four Common Texture Types
Once the ceiling is safe, dry, and structurally sound, the repair becomes a matching problem. The surrounding texture determines how much the patch will show, how much material you'll need, and whether a small DIY attempt has a realistic chance of blending.
Compare the surface before buying materials
Popcorn uses visible aggregate and is usually the least forgiving texture to match, especially when the original material has large, uneven particles. Knockdown is more forgiving because flattened peaks break up small variations. Orange peel has a fine, sprayed texture that can blend well when the spray pattern and material consistency are controlled. Stipple varies widely, from fine repeated marks to heavier pressed patterns, so the original application technique matters.
| Texture | Match Difficulty | Primary Tool | Typical DIY Patch Cost |
|---|---|---|---|
| Popcorn | High, particularly with older large aggregate | Texture sprayer or controlled hand application | Qualitative only, because materials and patch size vary |
| Knockdown | Moderate | Hopper or texture sprayer, knockdown knife | Qualitative only, because materials and patch size vary |
| Orange peel | Moderate to low for small repairs | Texture sprayer | Qualitative only, because materials and patch size vary |
| Stipple | Moderate to high | Stipple brush or controlled spray | Qualitative only, because materials and patch size vary |
The requested comparison includes a cost column, but a responsible estimate depends on patch size, substrate damage, access, materials, and whether testing or containment is required. There isn't a verified Portland price that applies to every ceiling, so don't trust a generic figure as a quote.
Know when removal makes sense
Texture removal can create more risk and mess than repair, particularly on older ceilings. If the finish is intact and the damage is localized, blending or encapsulation may be more sensible than stripping the whole surface. For general background on the complications of removal work, this Phoenix ceiling texture removal help offers useful context, although Portland conditions and local requirements still need to be assessed separately.
Knockdown and orange peel often tolerate a small feathered patch because their irregular surface breaks up the transition. Popcorn is different. A patch can have the right color and still look wrong if the aggregate size, density, or application direction differs from the surrounding ceiling. Large repairs may justify matching a broader area or repainting the entire ceiling instead of forcing a tiny spot to disappear.
The Repair Workflow That Actually Holds Up
The repair begins by removing only what has failed. Loose texture comes off carefully after the ceiling has been cleared for safe work. The goal isn't to scrape a wide, unnecessary area. It's to expose a stable edge and avoid weakening sound material.
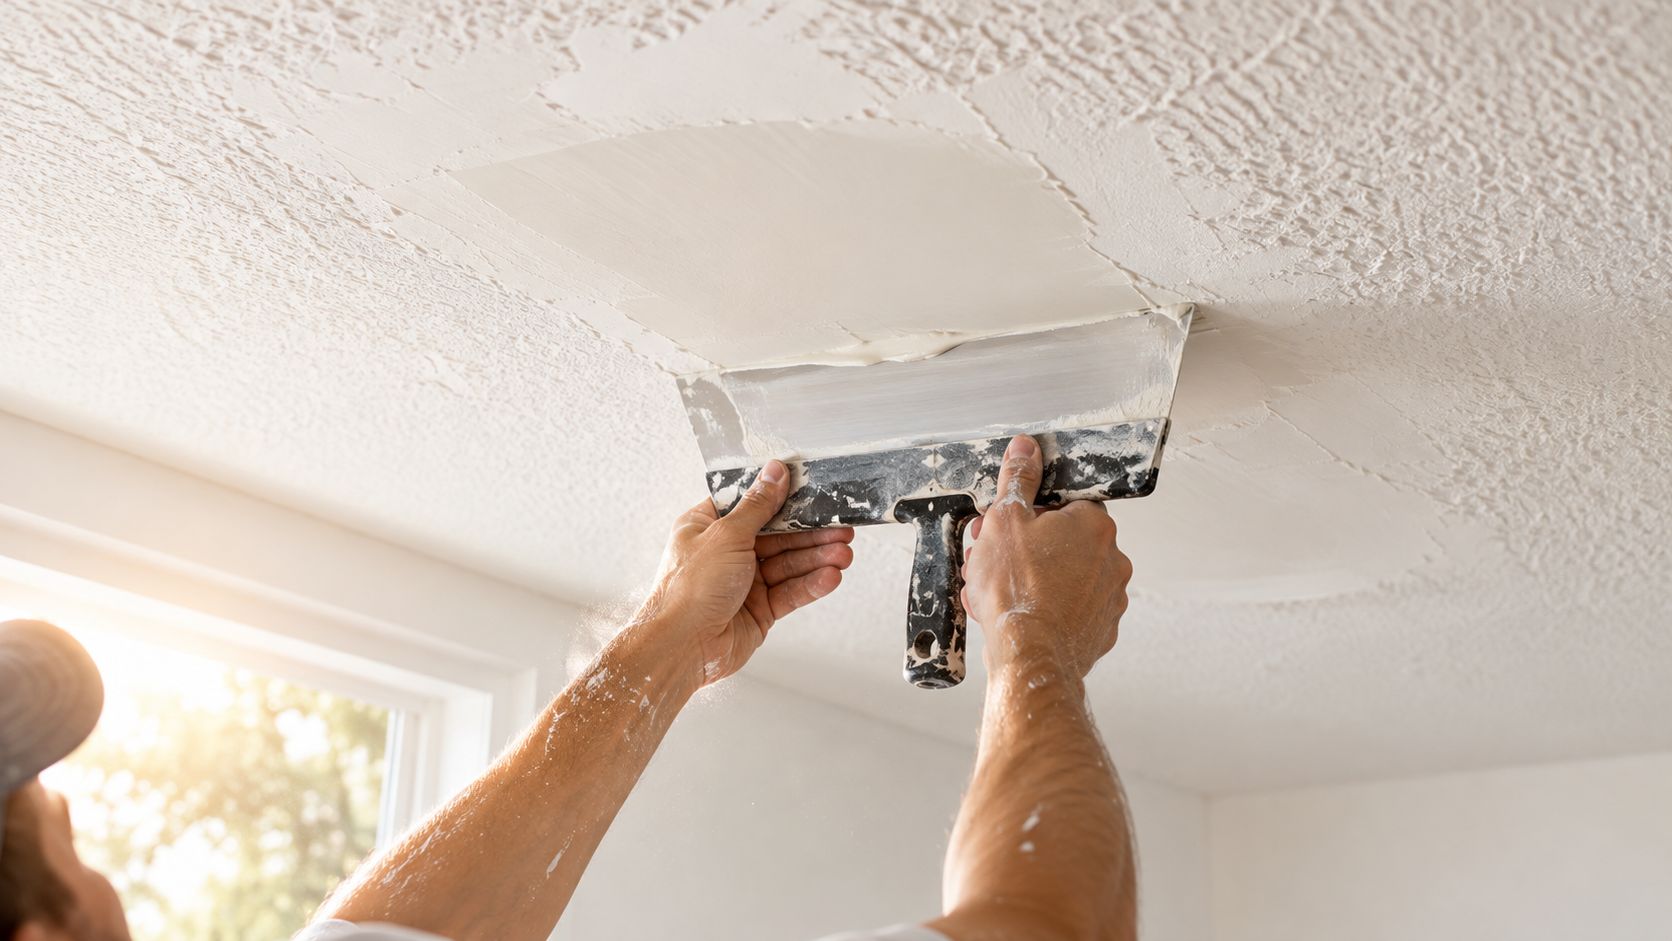
Exposed gypsum needs cleaning and primer before compound goes on. If the damage is a crack, mesh or paper tape helps stabilize the repair. Setting-type compound should be applied in thin coats, with each coat allowed to firm up properly. Feathering has to extend beyond the visible defect. A short, thick patch creates a ridge that the texture can't disguise.
Build the substrate before reproducing the pattern
If the drywall is soft, damp, or damaged through its paper face, texture is not the structural repair. The affected board may need to be cut back to sound material and replaced. On a dry, stable ceiling, fill the defect, smooth the transition, and prime exposed areas so the compound and texture don't absorb unevenly.
A common failure is texturing over chalky, damp, or unprimed substrate. The new material may flash, delaminate, or leave a halo around the patch. Those problems often appear after painting, when the homeowner can no longer correct the underlying preparation without reopening the repair.
Test the texture away from the ceiling
A test panel is more valuable than confidence. Spray or stipple a sample using the same material and approximate application distance, then vary the nozzle pressure, viscosity, distance, and angle. For knockdown, the timing and pressure of the knife also affect the final pattern.
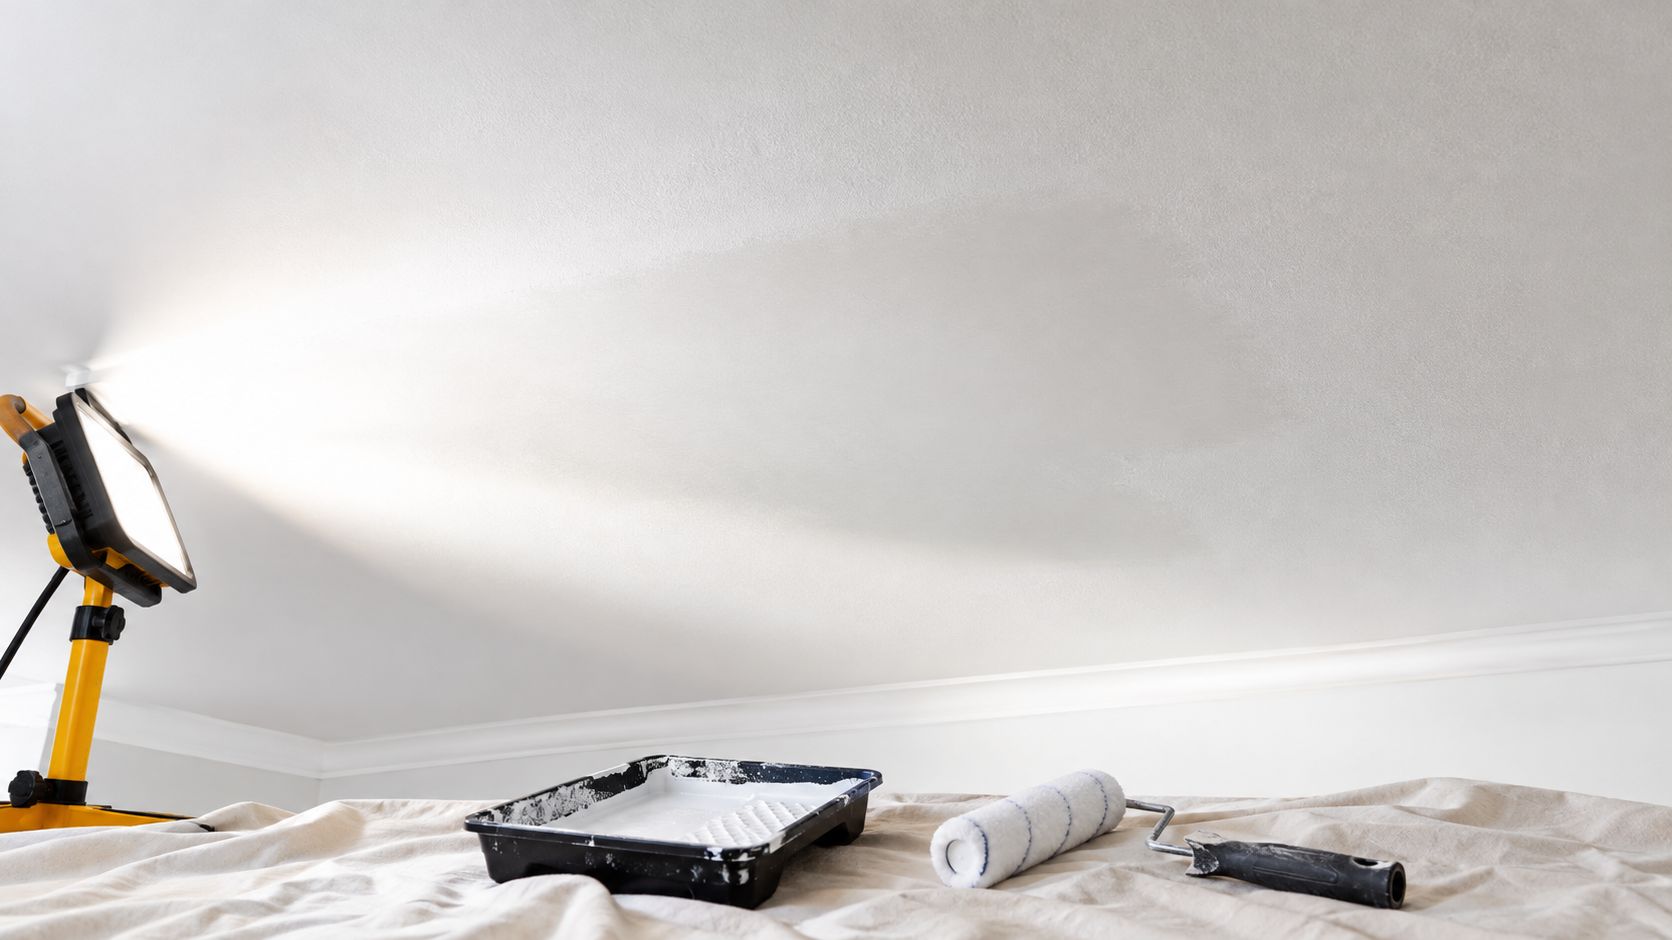
Judge the sample when it is dry, not while wet. Texture shrinks as it dries, and paint changes sheen during curing. Compare the sample under the same raking light that exposes the finished ceiling. A small work light held at a low angle can reveal differences that disappear under diffuse daylight.
Texture matching is a controlled application, not a single pass. If the first attempt is too heavy, adding more material may make the transition worse. It's usually better to adjust the sample, then apply a restrained amount to the repair and build density gradually.
The finished workflow should leave a stable, feathered, primed surface before final paint. This video illustrates the general hands-on nature of ceiling finishing work, but the correct method still depends on the material, damage, and safety assessment.
DIY or Hire a Pro in the Portland Metro
A reasonable weekend repair usually has three characteristics: the ceiling is newer or professionally cleared, the damage is small and dry, and the texture is forgiving. A simple nail hole in a sound orange-peel ceiling is a different job from a water-stained popcorn ceiling in an older Gresham home.
Use three questions to make the decision
How old is the ceiling? If the property falls within the older construction period associated with possible asbestos-containing texture, don't scrape or sand as a test. Arrange assessment before disturbance.
What caused the damage? A clean puncture can be a finishing repair. A recurring stain, soft spot, sag, bubbling paint, or mold concern points to moisture investigation and potentially drywall replacement.
How exact must the match be? Orange peel and light knockdown can be forgiving in a small area. Large-aggregate popcorn and irregular stipple require more control, particularly when the ceiling is viewed under strong windows or raking light.
DIY work also becomes less attractive when the repair involves overhead dust, electrical fixtures, insulation, or a large open area. Rental turnovers and pre-sale repairs create extra pressure, but rushing to seal a stain or spray texture often leaves a visible halo and gives an inspector a reason to look closer.

What professional coordination changes
A professional finisher evaluates the substrate before applying texture, controls dust, tests the pattern, and coordinates drywall finishing with painting. That sequence prevents a common amateur result, where a patch is technically filled but still shows through as a different sheen or texture density.
CS1 Real Interiors handles drywall repair, drywall installation, drywall finishing, interior painting, insulation, and metal stud framing for residential and small commercial projects. Its work includes texture matching, water-damage repairs, cracks, holes, and paint-ready Level 4 and Level 5 finishes. The company follows OSHA-compliant practices, but asbestos inspection or abatement belongs with the properly qualified specialists required for that work.
If your ceiling is in Portland, Tigard, Gresham, Beaverton, Hillsboro, or Vancouver WA, request a free estimate through the CS1 Real Interiors contact form. Describe the texture, building age if known, and whether water damage is involved so the scope starts with the right questions.
Getting to a Paint-Ready Finish
Texture doesn't hide poor preparation as well as people think. It may break up a flat line, but it won't reliably conceal a ridge, a damp substrate, a stain that wasn't sealed, or a patch with a different absorption rate.
Prime according to the surface
A previously textured ceiling doesn't always need primer just because it has texture. USG finishing guidance says priming may not be necessary when the texture isn't stained and the surface is free of grease, dirt, smoke stains, and other contaminants. A repaired area is different. Fresh compound and exposed gypsum typically need appropriate priming so the finish coat doesn't dry with a halo.
Water stains, smoke residue, and kitchen grease need more than ordinary paint. Clean and stabilize the surface, then use a compatible sealing or stain-blocking approach before texture and final coating. Don't paint over mold or use paint as a substitute for drying and remediation. The USG drywall finishing guidance is useful for understanding how surface condition affects primer decisions.
Inspect under the room's real lighting
Use raking light after the repair has cured, been primed, and received its finish coat. Look across the ceiling from several positions, especially near windows and strong fixtures. If the patch disappears in ordinary light but shows a sharp edge under low-angle light, the feathering or texture density needs work.
Matte or low-sheen ceiling paint generally flatters textured surfaces better than a highly reflective finish because it draws less attention to small variations. The right choice also depends on the existing coating and room use. Aged or yellowed paint may make a full-ceiling repaint more consistent than spot-painting, even when the texture itself is well matched.
Tape walls carefully, cut in along the texture edge without flooding it, and let the repaired area fully cure before judging color. A ceiling that looks acceptable while wet can change as the compound dries and the coating settles. The finish should be evaluated as a complete system, not as a patch viewed in isolation.
Ready to Fix It Right the First Time
The practical order is simple: moisture and age before texture. Find and stop the leak, determine whether the substrate is dry and sound, and resolve the asbestos question before scraping or sanding an older finish. Texture ceiling repair is rarely only cosmetic when the ceiling has a stain, loose material, or a history of disturbance.
For Portland-area homeowners, property managers, builders, and small commercial clients, CS1 Real Interiors coordinates drywall repair, drywall installation, drywall finishing, texture matching, and interior painting. The company serves Portland, Beaverton, Hillsboro, Tigard, Lake Oswego, Gresham, Forest Grove, Cornelius, Tualatin, and Vancouver WA, with services that also include insulation and metal stud framing.
A clear estimate should account for the ceiling type, visible damage, moisture history, access, preparation, texture reproduction, and painting. Send photographs and describe what happened, but expect an in-person assessment when the ceiling is older, soft, stained, or difficult to identify.
CS1 Real Interiors provides professional drywall repair, ceiling texture matching, drywall installation, interior painting, insulation, and metal stud framing for Portland-area homes and small commercial spaces. Request a free estimate through CS1 Real Interiors and describe the ceiling texture, damage, and property location so the team can help define a safe, durable scope.