



A brown mark appears on the ceiling after a rainy stretch, or a crack opens along a seam you've painted over before. The temptation is to grab joint compound and make the surface look right. Don't start there. First figure out whether the board, framing, and space above the ceiling are dry and sound enough to close up safely.
The right repair depends on what failed: the finish, the fasteners, the panel, or the conditions above it. This guide walks through how to repair a plasterboard ceiling without hiding a leak, leaving a weak joint, or creating a patch that stands out under light.
Table of Contents
- Reading Your Ceiling Before You Touch It
- Why a Wet Ceiling Is Not a Cosmetic Repair
- Tools, Materials, and Safety Setup for the Job
- Cutting Out Damage and Fitting a Solid Patch
- Finishing to Level 4 or Level 5 Without Telegraphing
- When the Repair Should Be Handed Off
- Troubleshooting the Most Common Patch Failures
Reading Your Ceiling Before You Touch It
Start by identifying the damage, not shopping for materials. Hairline cracks along a joint can come from a weak or poorly taped seam; a crack that repeatedly returns or widens may point to movement in the framing. Screw pops often mean a fastener has loosened or the board has shifted. A clean impact hole is usually a localized patch, but a sagging or bulging panel suggests the board may have lost support or been damaged by moisture.
A brown stain deserves more suspicion than its size suggests. Water can travel above the board before it shows through, so a small mark may sit below a wider damp cavity. If the ceiling is soft, swollen, or visibly drooping, don't treat it as a paint problem.
Identify the substrate
Older ceilings aren't all built the same way. Modern plasterboard evolved from multi-layer gypsum products into paper-faced panels by late 1916; early plasterboard and gypsum lath can need different fastening and finishing methods than modern drywall (USG's history of gypsum wallboard). If your home has an older ceiling or the material is uncertain, don't assume a standard patch will bond or sit flush.
For background on the different considerations involved in ceiling plaster work, see this guide to patching a plaster ceiling safely. The practical point is to identify what you're repairing before cutting into it.
Make a quick condition check
Use a screwdriver handle to tap around the damaged area, listening and feeling for changes. Soft, crumbly, or hollow-sounding spots can mean the weak area extends beyond the visible defect. If you can safely access the attic side, look for damp insulation, staining, or framing concerns without stepping on the ceiling below.
Photograph the damage with a ruler beside it so you can track its size and document it. That simple record can help you decide whether to patch, open a larger section, or get a contractor to inspect the ceiling.
Why a Wet Ceiling Is Not a Cosmetic Repair
Painting over a water stain hides the evidence, not the damage. When water reaches plasterboard's gypsum core, the panel can swell, soften, lose its grip on fasteners, and sag. If the board has delaminated, distorted, or become weak, covering it with compound and paint won't restore its strength. The durable approach is to remove compromised material and replace it after the leak and the wet cavity have been dealt with.
Verify the cause and the cavity
Stop the leak first, then isolate nearby electrical circuits before opening a ceiling. Water near a light, wiring, or an electrical box calls for extra caution. Remove wet insulation or other materials that prevent the cavity from drying, and check that the framing is sound and dry before installing new board.
The EPA recommends starting to dry wet materials within 24 to 48 hours and keeping indoor relative humidity below 60 percent; painting over damp or mold-contaminated material isn't a reliable fix (EPA guidance on mold cleanup). If the board is still damp, soft, or visibly distorted, don't close the ceiling. A handheld moisture meter can be a useful check, but it shouldn't be the only basis for closing a ceiling after significant water damage.
For another perspective on what to check after a ceiling leak, this overview of ceiling leak restoration is a useful reference. The decision here is not whether the stain can be covered. It's whether the panel and cavity are ready to be closed.
Keep a clear record
Photograph the leak source, stained area, and any material removed. Note visible moisture and any repairs made to the source, then share the record with your insurer or property manager if they're involved. If water came from an uncertain source, reached electrical fixtures, or left the board wet for an extended period, get a professional assessment before patching.
Tools, Materials, and Safety Setup for the Job
Set everything out before you climb. Improvising overhead with a saw or compound pan in one hand is how small repairs turn into unsafe ones.
For a small hole
- Cutting tools: A keyhole saw, utility knife, and drywall saw let you trim the opening into sound, manageable edges.
- Finishing supplies: Have setting-type compound for the tape bed, paper tape, 120- and 220-grit sandpaper, and a primed touch-up kit.
- Protection: Put down drop cloths, wear eye protection and an N95 or better respirator for gypsum dust, and keep debris contained.
For a larger patch
- Replacement materials: Match the new panel's thickness and type to the existing ceiling. Add furring strips or backer board wherever an edge won't land on framing.
- Fastening tools: Set out drywall screws and a cordless drill. USG's ceiling guidance specifies fastening at a maximum 12-inch spacing, with screws starting near the panel center and progressing toward the perimeter (USG installation guide).
- A stable work position: Choose a properly sized ladder or stable platform. A scaffold is a better option when you can't safely reach the work from a ladder.
OSHA guidance calls for stable, level ladder placement, three-point contact while climbing, and keeping ladders and tools at least 10 feet from power lines. For overhead work, use a stable platform or scaffold at least 20 inches wide where needed (OSHA ladder safety guidance). Don't climb with tools in your hands. Use a tool belt or raise materials with a hand line, and never place a ladder on boxes, buckets, or wet plastic.
Cutting Out Damage and Fitting a Solid Patch
Once the cause is resolved and the board is dry and sound around the repair, mark a clean square or rectangle around the damaged area. Extend the cut to the centers of adjacent joists where possible, so the replacement edges have solid support.
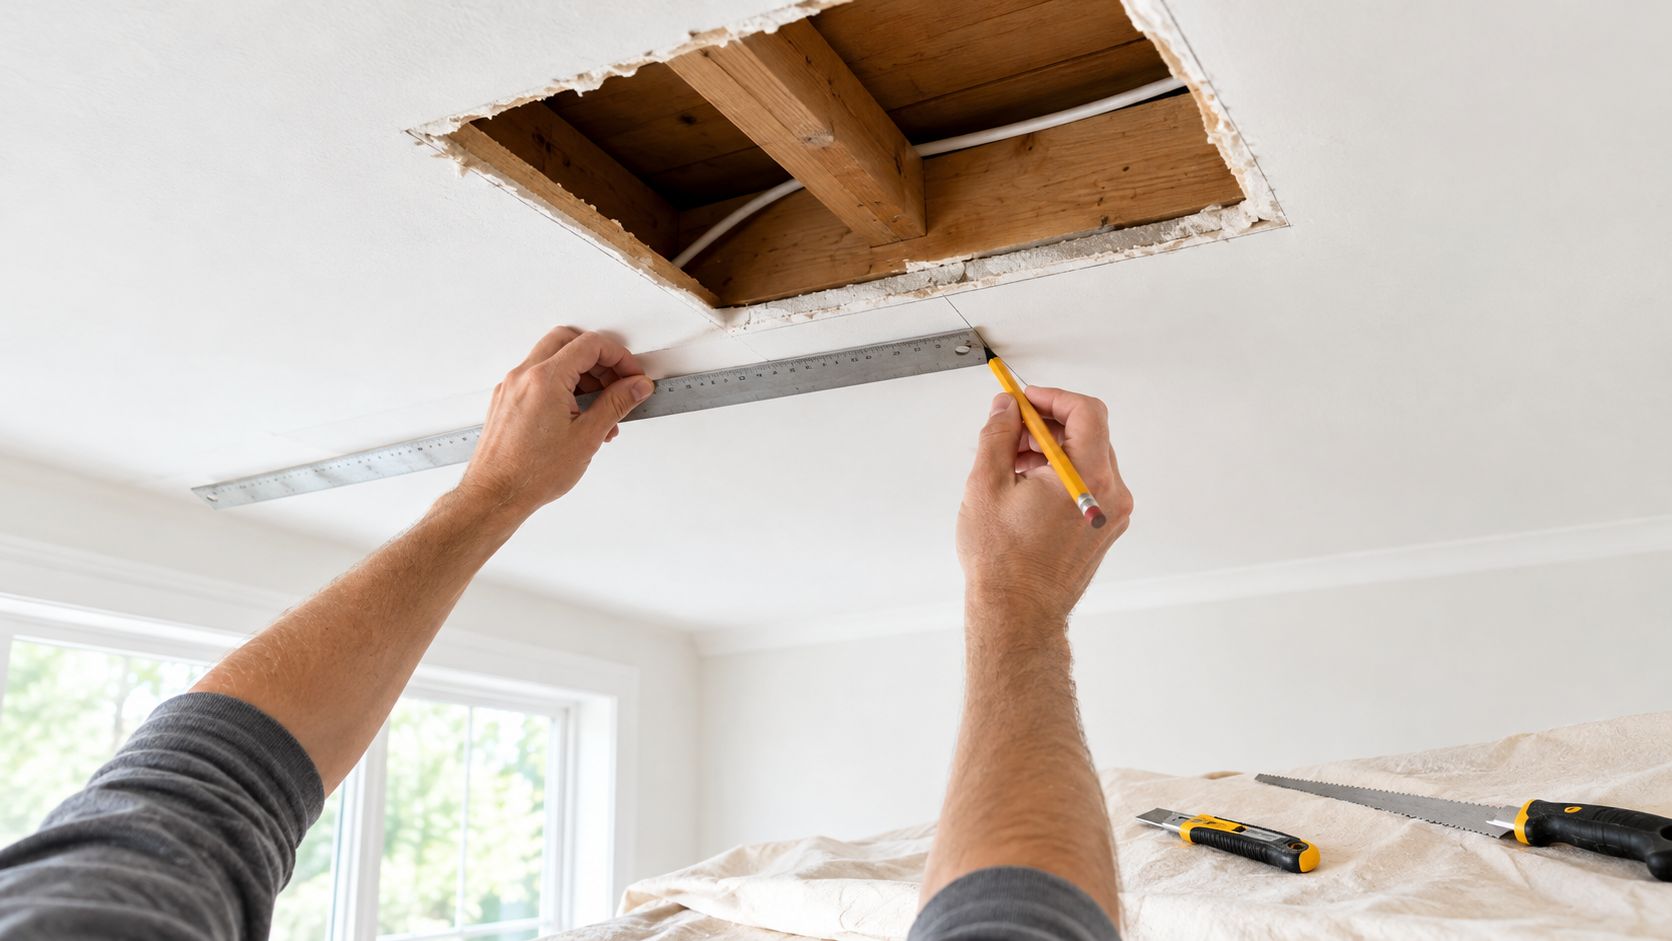
Cut carefully and expose the framing. If any patch edge falls between joists, install blocking behind it. A seam that floats unsupported is one of the most common reasons a ceiling patch cracks later. Remove loose material and confirm that the surrounding board isn't soft or delaminated.
Fit and fasten the panel
Measure the opening and cut replacement board to fit snugly without forcing it. Forcing a panel into place can crush an edge or push against the framing, leaving a poor joint. Transfer the existing screw pattern where practical, then fasten the patch to joists and blocking. Keep screws at the spacing described above, starting near the center and working toward the perimeter. Set each screw head just below the surface without breaking the paper face; an over-driven screw can't hold properly.
Here's the sequence that makes the joint last:
- Support every edge. Add backing where needed before fastening the panel.
- Bed paper tape. Apply a thin coat of setting-type or all-purpose compound, embed paper tape, and press out excess compound without leaving dry spots.
- Build the finish in coats. Apply progressively wider coats, letting each dry before the next. Three thin coats are easier to control than one thick application.
- Knock down high spots. Scrape or sand ridges between coats rather than burying them under more compound.
A common mistake is using mesh tape without enough bedding compound or movement control. Another is leaving a butt joint unsupported, then expecting compound to bridge the gap. Both can show up as a crack after the ceiling is painted.
The panel should be firmly fastened before finishing begins. For a visual example of the ceiling repair process, watch this plasterboard ceiling repair video.
Finishing to Level 4 or Level 5 Without Telegraphing
A sound patch can still look wrong once the light hits it. Finishing is about more than filling the seam: the compound, texture, primer, paint, and surrounding surface all have to work together.
A Level 4 finish is generally appropriate for many residential ceilings with flat paint or light texture. A Level 5 finish uses a skim coat over the surface to create a more uniform plane, which is useful when a smooth modern ceiling or critical lighting will reveal slight variations. If the existing ceiling is smooth and the patch sits in a room with strong window or recessed lighting, a small repair may need broader finishing to blend.
Read the surface with side lighting
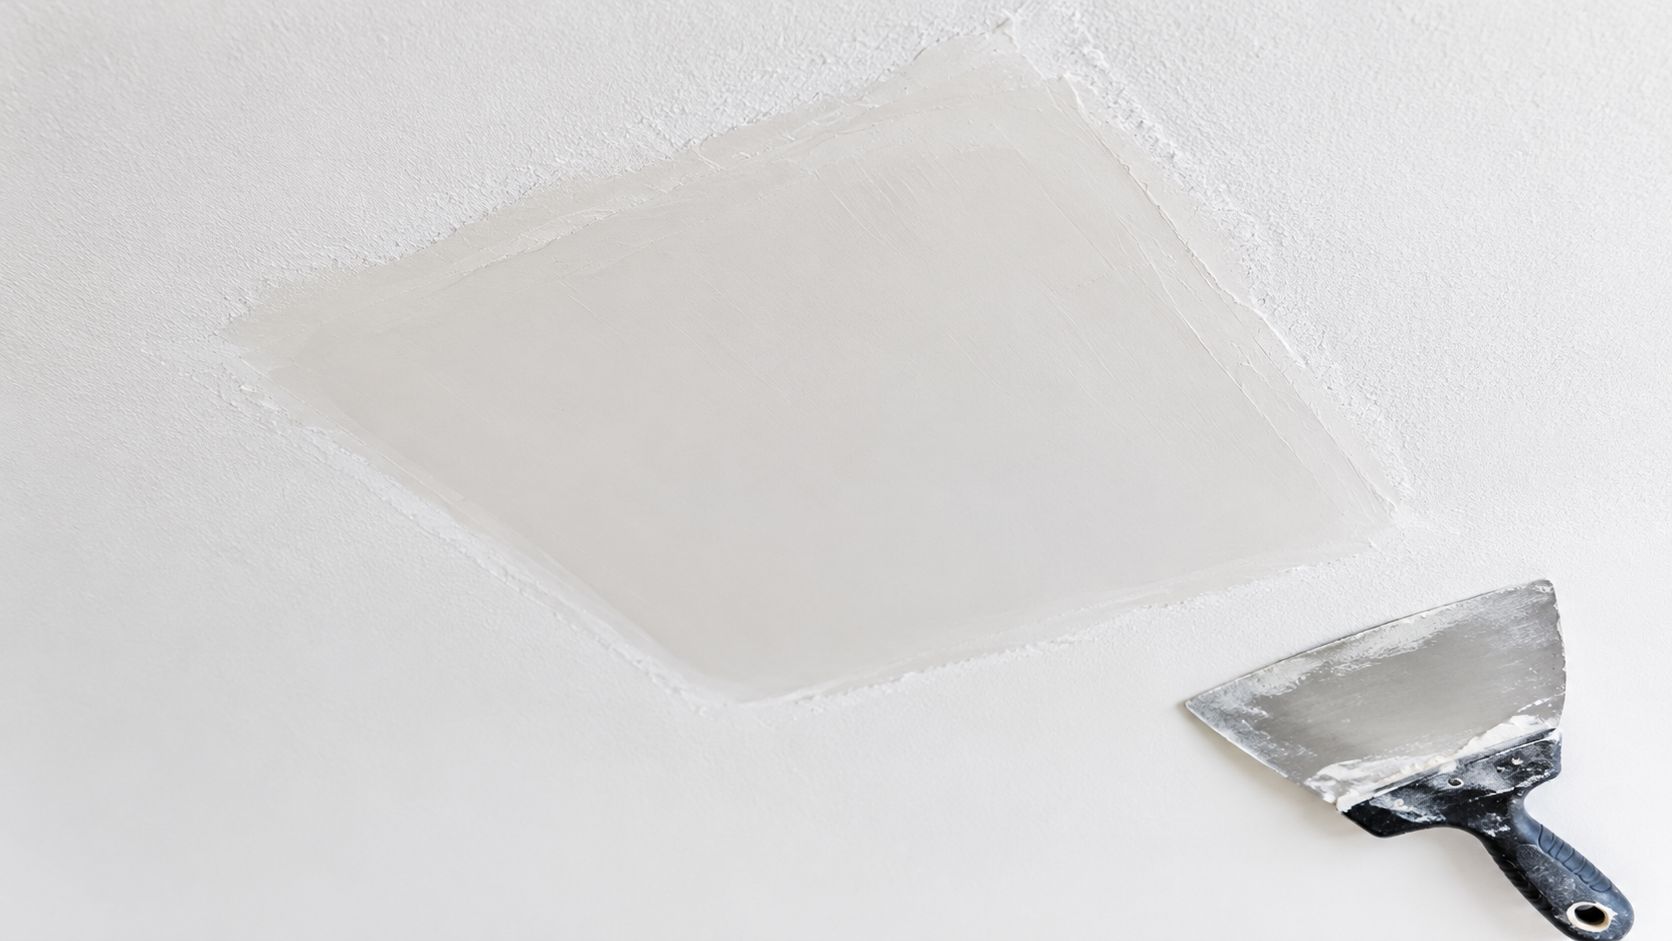
Hold a work light flat against the ceiling so it throws light across the patch. This reveals ridges, shallow dips, and sanding marks that are hard to see when you're looking straight up. Scrape or sand high spots before adding another coat; piling compound over a ridge usually makes the repair wider without making it flatter.
Keep coats thin and feather each one farther beyond the last. The goal is a gradual transition, not a raised island around the patch. A repair should be based on the condition of the surrounding board, not just the visible hole or stain. Sprayed and hand-applied textures vary in aggregate, application pressure, feathering, and sheen; a Level 5 skim coat can provide a uniform smooth surface when that's the desired finish.
Match texture, then prime
Texture matching is its own step. Check whether the ceiling has a sprayed pattern or a hand-applied finish, and compare the texture's size and depth. Use a light touch at the edge and feather the pattern into the surrounding surface. A technically solid patch can remain visible if its texture is too heavy, too smooth, or applied with a different sheen.
Prime the finished compound before painting. Joint compound absorbs paint differently from the existing ceiling, so skipping primer can leave a dull or flashing patch. If a water stain remains after the damaged board is replaced and the surface is dry, use an appropriate stain-blocking primer before the finish coat.
Paint for the whole ceiling, not just the patch
Match the existing sheen. Flat paint tends to hide minor surface variation better, while eggshell or satin can emphasize unevenness and make a repair stand out. Cut in along the walls, then roll with an even wet edge to limit lap marks. Let the first coat dry before applying another.
Spot painting can work when the ceiling paint is recent and the color and sheen match closely. Otherwise, repainting the whole ceiling often produces a more consistent result, especially under side lighting or in a room being prepared for sale, a new tenant, or inspection.
When the Repair Should Be Handed Off
DIY is reasonable when the damage is small, the surrounding board is sound, the cavity is dry, and you can work from a stable platform. The job changes category when the ceiling sags, the leak source is still unknown, water has reached an electrical fixture, or framing movement is visible. A patch over any of those conditions hides the symptom while the cause keeps working.
Stop before sanding or cutting if the ceiling finish may contain asbestos.
Many buildings built or remodeled from 1945 to 1978 may contain asbestos-containing ceiling material. Loose, crumbly, or water-damaged material can release fibers the moment it is sanded, drilled, or scraped, so do not disturb it until the material has been assessed (consumer guidance on asbestos). Intact material is often safer left alone than removed without a qualified plan.
Call a contractor for a ceiling over stairs, a high or awkward work area, widespread dampness, suspected mold inside the cavity, or a repair that needs a Level 5 finish across a full room. A crack that keeps returning at the same seam, or any sign the framing has shifted, points to movement that compound cannot hold. The right move there is to open the board wider and correct the structure before any finishing starts.
For homeowners in Portland, Beaverton, Hillsboro, Tigard, Lake Oswego, Gresham, or Vancouver, CS1 Real Interiors can assess ceiling damage and handle the repair, finishing, and painting. The company offers free estimates for ceiling drywall repair across the Portland metro area.
Troubleshooting the Most Common Patch Failures
A patch that looks fine before paint can reveal problems under brighter light or after the compound dries. Read the symptom before reaching for more mud. Most callbacks I get trace back to prep or backing rather than the finishing itself, and another skim coat over a bad cause just buries it a few millimeters deeper.
If the seam cracks again
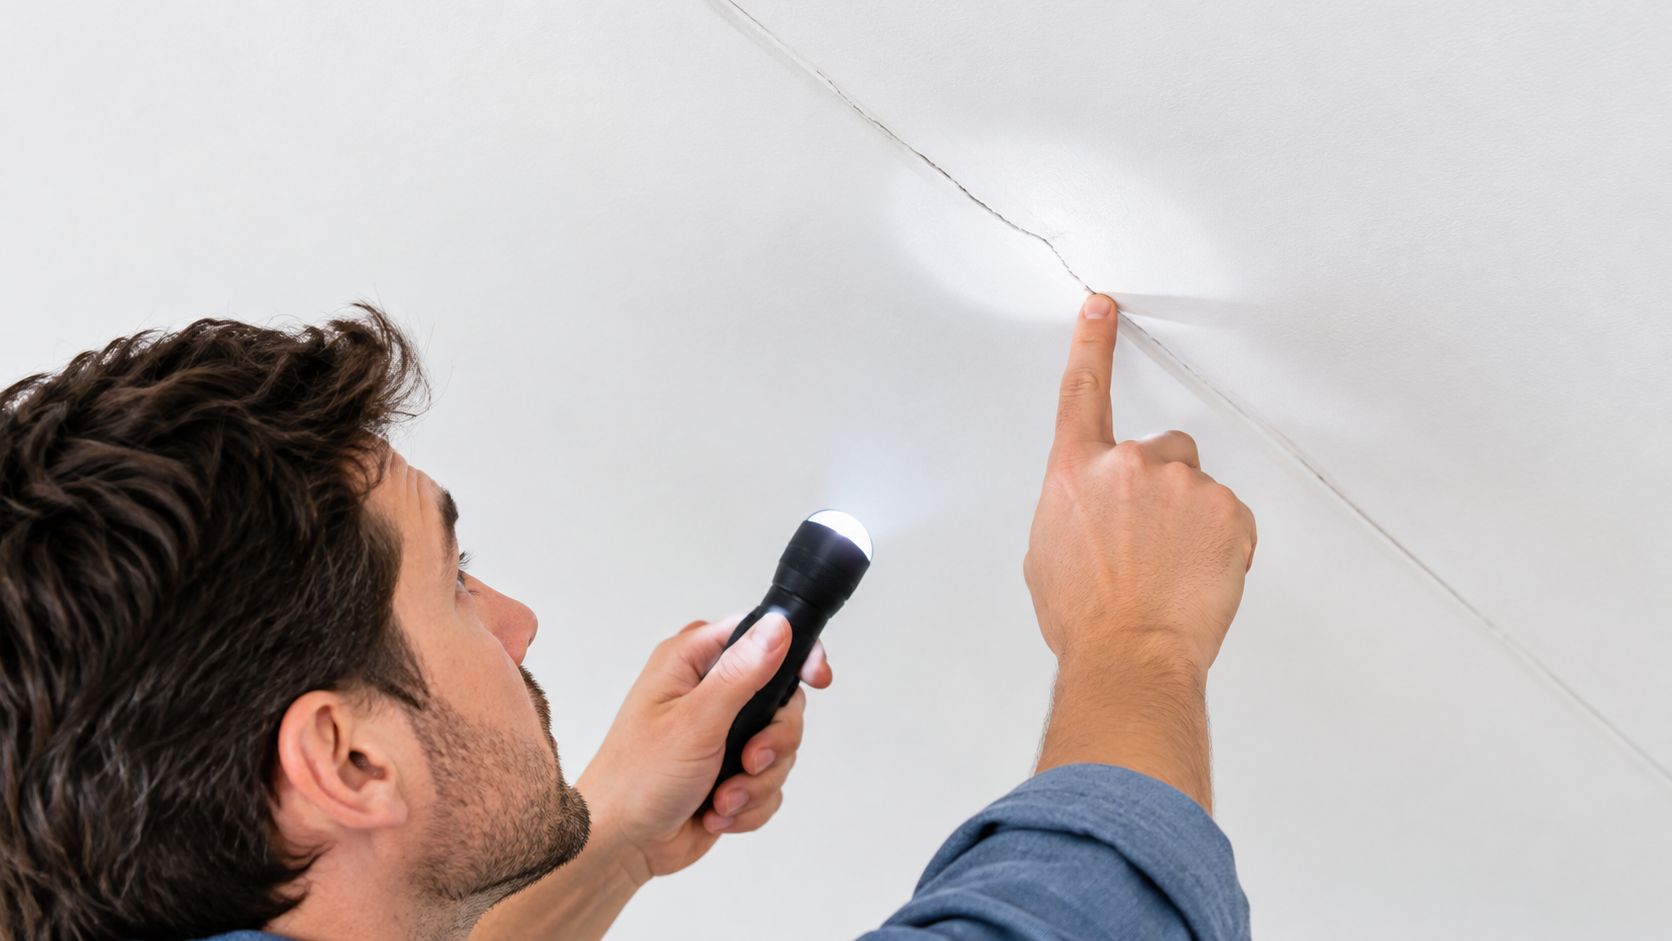
The joint may lack backing, or the framing may be moving. Open the crack enough to remove loose compound, check that the seam is supported, and reinforce it before finishing again. A crack that reopens at the same spot within a season usually points to framing that is still moving. If it keeps returning, have the framing and surrounding board inspected before you spend more time on compound.
If a screw pops through
A fastener driven too deep breaks the paper face and loses its hold. One that never seated in the framing never had a hold to lose. Drive a properly set screw an inch or two away into solid framing, then cover the failed fastener and finish the area. Never bury a loose screw under compound and call it done.
If tape shows through
Visible tape usually means the compound did not fully cover it, the tape was not embedded evenly, or a coat went on too thick and dried unevenly. Apply another thin coat, feather it wider, and let it dry before sanding. If tape has lifted or bubbled, cut out the loose section and re-bed it. Covering a bubble only makes it bigger.
If the patch flashes under light
A dull or shiny spot against the rest of the ceiling usually comes down to three things: unprimed compound, mismatched sheen, or a surface that is still uneven. Compound is porous and drinks paint differently than primed board, so check the area with a work light held at a low angle, correct ridges or dips, prime, and repaint with a matching sheen. When spot painting leaves a clear boundary, repainting the full ceiling blends better than chasing individual patches.
If the texture doesn't blend
Compare the patch with the surrounding ceiling for pattern size, application pressure, and feathering. A heavy texture over a fine pattern reads as a separate repair even when the surface is dead flat. Test the pattern on a scrap piece of board before spraying the ceiling, then confirm the finish and sheen are consistent across the repair.
If the same crack keeps returning or the texture will not blend after a couple of attempts, a written scope from CS1 Real Interiors can confirm whether the framing or finish needs more than a patch.
Most of these failures come from a short list: unsupported joints, compound applied too thick, skipped primer, or texture matched by eye instead of by sample. Find which one you are dealing with, fix it once, and the repair stays invisible.
CS1 Real Interiors handles ceiling drywall repair, installation, finishing, painting, insulation, and metal stud framing for residential and small commercial projects across the Portland metro area. If a leak, crack, or patch has left your ceiling in doubt, visit CS1 Real Interiors and request a free estimate for professional help.


