



A water stain on the ceiling usually starts the same way. You notice a yellow ring, touch the area, and realize the drywall feels softer than it should. In Portland, Beaverton, Hillsboro, and the rest of the metro area, that moment is common. Roof leaks, plumbing failures, window intrusion, and upstairs overflows all show up first on painted drywall.
The mistake most homeowners make isn't the patch itself. It's closing the wall too soon. A critical question in water damage drywall repair isn't just how to cut and patch. It's whether the wall cavity is dry enough to close back up.
If you get that call wrong, the stain comes back, the paint blisters, and the repair turns into a second repair. Sometimes worse. Here's how to handle the problem calmly and in the right order.
Table of Contents
- Your First Steps After Discovering Water Damage
- Assessing the Damage How Bad Is It Really
- Don't Just Patch It Get Professional Help
- The DIY Drywall Repair Process Step by Step
- Finishing Your Repair for a Seamless Look
- Your Local Partner for Flawless Drywall Repair
Your First Steps After Discovering Water Damage
That first hour matters. Not because you need to start patching right away, but because you need to stop the damage from spreading.
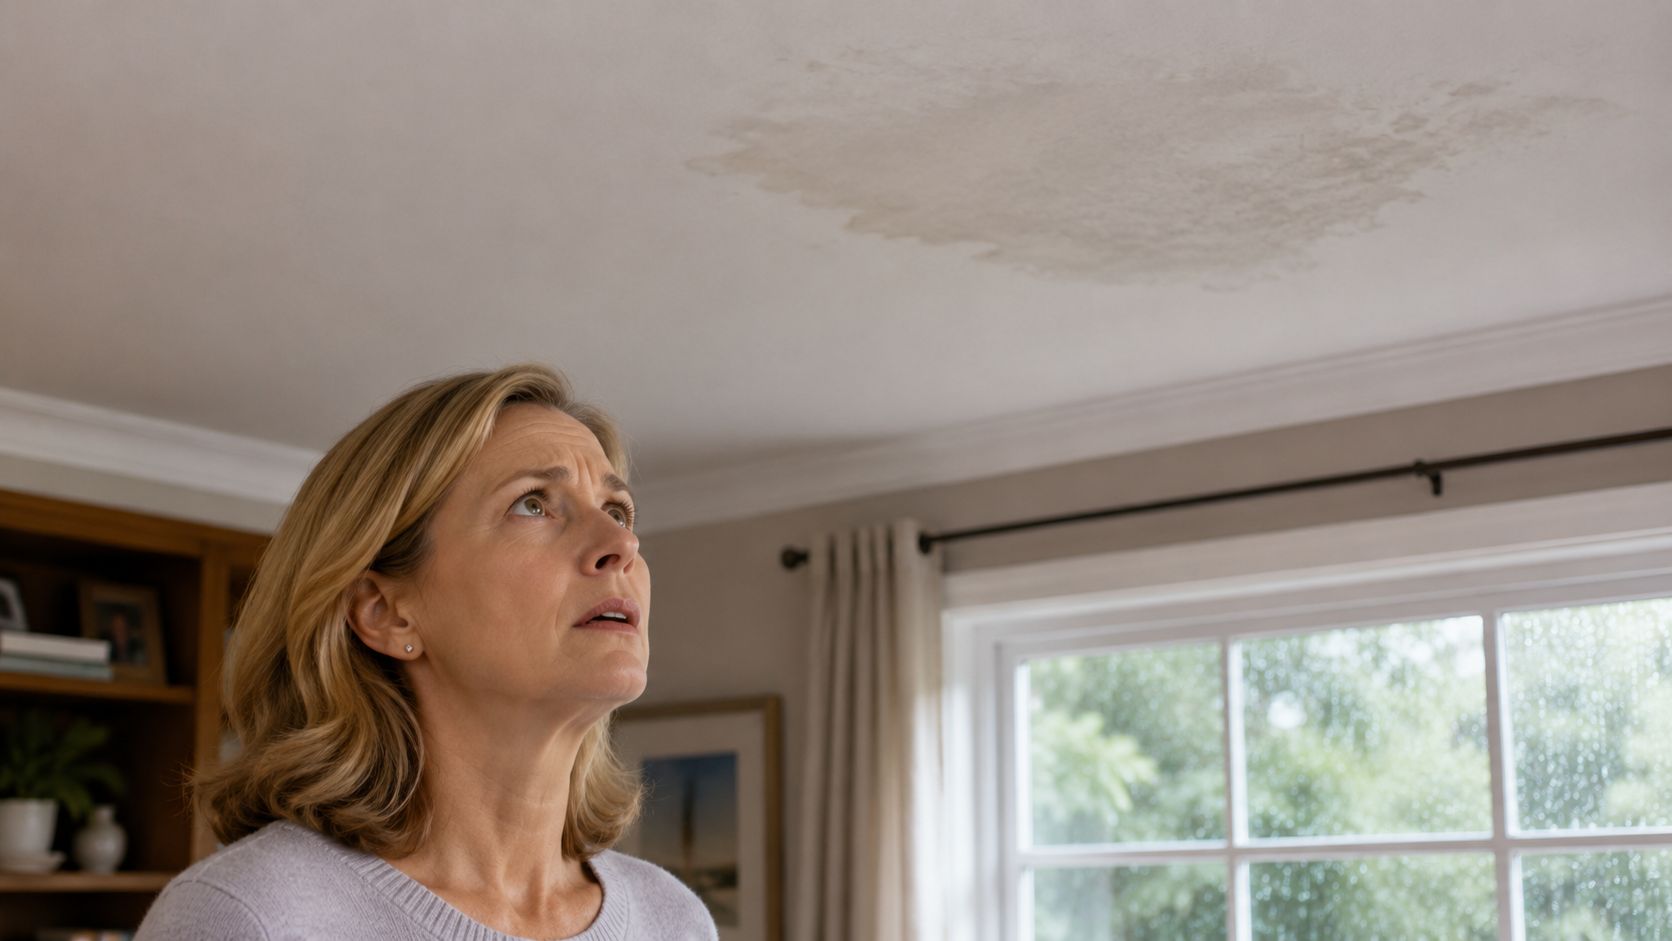
Stop the source before you touch the drywall
If the leak is active, find the source first. That might be a supply line, drain line, roof penetration, overflowing tub, appliance line, or exterior entry point around a window. If water is near lights, switches, or outlets, treat it as a safety issue first and avoid that area until power concerns are addressed.
Use this order:
- Stop the water: Shut off the fixture valve or main supply if a plumbing leak is involved.
- Protect the room below: Move furniture, rugs, electronics, and anything absorbent.
- Catch active drips: Buckets and towels help limit floor damage while you sort out the cause.
- Document the area: Take clear photos before removal starts, especially if insurance may be involved.
If the problem is clearly plumbing-related and you need fast help outside your normal contractor contacts, a practical example of how to find emergency plumbing Las Vegas shows the kind of urgent response checklist homeowners should look for in any city.
Practical rule: Never treat a stain as the problem. The stain is only the symptom.
Start drying right away
Once the source is under control, airflow becomes the priority. Open the area as much as you safely can. Run fans across the wet surface, not directly into one tiny spot. Add a dehumidifier if you have one. In a Portland-area home, especially during damp weather, indoor drying often takes longer than people expect.
A few simple steps help:
- Remove wet items: Curtains, wet base trim, soaked boxes, and anything holding moisture should come out of the room.
- Improve air movement: Open interior doors, create cross-ventilation where practical, and keep air circulating consistently.
- Watch ceilings carefully: If a ceiling is sagging or bulging, stay clear of it. Wet ceiling drywall can fail suddenly.
- Hold off on paint or mud: Covering damp material traps the problem instead of solving it.
Know what not to do
Homeowners often want to save the board if it still looks mostly intact. Sometimes that works. Sometimes it doesn't. What doesn't work is sealing over damp drywall because the surface feels less wet by the next morning.
If you're not sure whether it's still drying, that's normal. Most bad repairs happen because the visible face dried faster than the cavity behind it.
For related interior work after leak damage, many homeowners also end up needing drywall repair services once the source issue is resolved.
Assessing the Damage How Bad Is It Really
Once the leak is stopped, the next job is diagnosis. At this point, good decisions save money. In the U.S. drywall-repair market, HomeAdvisor notes that typical drywall repair costs $295 to $927, with an average of $611, while water-damage repairs can rise to $600 to $1,550 or more, and extensive cases can top $1,550. The reason is simple. Water damage often reaches beyond the visible stain and can affect insulation, framing, texture matching, and paint.
What surface damage looks like versus hidden damage
A cosmetic stain and a wet wall cavity are not the same thing.
Surface-level issues tend to look like isolated discoloration with firm drywall around it. Hidden damage usually shows up as one or more of these signs:
- Softness: Press gently. If the surface gives, flakes, or crumbles, the board has likely lost integrity.
- Bubbling or peeling: Paint film lifting from the surface often means moisture moved through the board.
- Edge swelling: Cutouts around baseboards, windows, or seams may look raised or fuzzy.
- Odor: A musty smell is a warning that moisture has stayed trapped longer than it should.
- Uneven stain shape: Water often travels before it shows. The visible spot may not be directly below the source.
A key part of this decision is drying time. For water-damaged drywall, replacement should wait until the area has fully dried, often 48–72 hours with fans and dehumidifiers, and wet insulation may need removal. That's why the better question isn't "Can I patch this today?" It's whether the cavity, insulation, and framing have been checked for lingering moisture, mold, or rot before you close it up.
If the face of the wall feels dry but the cavity hasn't been checked, you still don't know enough to patch.
DIY vs Calling a Pro Water Damage Decision Guide
| Damage Level | Signs & Symptoms | Recommended Action |
|---|---|---|
| Minor | Small stained area, drywall still firm, no odor, no visible swelling, leak source already fixed | Dry thoroughly, monitor for change, then patch only if the area stays solid and clean |
| Moderate | Soft drywall, bubbling paint, damp insulation at cut edge, stain spreading beyond one small area | Open the area further, remove compromised material, inspect cavity before deciding on repair |
| Severe | Sagging ceiling, crumbling board, musty odor, repeated staining, visible framing moisture, uncertain source | Bring in professional help for moisture assessment, removal, and full repair |
This is also where floor materials matter. If the leak soaked carpet nearby, odor can linger even after the wall work is done. A separate local guide to carpet odor removal can help you think through the flooring side of the cleanup.
For homeowners in older Portland homes, or rentals in Gresham and Vancouver, WA, I'd be cautious with any wall that has insulation behind it and any ceiling that shows sagging. Those are the areas where hidden moisture tends to turn a small job into a much larger one.
Don't Just Patch It Get Professional Help
A lot of bad drywall repairs look fine for a month. Then the paint bubbles again, the tape line shows up, or a musty smell starts coming through the wall. In my experience, that usually comes back to one missed question: is the cavity dry?
Professional help makes sense when you cannot answer that with confidence. That includes ceilings below an upstairs leak, exterior walls with insulation, recurring stains, wet baseboards, or any area that still feels cool and damp after the surface looks dry. The drywall face can dry faster than the framing and insulation behind it. If that hidden moisture gets closed back up, you are not finishing the repair. You are delaying it.
What a correct repair sequence looks like
A sound repair starts with the leak or moisture source being fixed for good. Then the damaged area gets opened enough to inspect what is behind the board, not just what is visible from the room. Any soft drywall, loose paper, damaged insulation, or contaminated material needs to be removed until the remaining edges are clean, dry, and solid. If the opening falls between framing members, backing gets added so the patch has firm support. Hyde Tools describes that repair sequence clearly in their drywall water-damage repair guidance.
The part many homeowners underestimate is drying verification. We check the framing, insulation, and the backside of surrounding drywall before closing the wall. If those materials are still holding moisture, a new patch can trap it. That is how small bathroom leaks in Portland-area homes turn into moldy insulation, stained paint, and a second round of repairs.
This is also where DIY gets risky. Cutting and patching drywall is manageable for some homeowners. Knowing whether the wall cavity is dry enough to close is the harder call, especially in older homes in Tigard, Lake Oswego, and Hillsboro where insulation and layered materials can hold moisture longer than expected.
If you want a contractor to handle the moisture assessment, drywall repair, insulation replacement, texture, and paint as one scope of work, CS1 Real Interiors handles residential and small commercial interior repairs in the Portland area.
The DIY Drywall Repair Process Step by Step
If the damaged area is minor, the source is fixed, and the cavity is dry, you can move into repair. In this phase, clean cuts and good support matter more than speed.
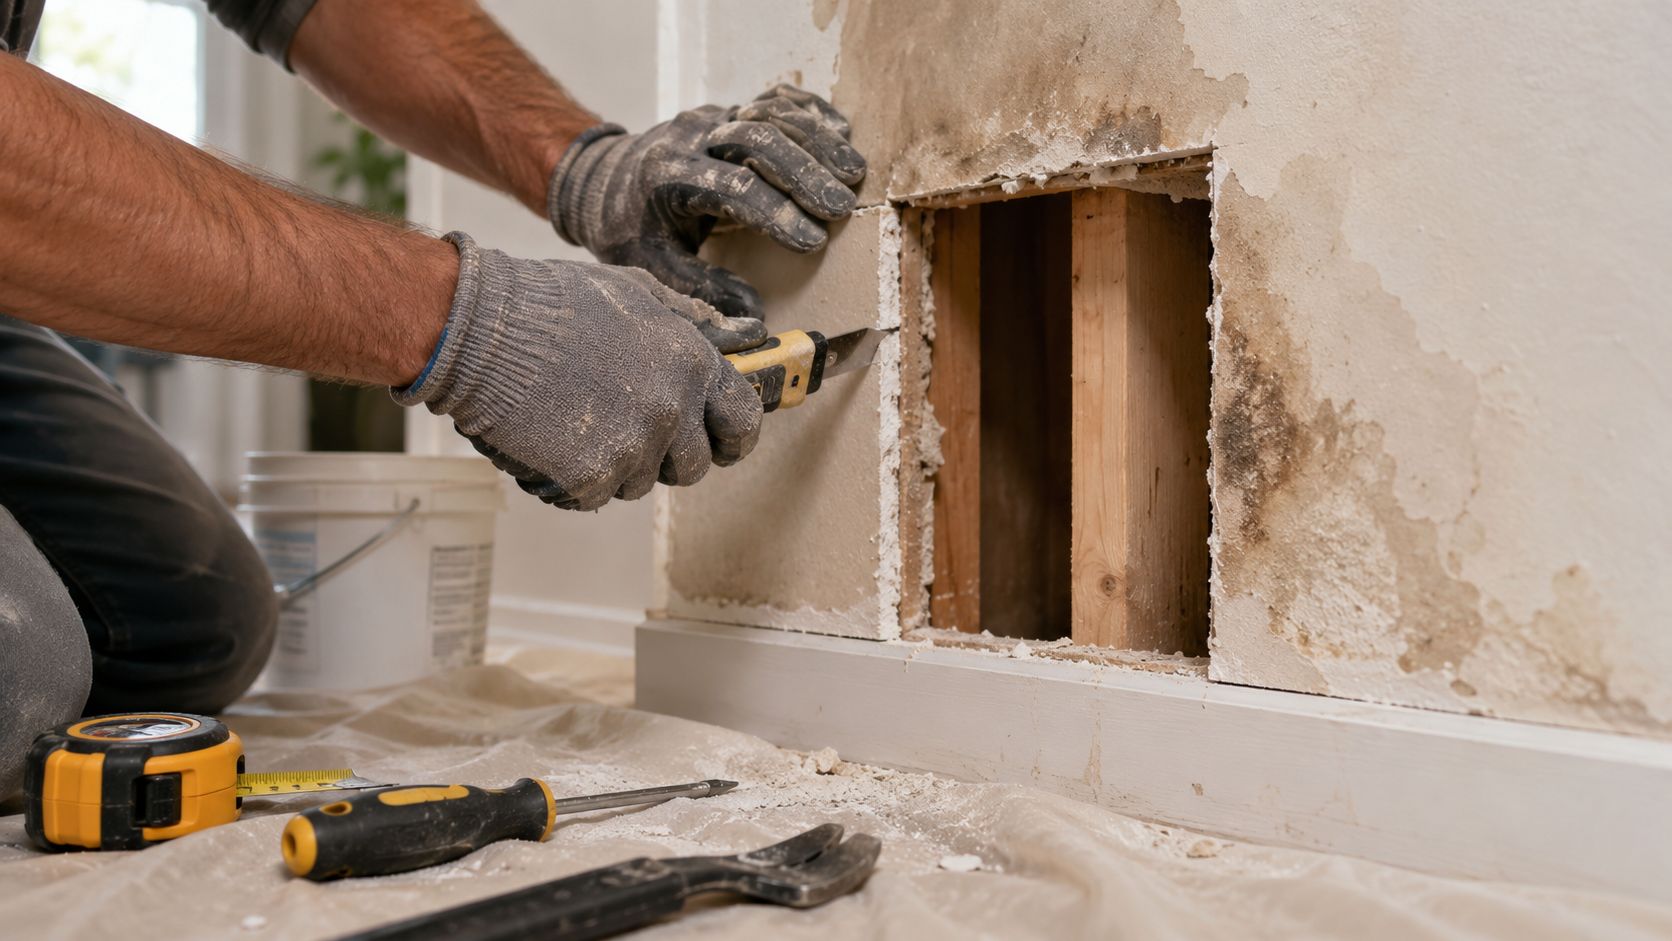
Cut back to sound material
Start by removing loose paint, soft joint compound, and any damaged drywall paper around the opening. Don't try to save weak edges. They won't hold tape well, and they usually break down more during finishing.
Then square up the opening. Straight, deliberate cuts make everything easier after that.
A few details matter here:
- Cut to solid edges: The remaining drywall should feel dry and rigid, not soft or fuzzy.
- Keep the patch area clean: Vacuum dust and remove loose debris from inside the cavity.
- Check inside the opening: Look at insulation, framing faces, and the backside of surrounding drywall for lingering dampness or staining.
- Don't force a small patch into a bad opening: If the edge is compromised, cut farther until it isn't.
Install backing and fit the patch properly
When the hole doesn't land neatly on framing, add support behind it. The standard fix is wood backing or furring strips secured behind the existing drywall so the patch has something solid to screw into. The patch should sit flush, not proud of the surface and not recessed if you can help it.
Drive screws just below the paper face without tearing it. If you break the paper badly, that fastener loses holding strength and creates more finishing work.
Strong repairs start behind the face of the wall. If the backing is loose, the finish coat won't save it.
For homeowners planning broader repairs after a leak, it can also help to review local service coverage, especially if you're coordinating multiple rooms. CS1 serves the metro area, including Portland drywall and interior projects.
Watch the process in action
A visual walkthrough can help if you've never patched drywall before.
Finish prep matters before mud even starts
Before tape and compound, dry-fit the patch. Take it in and out if needed. Trim it carefully until it drops into place without being jammed.
That sounds minor, but it's where a lot of weekend repairs go sideways. A forced patch cracks edges, widens gaps, and creates a hump you'll keep chasing through every coat of mud. In small bathrooms, laundry rooms, and hallway ceilings, that hump becomes obvious once the light hits it from the side.
If you're repairing textured surfaces in a Tigard or Beaverton home, keep the patched area as flat as possible. Texture can disguise minor variation. It won't hide a bad patch plane.
Finishing Your Repair for a Seamless Look
A water-damage patch is only finished when it looks flat under real light and stays that way after the paint dries. Homeowners usually find out here whether the wall was completely dry before they closed it up. If there is still moisture in the cavity, the joint compound can dry unevenly, the tape can loosen, and a faint ridge or stain can come back through the paint.
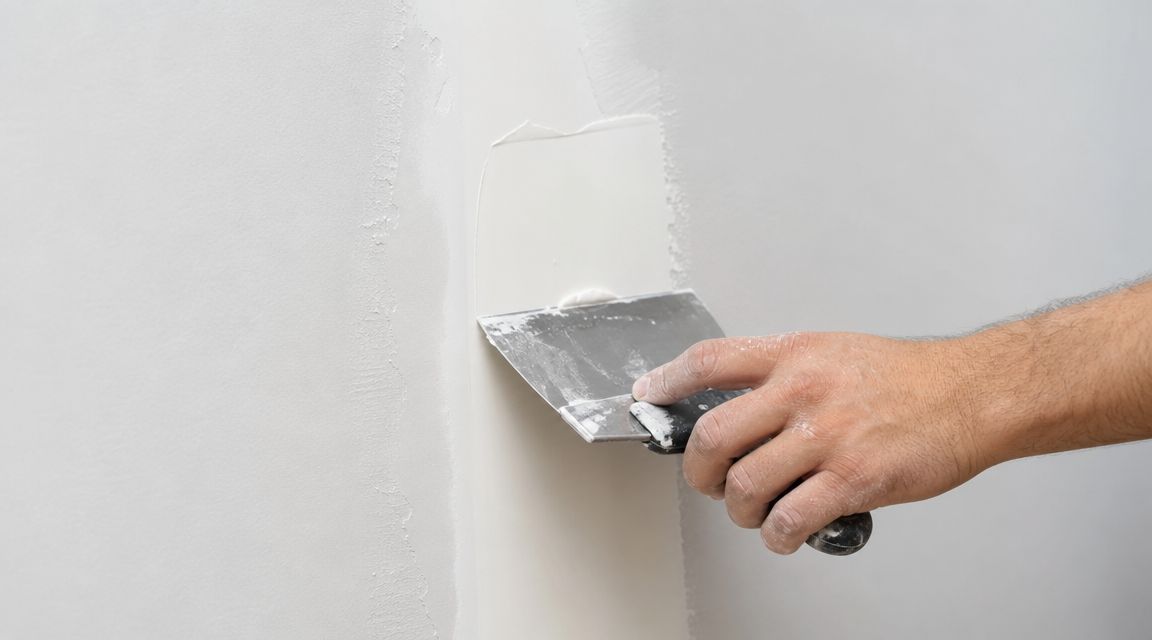
Why finishing is where repairs succeed or fail
According to Nedes Estimating's drywall repair cost guide, labor often makes up 65% to 75% of drywall repair cost. That tracks with field experience. Cutting out damaged board and fastening a new patch is usually the straightforward part. Getting the surface flat, the texture consistent, and the paint to blend with the rest of the wall takes more time than many homeowners expect.
That time matters for a reason.
A good finish starts with restraint. Use a full bed of compound under the tape so it bonds cleanly. Keep each coat thin so it dries harder, shrinks less, and sands more predictably. Widen each pass a little farther than the last one so the repair fades into the surrounding wall instead of building a visible hump.
Sand lightly. Heavy sanding chews up the paper face and exposes tape fast.
The bigger trade-off is speed versus visibility. Homeowners who try to finish a patch in one heavy coat usually save a day up front and lose it later fixing ridges, pinholes, and flashing under paint. Two or three controlled coats almost always produce a better result.
Texture and paint are part of the repair
Texture matching is where a lot of otherwise solid repairs get exposed. Orange peel, knockdown, hand-applied texture, and smooth wall all reflect light differently. A patch can be structurally sound and still stand out every time morning light hits it from the side.
Primer also matters more after water damage than it does on a simple scuff repair. It seals the new compound, helps block minor discoloration, and gives the finish paint an even surface so sheen differences do not telegraph the patch.
If a repaired area is still cool, damp, or discolored, stop before texture and paint. That usually means you still have moisture in the wall system or staining that has not been sealed correctly. In Portland-area homes, that extra drying time can save you from doing the same repair twice.
This is also the stage where DIY becomes risky for ceilings, larger wall areas, and any room with critical side-lighting. If you can accept a patch that looks good from across the room, you may be able to handle it. If you want the repair to disappear under close inspection, finish work is usually where hiring a pro pays off.
Your Local Partner for Flawless Drywall Repair
You cut out the stain, patch the drywall, prime it, and the room looks fine for a few weeks. Then the paint starts to dull, the patch line shows, or a musty smell hangs around after a rainy stretch. In our trade, that usually points to the same problem. The wall was closed before it was fully dry.
That decision matters more than the patch itself.
For a small area caused by a one-time spill or a minor leak that was fixed quickly, DIY can make sense if you have confirmed the cavity is dry, the insulation is still usable, and the drywall damage is limited. Once you get into ceilings, repeated leaks, soft framing, damp insulation, or uncertainty about moisture inside the wall, the safer call is professional repair. Portland-area homes dry slowly, especially in shaded rooms, older assemblies, and houses that do not get much air movement.
A proper repair often includes more than replacing drywall. We may need to open the area wider to verify dry-out, remove insulation that held water too long, seal staining, match texture under side light, and repaint enough of the surface so the repair does not keep catching your eye. If the leak affected a ceiling or an exterior wall, we also check for sagging, nail pops, and framing movement before closing anything up.
That is the part many homeowners do not get warned about. The visible damage is easy to spot. Hidden moisture is what causes repeat repairs.
If you are looking at a stain, a soft spot, or a ceiling patch that still feels questionable, contact CS1 Real Interiors. We can help you determine whether the area is ready for repair or whether it needs more drying and selective demolition first. That saves time, prevents mold risk from trapped moisture, and gives you a repair that holds up.


