



Drywall water damage repair usually costs about $600 to $1,550, and that's a useful starting point if you're trying to figure out what this problem might do to your budget. But that range is only a baseline, because the final drywall water damage repair cost depends on how long the area stayed wet, whether the damage is on a wall or ceiling, and whether the repair turns into a larger restoration job.
A lot of Portland homeowners land on this page right after noticing a ceiling stain, bubbling paint, a soft wall near a window, or drywall tape starting to lift after a leak. The first question is always the same. How bad is it, and how much is this going to cost?
That concern is justified. Water damage is different from a simple dent, nail pop, or doorknob hole. Once moisture gets into drywall, the job often includes more than patching. A contractor may need to remove damaged board, inspect the cavity, check insulation, confirm the leak has stopped, and rebuild the surface so it looks right again.
In older Portland homes, and even in newer houses in Beaverton, Hillsboro, Tigard, Lake Oswego, Gresham, and Vancouver WA, the hidden part is what changes the price. The visible stain rarely tells the whole story. A small mark can hide wet insulation, minor mold, or a ceiling cavity that still hasn't dried.
Table of Contents
- That Sinking Feeling Discovering Drywall Water Damage
- Understanding the Numbers Average Repair Costs in Portland
- What Drives Your Final Cost Key Price Factors Explained
- Need a Professional Estimate for Your Drywall Damage?
- The Repair Timeline From Damage to Done
- DIY Repair vs Hiring a Professional A Realistic Look
- Managing Your Project Insurance Claims and Cost-Saving Tips
That Sinking Feeling Discovering Drywall Water Damage
Finding water damage in drywall hits differently than most home repairs. A crack can wait a little. A scuff can wait longer. A brown ceiling stain or a soft, swollen wall usually means something is active, or was active recently, and homeowners know that instinctively.
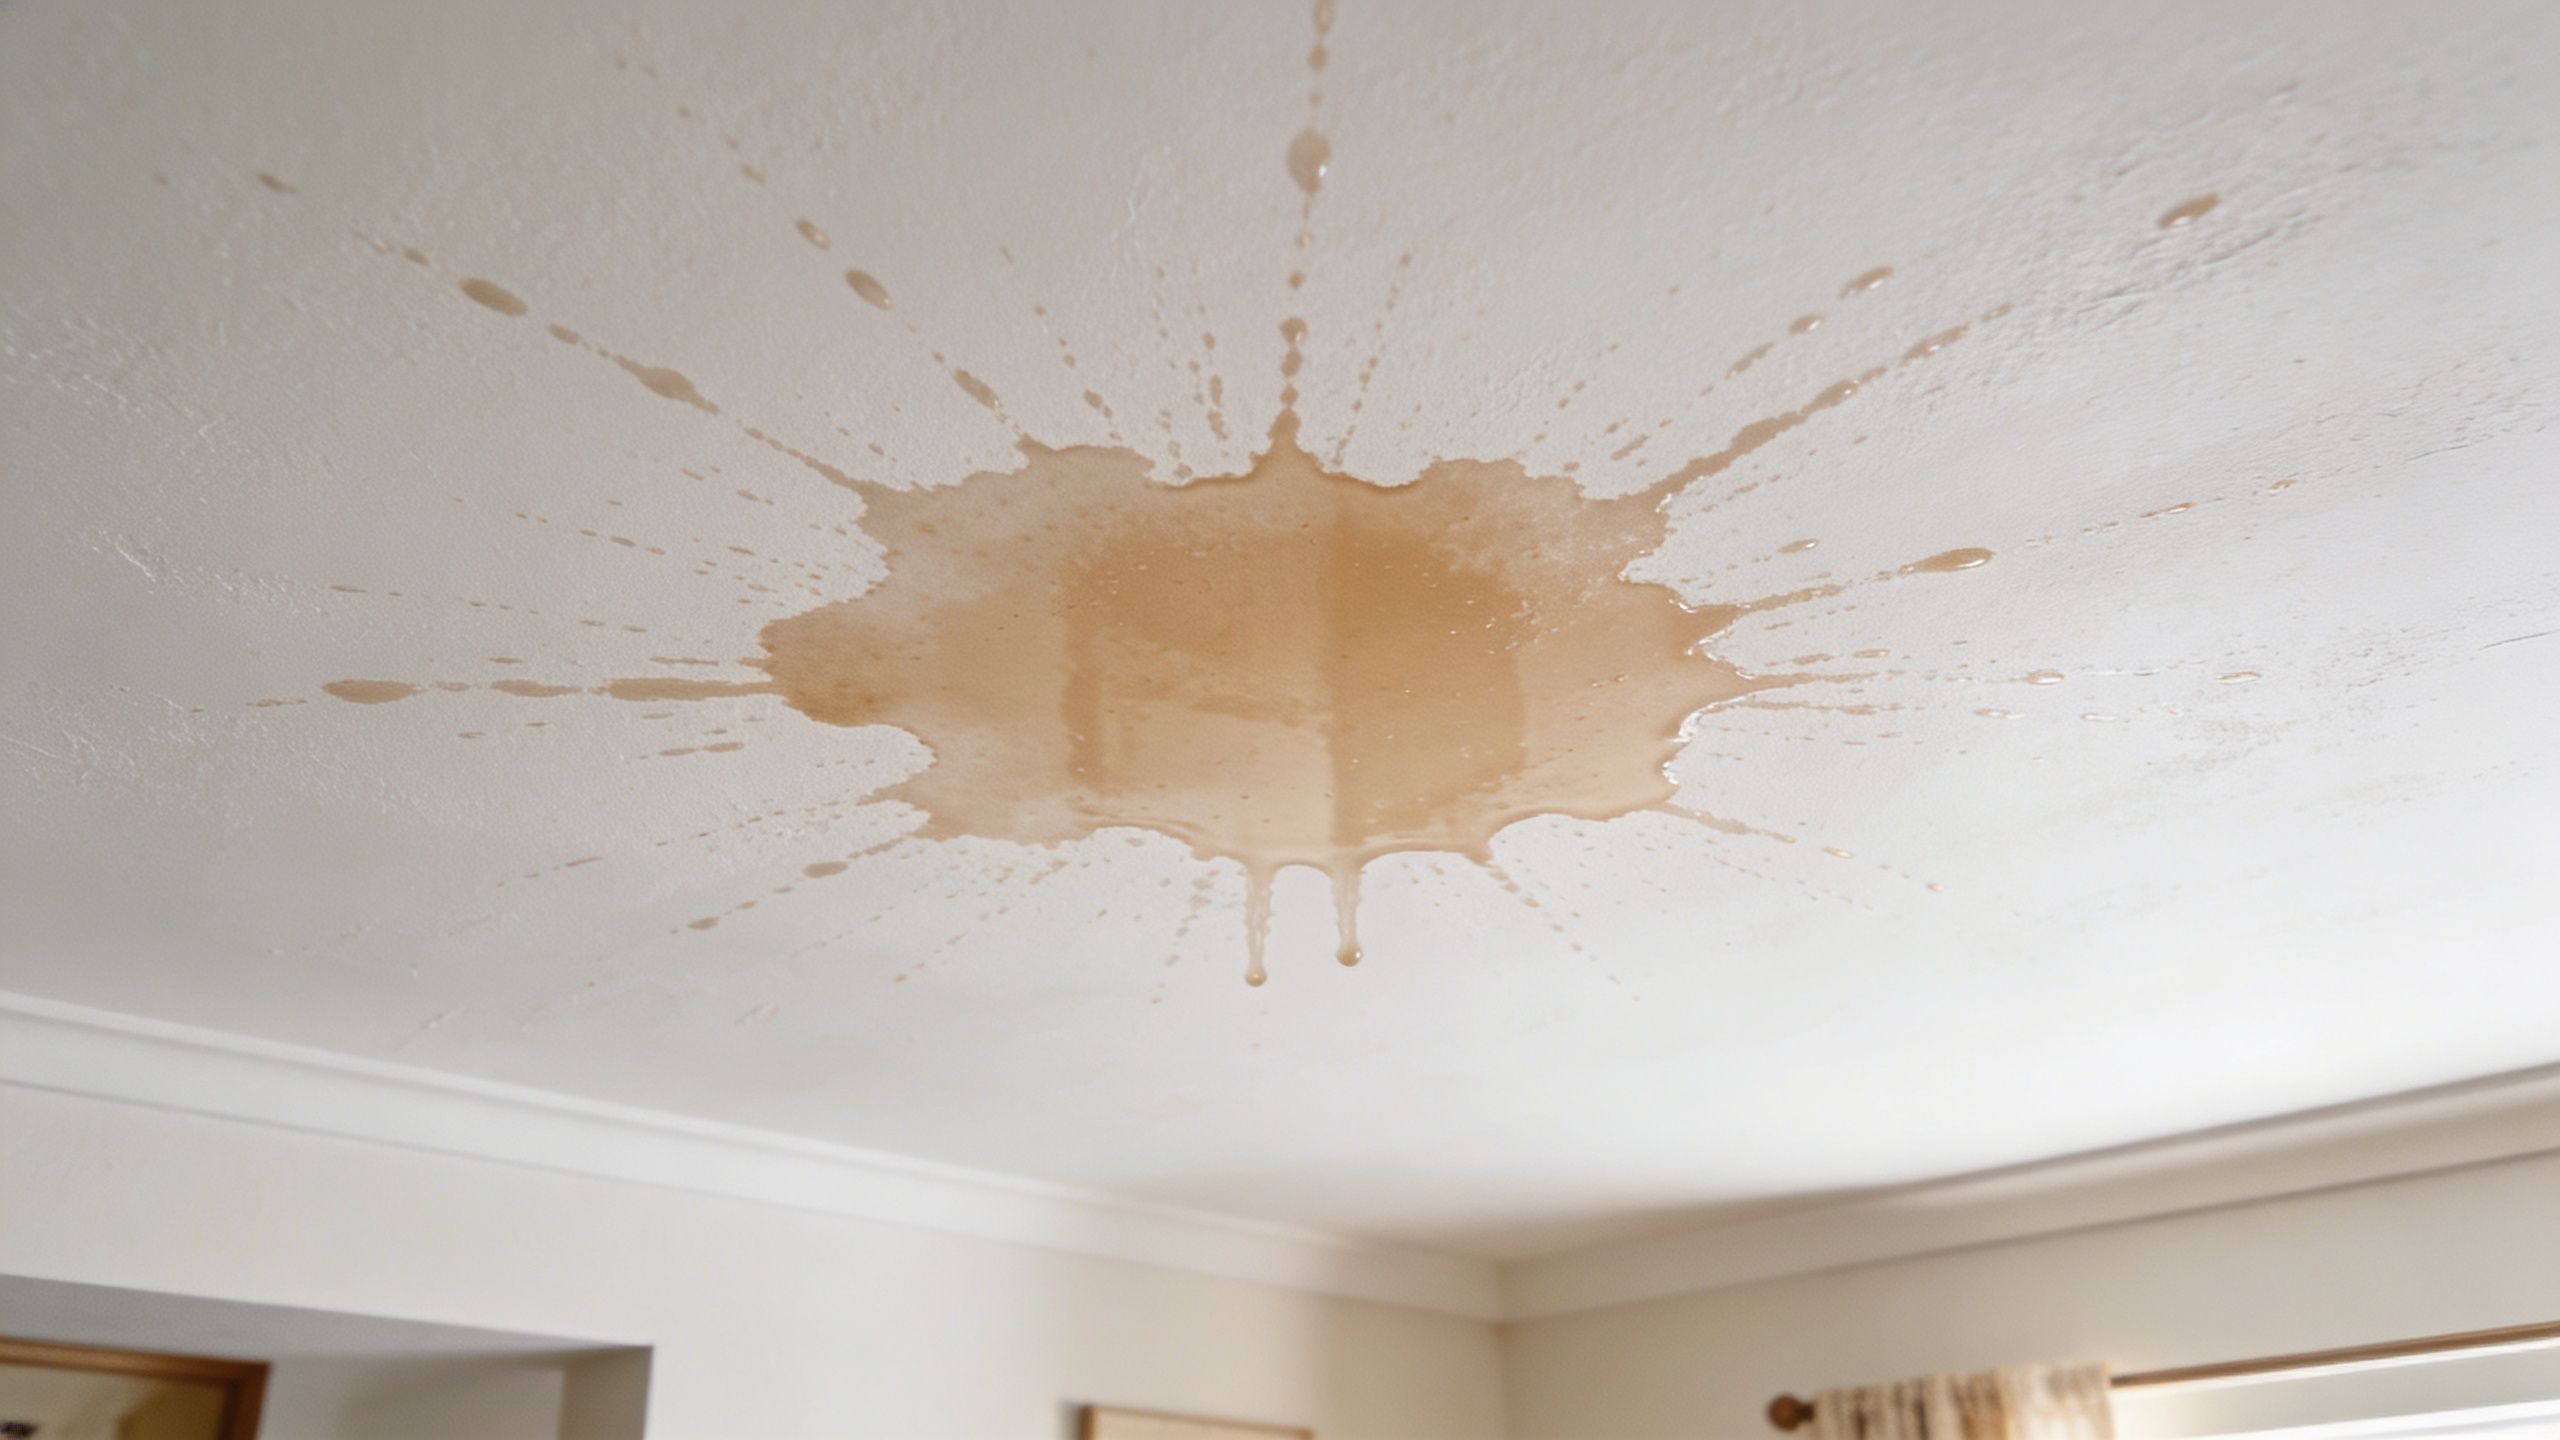
In the Portland area, that often starts with roof leaks during the wet season, plumbing issues behind a bathroom wall, leaking supply lines under an upstairs sink, or slow moisture around windows and exterior walls. The stain you can see is only part of the problem. Drywall loses strength when it gets wet, and paper-faced gypsum can trap moisture where you can't see it.
Practical rule: If drywall feels soft, sags, smells musty, or shows bubbling paint, treat it as a moisture problem first and a finish problem second.
That's why homeowners get frustrated by generic online estimates. They often assume the repair is just patch, sand, and paint. In real jobs, the cost can shift because the contractor has to answer a few basic questions before any finish work starts:
- Has the leak been fixed: If not, any repair is temporary.
- Is the drywall still damp: Wet material usually has to be removed or dried before rebuilding.
- Did insulation get soaked: Wet insulation often loses performance and may need replacement.
- Is there mold or staining inside the cavity: If there is, the work becomes more than a cosmetic repair.
The upside is that a proper repair is straightforward once the cause is known. The process isn't mysterious. It just has to happen in the right order.
Understanding the Numbers Average Repair Costs in Portland
Homeowners usually want one number. Water-damaged drywall rarely works that way.
In Portland, a realistic budget starts with scope, location, and timing. A small cut-out and patch after a clean plumbing leak may stay on the lower end. A ceiling repair that needs drying time, insulation replacement, stain blocking, texture work, and full repaint climbs fast. Wet-season demand also affects scheduling, and that can affect labor cost.
For that reason, I would treat broad national price ranges as rough planning numbers only. They can help you set expectations, but they do not tell you what a Portland contractor will need to do from first opening to final paint.
What the baseline cost actually means
The numbers below combine general drywall repair references with local market experience in the Portland area. They are budgeting ranges, not published price guarantees. The ceiling figures are consistent with the ceiling repair and water-damage discussion summarized in this repair cost breakdown for ceilings and mold-related damage.
Estimated Drywall Water Damage Repair Costs in the Portland Area 2026
| Repair Type | Typical Size | Estimated Cost Range | Basis |
|---|---|---|---|
| Localized wall repair after minor water damage | Small cut-out, patch, tape, texture touch-up, spot prime | About $600 to $1,550 | Local contractor budgeting range for Portland-area projects |
| Water-damaged area with drying, insulation replacement, and repainting | Moderate affected area | Often higher than a basic patch | Local contractor budgeting range for Portland-area projects |
| Ceiling drywall repair | Common ceiling repair scope | $220 to $1,300 | Ceiling repair reference |
| Water-damage-specific ceiling work | Ceiling area with active leak history or broader finish restoration | $1,400 or more | Water-damage ceiling reference |
That table is most useful for early budgeting. Once the damaged area is opened, the actual scope gets clearer.
In Portland, the biggest price swings usually come from what has to happen before the patch goes in. If the drywall is still damp, the job pauses for drying. If insulation is wet, it gets replaced. If the stain bled wider than expected, the paint scope expands. Those steps are easy to miss in online calculators, and they are often the reason two estimates for the same room look far apart.
Local conditions matter too. Older homes in Portland often have more texture variation, patched-over previous repairs, or framing that is not perfectly flat, which adds finish time. In condos and townhomes, access, parking, elevator use, and HOA work-hour rules can raise labor cost even when the damaged area is not large.
A practical way to read any quote is to ask what is included from drying to final paint. Some contractors price demolition and patching only. Others include moisture checks, insulation, texture matching, stain-blocking primer, and repainting the full affected plane so the repair does not flash in different light. Those are very different scopes.
One more Portland-specific point. During the rainy season, roof and window leak calls stack up, and schedules tighten. If you wait too long on a wet ceiling or soft wall, the repair rarely gets cheaper.
What Drives Your Final Cost Key Price Factors Explained
Final pricing usually climbs because water damage repair includes more than the visible patch. A contractor is pricing everything needed to get that area dry, stable, and ready for primer, texture, and paint.
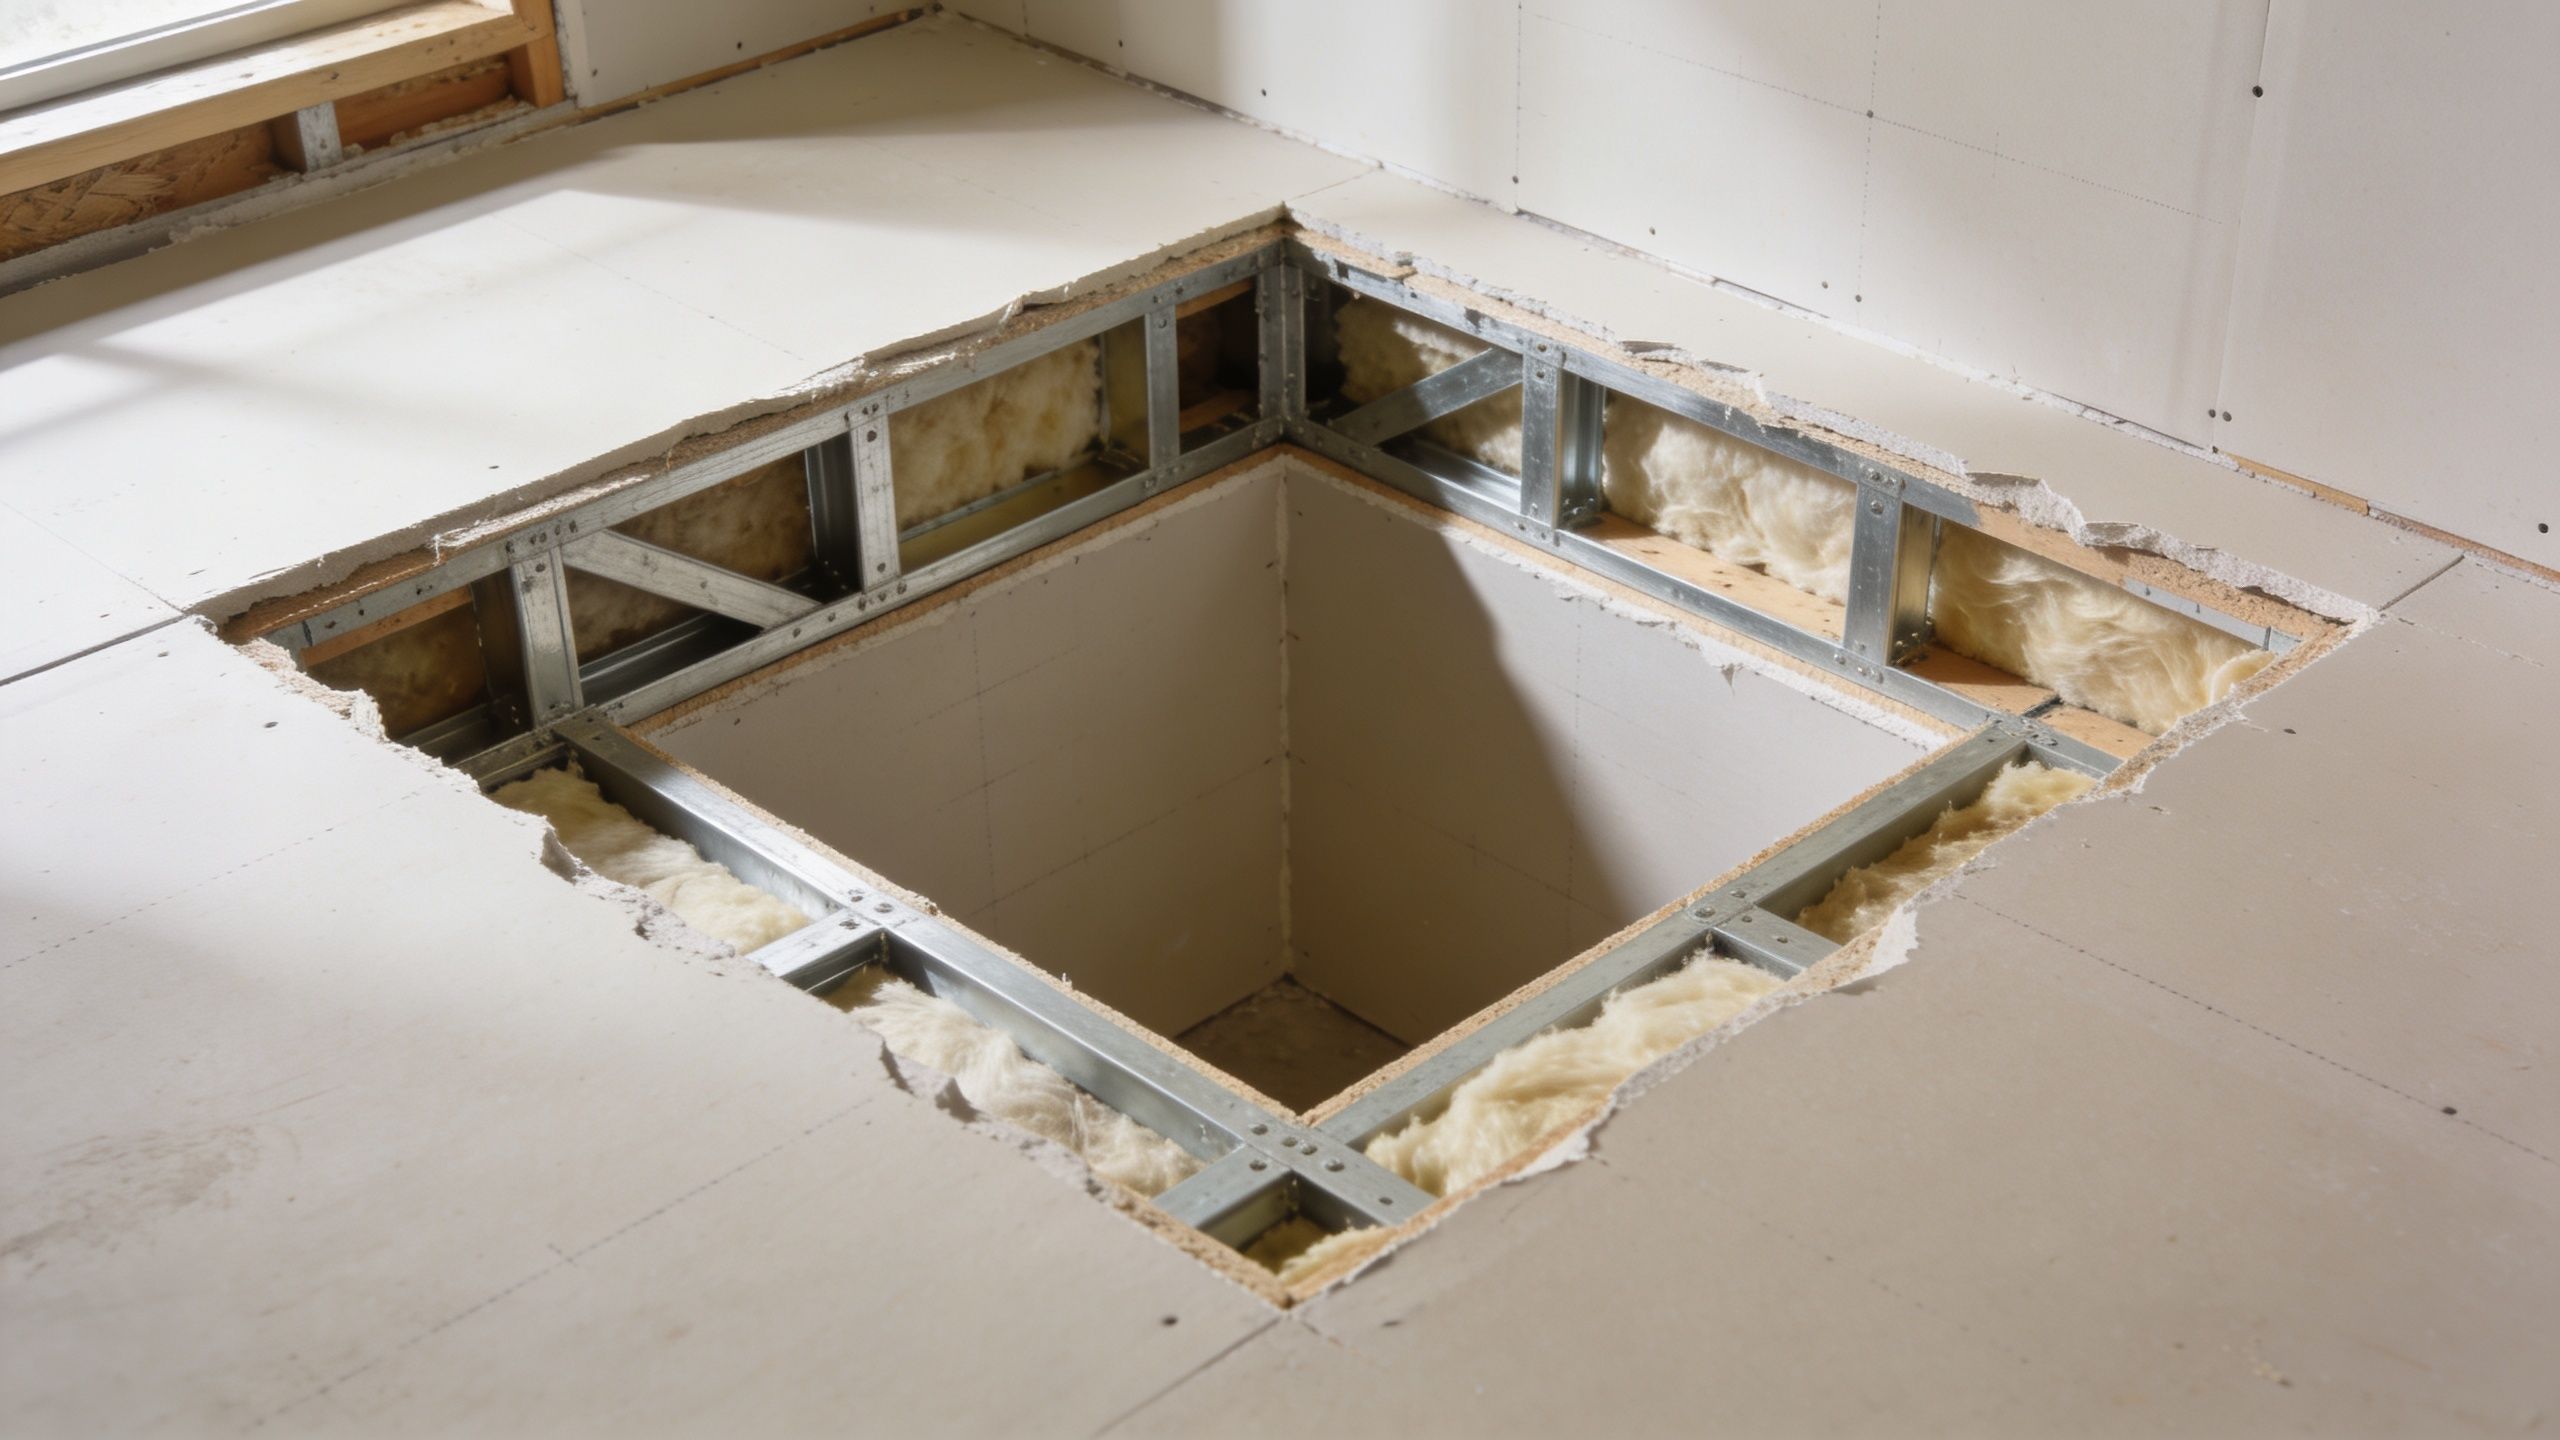
In Portland, that scope often widens after the first cut. I see it in older houses with layered repairs, damp insulation, and framing that has moved enough to turn a simple patch into a longer finish job. The drywall itself may be a small part of the bill. The labor around it is what changes the number.
Ceilings cost more for practical reasons
Ceiling repairs are harder to diagnose, harder to protect, and harder to make disappear. Water can travel along joists and show up several feet away from the actual leak path, so the stained spot is not always the full repair area.
The work is slower overhead. Containment matters more because debris falls straight down. Finish work matters more too, especially on a flat ceiling where light exposes every hump, seam, and sanding mark.
Ceiling jobs often include:
- Protection below the work area: Floors, furniture, fixtures, and trim need coverage before demolition starts.
- Overhead demolition: Wet ceiling board is heavier, messier, and less predictable to remove safely.
- Larger blend areas: Ceiling patches usually need wider feathering and better texture control to stay hidden.
- Insulation checks above the opening: Wet insulation can hold moisture after the drywall comes down and may need replacement before closing up.
Moisture inside the cavity changes the job fast
A water stain by itself does not tell you much. The bigger question is how long that assembly stayed wet.
If drywall is soft, insulation is matted down, or the cavity smells musty, the repair scope expands. Removal becomes more selective. Drying time gets added. Framing may need cleaning. New insulation may be part of the quote before any new board goes back up.
That is one reason Portland projects can stretch longer than online estimators suggest. During the wet season, roof leaks and window leaks often leave materials damp longer, and the repair cannot be rushed if you want the patch to last.
If the wall or ceiling stayed wet long enough to smell musty or feel soft, the quote usually covers removal, drying, cleaning, replacement, and finish work. It is no longer a simple patch.
Finish level has a direct cost
Finish quality changes labor more than homeowners expect. A patch in a garage or storage area is one standard. A patch in a living room with smooth walls and afternoon window light is another.
Smooth-wall homes common around Portland remodels are less forgiving than heavy texture. Every joint has to be flatter. Sanding has to be cleaner. Primer and paint often need to extend farther across the surface so the repaired area does not flash or read as a dull spot from one angle.
This is also where timeline affects cost. If a contractor is handling the job from drying to final paint, the quote may include multiple trips over several days so each stage can cure properly. That usually costs more upfront than a patch-only bid, but it reduces the chance of callbacks, visible seams, or repainting the same area twice.
Need a Professional Estimate for Your Drywall Damage?
A professional estimate earns its keep when the repair could go one of two directions. In Portland, I see small-looking stains turn into bigger jobs because moisture traveled farther than the surface showed, or because the wall can be patched but the ceiling still needs broader paint blending to hide the repair in our gray winter light.
What a good estimate should give you is scope, not just a price. You should know what will be removed, what needs time to dry, whether insulation is part of the work, how many visits the job will take, and whether the quote stops at drywall or carries through primer and final paint.
That matters in this market.
Portland repairs often slow down for reasons national cost calculators miss. Wet-season drying can add days. Older homes may need more careful demolition and cleanup. Smooth-wall finishes common in remodels take more labor to make disappear, especially on ceilings and larger open walls where patch lines show fast.
A useful estimate also helps you accurately compare bids. One contractor may price a patch only. Another may include drying checks, stain-blocking primer, texture or smooth-wall finish work, and paint blending across the full affected area. The cheaper number is not always the lower final cost if you end up hiring someone else to finish what was left out.
For a homeowner, the goal is simple. Get a written scope that matches the actual condition of the wall or ceiling and the finish level you expect when the job is done.
The Repair Timeline From Damage to Done
A proper water-damage repair follows a sequence. Skip steps, and the patch may fail, stain can return, or moisture can stay trapped in the assembly.
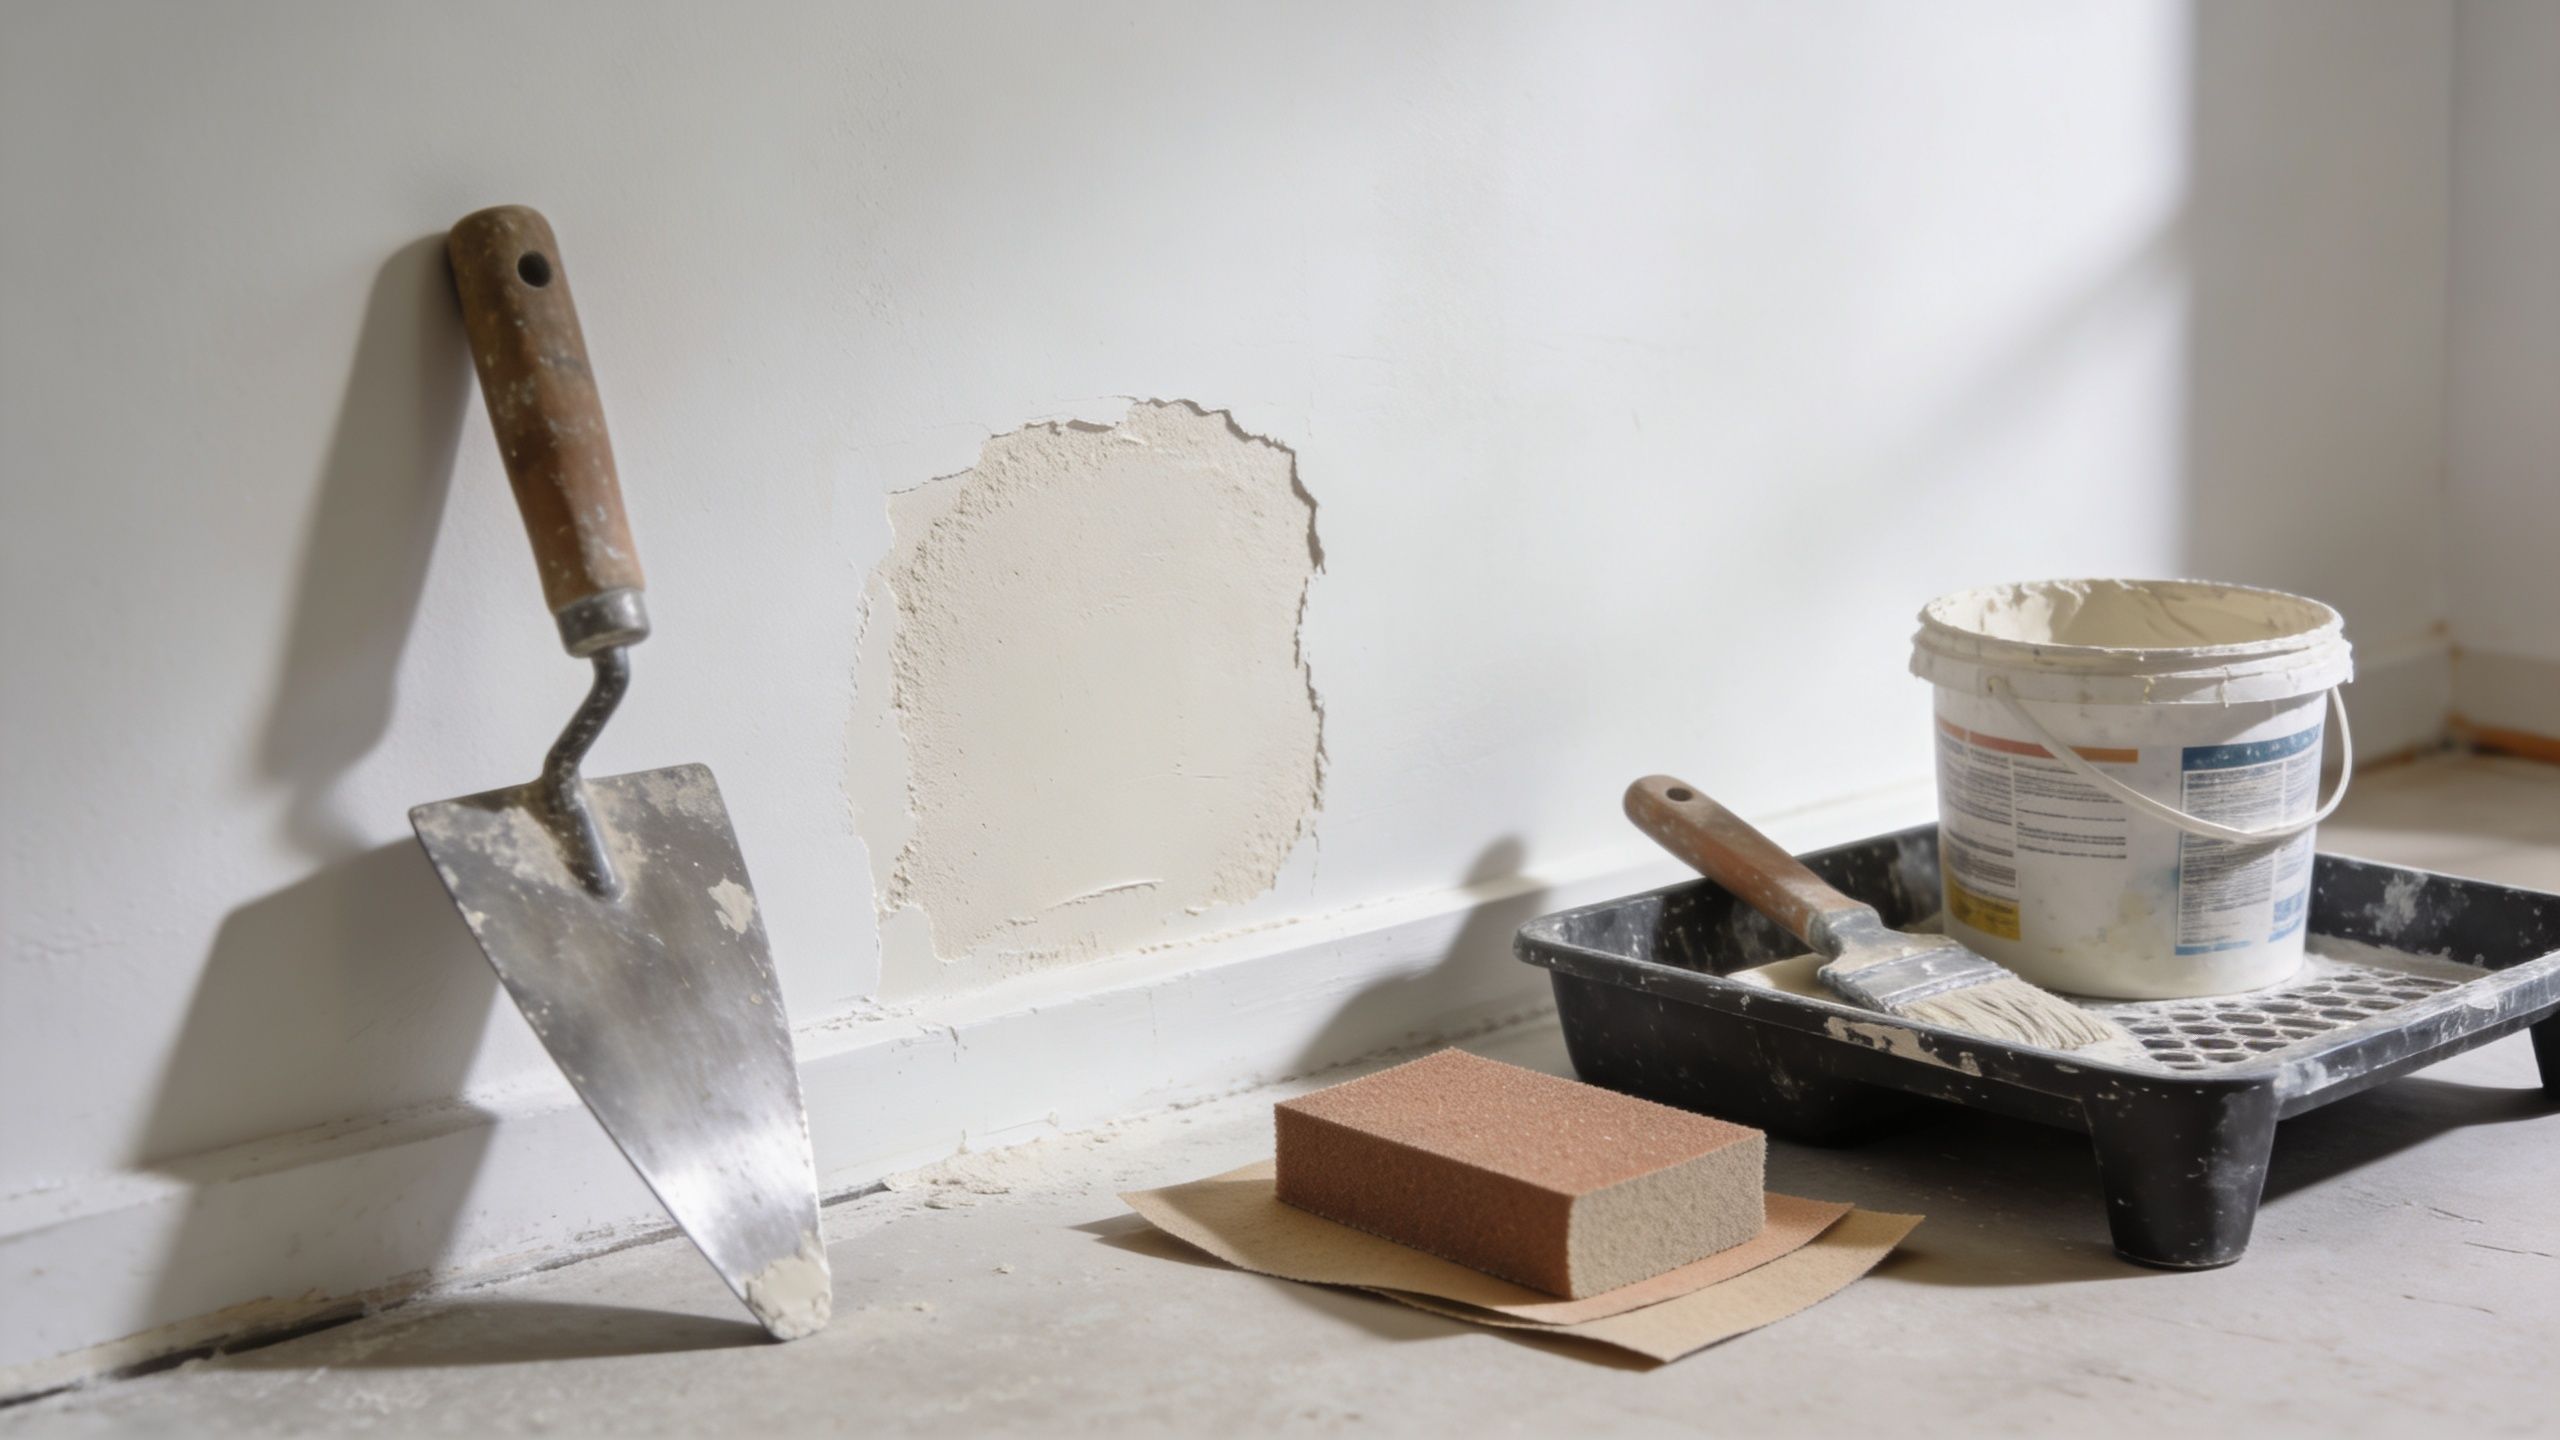
Homeowners often expect drywall work to start right away. Sometimes it can. Often it shouldn't. Water-damaged assemblies need the source fixed and the area dried before finish work begins.
Step 1 Stop the moisture and dry the area
The first job is stopping the cause. That might mean plumbing repair, roof repair, flashing correction, window sealing, or fixing an appliance line. If the source is still active, drywall replacement is wasted money.
Then the area has to dry. Depending on what got wet, that may involve removing trim, opening part of the wall or ceiling, and using air movement and dehumidification until the assembly is ready for rebuild.
Delays get expensive at this stage. As noted in this water damage repair cost overview, water damage often becomes a multi-trade job, and the longer drywall stays wet, the more likely a simple replacement expands into demolition, insulation work, mold remediation, and repainting.
Step 2 Open the area and remove what failed
Once the source is under control, damaged drywall gets cut back to sound material. Contractors usually make clean, straight openings so the replacement ties in properly and finishes better.
Wet or contaminated insulation may need to come out too. If there's visible microbial growth, odor, or signs the moisture sat for too long, the contractor may recommend additional remediation steps before closing the wall.
A lot of homeowners find this stage unsettling because the room can look worse before it looks better. That's normal. Controlled opening is how the contractor verifies the true extent of damage instead of trapping a problem behind a fresh patch.
This walkthrough gives a helpful visual sense of what that process can look like in practice:
Step 3 Rebuild and finish for paint
After the cavity is dry and ready, the rebuild starts. New insulation goes in if needed. New drywall gets installed, fastened, taped, mudded, sanded, and matched to the surrounding finish.
For a professional drywall water damage repair, the visible patch is only one part of the work. The cleaner the prep and backing, the flatter the finished surface will look once primer and paint hit it.
Typical finish stages include:
- Board replacement: Cut to fit, supported correctly, and fastened to stable framing.
- Taping and first coat: Seams and fastener heads get their first treatment.
- Additional finish coats: The contractor builds out the surface so it feathers smoothly.
- Texture or skim finish: This depends on the surrounding wall or ceiling.
- Prime and paint: Stain-blocking primer is often important in previously wet areas.
Good water damage repair doesn't just close the hole. It restores the assembly in the right order so the stain, sag, or soft spot doesn't come back.
DIY Repair vs Hiring a Professional A Realistic Look
Some water-damaged drywall repairs are within reach for a careful homeowner. Many are not. The hard part isn't spreading mud. The hard part is knowing whether the problem is completely dry, limited, and safe to close up.
Good candidates for DIY
A homeowner may be able to handle a very minor repair when all of these are true:
- The leak source is confirmed and fixed: Not suspected. Confirmed.
- The damaged area is small and isolated: No broad staining, sagging, or soft gypsum.
- The drywall is fully dry: No cool dampness, odor, bubbling, or swelling.
- There's no sign of mold: No visible growth and no musty smell.
- The repair is on a wall, not a ceiling: Walls are more forgiving and easier to finish.
In that situation, a small cut-out and patch can work if you're comfortable with surface prep and paint blending. Even then, matching texture and sheen is where many DIY repairs become obvious.
Best left to a pro
Other situations call for professional help right away. That includes ceiling damage, repeated leaks, older stains with uncertain history, wet insulation, multiple affected rooms, or any sign the drywall has lost structural integrity.
A pro is also the safer choice when:
- The ceiling is sagging: Falling material is a hazard.
- The damage came from a hidden leak: Walls and ceilings may need to be opened strategically.
- The finish is highly visible: Smooth walls and bright light expose poor patch work.
- The project may involve insurance: Clean documentation and scope definition matter.
- You need related interior work done at the same time: Drywall, painting, insulation, and framing often overlap.
A failed DIY water repair usually costs more than a professional repair because someone still has to remove the bad patch, reopen the area, and finish it correctly.
For Portland homes, there's another factor. Many houses have older assemblies, multiple previous repairs, or textures that are harder to blend cleanly. In those cases, the professional value isn't just speed. It's judgment.
Managing Your Project Insurance Claims and Cost-Saving Tips
A Portland homeowner often finds water damage at the worst time. A brown ceiling stain shows up the morning guests are coming, or a bathroom wall feels soft right before the work week starts. The instinct is to wipe it down, repaint it, and deal with it later. That usually makes the repair scope harder to pin down and can complicate an insurance claim if one may apply.
If coverage might be involved, pause before cleanup changes the evidence. Good photos and a clear timeline help your insurer understand the loss, and they help your contractor price the job more accurately from the start. In Portland, costs often rise after opening the wall or ceiling because wet insulation, hidden spread, or older layered repairs show up once demolition begins.
What to document right away
Start before anything gets thrown away or painted over.
- Take clear photos: Get wide shots of the room, then closer photos of stains, bubbling paint, sagging drywall, swollen trim, and any soft spots.
- Record a short video: Active dripping, ceiling movement, or visible swelling can be easier to show on video than in still photos.
- Write down the timeline: Note when you first saw the damage, when the leak likely started, and what was done to stop it.
- Save receipts and invoices: Keep records for plumbing work, emergency dry-out, temporary protection, and any materials used to limit further damage.
- Ask your carrier what they need: Some insurers want documentation before demolition. Others may ask for mitigation records, a contractor scope, or a leak report.
A small upstairs plumbing leak in a Beaverton townhouse can stay fairly contained if it is found early, dried fully, and documented well. Let it sit, and the job can expand into insulation replacement, a wider drywall cut, stain blocking, texture matching, and repainting beyond the original damaged area.
How to keep costs from climbing
The order of work matters as much as the repair itself. Stop the leak first. Dry the cavity fully. Then replace and finish the damaged drywall. I see avoidable costs when a patch goes in too early, then has to be cut back out because the framing or insulation behind it was still wet.
Portland repairs also have local cost drivers that online calculators miss. Older homes often have plaster-to-drywall transitions, patched textures, multiple old paint layers, or out-of-square framing that slows down clean repairs. Ceiling work adds labor, and matching an existing finish in natural light usually takes more time than the patch itself.
A few practical ways to keep the project tighter:
- Approve drying work quickly: Fast dry-out can prevent a much larger tear-out.
- Do not cover the evidence: Paint over a stain or soft spot only after the source is fixed and the material has been evaluated.
- Get the finish scope in writing: Ask whether the price includes insulation, texture match, stain sealer, primer, and final paint.
- Bundle related work carefully: If the room already needs painting, combining drywall and paint can reduce return trips and color mismatch problems.
- Use a contractor who knows local homes: Portland housing stock creates repair variables that affect labor time, finish quality, and scheduling.
Insurance may cover part of the loss, but it does not solve scope problems on its own. Clear documentation and the right repair sequence make it easier to separate emergency drying, demolition, drywall replacement, texture, and paint.
If you want local support from a contractor serving the metro area, it also helps to work with a team familiar with drywall projects in Portland. Local experience shows up in tighter scheduling, cleaner texture matching, and fewer surprises after the wall is opened.
If you are dealing with a stained ceiling, soft drywall, or damage from a plumbing or roof leak, CS1 Real Interiors can help you sort out the actual scope, timeline, and next steps. Request a free estimate to get help with drying coordination, drywall repair, interior painting, insulation, and related interior work in Portland, Beaverton, Hillsboro, Tigard, Lake Oswego, Gresham, and Vancouver WA.


