You notice it after the room is painted.
A faint line catches the light across the wall. Maybe it’s a seam that looks raised in the afternoon sun. Maybe it’s a hairline crack above a doorway. Maybe it’s a ceiling joint that seemed fine for a while, then started showing again. In Portland homes, especially older houses and homes that have seen moisture, that’s a common frustration.
A common mistake is treating every uneven seam like a simple patch job. It isn’t always that. Some seams are only cosmetic. Others are telling you the panels weren’t aligned well, the tape has let go, the framing moved, or moisture softened the area before anyone picked up a knife. If you skip that diagnosis step and just spread more mud over the line, the repair often looks better for a short time, then comes back.
A lasting fix starts with the cause, not the crack.
Table of Contents
- That Nagging Line on Your Wall
- Why Drywall Seams Fail and How to Diagnose the Cause
- Essential Tools and Area Preparation
- The Professional Method for Seamless Repairs
- Sanding, Finishing, and Texture Matching
- When a DIY Fix Is Not Enough
That Nagging Line on Your Wall
Most uneven drywall seams start as something easy to dismiss. A homeowner in Beaverton sees a line above the hallway light. A property manager in Gresham notices a patched ceiling seam showing through fresh paint. A seller in Lake Oswego walks through the house before listing photos and suddenly that one wall is all they can see.
That’s how seam problems work. They rarely look dramatic at first. They show up as a ridge, a shallow dip, loose tape edge, or a crack that only appears in certain light. Then paint makes it more obvious, especially on smooth walls and ceilings.
What matters is whether you’re looking at a cosmetic finish problem or a substrate problem underneath. Those need different repairs. If the issue is only bad finishing, the fix is mostly about removing loose material and rebuilding the seam correctly. If the seam is uneven because the board edges are offset, the framing moved, or the drywall was compromised by water, finishing alone won’t solve it.
Uneven seams aren’t hard because mud is complicated. They’re hard because the visible line is often the last symptom, not the first problem.
In Portland, Hillsboro, and Tigard, moisture exposure makes that distinction even more important. A seam near a past plumbing leak, exterior wall, or bathroom ceiling deserves extra scrutiny before anyone starts sanding. A clean-looking patch over damp or softened drywall is still a weak repair.
The right way to approach how to fix uneven drywall seams is simple in principle. Diagnose the cause, remove the failing section, rebuild the joint in thin coats, then finish it so the repair disappears under primer and paint. That sounds straightforward. In practice, the steps only work if the first diagnosis is right.
Why Drywall Seams Fail and How to Diagnose the Cause
A lot of visible seam trouble starts long before the wall is painted. Improper joint alignment during installation accounts for approximately 60 to 70% of visible seam issues in residential construction, especially when joints aren’t staggered properly or don’t have enough backing support, according to drywall seam analysis from Drywall Medic.
What usually caused it
A seam can fail for a few very different reasons:
- Poor hanging alignment: One panel sits slightly proud of the next, or the seam lacks proper support. That creates a ridge you can’t hide well with a single skim coat.
- Bad tape bond: Tape can bubble, lift, or separate if it was embedded poorly or if the area was dusty or unstable.
- Too much or too little compound: Heavy buildup leaves a hump. An underfilled joint leaves a valley.
- Movement in the structure: Seasonal movement, settling, or framing irregularities can reopen a previously repaired seam.
- Moisture damage: This is common in bathrooms, laundry rooms, ceilings under old leaks, and exterior-adjacent walls in the Portland area.
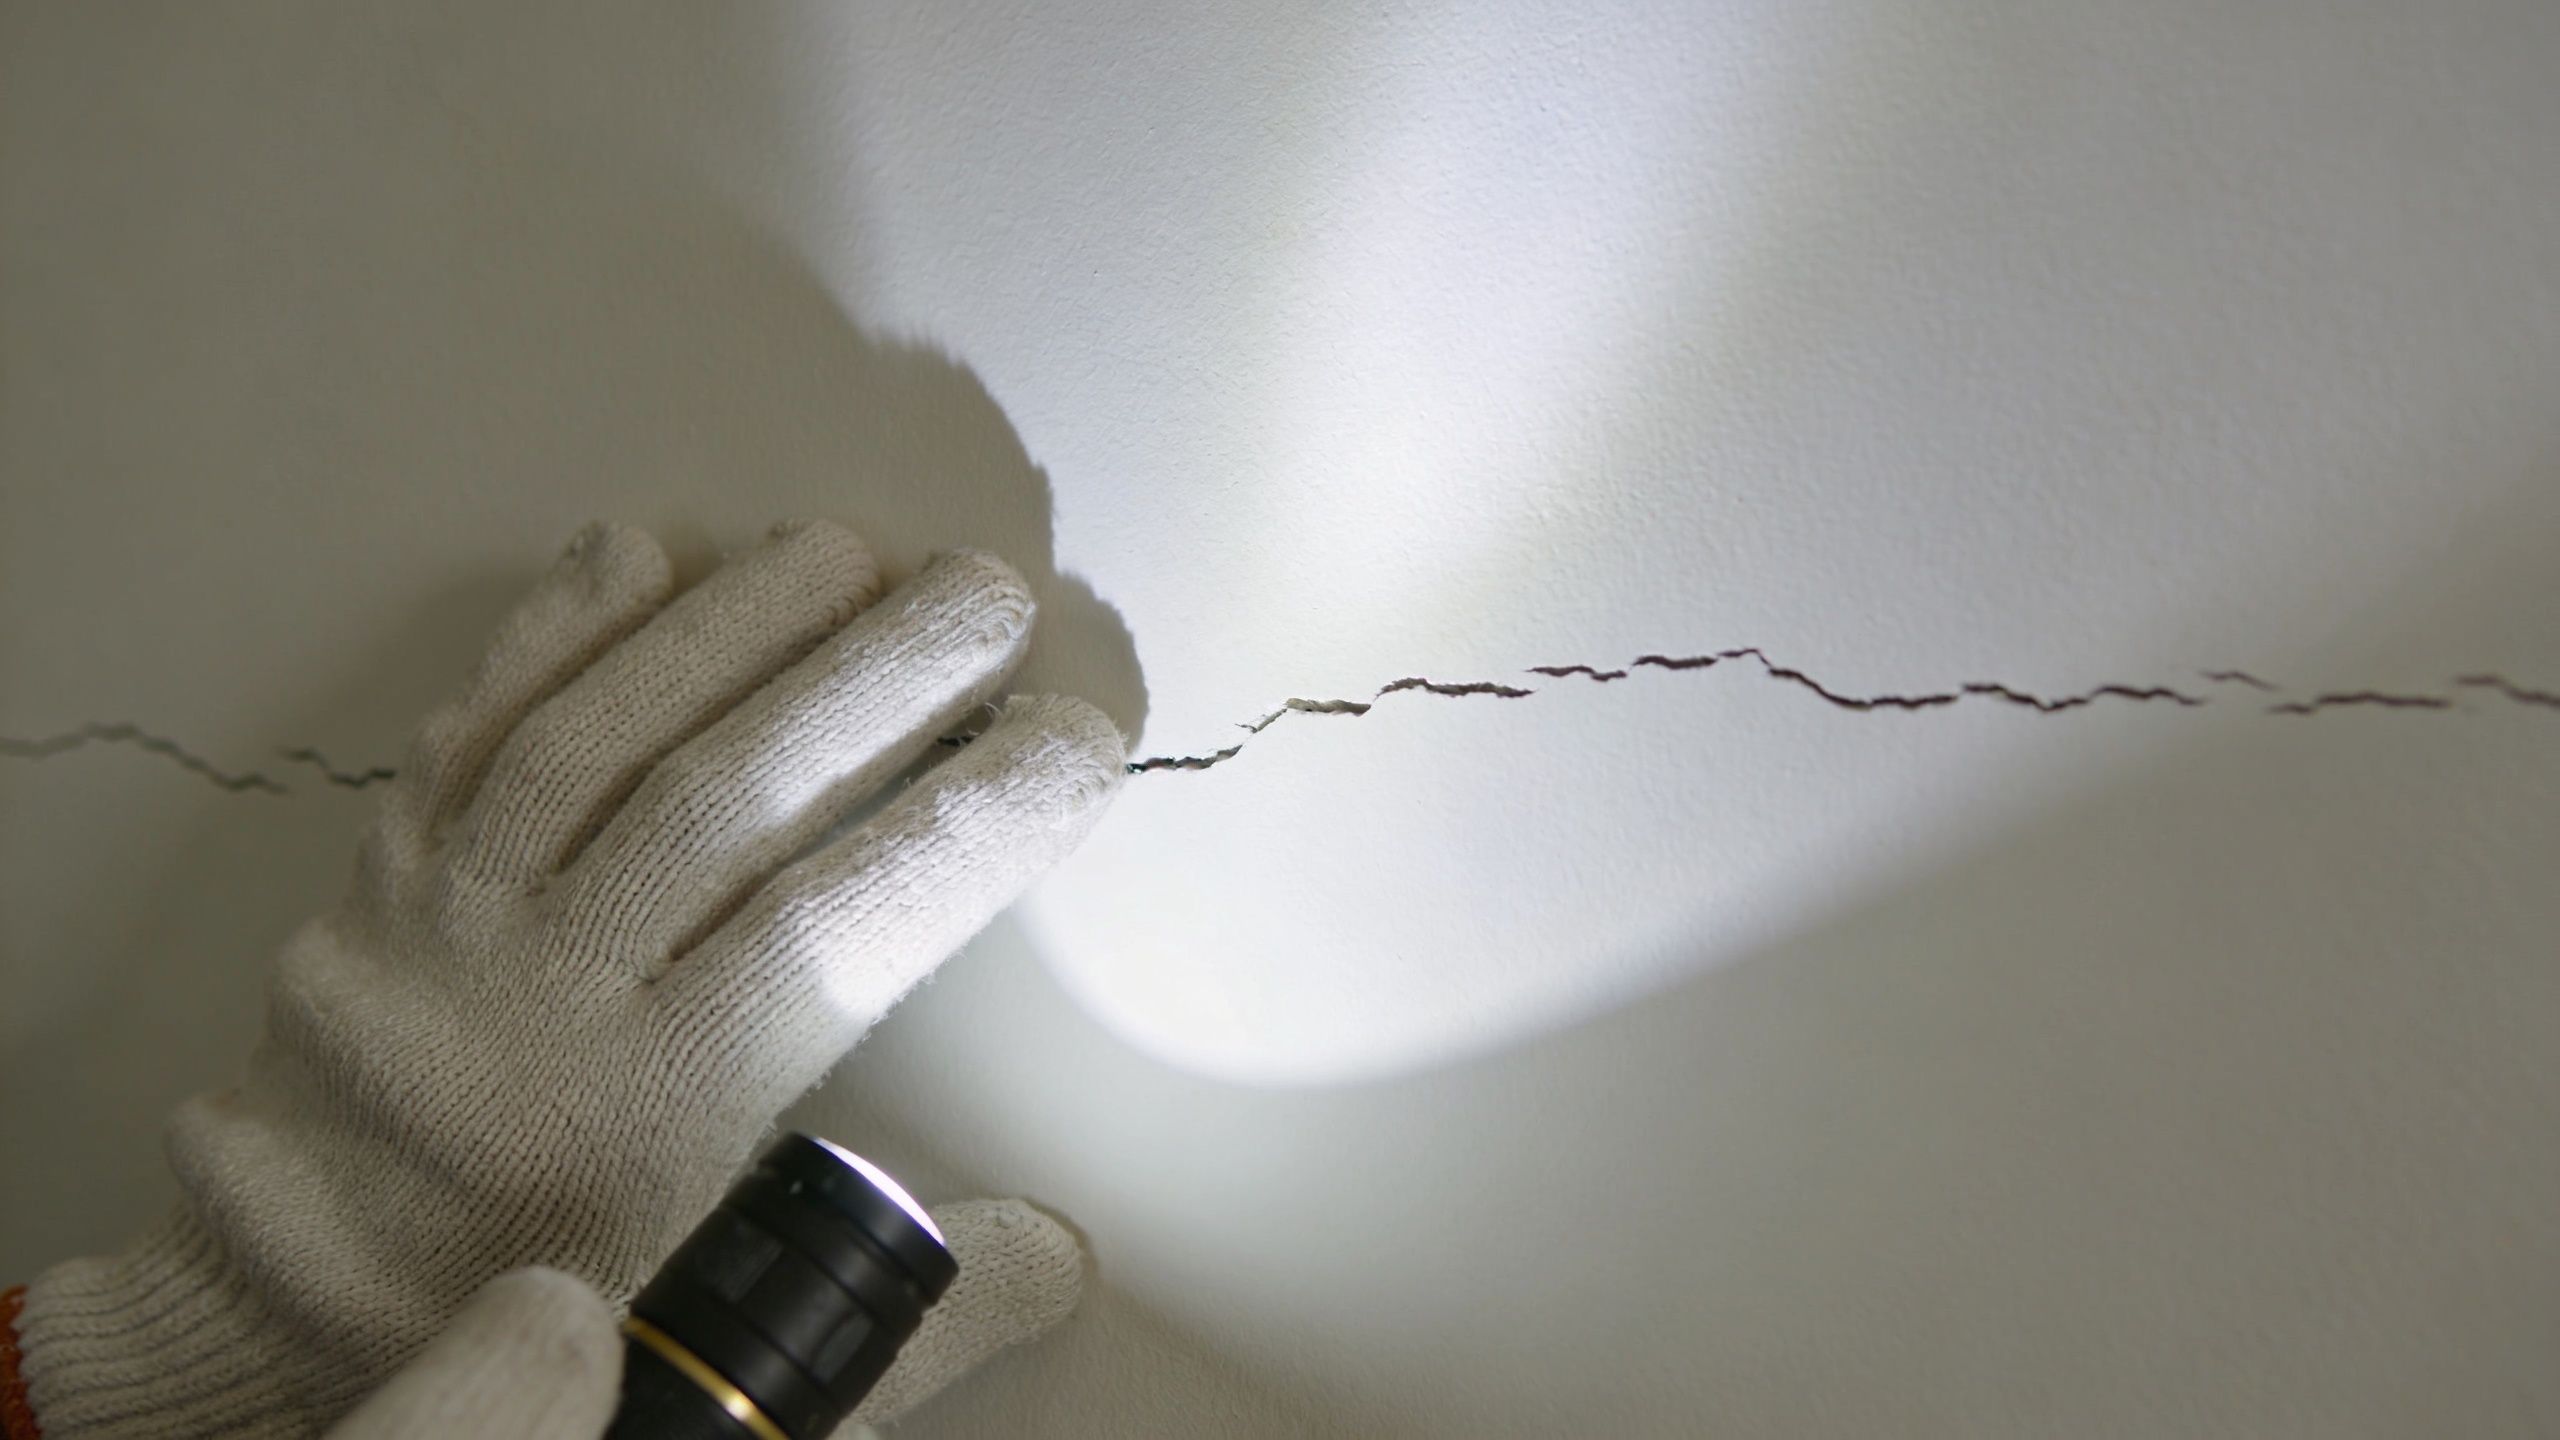
A quick field check at home
Before you patch anything, check the seam with a straightedge, wide knife, or even a stiff taping knife.
If the tool rocks over the seam, you likely have a ridge. If it bridges across a low spot, you’re looking at a recessed joint. Gently press on both sides with your thumb. If the wall feels soft, chalky, or slightly spongy, stop there and solve the moisture or substrate issue first.
Use this checklist:
- Look at the shape: Is it a crack, a bulge, or a sunken line?
- Check the length: Is it isolated to one patch, or does it run a long distance through the wall or ceiling?
- Test the surface: Does paint look stained, bubbled, or discolored?
- Watch the corners and fasteners: Nearby screw pops or corner cracks can point to movement, not just a bad seam.
- Measure the offset: If the panels sit noticeably out of plane, mud alone may not be the answer.
Practical rule: If you can identify movement, softness, or offset before you open the seam, you’ll make a better repair decision before spending time on finish work.
That matters for homeowners in Hillsboro and Vancouver as much as it does for remodel contractors. A seam that failed because of hanging or framing conditions needs a different repair plan than one that just needs better finishing.
Essential Tools and Area Preparation
A clean repair starts before the first cut. Floors need protection, nearby furniture should be covered, and dust control should be part of the plan from the start. That’s especially true if you’re working in an occupied home, a rental turnover, or a small commercial space where the room still has to function.
What belongs in the room before you start
Set the space up so you can work deliberately.
You want enough light to see shadows across the wall. You want drop cloths under the repair and plastic protection where dust may travel. You also want a stable step stool or platform for ceiling seams, because bad body position leads to bad knife work.
For the repair itself, the first fill coat matters. A setting-type compound gives a stronger base for rebuilding an uneven joint than a soft finish coat. It sets chemically, shrinks less, and supports tape better when you’re correcting a seam instead of just hiding one.
Tools and materials checklist
| Item | Purpose | Pro Tip |
|---|---|---|
| Utility knife | Cut out loose tape, score cracked joint, clean edges | Use a fresh blade so you slice paper cleanly instead of tearing it |
| 6-inch taping knife | Embed tape and apply the first coat | Keep pressure even so you don’t leave dry spots under tape |
| 10-inch knife | Build the second coat | Pull wider than the repair, not just over it |
| 12-inch knife | Final feathering | Wider passes help the seam disappear in side light |
| Setting-type joint compound | First fill and tape bed | Mix only what you can use in one working cycle |
| Finish compound | Top coats and skim work | Thin, controlled coats look flatter than one heavy pass |
| Tape | Reinforces the joint | Use full contact with the bed coat so bubbles don’t form |
| Sanding block or sponge | Flatten ridges and refine the finish | Let the abrasive do the work |
| Work light | Exposes humps, valleys, and edge lines | Check from the side, not only head-on |
| Drop cloths and plastic | Dust and surface protection | Prep takes less time than cleaning compound out of flooring |
A rushed setup creates most of the mess people hate about drywall work. Good prep also makes painting easier later, especially if the repaired wall is headed for a smooth finish or a high-visibility ceiling.
The Professional Method for Seamless Repairs
A good repair starts with the question DIY articles usually skip. Is the seam sitting proud because the finish failed, or because the board alignment, fastening, or framing is off underneath? If you do not answer that first, you can tape and coat the joint correctly and still watch the line come back.
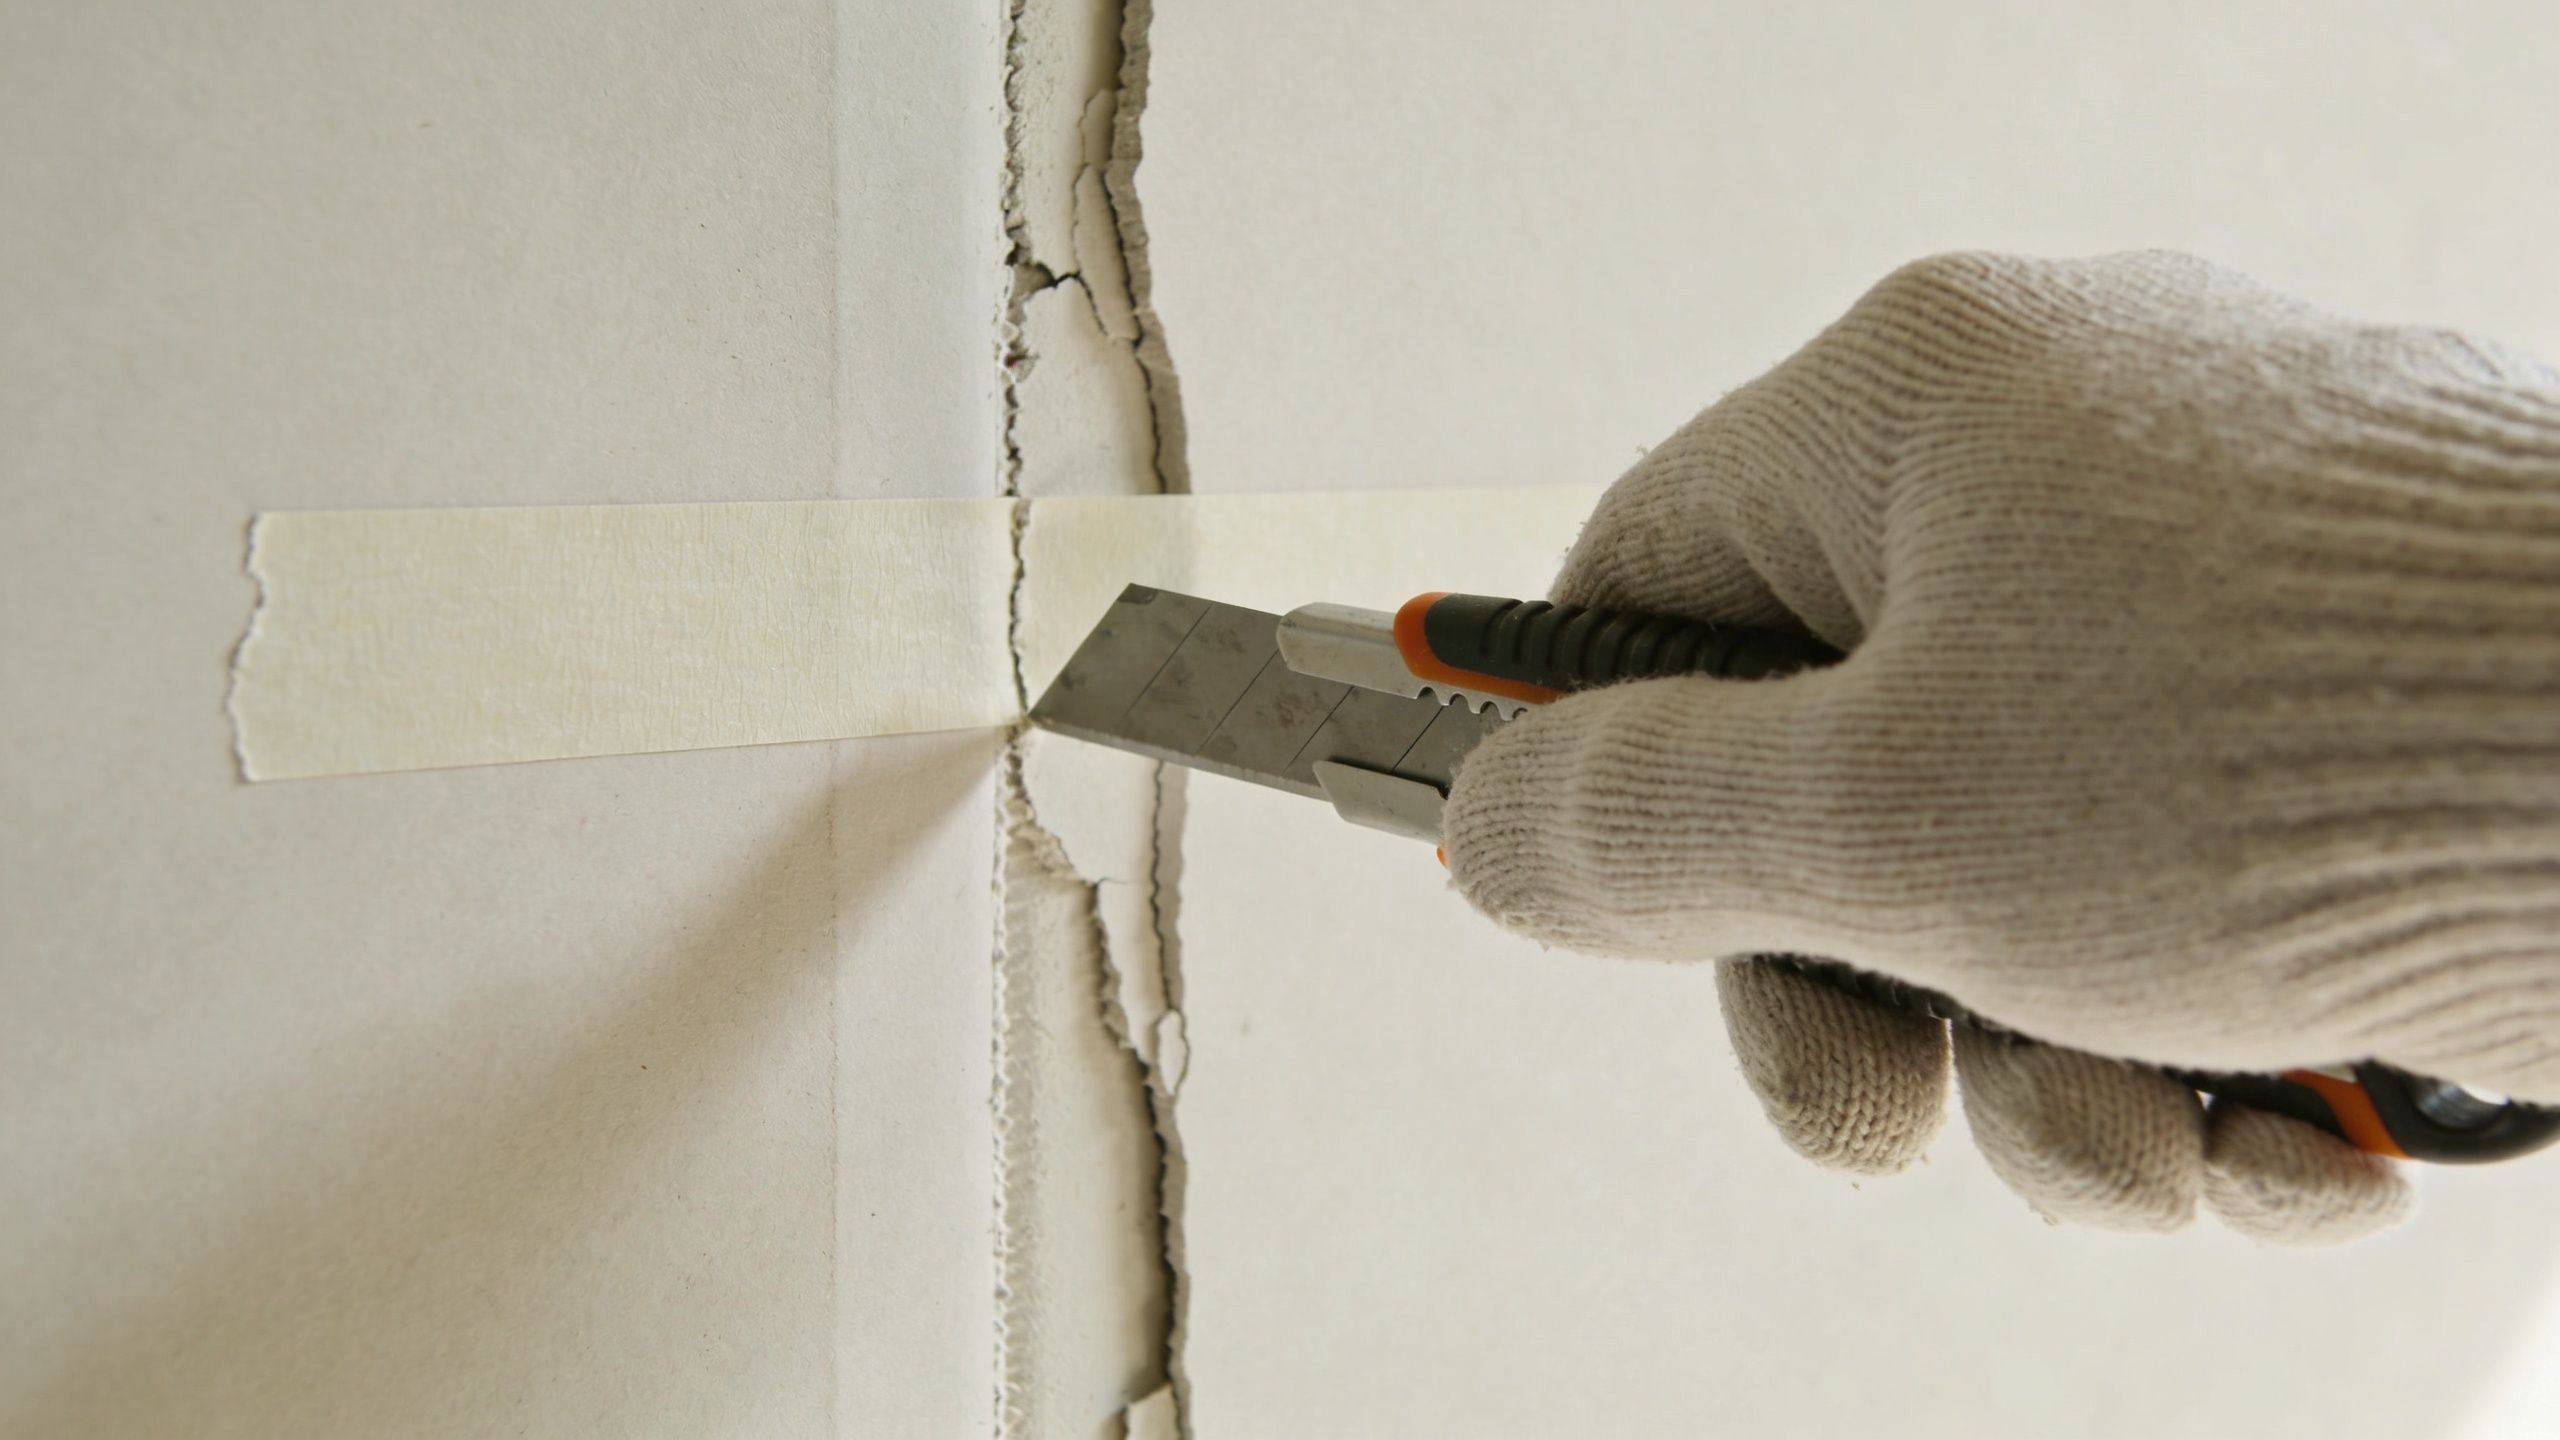
Start by removing failed material and reading the joint
Cut out loose tape. Scrape off cracked or poorly bonded mud. If the seam has opened, widen it slightly into a shallow groove so fresh compound can grab clean material instead of sitting on dust and loose edges.
Then check what kind of problem you have. A cosmetic failure usually shows up as bubbled tape, shallow cracking, or a rough ridge from bad knife work. A structural problem usually feels harder and more stubborn. One sheet sits higher than the next, screws have popped, the seam has movement, or the framing line underneath is telegraphing through.
If the seam is high because of poor support or a bad butt joint, flatten the cause as much as you can before adding mud. Knock down the hump. Refasten loose board if needed. For severe butt-joint ridging, pros sometimes correct the support behind the seam instead of trying to hide the shape from the face. Back-blocking with floating seam installation is one way to reduce ridging and future cracking by changing how the joint is supported, as described in this overview of back-blocking and floating seams.
Rebuild the joint in stages
Once the weak material is gone and the seam shape makes sense, rebuild it with thin coats that each do one job. Heavy mud is a common shortcut, but it shrinks more, sands poorly, and leaves a wider repair than necessary.
A reliable sequence looks like this:
Bed the tape
Apply a thin layer of setting-type compound into the opened joint. Embed the tape with a 6-inch knife and press firmly enough to remove air without starving the tape of mud. Full contact matters more than speed here.Fill and flatten
After the first coat sets, add a second coat that extends beyond the taped area. Keep it thin. The goal is to correct the plane gradually, not build a mound over the seam.Feather the edges wider
Use a wider knife for the next pass and pull the mud farther into the surrounding field. On a factory edge, that may not need much width. On a butt joint, you usually need to go wider because the boards do not have the recessed taper that helps hide buildup.Skim only where the wall tells you to
If side light still shows a transition, skim the adjacent area lightly to blend the plane. Do not coat the whole area out of habit. Extra mud creates extra sanding, and extra sanding can expose tape or fuzz the face paper.
The best-looking repair is usually the one with the least material left on the wall.
A quick visual walkthrough can help if you’re comparing your process to professional knife work:
One mistake I see often is using compound to compensate for panel mismatch that should have been corrected mechanically. Mud can hide a minor transition. It cannot reliably fix a board that is twisted, poorly fastened, or sitting out of plane. If you have to keep widening the repair to make the line look flatter, stop and check the substrate again.
If the seam has movement, repeated cracking, or a hump that keeps printing through after careful coating, it may be time for professional drywall repair before more finish material goes on.
Sanding, Finishing, and Texture Matching
A repair can be structurally sound and still look bad. That usually happens in the finishing stage. The seam is fixed, but the surface catches light, the texture doesn’t match, or the paint flashes differently over the patch.
Sand for flatness not speed
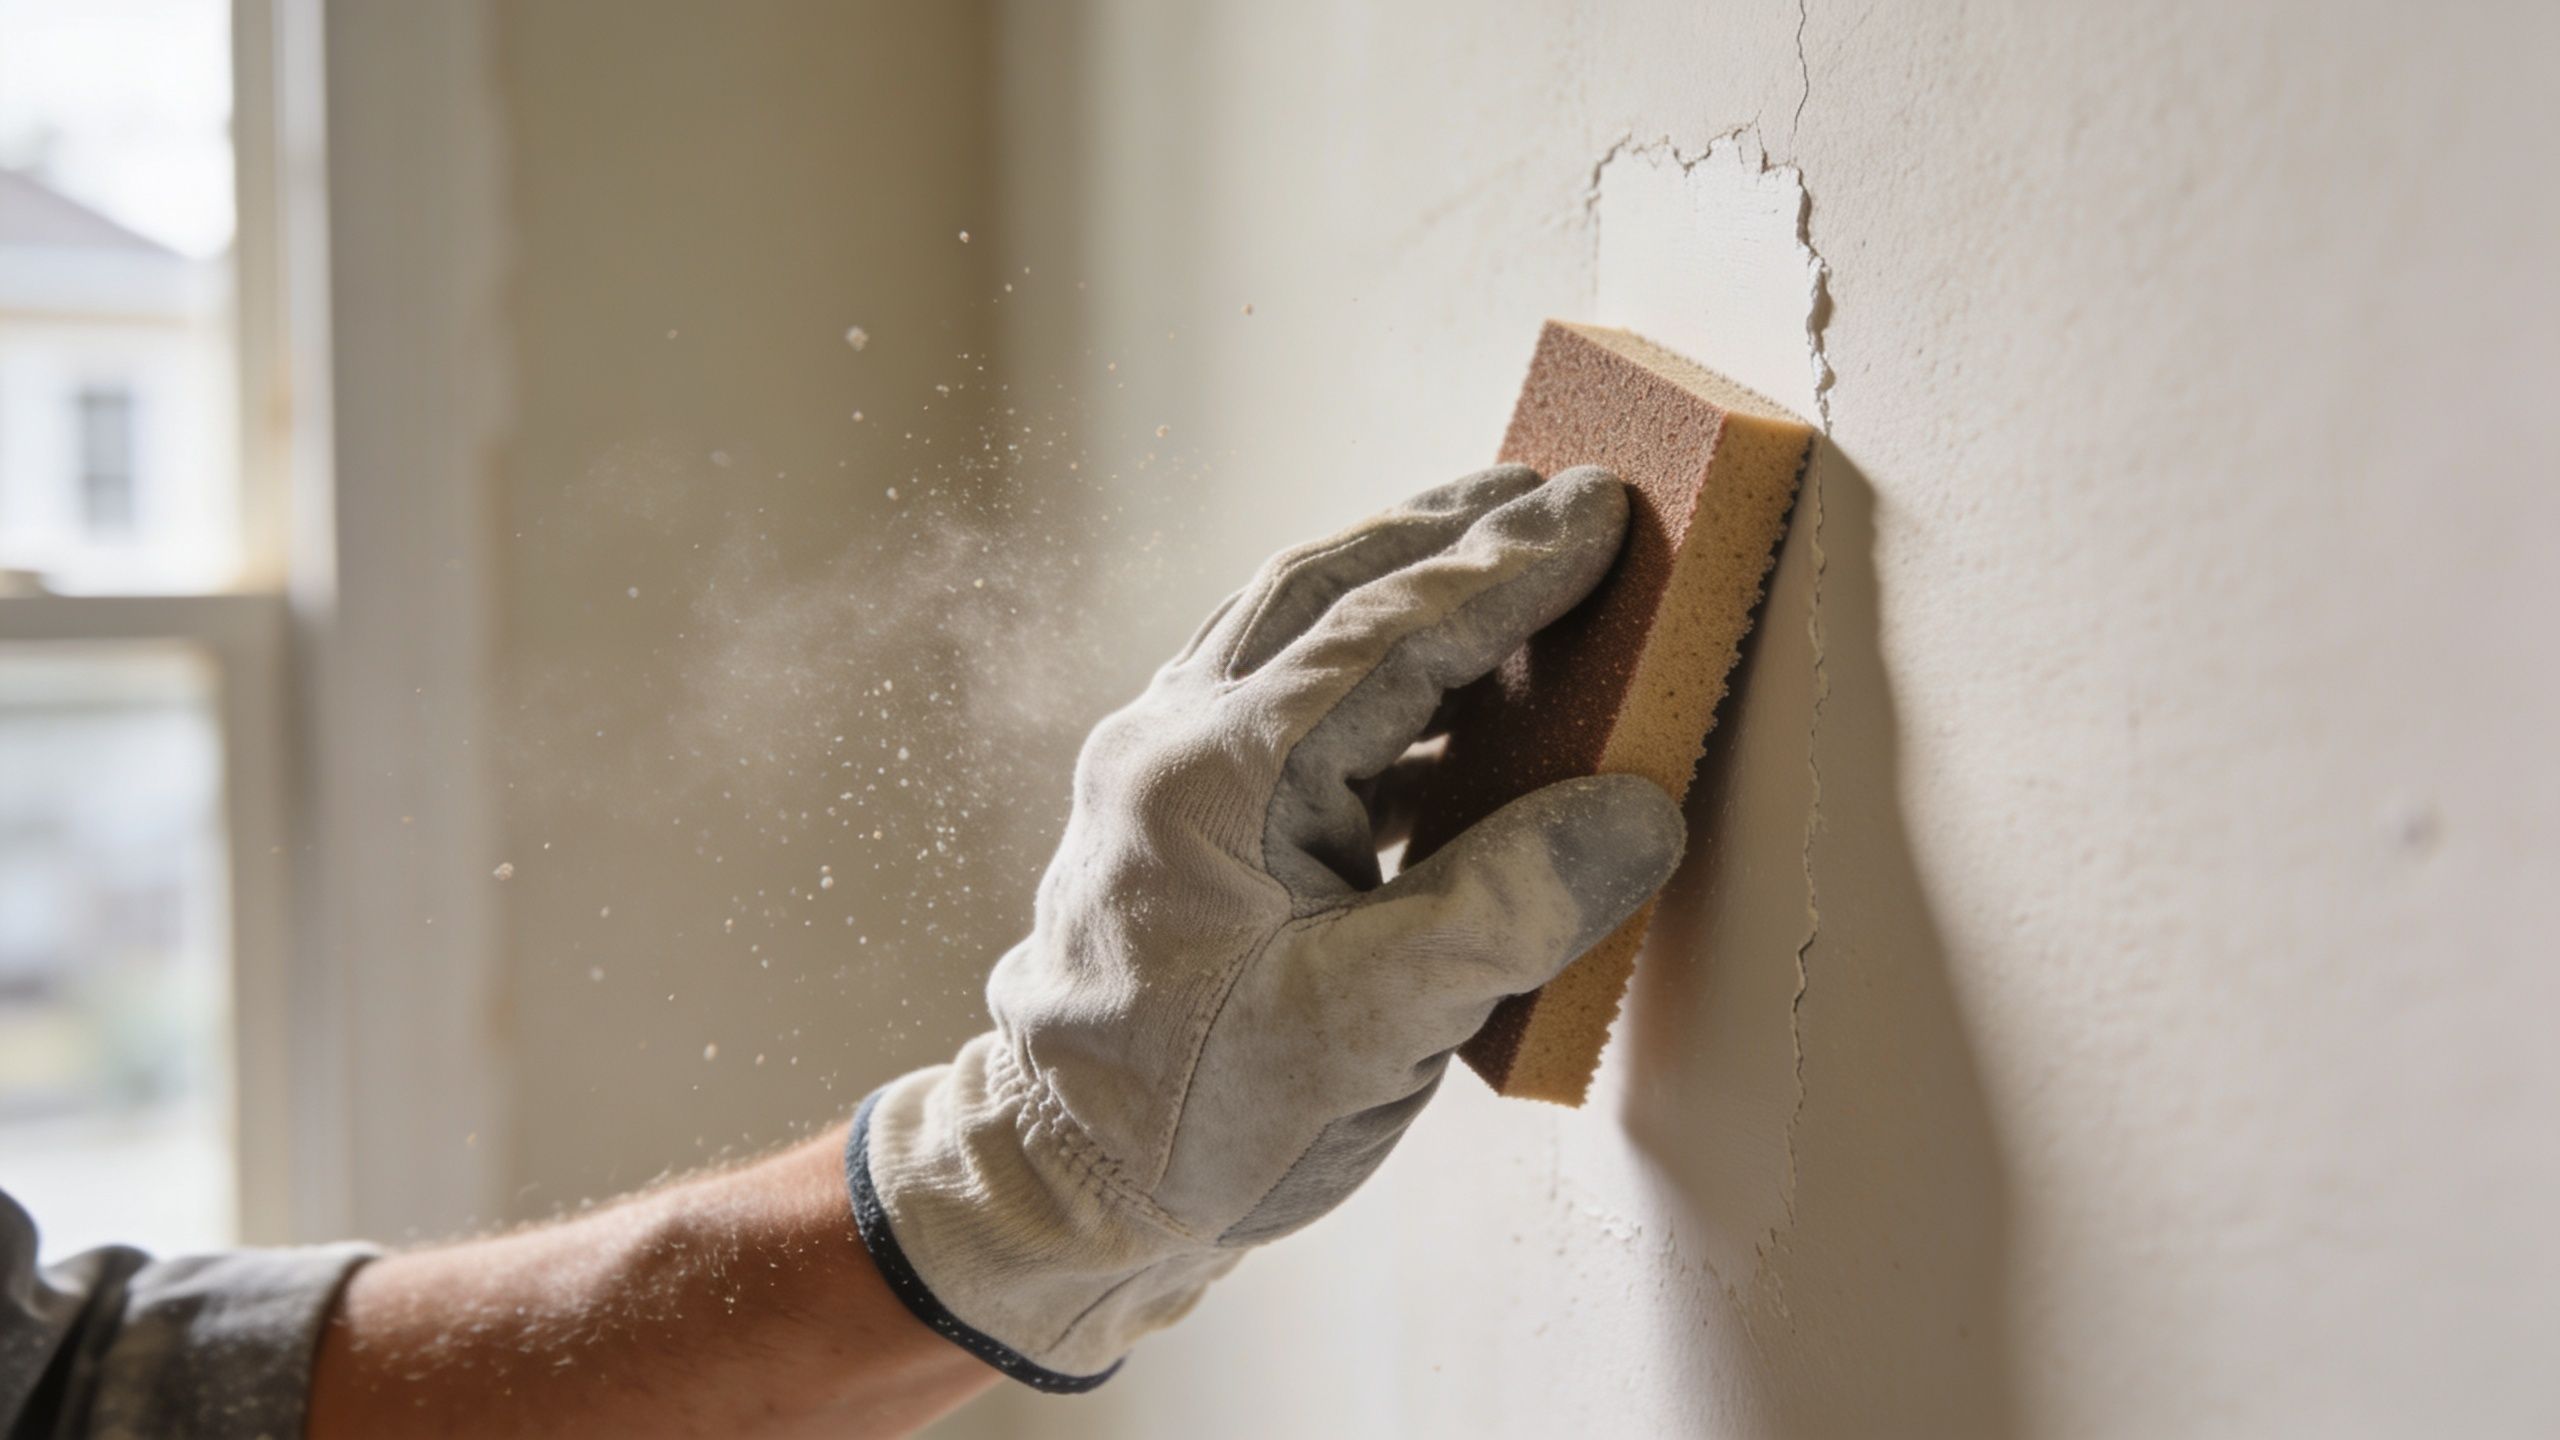
Start by knocking down ridges and tool lines lightly. Then refine the surface until the repair blends into the wall without visible edges. Aggressive sanding creates new defects. It scuffs the surrounding paper, exposes tape, and leaves low spots that paint makes obvious.
The final surface should be checked with side light, not just by running your hand over it. Hands miss what paint will show.
Flat paint is unforgiving. A seam that seems acceptable before primer can still telegraph after finish paint goes on.
That matters because paint-ready finishing is critical, as uneven seams often show through flat paints, and OSHA drywall dust regulations effective in 2026 require wet-sanding or vacuum-assisted methods for silica safety, according to this discussion of paint-ready finishing and dust-control requirements. For occupied homes and turnover work, cleaner sanding methods matter almost as much as the finish itself.
Texture is where many repairs give themselves away
Smooth-wall repairs are demanding, but textured walls create a different challenge. The seam may be flat and stable, yet the patch still stands out because the surrounding field has orange peel, knockdown, or another light texture that wasn’t blended correctly.
That’s where professional finishing separates itself from a decent patch. Matching texture isn’t just spraying a can and hoping the pattern lands close. It’s controlling density, spread, edge blend, and the final paint absorption so the repaired area doesn’t flash as a dull or shiny patch.
For homeowners getting a room ready to sell in Tigard or Lake Oswego, this is often the difference between “repaired” and “never happened.” It also overlaps with painting. If the wall needs a broader skim or finish upgrade, combining drywall repair with interior repainting is often cleaner than trying to spot-fix a highly visible seam after the fact.
When a DIY Fix Is Not Enough
You open up a cracked seam expecting a quick retape job, then find soft gypsum, loose board edges, or framing that moves when you press on the wall. At that point, more mud is not a repair plan. It is a cover-up.
The call to stop usually comes down to diagnosis, not effort. If the seam is uneven because the finish was applied poorly, a careful repair can solve it. If the seam is uneven because the framing shifted, the drywall was hung badly, or moisture weakened the board, the surface defect will come back until the underlying problem is corrected.
Red flags that change the repair plan
A DIY patch usually stops making sense when the seam has one of these conditions:
- Noticeable board offset: If one sheet sits proud of the other enough that you can feel a hard ridge, finish compound alone is rarely the right fix. Minor taper issues can be floated out. Real misalignment usually means the board needs to be reset, shimmed, or replaced.
- A crack that returns in the same spot: That points to movement, failed fastening, or poor backing, not just bad tape.
- Signs of moisture: Staining, soft drywall, bubbling paint, mold odor, or crumbling core change the job immediately. Drywall repair does not last on damp or damaged material.
- A long split that runs vertically or across a ceiling: That often points to framing movement, poor board layout, missing support, or a house that has settled enough to stress the joint.
- Very visible finish conditions: Smooth walls, side lighting, entryways, and pre-sale touchups are less forgiving than a patch behind a door.
I tell homeowners to press on the area before they mix anything. If the wall flexes, sounds hollow, or feels soft, the repair has already moved beyond a tape-and-mud fix.
Hiring a pro in those cases is usually cheaper than repeating a failed patch two or three times. A proper inspection can sort out whether the wall needs reframing, new backing, partial rehang, broader skim work, texture correction, repainting, or several of those together. Around Portland, I see this a lot after small leaks, remodel tie-ins, rental turnover damage, and older repairs where someone only addressed the visible crack.
For homeowners and property managers in Portland, one option for that kind of interior work is CS1 Real Interiors, which handles drywall repair, painting, insulation, and metal stud framing as part of residential and small commercial projects.
If the seam problem turns out to be structural, moisture-related, or tied to finish quality in a highly visible area, stopping early saves time, material, and a second repair. If you want a second opinion before opening the wall further, or you already know the repair needs professional attention, contact CS1 Real Interiors. We help homeowners and property managers across Portland, Beaverton, Hillsboro, Tigard, Lake Oswego, Gresham, and Vancouver WA with drywall repair, installation, finishing, texture matching, interior painting, insulation, and metal stud framing.