You look up and notice it for the first time. A brown stain near the vent. A seam that wasn’t there last month. A soft belly in the ceiling panel over the hallway. In a mobile home, that kind of damage gets your attention fast, especially in Portland, Gresham, Beaverton, or Vancouver where damp weather can hang around for months.
The good news is that mobile home ceiling repairs are often less expensive than people expect. Because many manufactured homes use lightweight ceiling materials and simpler assemblies, repairs often fall in the $150 to $900 range, which is lower than many standard residential ceiling repairs, according to ceiling repair cost guidance from Bob Vila. That doesn’t mean every repair is small. It means you have room to act early before a stain turns into rot, mold, or a full panel replacement.
The hard part is knowing what you’re looking at. A sagging panel can mean a roof leak, trapped condensation, or a long-standing issue that’s been painted over more than once. A rushed patch might make the ceiling look better for a few months, but if the moisture source is still there, the damage usually comes back.
Table of Contents
- That Sinking Feeling A Damaged Mobile Home Ceiling
- Identifying the Cause of Your Ceiling Damage
- A Step-by-Step Guide to DIY Ceiling Repair
- Feeling Overwhelmed? Get a Professional Assessment
- When to Call a Professional for Ceiling Repairs
- Protect Your Home with Portland’s Trusted Interior Experts
That Sinking Feeling A Damaged Mobile Home Ceiling
Ceiling problems in mobile homes feel personal fast. The ceiling is overhead in every room, and when it starts to stain, bow, or separate at the seams, the whole home can feel neglected even if the problem is isolated to one area.
That stress gets worse when you’re not sure if it’s cosmetic or serious. A small water mark over the kitchen may be nothing more than a past leak that’s already been fixed. A soft section near a bathroom fan might point to trapped moisture. A long sag running across a panel often means the material itself has lost strength and won’t tighten back up with paint or caulk.
In the Portland area, I’d treat ceiling movement as a message, not just an eyesore. Our wet climate exposes weak roofs, poor venting, and hidden condensation problems that stay quiet until a season of rain makes them obvious.
Why mobile home ceilings are different
Manufactured homes don’t behave exactly like site-built houses. Their ceilings are usually lighter, thinner, and more sensitive to movement and moisture. That’s one reason repairs are often more affordable than homeowners expect, but it’s also why the wrong repair can fail quickly.
A typical mobile home ceiling repair is often simpler because the materials are lighter and easier to remove and replace. The flip side is that lightweight panels don’t hide moisture damage well. Once they sag, stain, or soften, patching the surface alone rarely solves the problem.
Practical rule: If the ceiling changed shape, don’t assume paint will fix it. Find the reason it changed shape first.
What usually works and what usually doesn’t
Some fixes buy time. Some fixes solve the problem.
Here’s the difference:
- Works well: Stopping the leak first, removing damaged material, checking the framing, and replacing the panel with the right fasteners.
- Often fails: Painting over stains, loading thin panels with too much mud, or screwing into soft material that has already lost strength.
- Works for resale prep: Proper repair plus texture matching or smooth finishing so the patch doesn’t stand out under paint.
- Usually creates rework: Installing new finish material over active moisture or over framing that hasn’t been inspected.
That’s why mobile home ceiling repairs need a little patience up front. A careful diagnosis saves money, and it gives you a much better shot at a repair that lasts.
Identifying the Cause of Your Ceiling Damage
The first step is to determine what damaged the ceiling. In mobile homes, the stain or sag you see is often just the symptom. Around Portland, I see two causes come up again and again. A roof leak, or trapped moisture from daily indoor humidity that has nowhere to go in our damp climate.
Older homes need extra caution. Units built before modern standards often have assemblies that are less forgiving of long-term moisture, and years of repainting or patching can hide how far the damage has spread. In homeowner discussions, water stains and bowed ceiling panels come up often in older units, but the exact cause still has to be confirmed on site.
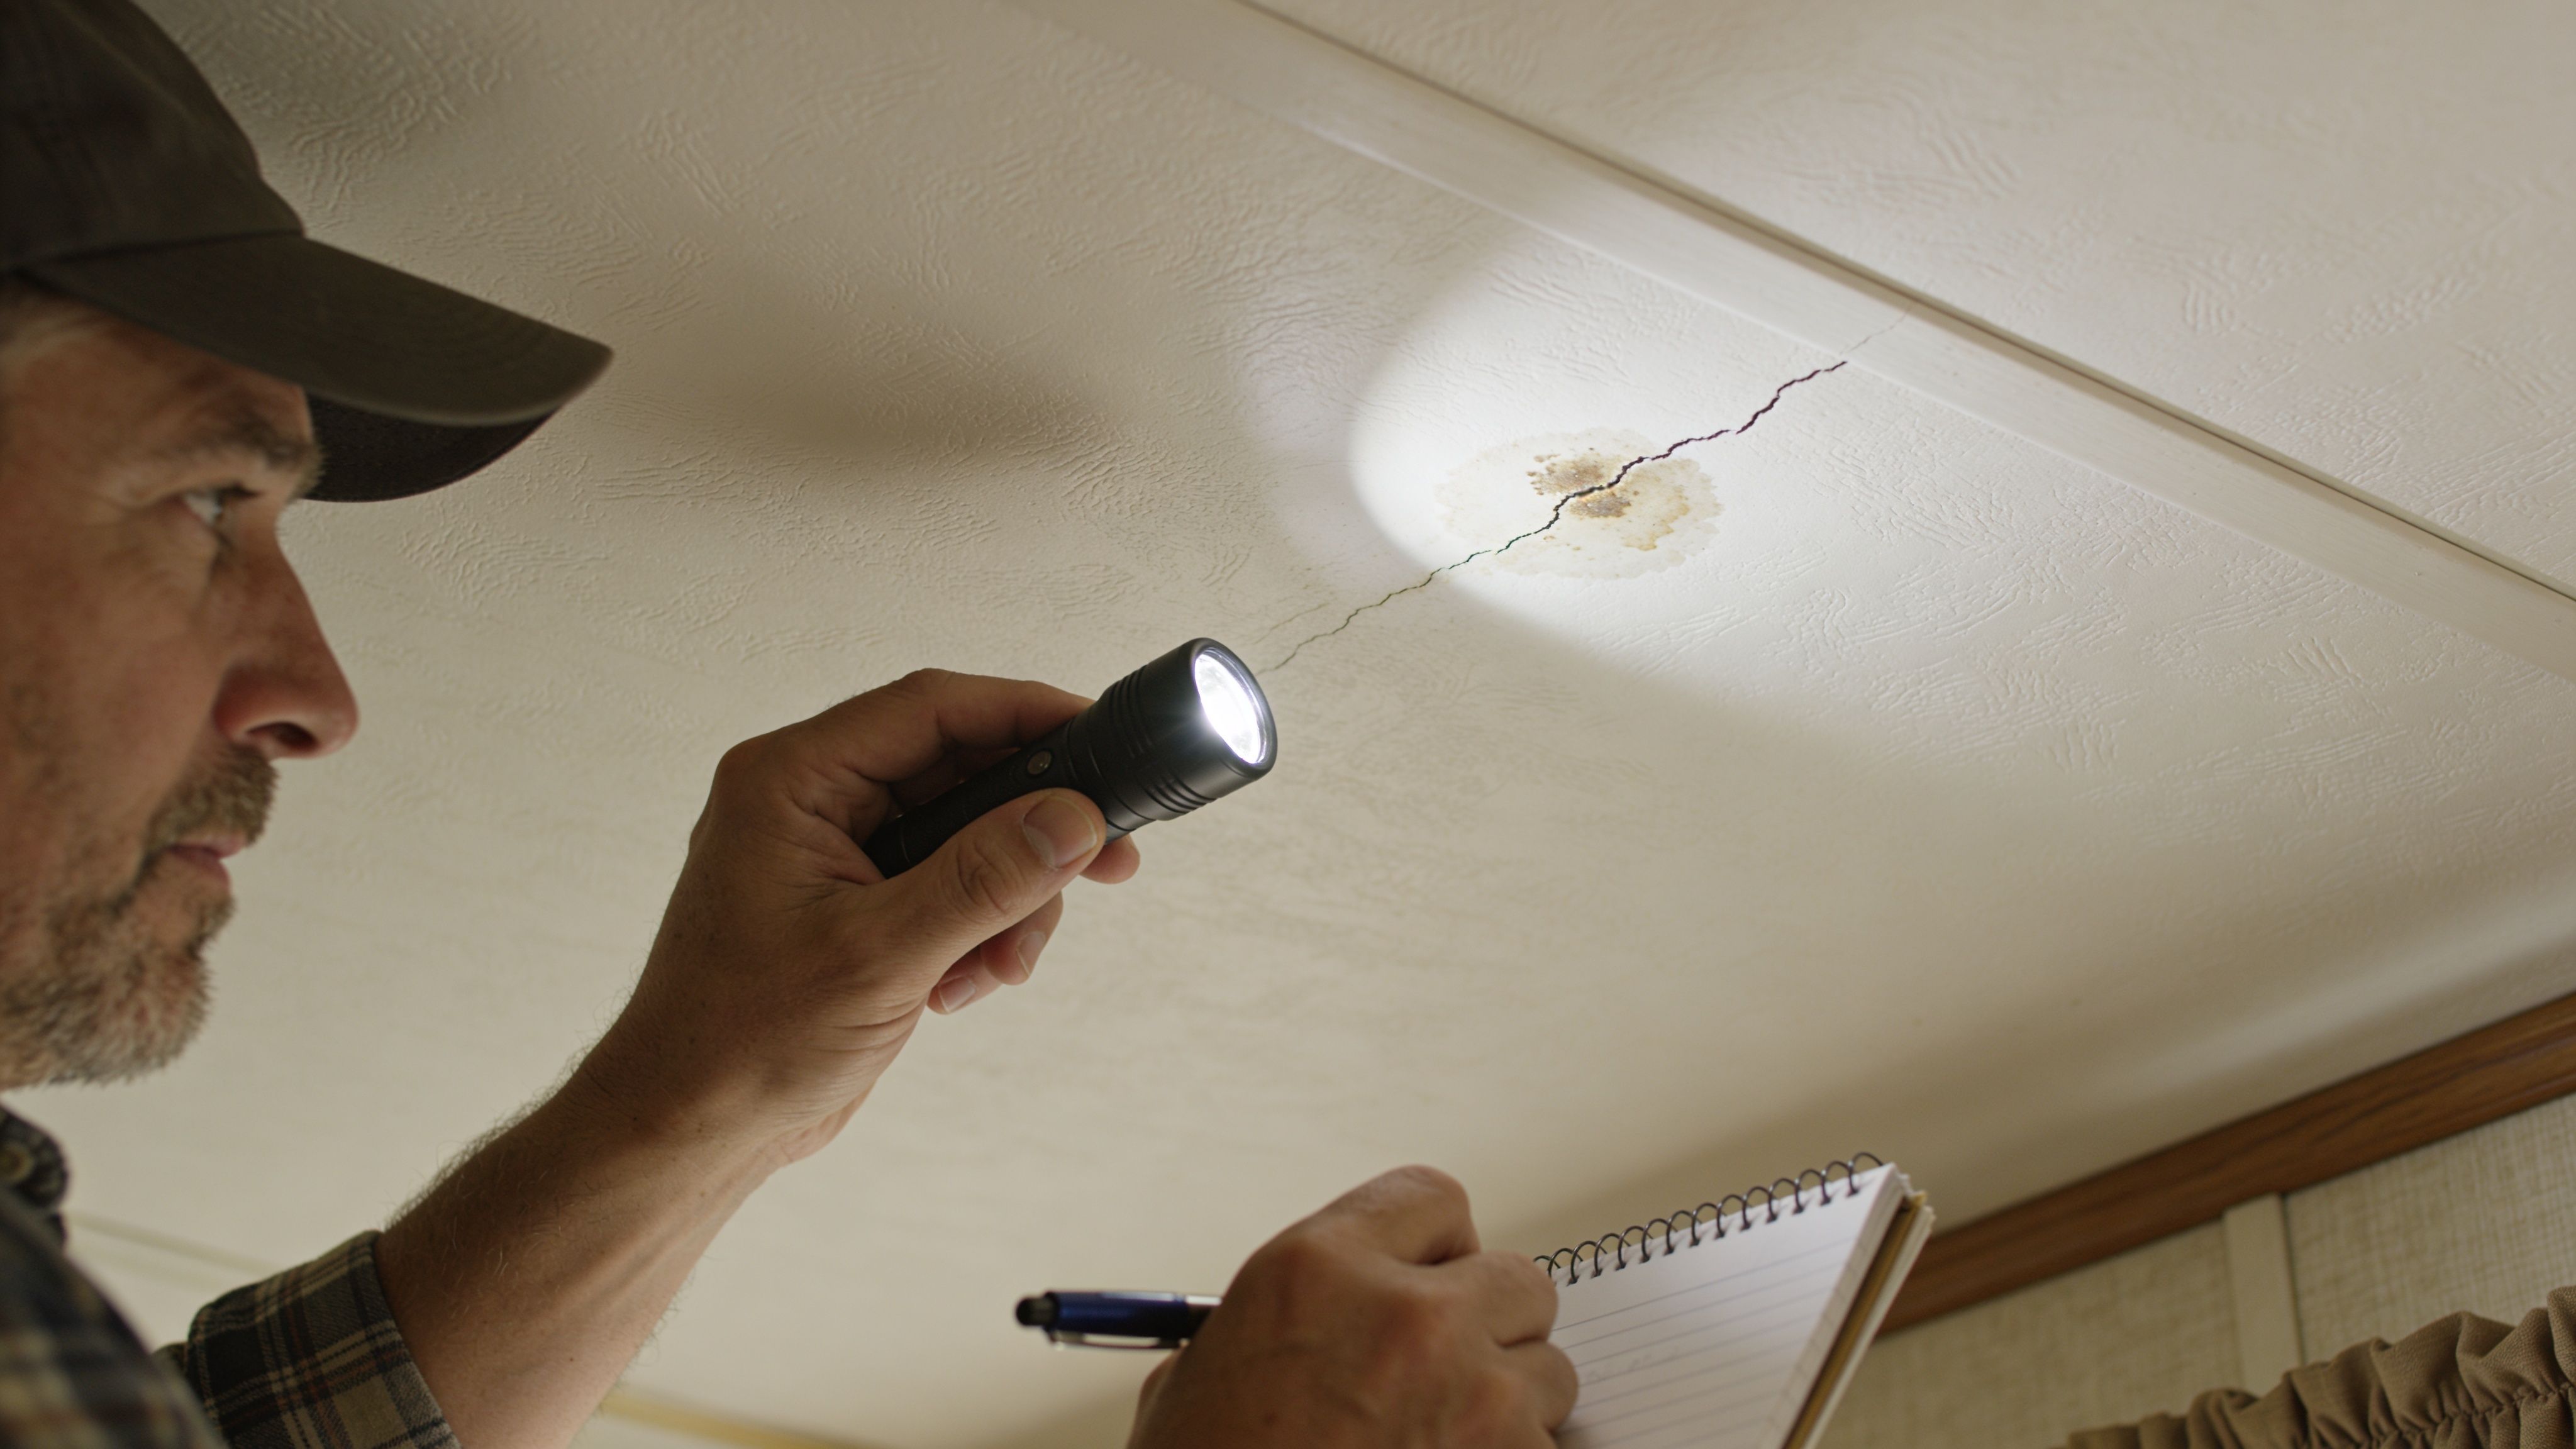
Start with the pattern of the damage
The shape and location usually point you in the right direction.
- A ringed brown or yellow stain: Often means water entered from above at some point. If the stain grows after rain, treat it as an active leak until proven otherwise.
- A long sag along a seam or panel run: Often shows repeated moisture exposure, fastener failure, or a panel that has lost strength.
- Damage near vents, bathrooms, or kitchens: Often connects to condensation, especially if the room gets humid and air movement is poor.
- A single puncture or clean crack: Usually points to impact damage, unless the surrounding material feels soft or swollen.
Use your hand, too. A firm, flat panel may only be discolored. A soft, crumbly, or springy panel usually means the material itself is failing, and cosmetic repair will not last.
Check above and around the damaged area
Ceiling damage rarely starts in the ceiling alone. Look at what is happening around it.
If the damage sits below a plumbing vent, roof edge, skylight, or exhaust penetration, water entry becomes more likely. If it is near a bathroom, laundry area, or kitchen, condensation deserves a hard look. If the stain comes back after primer and paint, moisture is still active somewhere.
A basic homeowner check includes:
- Look at the roof line for lifted materials, failed sealant, or flashing problems.
- Check exhaust fans and vents to make sure humid air is leaving the home.
- Press gently on the panel to feel for softness, swelling, or separation.
- Inspect wall tops and trim for discoloration that shows where water traveled.
- Pay attention to smell. A musty odor usually means moisture has been sitting longer than the ceiling surface suggests.
One more point matters here in older mobile homes. Disturbing damaged ceiling materials can expose you to more than dust. Long-term moisture can mean mold, and some older materials may contain asbestos. If the paneling is brittle, fibrous, or from an older home with unknown renovation history, stop cutting into it until you know what you are dealing with. That is one of the biggest DIY cost traps I see. A small patch turns into containment, cleanup, and replacement once hidden contamination is uncovered.
Pay attention to the age of the home
Older manufactured homes in Portland, Tigard, and Hillsboro often have layered problems. A leak from years ago may have been painted over. Condensation may have weakened one panel while a nearby roof seam is also letting in water. In that situation, the cheap repair is often the expensive one a few months later.
That is why diagnosis matters so much in the Pacific Northwest. If the source is minor, dry, and limited, a homeowner may be able to handle the repair safely. If the ceiling is sagging across a wide area, the framing feels soft, mold is visible, or the home may contain asbestos-era materials, a professional assessment is the safer call. It usually costs less than tearing out the wrong area, missing the actual moisture source, and doing the whole job twice.
A Step-by-Step Guide to DIY Ceiling Repair
Saturday afternoon, the bucket is gone, the roof leak seems solved, and now you are staring at a stained ceiling panel wondering if this is a simple cosmetic fix or the start of a bigger mess. In a Portland-area mobile home, that question matters. A repair that looks cheap and quick can get expensive fast if any moisture is still trapped above the panel.
A small, dry, well-defined repair can be a reasonable DIY job. The key is making sure you are fastening new material to sound framing and dry insulation, not covering over damage that will keep spreading through another wet season. In our climate, a ceiling patch fails less from bad paint work and more from missed moisture, mold growth, or soft wood that was never addressed.
A careful replacement usually includes removing the damaged panel, checking the framing, and fastening the new panel in a consistent pattern. Many DIY failures happen because the old leak was not fully solved or the new panel cracks during installation. If you want a general visual of the process, this mobile home ceiling panel replacement guide shows the basic sequence.
Tools and materials you’ll want first
Set up before you start. Ceiling work is slower than it looks, and repeated trips up and down a ladder wear people out and lead to mistakes.
Gather these first:
- Safety gear: Eye protection, gloves, a dust mask or respirator, and a stable ladder.
- Removal tools: Utility knife, pry bar, drill or screw gun, and a good work light.
- Layout tools: Tape measure, straightedge, pencil, and level.
- Cutting tools: A saw suited to the panel material for clean cuts.
- Fastening supplies: Wide-head screws, correct bits, and pilot drill bits if the panel tends to split.
- Finishing supplies: Caulk, joint compound, sanding tools, primer, and paint.
If the repair area has a light, fan, or vent, shut off power before you touch the panel. No ceiling patch is worth an electrical injury.
How to remove the damaged panel safely
Clear the room first. Protect the floor, move furniture, and leave enough space to lower the panel without snapping it over your head.
Cut any paint line, caulk, or adhesive at the edges with a utility knife. Then remove screws or fasteners carefully so you do not tear up the joists or damage the panel beside it. Mobile home ceiling materials are often thinner than standard drywall, so a little patience here saves a lot of finish work later.
Once the panel is down, inspect everything that was hidden above it.
Check for:
- Dark or stained framing
- Soft or crumbly wood
- Rust on screws or metal parts
- Spotting that suggests mold growth
- Insulation that is wet, compacted, or dirty from past leaks
Stop if anything looks questionable beyond a small, dry repair. In older homes, opening a ceiling can expose moldy insulation or suspect materials that should not be disturbed casually. In the Pacific Northwest, that is where DIY costs start climbing. Cleanup, drying, and containment can cost far more than the panel you planned to replace.
A clean patch over damp framing usually fails again.
For homeowners who are comfortable doing some of the work but want help once the hidden conditions are exposed, it can help to review a local drywall repair service in Portland to see what a professional scope usually includes.
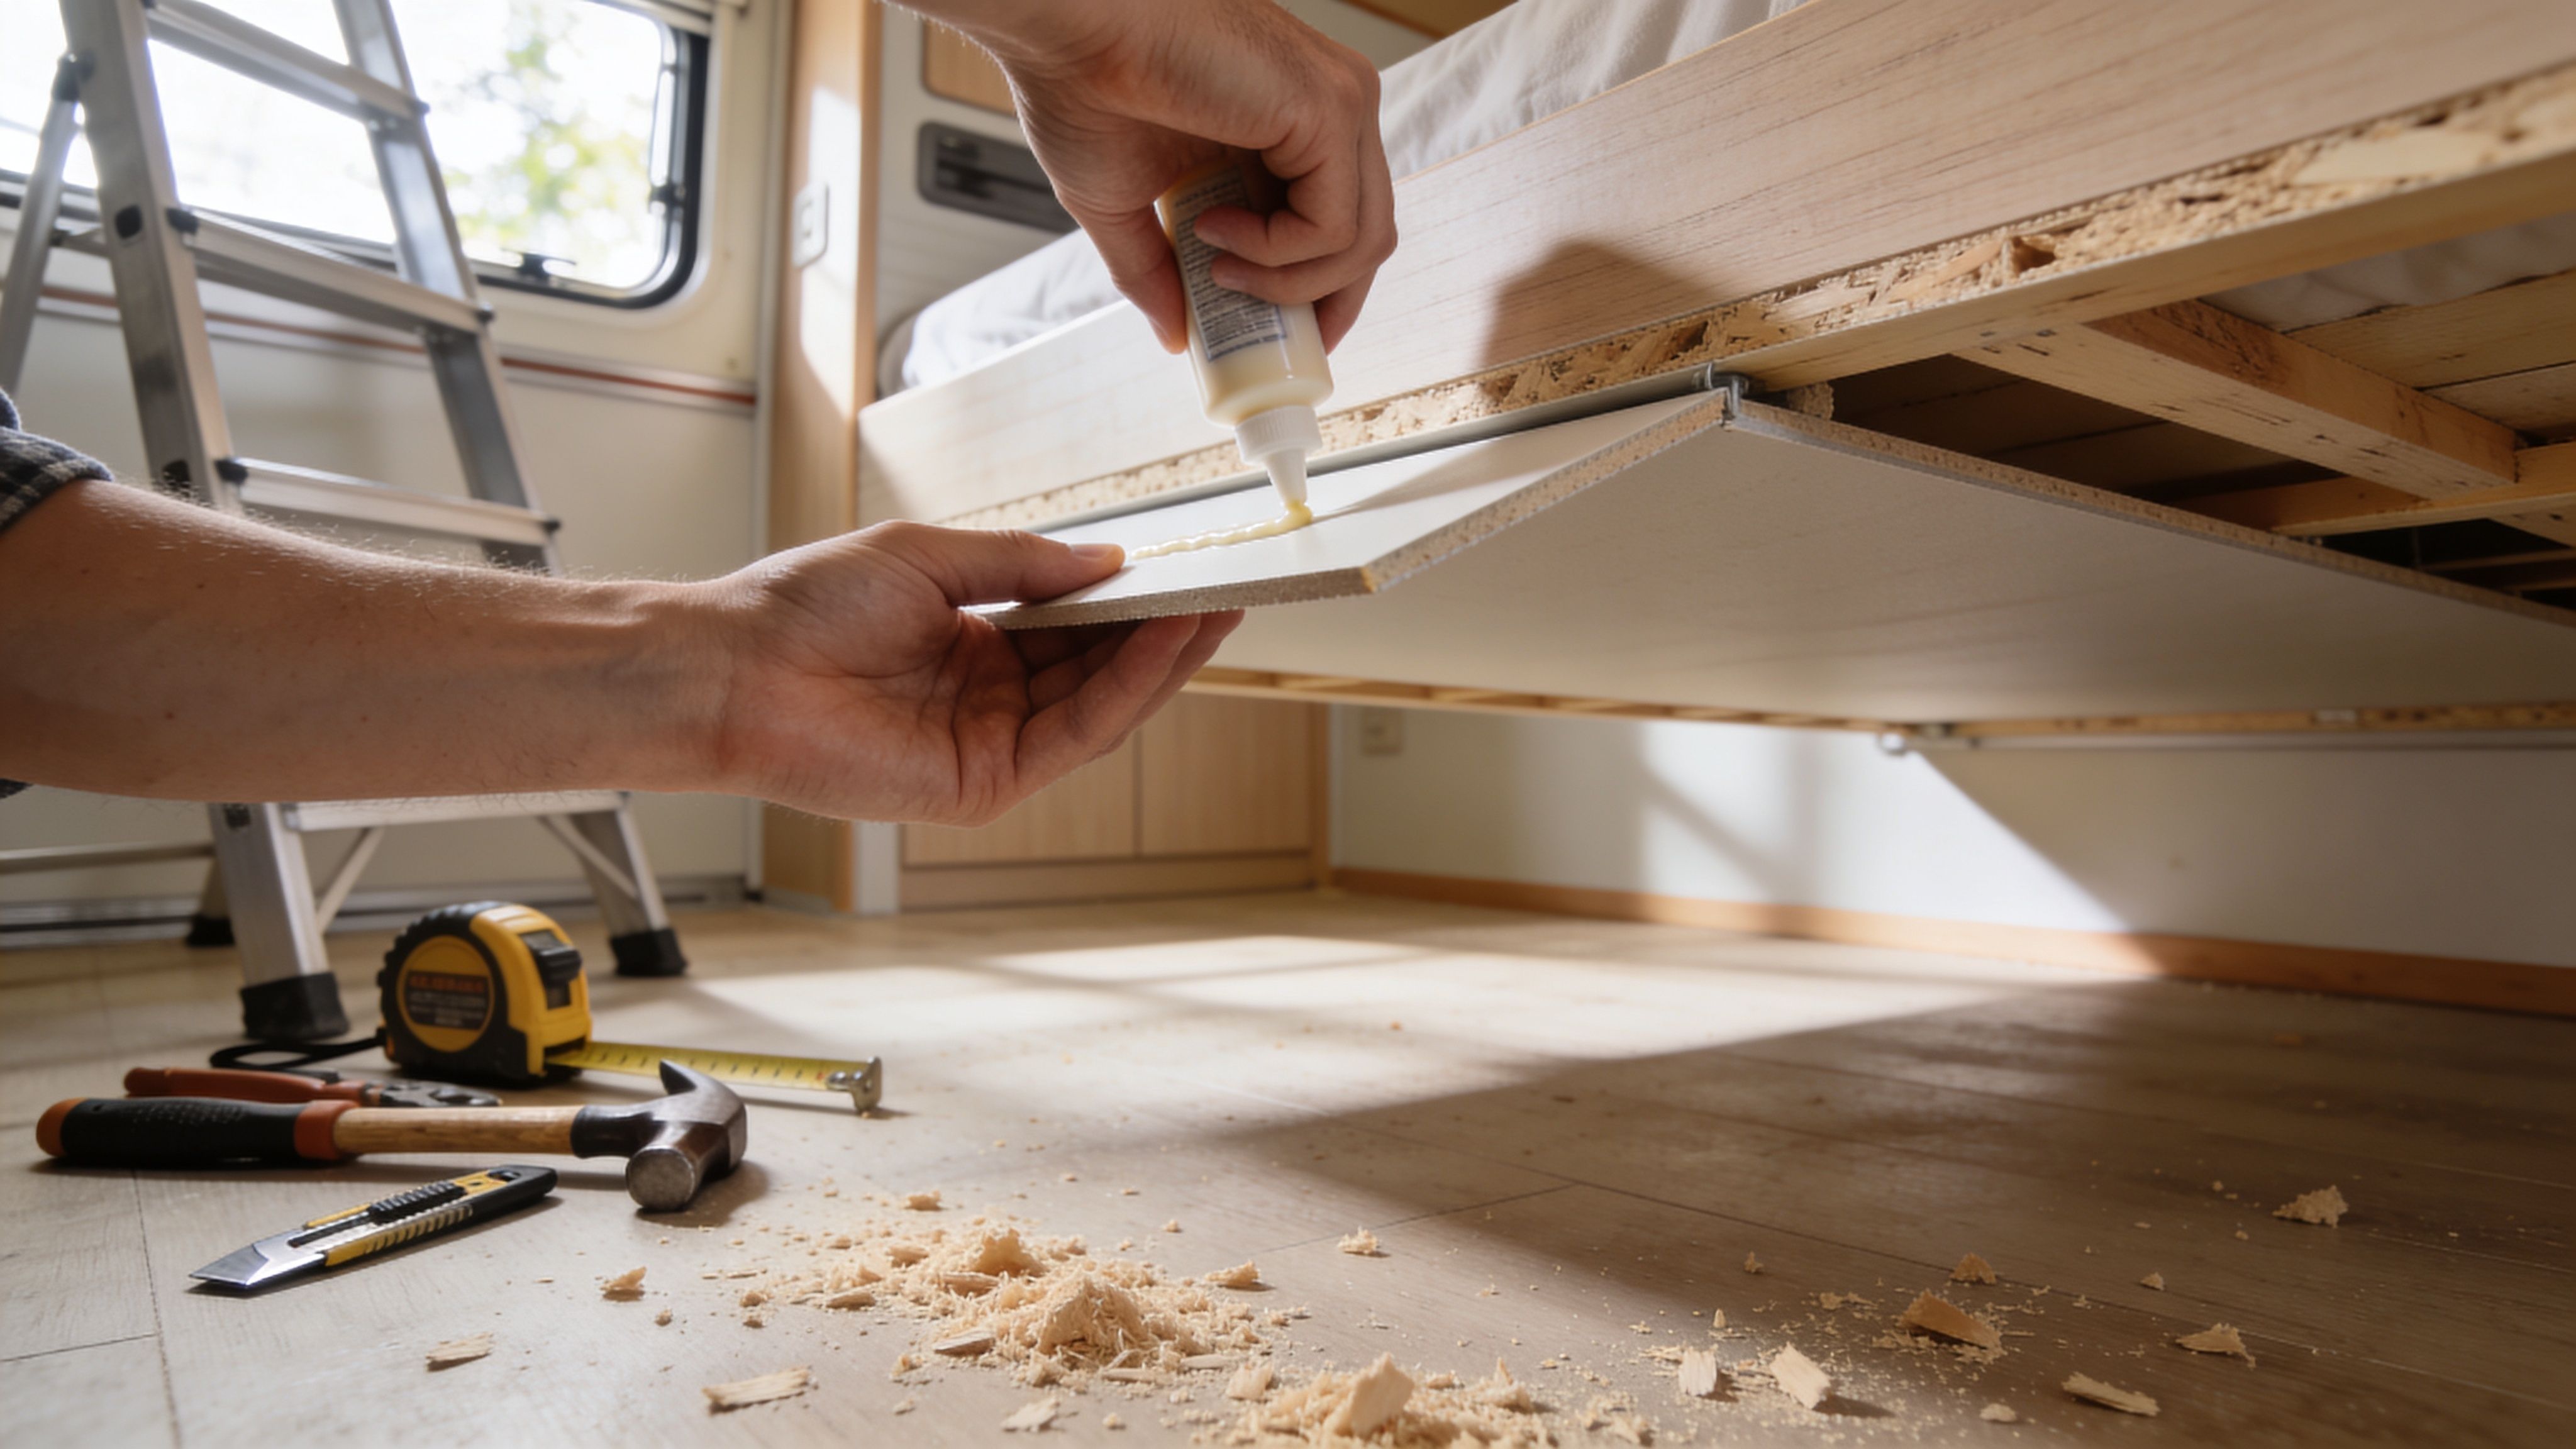
How to install and finish the new panel
Measure the opening carefully, then confirm the measurement in more than one spot. Mobile homes shift over time, and ceiling openings are not always perfectly square.
Cut the new panel to fit without forcing it. If the panel system uses tongue-and-groove or another interlocking edge, confirm the orientation before you lift it. Leave the recommended gap if the product calls for one. Forcing a tight fit often cracks thin panels or telegraphs a bow into the finished ceiling.
Fasten the panel with the right screws and a consistent pattern into solid backing. Pre-drilling can help on fragile panel materials, especially near edges. Drive screws snug enough to hold the panel flat, but do not crush the face. Overdriven fasteners create dimples, weaken the hold, and add extra finish work overhead.
This walkthrough can help you visualize the sequence before you start:
After the panel is secure, finish the joints in light, controlled coats. Let each coat dry fully before sanding and recoating. In damp weather, drying takes longer than the label suggests, and rushing that step is one reason patched areas flash, crack, or show ridges after paint.
Use this as your quality check:
| Area | What to aim for |
|---|---|
| Panel fit | Even placement with no forced corners or bowed edges |
| Screw setting | Snug and flush, without tearing the panel face |
| Joint treatment | Thin, smooth buildup instead of heavy ridges |
| Final sanding | Flat enough that primer and paint do not highlight the patch |
If you are getting ready to sell a home or turn over a rental, appearance matters. So does durability. A patch that looks acceptable on day one can print through, stain, or sag again by the next rainy season if any moisture was missed. That is the trade-off homeowners underestimate. Doing it yourself can save money when the damage is minor and dry. If there is any doubt about mold, hidden rot, or older materials, bringing in CS1 before you close the ceiling often ends up being the safer and less expensive call.
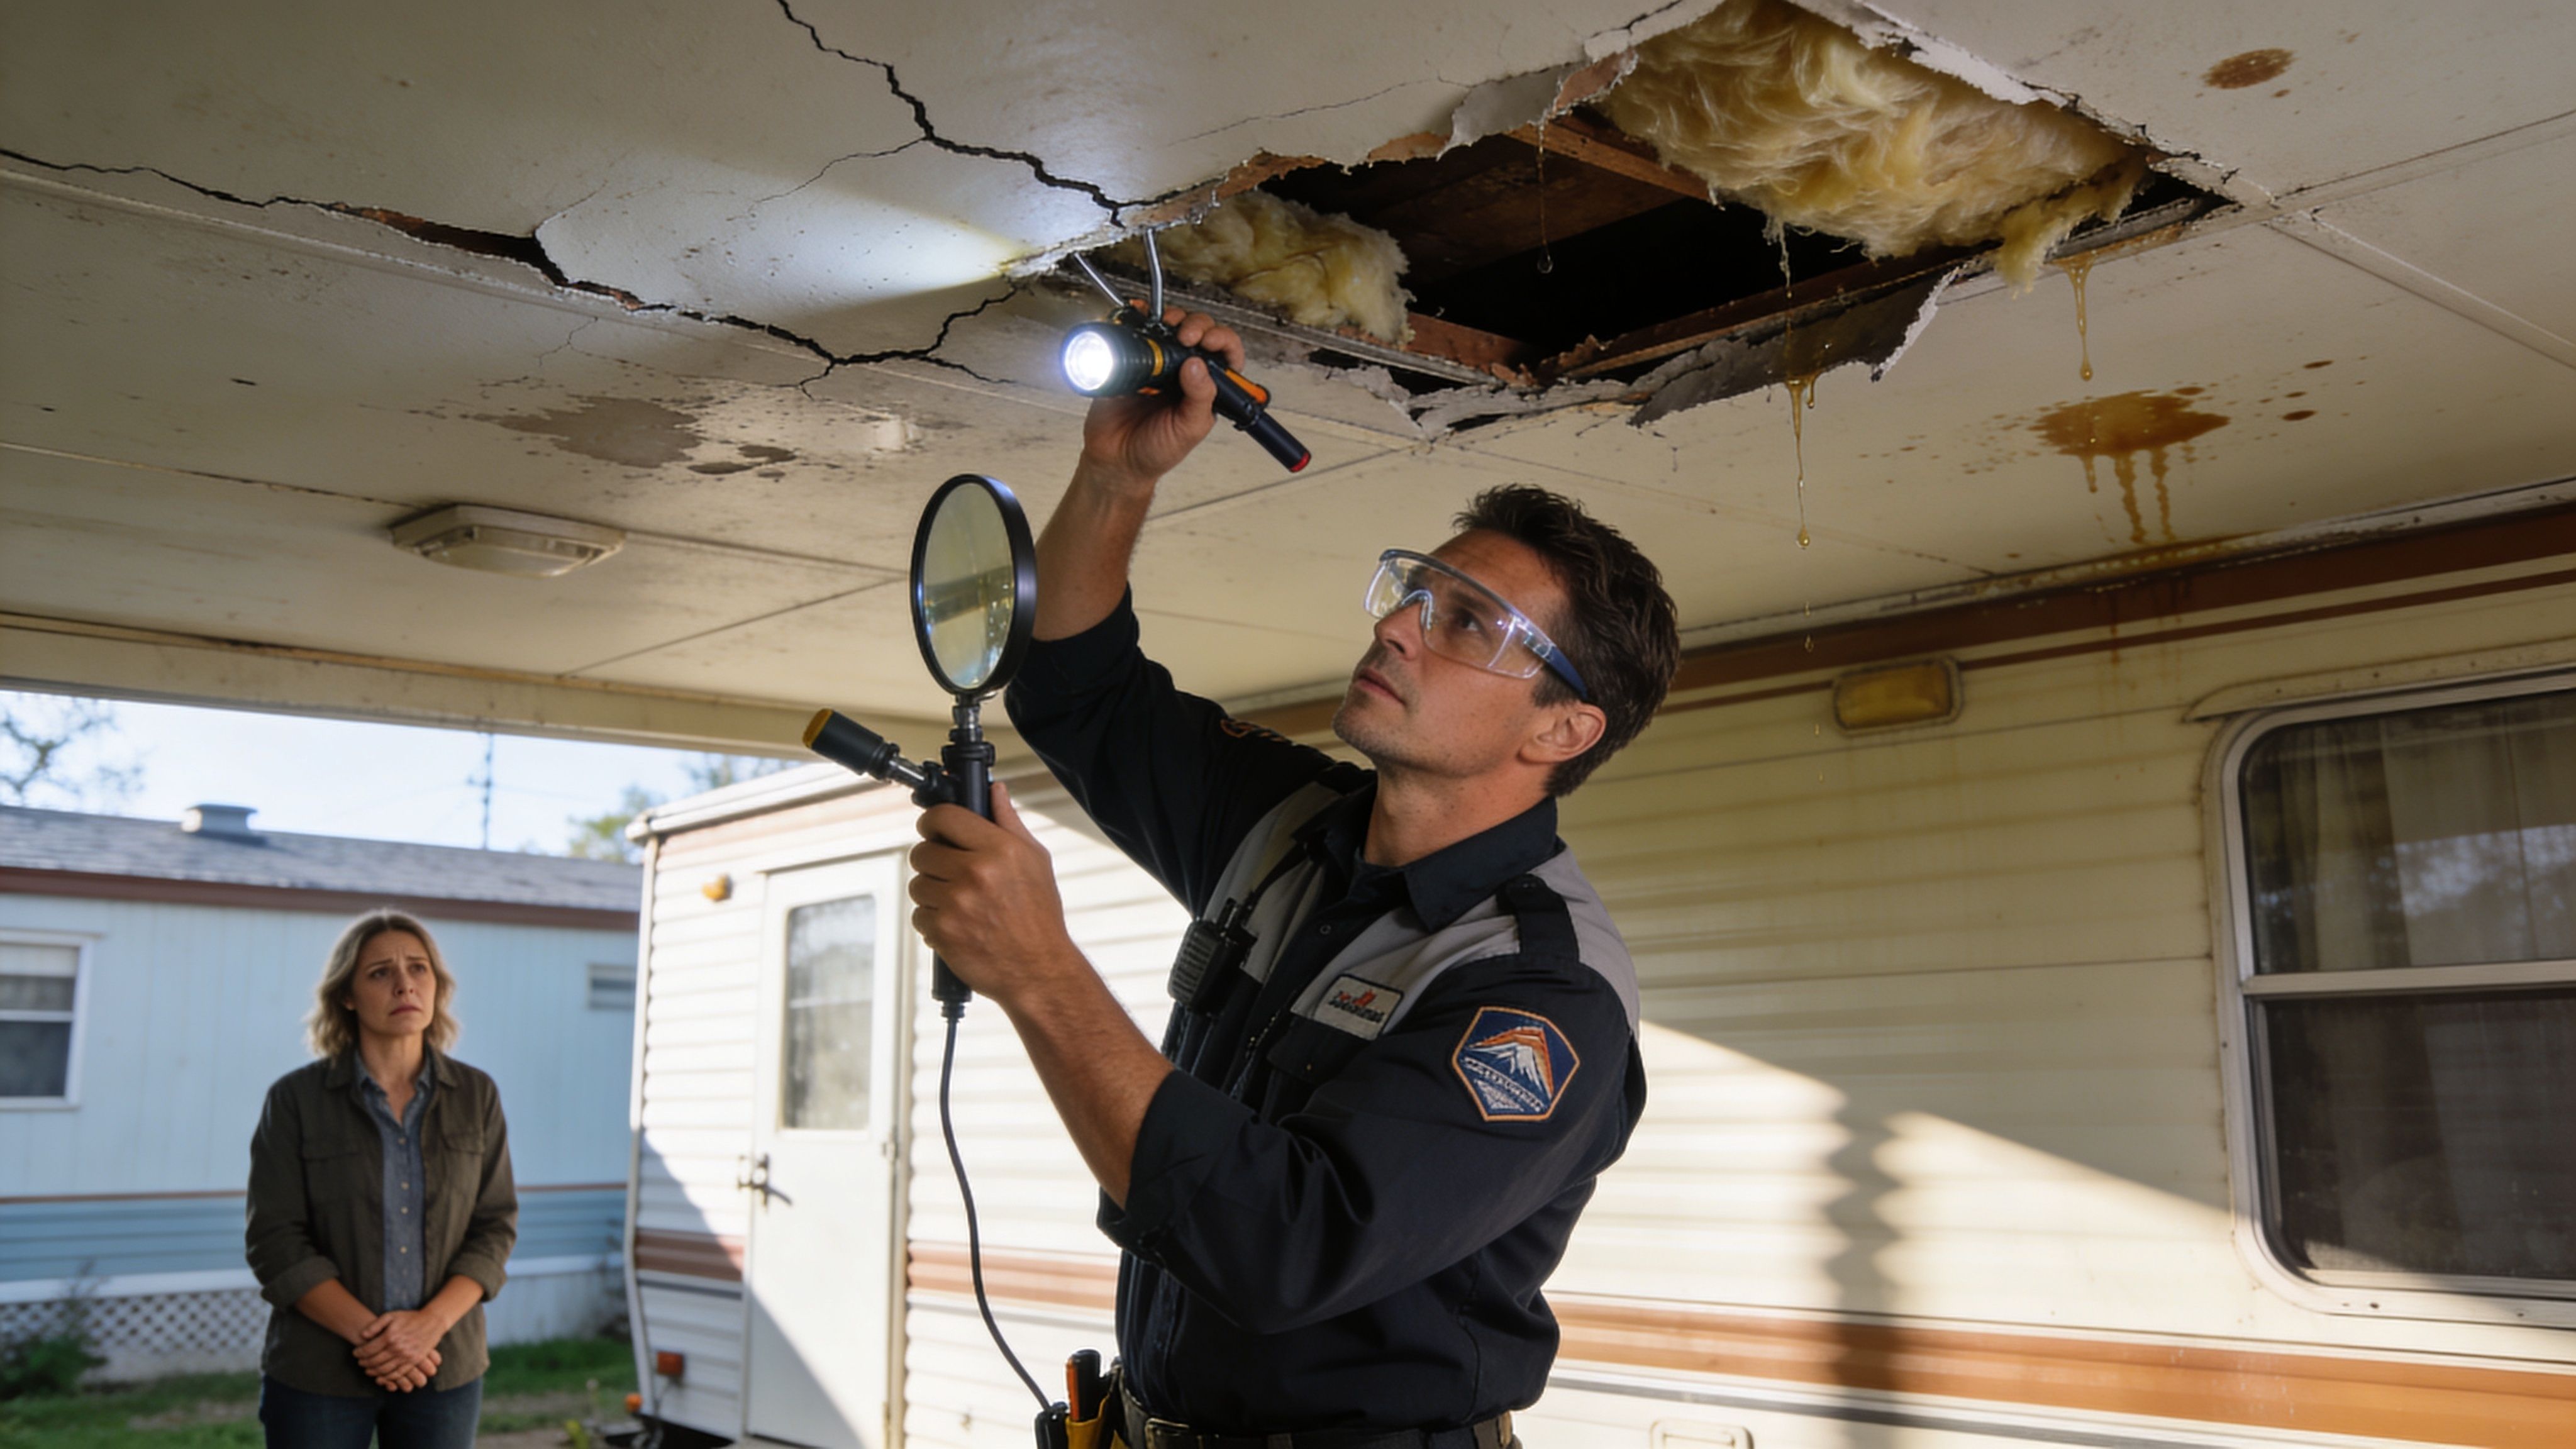
Feeling Overwhelmed? Get a Professional Assessment
A lot of homeowners hit this point after opening a ceiling and realizing the repair is no longer just a patch. In Portland-area mobile homes, that happens all the time. What starts as a stain or soft spot can lead to damp insulation, hidden mold, sagging board, or older ceiling materials that should not be sanded or disturbed without a plan.
That is usually the point to stop and get an experienced set of eyes on it.
A professional assessment helps you answer the expensive questions before you spend time and money closing the ceiling back up. Is the leak actually fixed. Is the framing still sound. Is there contamination above the panel. Are you dealing with a cosmetic repair, or the kind of moisture problem that comes back next winter?
Those answers matter more in the Pacific Northwest than many DIY guides admit. In a dry climate, a small repair might stay stable long enough to pass inspection or hold up for a few years. In our climate, trapped moisture tends to show back up. The result is often a second round of demolition, more material cost, and a bigger cleanup than the first job.
If you are in Washington County and need help with surrounding wall or ceiling damage, it’s also worth looking at drywall repair in Beaverton to understand what a complete repair visit can cover.
I tell homeowners to look at this decision the same way they would look at electrical work behind a wall. If the repair is small, dry, and easy to identify, careful DIY work can make sense. If the source is unclear, the ceiling has been wet for a while, or you are worried about mold or older materials, paying for a proper assessment usually costs less than redoing a failed repair.
When to Call a Professional for Ceiling Repairs
Some mobile home ceiling repairs are manageable for a careful homeowner. Others cross a line where safety, finish quality, or hidden damage make professional help the smarter move.
Health risks that change the job completely
If your mobile home is older and the ceiling has popcorn texture, brittle paneling, or layered finish materials you can’t identify, stop before sanding, scraping, or demolition. Older ceiling materials can carry risks that basic DIY guides gloss over. The main concern isn’t just mess. It’s what you may be releasing into the air if you disturb the wrong material.
Mold is the other issue people underestimate. A water stain that looks dry from below can still hide contamination above the panel or in adjacent insulation. Once that material is disturbed, cleanup becomes more than a patch job.
Safety note: If there’s visible mold growth, persistent odor, or uncertainty about older ceiling materials, treat the repair as a health decision first and a cosmetic decision second.
Professional crews also have an advantage when containment, cleanup, and finish work need to happen together. That matters in occupied homes, rentals, and small commercial interiors where dust control and clean turnover matter.
Why cheap repairs often cost more later
The Portland climate is unforgiving on half-finished moisture repairs. A quick patch may look fine in dry weather and fail again after the next wet stretch. That’s especially true when the original cause wasn’t corrected or when the repair material is too rigid, too heavy, or poorly fastened for the ceiling assembly.
Homeowners frequently find themselves spending twice. First on the quick fix. Then on tearing out the quick fix after staining, sagging, or seam cracking returns.
Professional work also matters when the ceiling finish has to disappear into the room. Smooth ceilings, texture matching, repainting, and transitions into wall surfaces are difficult to fake. If you’re preparing a home for sale in Lake Oswego, Hillsboro, or Portland, visible repair lines can drag down the look of an otherwise clean interior.
For broader interior issues connected to water damage, texture matching, or repaint-ready finishing, reviewing a full drywall repair service can help you judge whether the job has already moved beyond a simple patch.
Clear signs it’s time to stop and call for help
A homeowner can often handle a limited repair. A homeowner shouldn’t force a project that’s throwing off warning signs.
Call for help if you notice any of the following:
- The ceiling is actively sagging: Movement means the material has lost support or strength.
- The framing looks compromised: Soft wood, staining, or a musty cavity needs more than finish work.
- There may be mold or older hazardous material: Disturbance can create a bigger problem than the original damage.
- The damaged area keeps coming back: Repeated staining means the source hasn’t been solved.
- You need a high-end finish: Sale prep and visible living areas demand better blending than most patch jobs achieve.
In practice, the cutoff is simple. If the repair is no longer just a panel, it’s probably time to bring in a pro.
Protect Your Home with Portland’s Trusted Interior Experts
Mobile home ceiling repairs go best when you slow down at the beginning. Find the source of the problem. Decide whether the damage is localized or part of a bigger moisture issue. Be honest about whether you’re fixing a panel, rebuilding a damaged section, or dealing with a health concern hidden above the finish surface.
For some homeowners, a small, dry, well-defined repair is a solid DIY project. For others, especially in older mobile homes around Portland, Beaverton, Tigard, Lake Oswego, Gresham, Hillsboro, and Vancouver, the smarter move is bringing in a contractor who can handle the full interior scope correctly. That may include drywall repair, ceiling finishing, interior painting, insulation replacement, and metal stud framing where needed.
The biggest mistake isn’t calling for help. It’s spending weekends and materials on a repair that was never going to hold. Good ceiling work should look right, stay flat, and give you confidence that the moisture problem behind it has been addressed.
If you need local help with a mobile home ceiling, especially one with water damage, sagging panels, or finish issues that need to disappear under paint, getting a clear estimate is the next step.
If your ceiling damage is stressing you out, CS1 Real Interiors can help. We handle drywall repair, drywall installation, interior painting, insulation, and metal stud framing for homeowners and property managers across Portland, Beaverton, Hillsboro, Tigard, Lake Oswego, Gresham, and Vancouver, WA. Request a free estimate to get professional help with your mobile home ceiling repair or any interior project.