


You're probably staring at a ceiling that makes the whole room feel older than it is. The walls may be fine, the floors may be updated, and the lighting may already be better, but that heavy popcorn texture still grabs all the attention. In Portland, Beaverton, Hillsboro, Tigard, Lake Oswego, Gresham, and Vancouver, WA, that's a common remodel trigger.
The problem is that popcorn ceiling removal near me sounds simpler online than it is in real life. Homeowners usually start by thinking about scraping. The primary decision usually starts earlier. Is the ceiling old enough to need asbestos testing? How much damage will show up underneath? Will the room be left paint-ready, or just texture-free and rough?
That's where people get stuck. They want a cleaner, smoother ceiling, but they don't want to turn one dated surface into a dusty, expensive headache. If you're also thinking about resale, visual cleanliness matters because buyers tend to notice surfaces, maintenance cues, and how updated a home feels. This short overview of what home buyers seek lines up with what contractors see in the field every day.
Table of Contents
- That Popcorn Ceiling Has to Go, But Where Do You Start?
- The Critical First Check for Portland Homes Asbestos Safety
- DIY Project vs Hiring a Professional The Honest Breakdown
- A Step-by-Step Guide to DIY Removal If You Must
- The Job Isn't Done The Path to a Flawless Level 5 Finish
- Your Popcorn Ceiling Questions Answered
That Popcorn Ceiling Has to Go, But Where Do You Start?
Start by treating it like a ceiling restoration project, not a paint prep chore. That one shift in mindset saves people a lot of frustration. Popcorn texture affects safety, labor, cleanup, drywall condition, and the final look of the whole room.
In older Portland-area homes, the first fork in the road is age. If the ceiling goes back far enough, testing comes before scraping. If it's a newer ceiling and testing isn't a concern, then the next question is whether you want a basic removal or a ceiling that ends up smooth, repaired, and ready for finish paint.
The four things that decide the job
Age of the home
Older ceilings require more caution. That's not a maybe. It changes what's safe to disturb.Room access and protection
Tight rooms, furnished rooms, and occupied homes create more labor. Ceilings don't come off neatly. Wet debris drops everywhere.Condition underneath the texture
Removal often exposes bad seams, nail pops, old patches, and drywall paper damage. Some ceilings look acceptable only because the texture is hiding problems.Your finish standard
Some homeowners just want the texture gone. Others want a smooth modern ceiling that matches a remodel. Those are different scopes.
Practical rule: If your goal is a clean, modern look, judge the project by the final painted ceiling, not by how fast the texture comes off.
Homeowners searching for popcorn ceiling removal near me usually think they're comparing availability and price. In practice, they're also comparing containment habits, repair skill, and whether the contractor understands finish quality. That matters just as much in a bungalow in Portland as it does in a newer home in Beaverton or a rental turnover in Hillsboro.
If you're planning broader interior work, it also helps to think beyond the ceiling. Popcorn removal often leads to patching, repainting, insulation upgrades, or drywall repairs elsewhere in the room. That's why many owners prefer one interior contractor who can keep the finish consistent across the whole space.
The Critical First Check for Portland Homes Asbestos Safety
You pull a light fixture, look up at that old texture, and start thinking a scraper and a weekend will solve it. In a lot of Portland homes, that is the moment to stop and test, not the moment to start scraping.
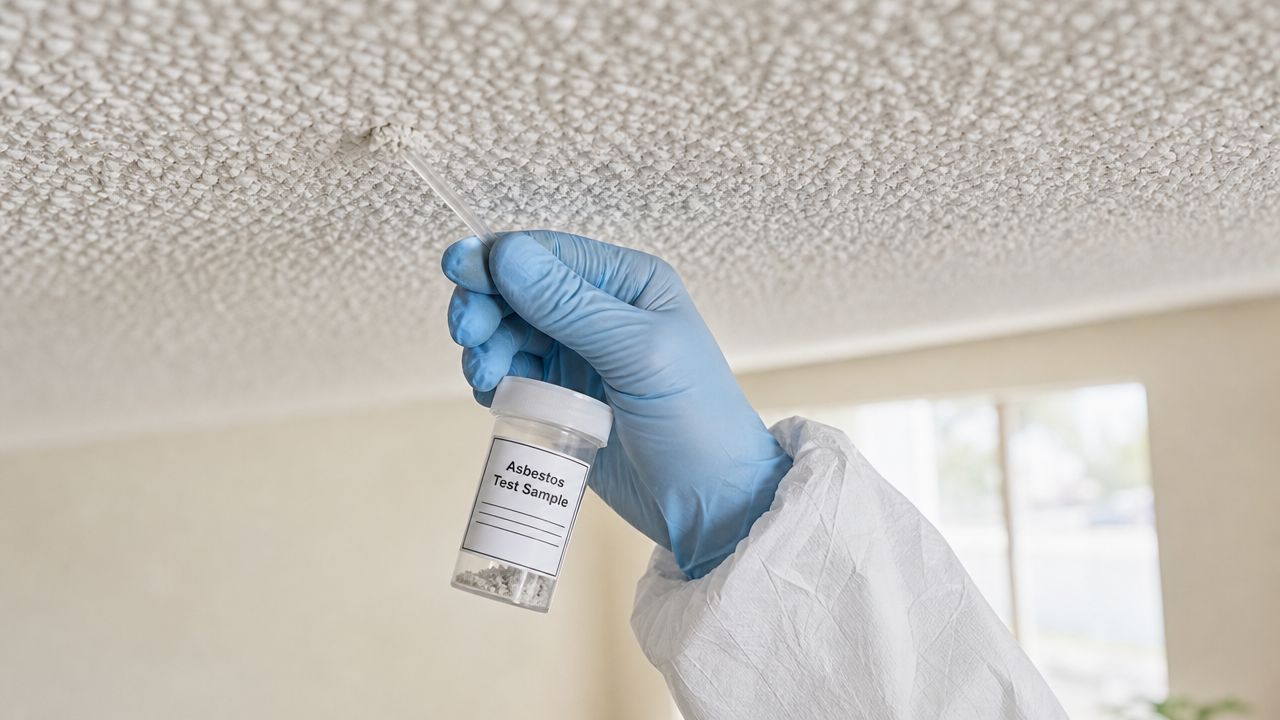
If the ceiling may date to before the 1980s, treat asbestos as a real possibility until a lab says otherwise. I've seen older Portland bungalows, ranch homes in Gresham, and remodels in close-in neighborhoods where one room was updated and the next still had original texture under layers of paint. You cannot judge safety by appearance.
Why this comes before every other step
Older popcorn texture becomes a different project the second asbestos enters the picture. The risk comes from disturbing the material and sending fine particles into the room, the HVAC system, and the rest of the house.
That is why a quick test scrape is a bad idea.
Portland-area homeowners also need to remember that local and state rules can affect how suspect material is handled, transported, and disposed of. A ceiling that looks like a simple cosmetic update can turn into regulated abatement work once testing confirms asbestos.
What a homeowner should do first
Start with the house history. If the texture could be original to an older home, put testing at the front of the job.
Then avoid the mistakes that make a manageable project worse:
- Do not dry scrape a corner: That creates dust and still does not tell you what the material contains.
- Do not sand the ceiling: Sanding spreads contamination fast and makes cleanup harder.
- Get a sample tested by a qualified lab: That result determines whether you are dealing with standard renovation work or asbestos abatement.
- Hold off on demolition plans: Do not remove lights, cut access holes, or start drywall repairs until you know what is in the texture.
- Plan disposal early: Waste handling matters just as much as removal if asbestos is present. This guidance on asbestos waste management explains why disposal rules are part of the job from day one.
One more Portland-specific reality. Even after safe removal, many older ceilings need more repair than homeowners expect. Paint layers, prior patches, and uneven drywall joints show up fast once the texture is gone. If your end goal is the clean Level 5 finish common in Pacific Northwest remodels, the testing step protects more than your health. It protects the whole plan.
DIY Project vs Hiring a Professional The Honest Breakdown
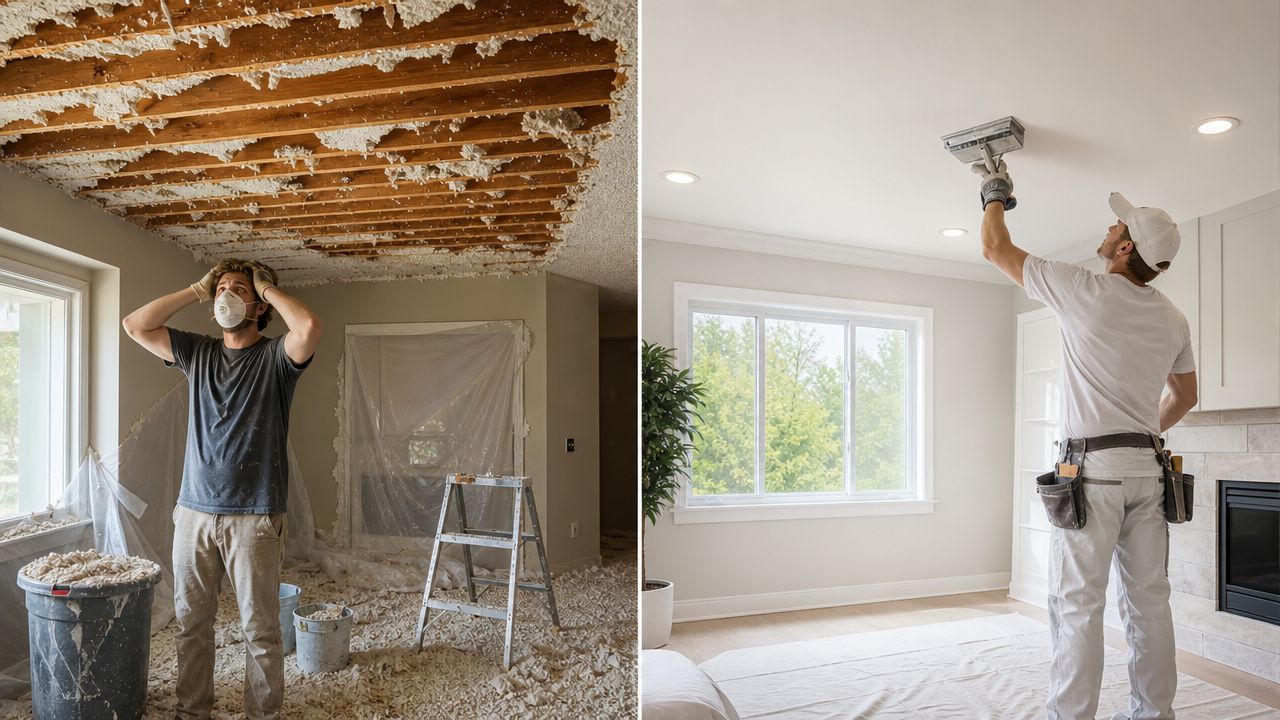
A Portland homeowner can wet-scrape a small bedroom ceiling over a weekend and feel pretty good about it. The same approach in a large living room with patched drywall, side light from big windows, and a Level 5 finish in mind often turns into a longer, messier repair job than expected.
Cost is usually what pushes this decision. Professional popcorn ceiling removal is often priced by square foot, and the final number changes with ceiling condition, room setup, repairs, and how smooth you want the finished surface. Services that track contractor pricing, including Thumbtack's popcorn ceiling removal cost information, show how quickly labor and finish work can move the budget.
Where DIY can work
DIY makes sense in a narrow set of conditions. The ceiling has already cleared the asbestos question. The room is small enough to isolate properly. You have the time to prep it, scrape it, patch it, sand it, prime it, and still accept that the final surface may show a few flaws.
That last part matters more than homeowners expect.
A guest room or basement office gives you more margin for error. An open main floor in a Portland bungalow does not. Natural light across a smooth ceiling exposes every gouge, patch edge, and uneven joint. If the remodel goal is the clean, modern finish common in Pacific Northwest updates, scraping is only the first part of the job.
DIY also asks for a realistic tolerance for overhead work:
- Containment setup: Plastic, floor protection, and vent protection take time before removal starts.
- Controlled scraping: Wet texture comes down easier, but not always evenly.
- Drywall repair skill: Joint compound work decides how the ceiling looks after paint.
- Cleanup and disposal: Bagging debris and cleaning fine residue takes longer than many homeowners plan for.
Where hiring a professional usually pays off
Professional help starts making sense when the ceiling area is large, the drywall underneath is questionable, or the finish standard is high. It also makes sense when the house layout makes containment harder. Hallways, stairwells, connected living spaces, and occupied homes add complexity fast.
I've seen plenty of ceilings where removal itself was manageable, but the skim coating and sanding were what pushed the job out of DIY territory. Once a scraper leaves chatter marks, or old tape joints start telegraphing through, the project becomes ceiling restoration, not simple texture removal.
Here is the plain comparison:
| Decision point | DIY reality | Professional reality |
|---|---|---|
| Prep and containment | You handle room protection, masking, and cleanup | Crew sets up containment and removes it after the work |
| Removal speed | Slower, with more trial and error | Steadier production and fewer stoppages |
| Drywall damage | Easy to gouge paper or expose bad prior repairs | Lower risk when moisture and blade pressure stay consistent |
| Finish quality | Depends on your patching and sanding skill | Better odds of a uniform surface ready for primer and paint |
| Project scope creep | Small mistakes can turn into full skim coating | Problems are addressed as part of the work plan |
A good walkthrough helps before you decide. This video gives a useful look at what the process feels like in real conditions, not just in tidy before-and-after photos.
Request a free estimate before you commit
Get a scope and price before you start tearing into a ceiling. That gives you a real decision point instead of guessing based on online articles. For homeowners and property managers who want removal plus repair, painting, insulation, or framing under one roof, CS1 Real Interiors is one local option for a free estimate.
If the prep, mess, and finish work already sound like more than you want on your weekend, that is usually the right read.
A Step-by-Step Guide to DIY Removal If You Must
Saturday morning starts with a spray bottle and a scraper. By lunch, the floor is covered in wet texture, your shoulders are burning, and the ceiling is showing every old patch the last owner left behind. That is a normal popcorn ceiling removal day, even when the job is going well.
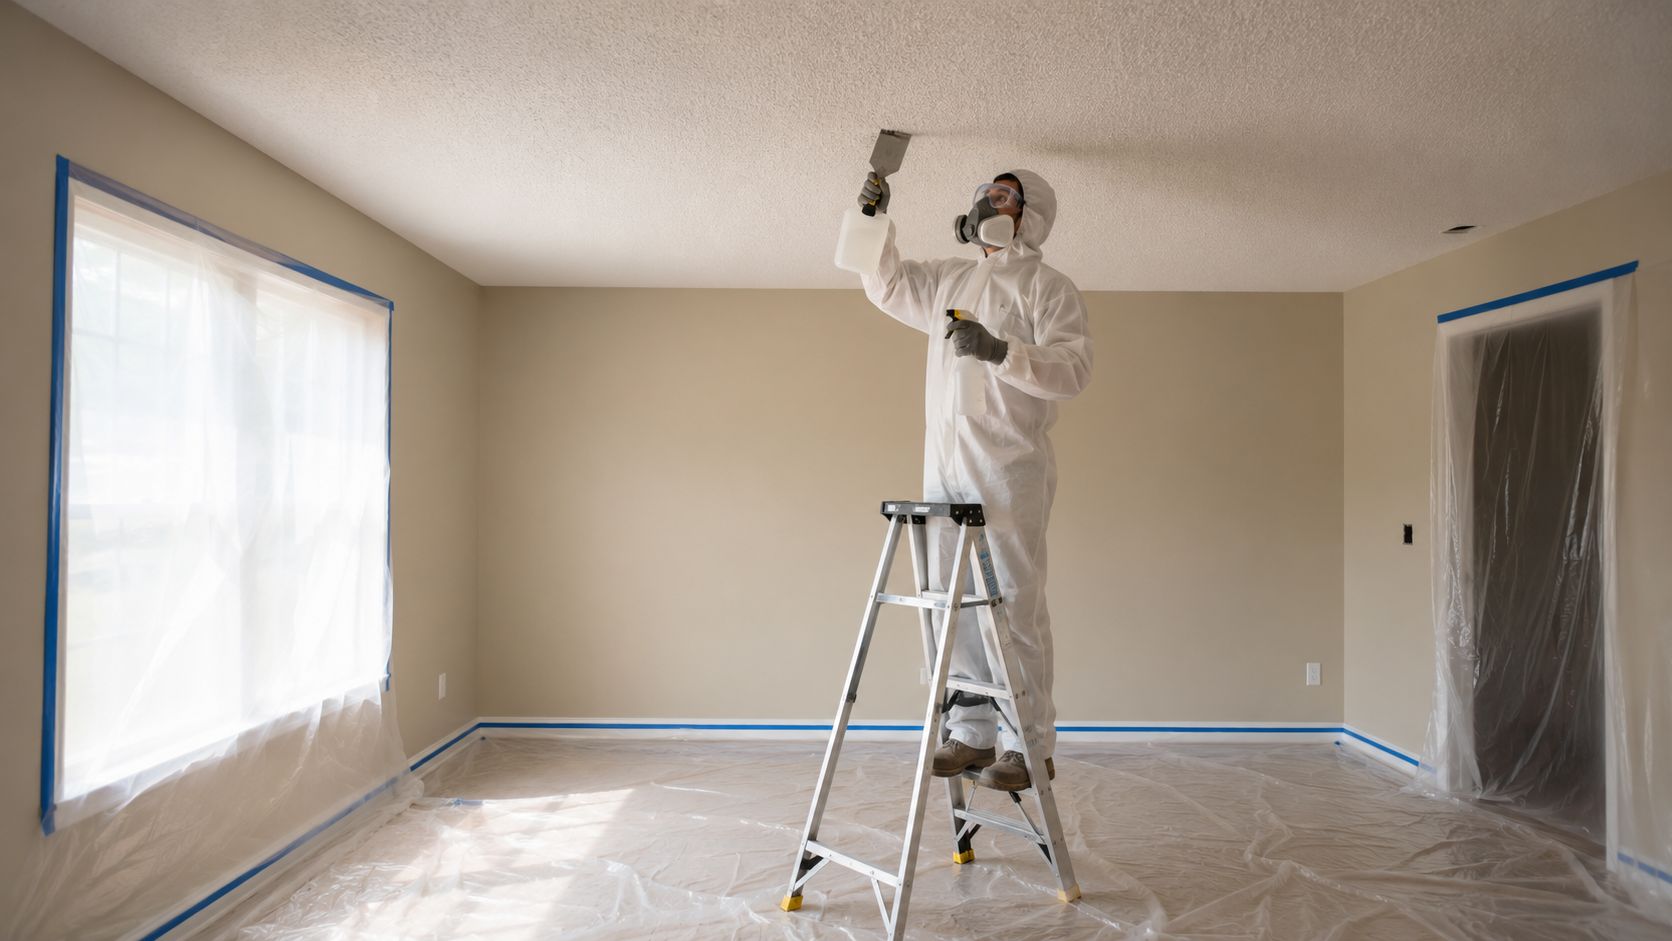
For Portland-area homes, this section only applies after asbestos has been ruled out. If you have not tested an older ceiling, stop there first. Scraping a suspect texture without that answer is how a weekend project turns into a contamination problem.
Prep the room for wet debris, dust, and a lot of cleanup
Ceiling removal is messy in a very specific way. The material comes down wet, sticky, and heavier than people expect. It clings to shoes, ladders, extension cords, and anything you forgot to move.
Clear the room as much as possible. Cover what cannot leave. Protect floors with something that will not tear the first time a soaked pile drops from overhead. Shut off HVAC at the room if you can, and cover vents so debris does not get pulled through the house. Wear eye protection, a respirator rated for fine particles, gloves, and clothes you are ready to wash immediately.
A workable prep checklist looks like this:
- Remove furniture and soft goods: Curtains, rugs, bedding, and upholstered pieces collect residue fast.
- Cover floors and fixed surfaces: Plastic alone can get slick. Many contractors use layered protection for that reason.
- Mask vents, lights, and fan boxes: Wet texture gets into openings you do not notice until later.
- Set up bags and a debris zone: Cleanup goes faster if you are not stepping over piles all day.
- Keep a stable ladder in position: Reaching too far causes bad scraper angles and damaged drywall.
Good prep does not make the work easy. It keeps the mess in one room and gives you a better chance of saving the drywall underneath.
Work in small areas and let water do the lifting
Dry scraping usually tears up the ceiling. Wet scraping gives you a shot at getting the texture off cleanly.
Mist a small section until the texture is evenly damp. Do not soak the drywall to the point that the paper face turns mushy. Give it a few minutes, then test a spot with a wide taping knife or ceiling scraper held almost flat. If the texture releases in sheets or soft clumps, keep going in that same section. If it stays hard, re-wet it and wait longer.
Use this sequence:
- Spray a manageable section
- Wait until the texture softens
- Scrape with a low blade angle
- Collect debris before it gets tracked around
- Repeat across the room in lanes
Slow is better here.
The goal is to remove texture, not to win a fight with the ceiling. Once you start pushing harder, you usually cut the drywall face, expose tape, or pull up old patches that were barely holding.
Watch the ceiling closely as you go
Older Portland homes often have ceilings that have been painted multiple times, patched after leaks, or repaired around light fixtures. Those spots do not respond the same way as untouched areas. One part may scrape clean. The next may refuse to budge.
Stop and reassess if you see any of these:
- Brown drywall paper showing through
- Long gouges from the scraper
- Tape joints lifting
- Soft spots from old moisture damage
- Texture that stays bonded after repeated wetting
At that point, DIY removal stops being basic labor. It becomes drywall repair and surface restoration. If you are already seeing paper tears in several spots, it is usually smarter to stop before you create a full skim-coat project across the whole room.
A homeowner can scrape a ceiling. Getting it flat enough to look right under Portland daylight is the harder part.
The Job Isn't Done The Path to a Flawless Level 5 Finish
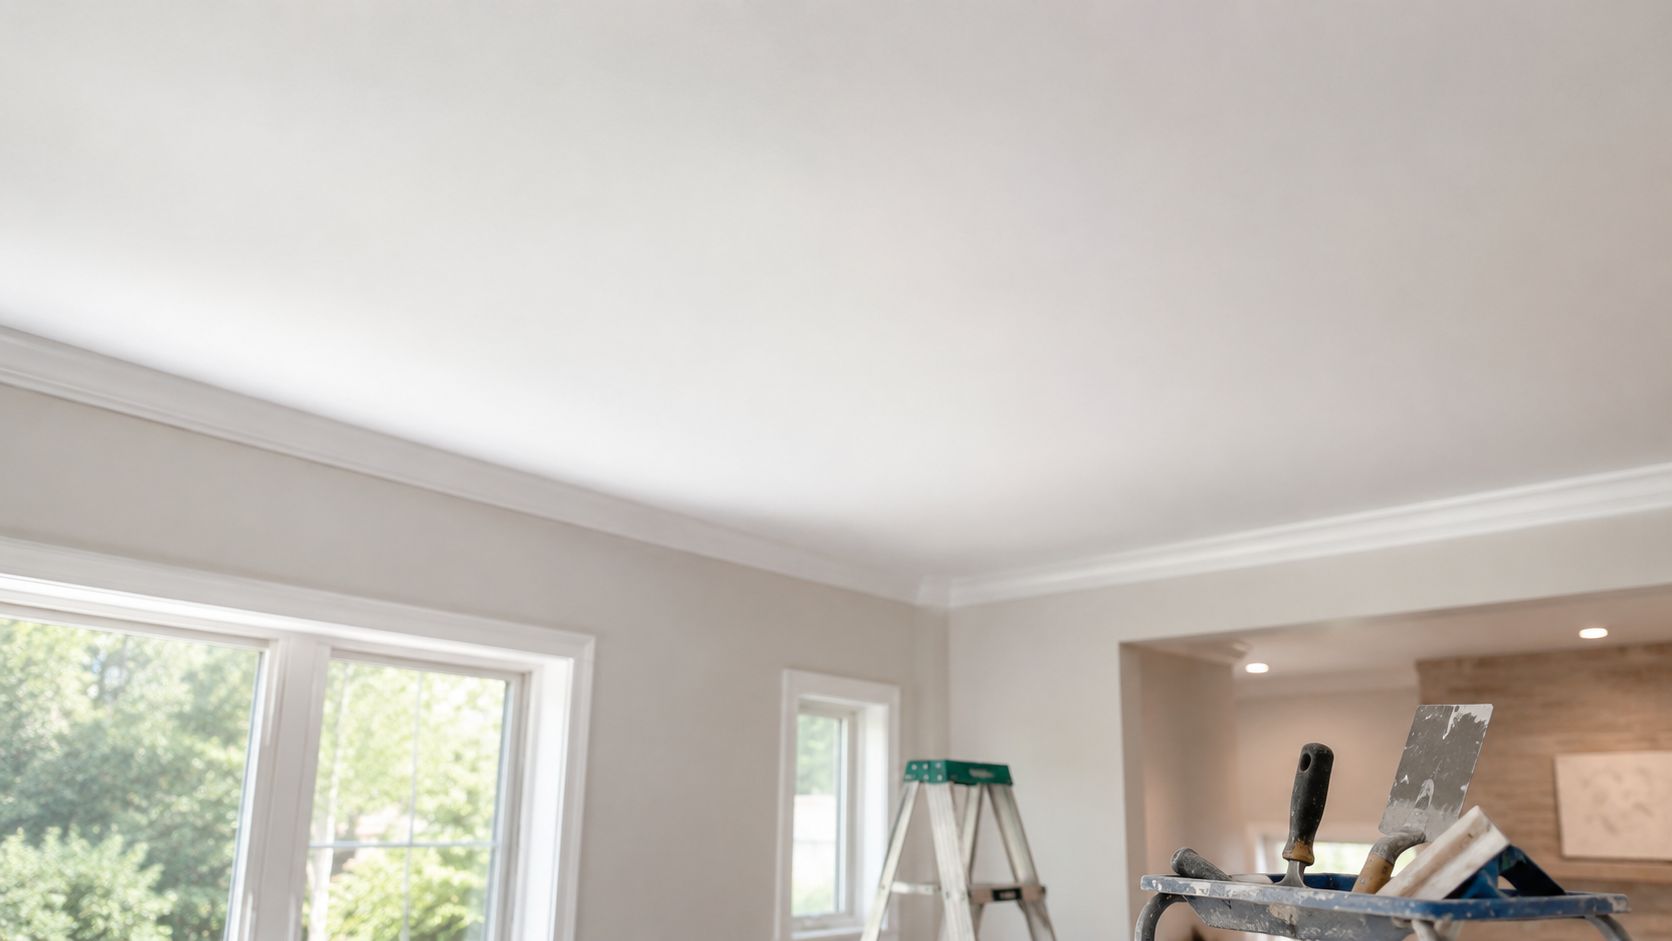
Removing the popcorn doesn't create a finished ceiling. It creates an exposed one. That difference matters.
Many homeowners are surprised to learn that popcorn removal often reveals underlying drywall defects. The primary work is often in the finishing, which can require two to three skim coats and professional sanding to achieve a paint-ready, Level 5 smooth finish, the standard for modern remodels, according to Thumbtack's discussion of popcorn removal finishing quality.
What removal exposes
Once the texture is gone, the ceiling tells the truth. Old patches show up. Seams become visible. Previous water issues may leave stains or soft areas. Even careful scraping can leave dents that need correction before primer and paint.
Many “cheap” removals disappoint. The texture is gone, but the ceiling still looks rough because no one budgeted for real finish work.
Typical post-removal tasks include:
- Patching damaged spots
- Skim coating broad areas
- Sanding for surface consistency
- Priming before paint
- Painting to an even sheen
If your room has strong daylight from large windows or recessed lighting that washes across the ceiling, surface flaws become more obvious. That's why smooth ceilings in Portland remodels often need a higher finishing standard than homeowners first expect.
Why finish level matters more than most homeowners expect
Level 5 matters when you want the ceiling to read as clean and flat, not just texture-free. In practical terms, it's the difference between “we removed the popcorn” and “the room feels updated.”
If the removal process exposed damaged drywall, old tape lines, or cracks, ceiling work often blends into broader interior repair. That's where a dedicated drywall repair service helps keep the scope organized. If the room is part of a broader remodel or sale prep, coordinated painting matters too, because primer choice, sanding quality, and finish coats all affect what the eye sees at the end.
For homeowners in the metro area, especially those planning upgrades in Portland, smooth ceilings usually look best when the rest of the room is finished to match. A freshly repaired ceiling over tired walls can make the walls look worse, not better.
A smooth ceiling is unforgiving. Good finishing hides the history of the surface.
This is also why many remodel clients combine popcorn removal with interior painting, insulation updates, or other drywall work in adjacent rooms. The ceiling is often the first visible problem, not the only one.
Your Popcorn Ceiling Questions Answered
Can I just paint over popcorn instead of removing it
Sometimes, yes. But painting doesn't solve the dated look, it doesn't flatten the texture, and it can make later removal harder if multiple coats build up on the surface. If your goal is a modern ceiling, paint is often a delay, not a fix.
How long does the work usually take
The answer depends on testing, room access, furniture, ceiling condition, and the finish standard you want afterward. Removal may be only part of the schedule. Repair, skim coating, sanding, priming, and painting are often what determine how long the room stays in progress.
What if asbestos is confirmed
That changes the project path immediately. The key question for homeowners isn't just who removes popcorn ceilings, but whether testing and containment are required before scraping. The U.S. EPA advises testing before disturbing any suspected asbestos-containing material, as explained in this safety-focused overview.
If asbestos is confirmed, don't pivot into a “careful DIY” plan. At that point, the issue is compliance, containment, and proper abatement.
Will I need ceiling repair after removal
In many cases, yes. Even a careful scrape can expose defects that were hidden by texture. That's normal. The smoother you want the final look, the more attention the surface usually needs before paint.
Who should I call for help in the Portland area
Look for a contractor who can address the whole chain of work. That means safe evaluation, containment habits, ceiling repair, skim coating, sanding, and interior painting if needed. Homeowners in Beaverton, Hillsboro, Tigard, Lake Oswego, Gresham, and Vancouver, WA usually get a better result when one crew owns the finish standard from start to end.
If you're searching for popcorn ceiling removal near me because you're tired of looking at it, don't judge the project by how cheaply someone will scrape it. Judge it by how the room will look when the ladders are gone.
If you want help sorting out the next step, contact CS1 Real Interiors and request a free estimate. Whether you need popcorn ceiling removal, drywall repair, interior painting, insulation, or metal stud framing for a residential or small commercial project, a clear scope is the fastest way to find out what the job really requires.