You patch a hole, let it dry, sand it smooth, paint it, and then the repair still jumps out every time you walk past it. That's the part textured walls hide from most homeowners. The hole itself is usually the easy part. Matching the surrounding surface so the repair disappears is where the job gets tricky.
That's especially true in Portland, Beaverton, Hillsboro, and the rest of the metro area, where a lot of wall damage starts with moisture. A roof leak, a window issue, or a plumbing problem can leave drywall soft, stained, or unstable before you ever touch joint compound. Generic patch guides usually focus on nail holes and scuffs. They often miss the bigger issue with water-damaged textured drywall, including moisture testing, mold concerns, and sealing the repair correctly with the right primer, as noted in this guide on patching and repairing drywall.
If you want to learn how to patch textured walls the right way, think about it in two parts. First, rebuild the wall so it's flat, solid, and clean. Then match the texture so the repair blends into the field of the wall instead of sitting on top of it.
Table of Contents
- That Obvious Patch Why Textured Walls are Tricky
- Identify Your Texture and Gather Your Supplies
- The Core Repair Getting to a Smooth Surface
- Mastering the Art of Texture Matching
- Finishing Touches for an Invisible Repair
- When to Call a Professional Drywall Contractor
That Obvious Patch Why Textured Walls are Tricky
A smooth wall gives you some room for error. If your fill is flat and your paint matches closely, you can often get away with a decent repair. Textured walls don't forgive much. Even when the patch is structurally sound, your eye catches a change in shadow, edge height, or pattern right away.
That's why so many DIY patches look fine from straight on and terrible from the side. Raking light from a window or lamp exposes every hard edge and every texture mismatch. On orange peel or knockdown, the repair can look too flat, too heavy, too tight, or too uniform compared to the older surrounding wall.
Texture doesn't just cover the wall. It creates a pattern of light and shadow, and that pattern has to be rebuilt.
There's another trade-off homeowners run into. If you rush to texture before the base repair is flat, the finish will always look bulky. If you over-sand the surrounding area, you erase the original pattern and make the blend zone larger than it needed to be. Good patching is controlled work.
A lot of homes around Portland and nearby cities also deal with the extra complication of damp conditions. A doorknob hole in dry drywall is one thing. A bubbled, softened, or stained patch under a past leak is different. In those cases, the goal isn't just to hide the damage. You need to remove compromised material, confirm the area is dry, and rebuild on a stable surface.
Why these repairs stand out
Three things usually give away a textured wall patch:
- Flat spots: The patch is smooth while the rest of the wall has dimension.
- Halo edges: The compound wasn't feathered enough, so the perimeter catches light.
- Wrong pattern: The texture may be similar, but not applied at the same scale or density.
What works better
Homeowners usually get the best results when they slow down and treat the job like finish work, not filler work.
- Match the substrate first: The wall has to be solid, dry, and flat before texture starts.
- Build in thin layers: Several thin coats are easier to control than one heavy coat.
- Test before committing: Scrap cardboard or spare drywall is where you dial in the pattern.
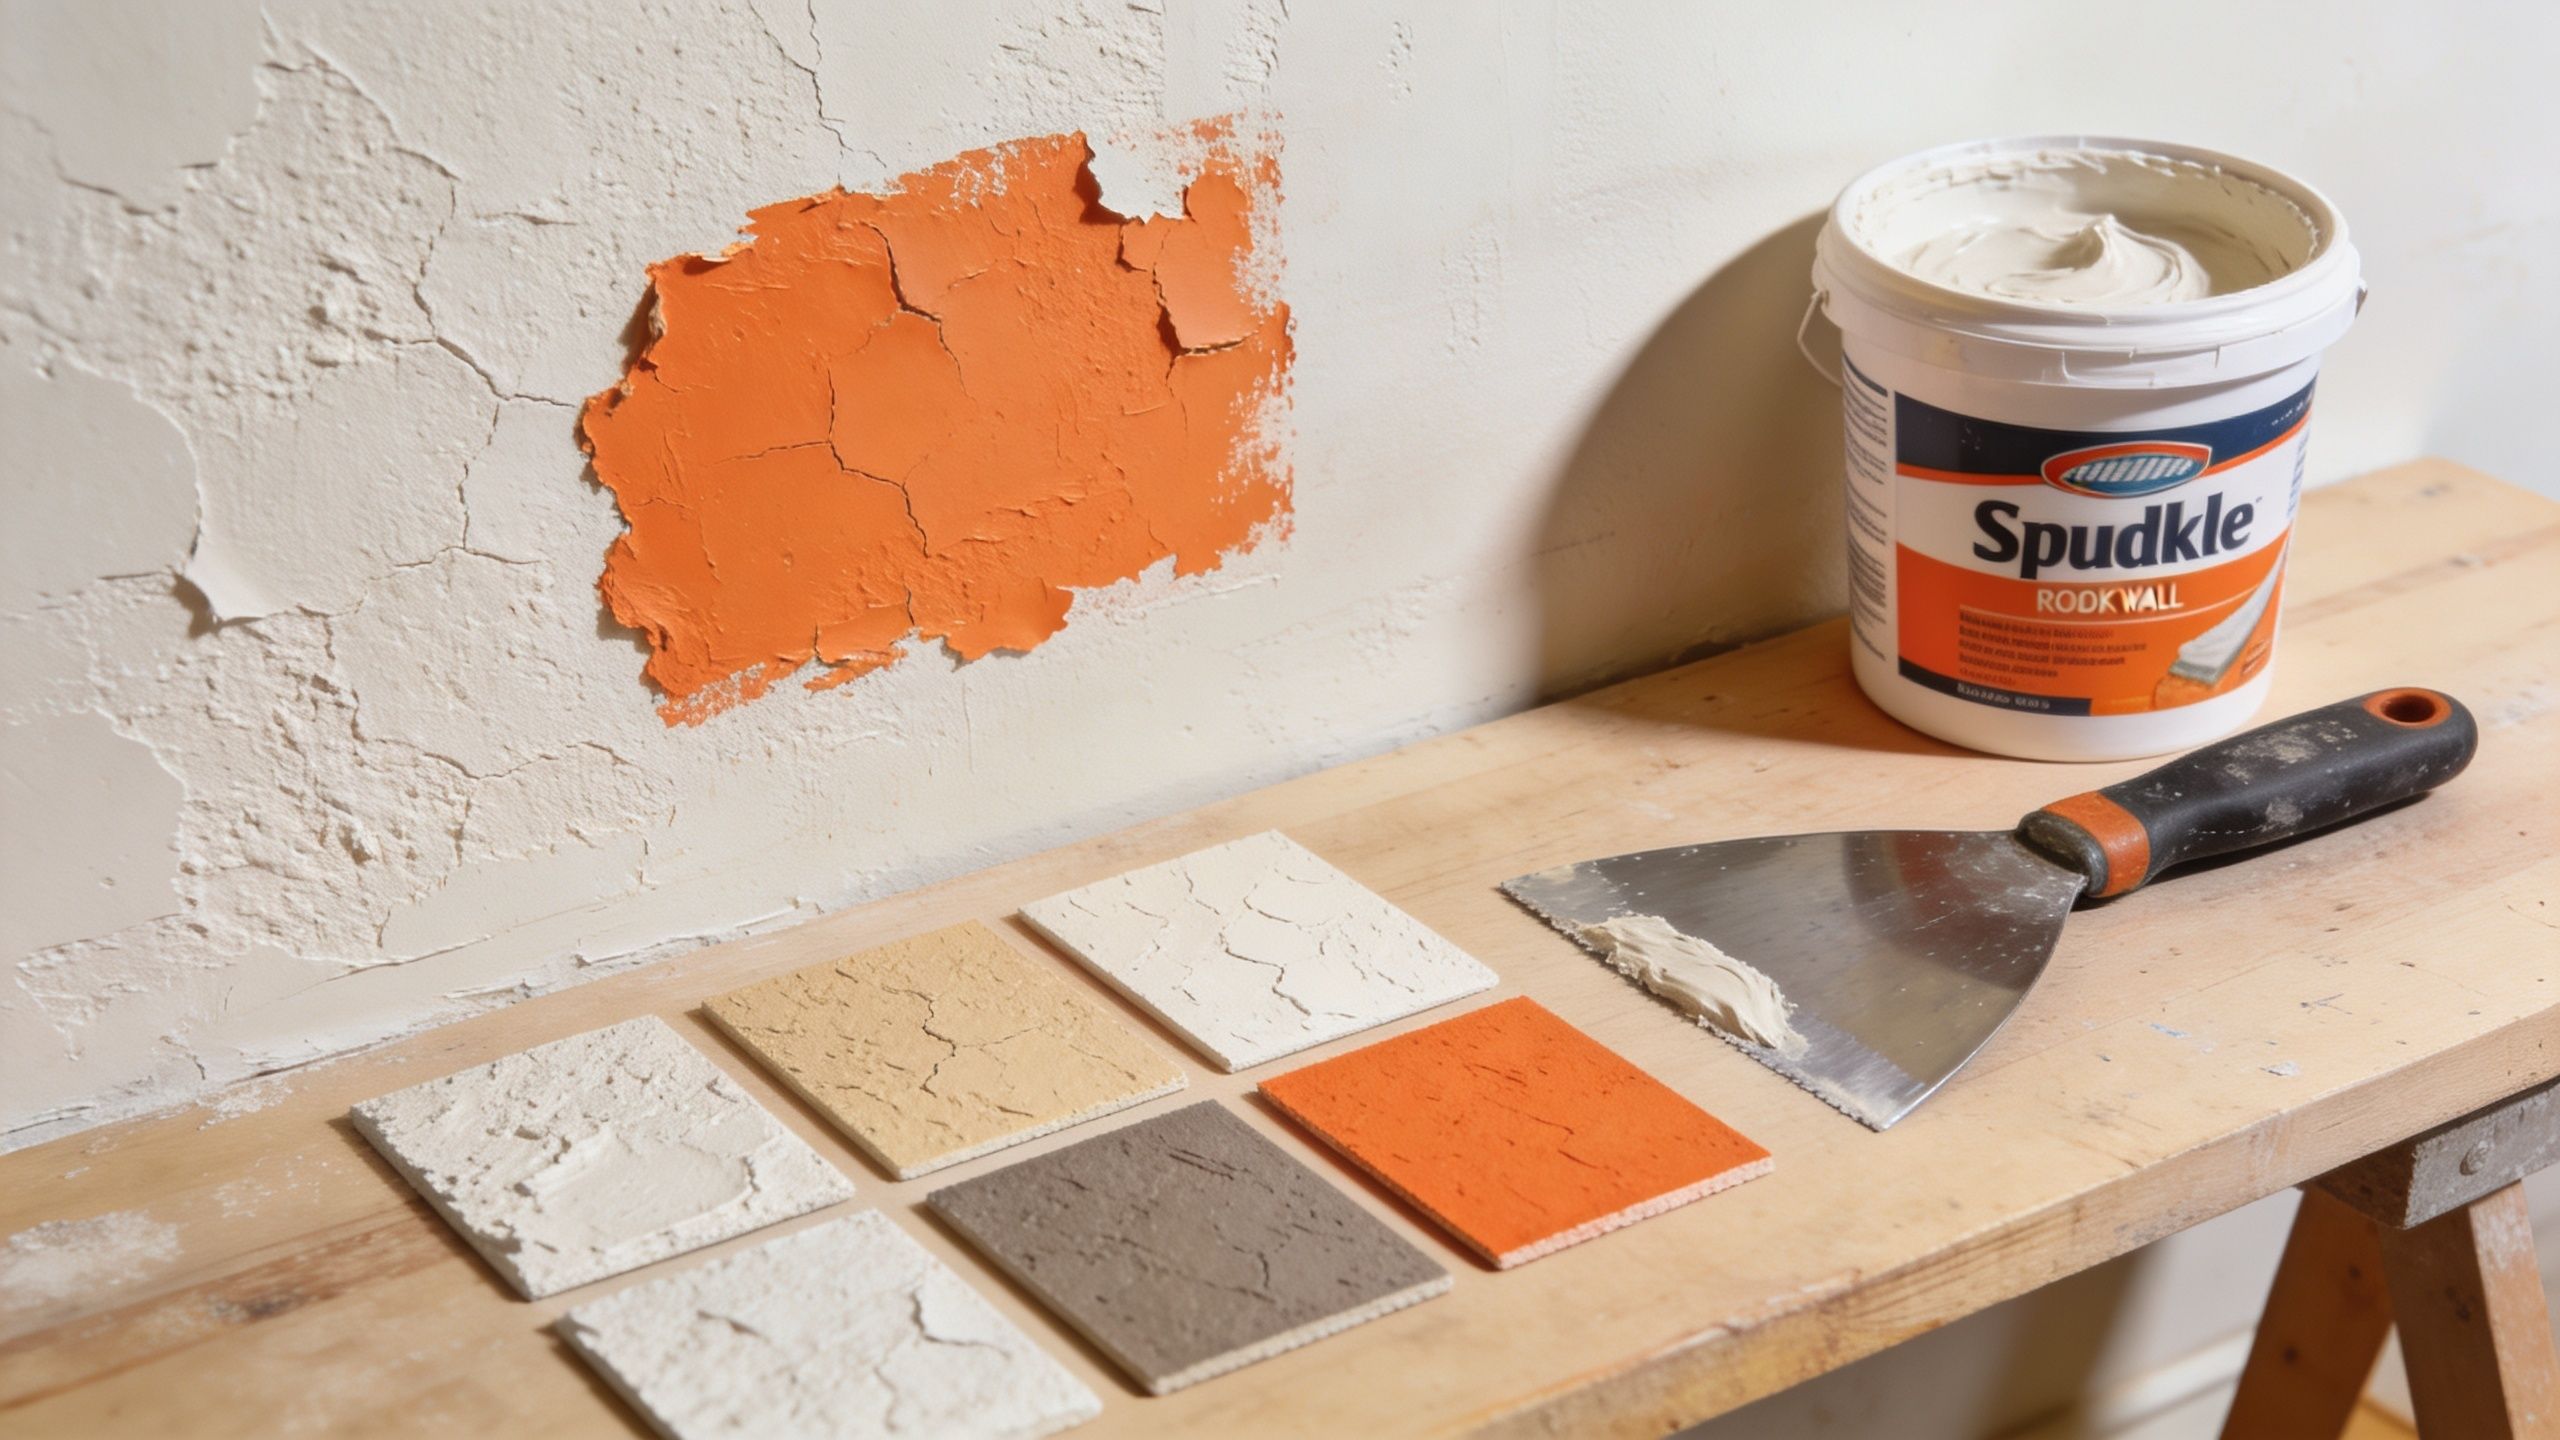
Identify Your Texture and Gather Your Supplies
A patch usually goes sideways before the compound even comes out of the bucket. The homeowner buys a spray can, guesses at the pattern, and ends up with a repair that looks newer and rougher than the wall around it. In Portland-area homes, that mistake gets more common after a small leak or window-related moisture issue, because water can soften the drywall face and blur the original texture enough to make matching harder.
Start by identifying the texture in good side light. Morning or late-day light across the wall will show the pattern far better than overhead fixtures. Look at the size of the texture, how tightly it repeats, and whether the high spots are sharp, flattened, or hand-troweled. That tells you more than color ever will.
The textures you'll see most often
Portland homes usually have one of a handful of common patterns. Older houses and patched remodel areas can be mixed, which is where repairs get tricky.
| Texture | What it looks like | Best patching approach |
|---|---|---|
| Orange peel | Fine to medium splatter, dimpled like citrus skin | Light spray or controlled splatter |
| Knockdown | Flattened peaks with irregular islands | Spray or splatter first, then flatten at the right tack-up stage |
| Skip trowel | Broad hand-applied arcs and raised skips | Hand-applied with a knife or trowel |
| Popcorn | Heavy acoustic texture, usually on ceilings | Spot repairs rarely disappear. Larger section repairs often look better |
Orange peel fools a lot of people because it looks simple. It is not hard to create texture. It is hard to create the same texture at the same scale. Knockdown gives you a little more room for blending, but only if the base pattern is close and your timing is right when you flatten it.
Skip trowel is less forgiving. Hand movement matters, and a repair can look patched even if the color match is perfect.
Practical rule: If you can't identify the texture after checking it in side light, make a few test samples on scrap drywall or cardboard before you touch the wall.
What to have on hand before you start
Buy for the repair you have, not the one you hope it is. A nail pop, a doorknob hit, and a rain-related soft spot near an exterior wall do not need the same materials.
For small cosmetic patches, keep the kit tight:
- Lightweight compound or patching filler: Best for shallow dents, nail holes, and small surface damage.
- Putty knife: A flexible knife helps keep the repair thin and controlled.
- Sanding sponge: Easier to feather without digging a dish around the patch.
- Primer: Raw compound flashes through paint if you skip this step.
- Texture-matching tool: Sponge, brush, hopper-style spray, or an aerosol texture product, depending on the pattern.
For larger repairs, add the materials that rebuild the wall properly:
- Fiberglass mesh tape: Useful where the patch needs reinforcement over joints or repaired openings.
- All-purpose joint compound: Good working time and easier feathering on wider repairs.
- Backing material: Needed when the drywall around the hole is broken back to open air.
- Drywall knives in more than one width: Narrow for loading, wider for feathering.
- Plastic, drop cloths, and dust control: Textured repairs spread debris farther than homeowners expect.
One trade-off matters here. Pre-mixed products are easier for small repairs, but they dry slower in our damp season. In a heated house that is manageable. In a cool room or a garage conversion with poor airflow, dry time can stretch enough to throw off the whole job.
If the damaged area feels soft, shows staining, or sits below a past roof, window, or plumbing leak, stop and inspect before patching. Drywall that took on moisture may need to be cut out, dried, and sealed before any finish work starts. That is also the point where calling a pro is often the smarter move, especially if you are not sure the leak path is fully solved.
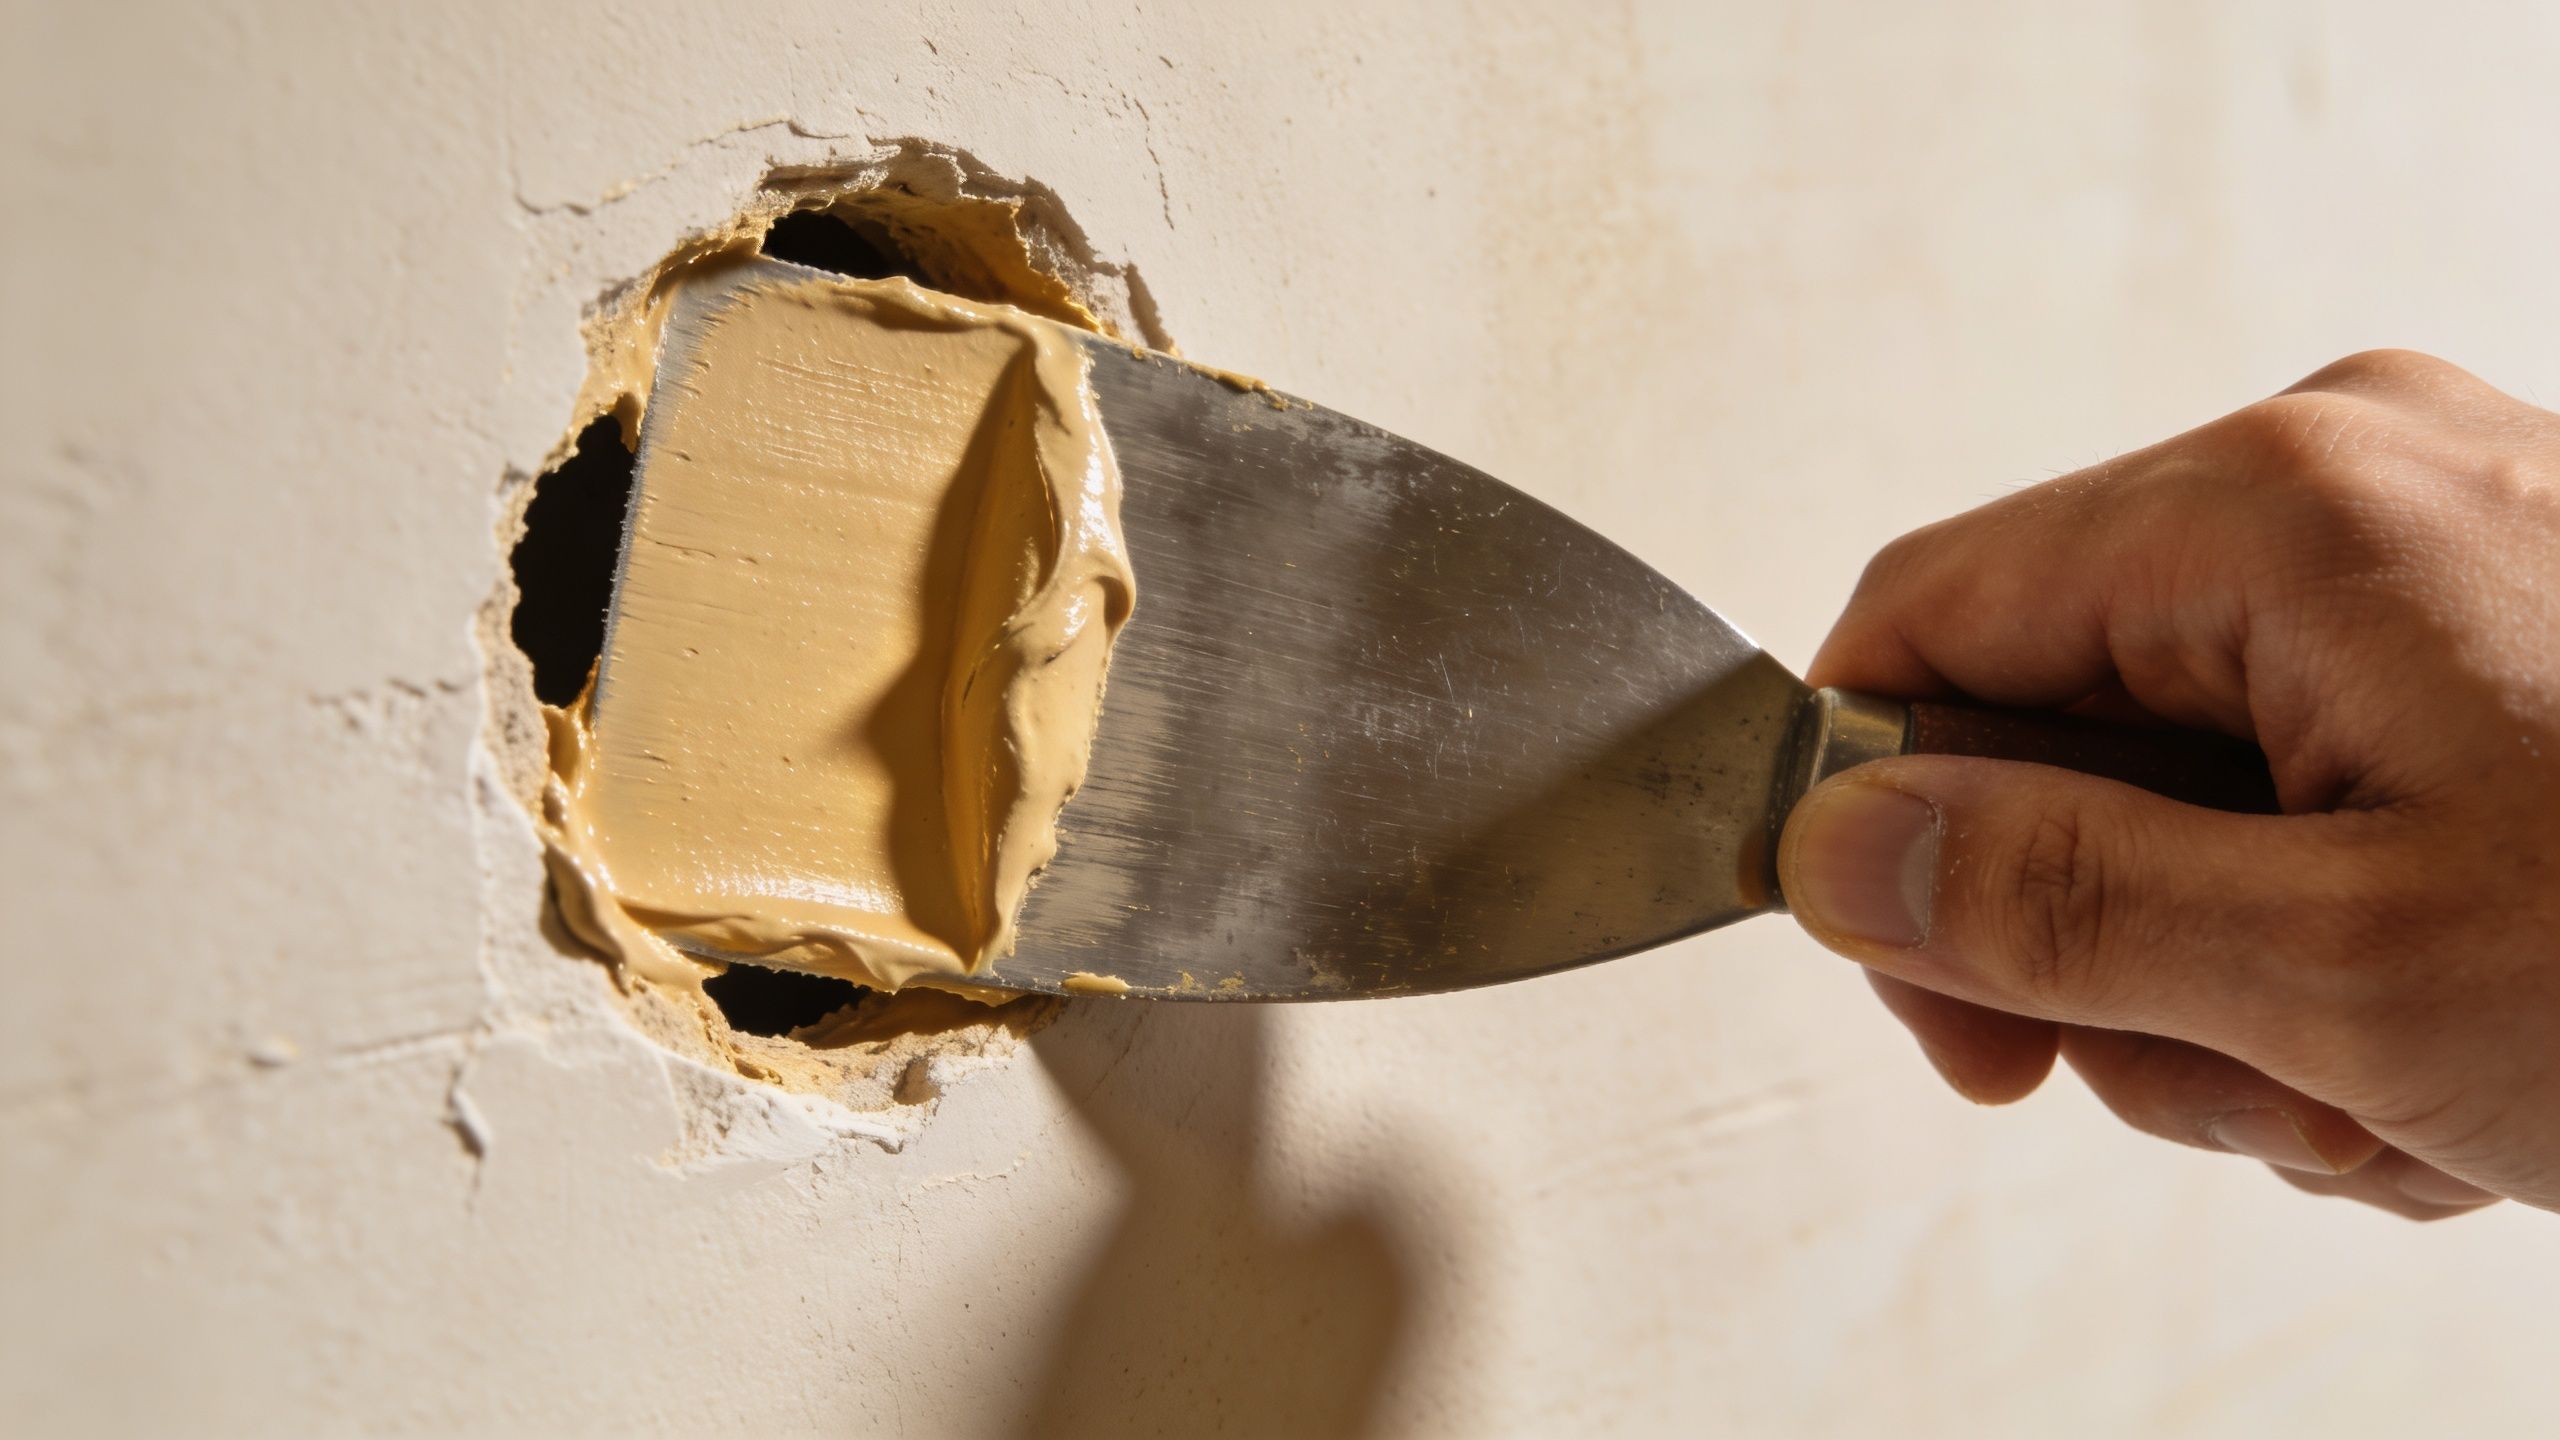
The Core Repair Getting to a Smooth Surface
A textured wall only hides a repair if the patch underneath is flat, solid, and dry. Get the base wrong, and the finish will telegraph every ridge, dip, and cracked edge once the light hits it.
Small dents and nail holes
Small damage usually needs less mud than homeowners expect. Pack filler into the hole, scrape it nearly flush, and leave only what the void will hold. If you spread compound beyond that by an inch or two, you create more sanding than repair.
Let it dry all the way through before touching it again. In Portland-area homes, that matters more than people think. A patch that feels dry on the surface can still be soft underneath if the room is cool, the windows stay shut, or the wall sits on an exterior side that has held moisture.
A clean sequence keeps these repairs simple:
- Remove loose material: Knock off flaking paint, torn paper, and dust so the filler bonds to a sound surface.
- Press, then scrape tight: Fill the defect first. Do not leave a hump sitting over it.
- Check it after drying: Shrinkage is normal on deeper pinholes and old fastener pops.
- Add one light second coat if needed: Thin passes are easier to hide than one heavy one.
Larger holes and broken drywall
Larger damage needs structure before finish work starts. If the edges are soft or broken, cut back to firm drywall with clean lines. Then add backing, fasten the patch, tape the seams, and build the face in thin coats.
Mesh tape has its place, especially over stable repairs, but it is not a shortcut for a loose patch. If the backing flexes or the surrounding board is crumbly from past water exposure, the seam will often show up again after paint. In older Pacific Northwest homes, I see this a lot around windows, under roof lines, and on walls that dried out after a leak but were never properly rebuilt.
Use layers on purpose:
- Stabilize the opening first: A patch that moves will crack.
- Reinforce the seams: Tape helps the repair act like part of the wall instead of an isolated plug.
- Build with thin coats: Thick mud shrinks, dries unevenly, and takes longer to sand flat.
- Feather wide: A broad, shallow transition disappears better than a tight raised patch.
Leave the first coat slightly low. That gives you room to flatten the repair instead of fighting a crowned spot later.
A flat patch beats a fast patch
The sanding stage decides whether the repair blends or stands out. Focus on the outside edges as much as the center. A patch can look fine straight on and still flash badly after primer if the perimeter is abrupt.
Use your hand, not just your eyes. Glide your palm across the repair from several directions. Side lighting and touch will catch what overhead room light hides, especially on textured walls where even a small lip can throw a shadow.
Do not sand a big flat halo around the patch. Level the repair, soften the transition, and stop there. Overworking the area removes surrounding texture and makes the blend harder, not easier.
If the damage started with water, slow down and judge the wall objectively. Brown staining, bubbled paper, soft gypsum, mildew odor, or recurring seam movement usually mean this is no longer a simple cosmetic fix. At that point, cutting out damaged material, drying the cavity, and sealing affected areas is often the right repair. If you are not sure the leak is solved or the wall still feels compromised, that is usually the line where bringing in a drywall contractor is the smarter call.
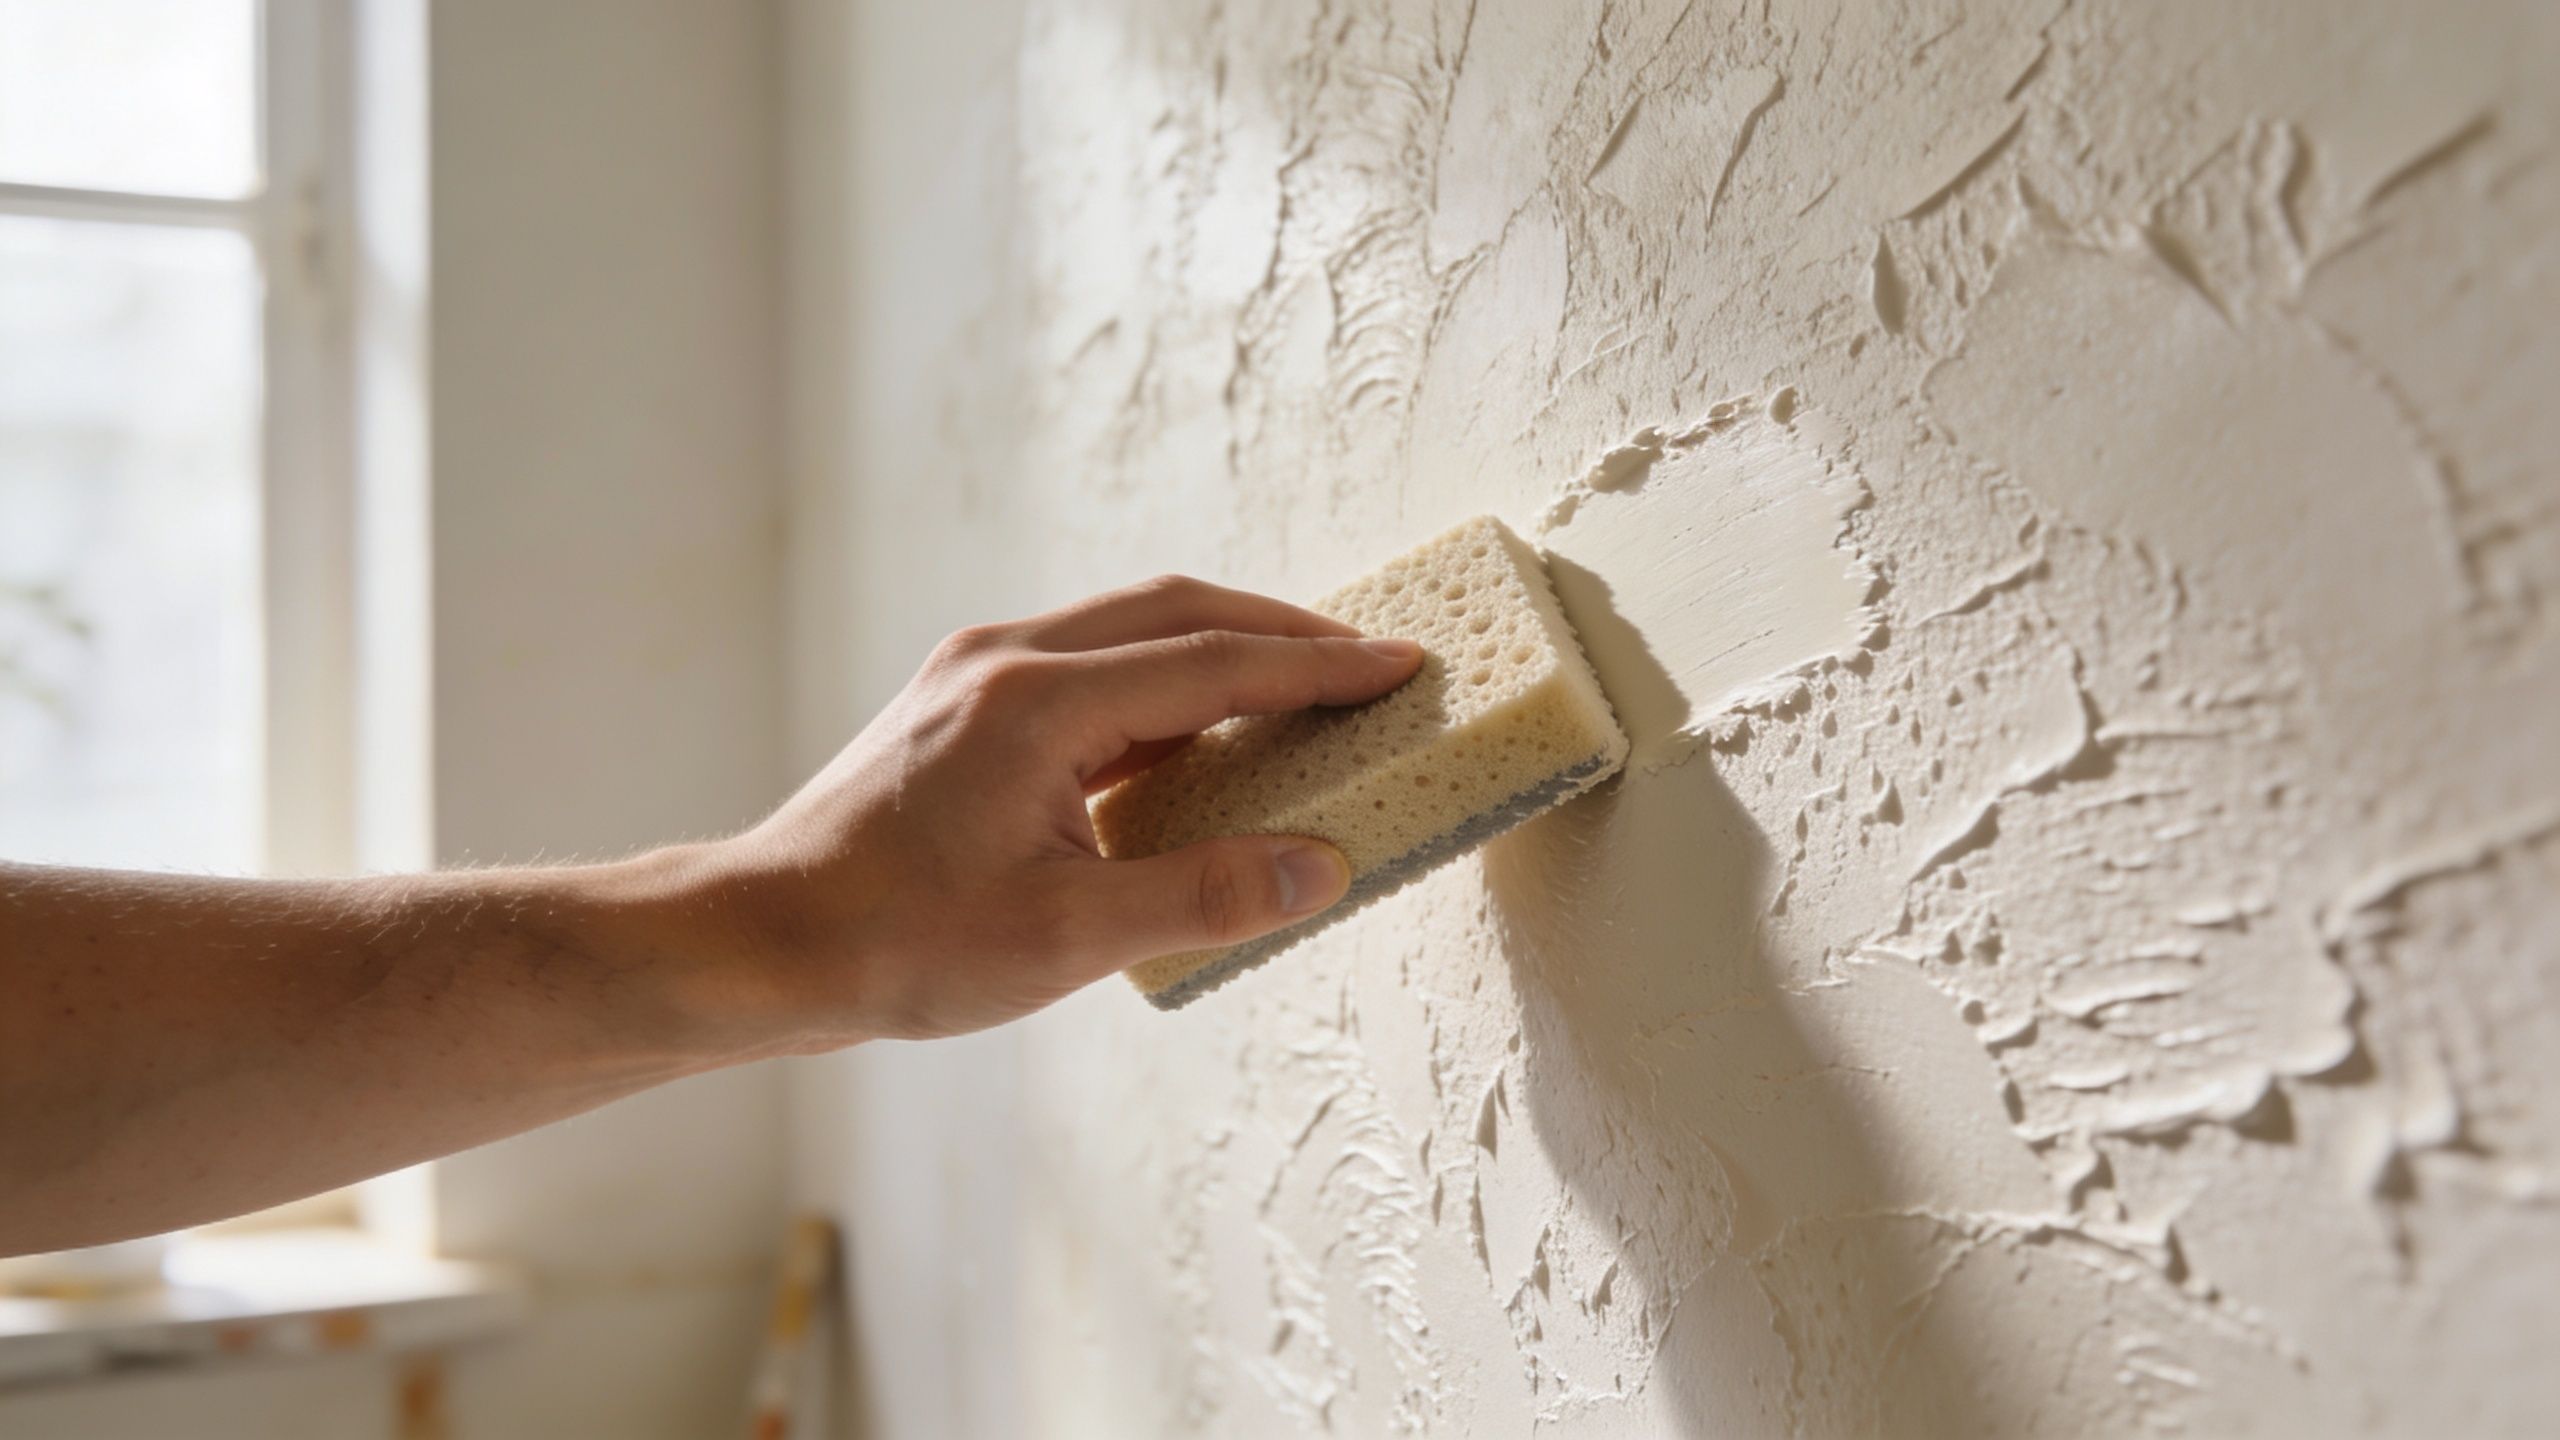
Mastering the Art of Texture Matching
A patch can be flat, solid, and fully dry, then still jump out from across the room because the texture is wrong. That happens all the time on Portland-area walls, especially after small ceiling leaks or window-side water damage where the repair is clean but the surrounding texture has years of paint buildup and wear.
Texture matching takes two skills. You need to copy the pattern, and you need to copy its scale. A patch with the right general style can still look obvious if the dots are too large, the knockdown is too sharp, or the texture sits too proud of the wall.
Pick the right method for the texture you have
Start by reading the surrounding wall, not the repair itself. Look at a wider area, a few feet in each direction. Older homes around the Pacific Northwest often have texture that has softened under layers of paint, and water exposure can flatten or swell parts of the pattern. Matching the original application method is helpful, but matching what the wall looks like today matters more.
Three methods cover most repairs:
- Light spray texture: Best for small orange peel patches and other fine machine-applied textures.
- Sponge or brush application: Better for loose, irregular patterns that need a less uniform look.
- Knockdown: Best where the wall has splatter that was partially flattened after setting up.
Each method has trade-offs. Spray is fast and close to factory texture, but it gets away from people quickly. Hand-applied texture gives more control at the edges, but it is slower and easier to overwork. Knockdown depends heavily on timing. Flatten it too soon and it smears. Wait too long and it leaves hard, sharp islands that do not match the field.
Practice the pattern before you touch the wall
Use a scrap of drywall, cardboard, or the inside face of a cutout piece as a test board. That one step saves a lot of sanding and repainting.
Test the material thickness first. Then test your hand speed, distance, and pressure. On orange peel, a few inches of spray distance can change the pattern completely. On knockdown, even a short delay changes how broad and soft the flattened spots look. I tell homeowners to make three or four test passes on scrap before they make one pass on the wall.
The edge matters most. The center of a patch usually gets covered by furniture, artwork, or normal room traffic. The hard outline catches the eye.
Build texture in light passes
Apply less than you think you need on the first round. It is easier to add a second light pass than scrape off a heavy one without scarring the patch.
For orange peel, aim for a pattern that looks a little shy at first. Once it dries, compare it from standing height, not with your nose six inches from the wall. For hand textures, break up any repeated marks before they set. Natural-looking walls have variation. Repeated sponge prints or identical knife marks give away the repair fast.
Some pros use cut templates or simple masking guides to control the spread of texture on high-visibility patches. That can help on very consistent machine-applied finishes, especially in hallways and long side-lit walls where every mismatch shows. It is not magic. The guide only helps if the mud consistency and application are already close.
Good texture matching comes from control, not speed.
If the repaired area sits near past water damage, judge the surrounding texture carefully before you chase a perfect cosmetic match. Stained or softened drywall often has a different surface than sound drywall beside it. In that situation, a small blend may never disappear fully because the field itself has changed. That is one of the clearer signs the repair may need to widen, or that a contractor should handle the finish work so the wall reads consistently once painted.
Finishing Touches for an Invisible Repair
A lot of textured patches look good right up until the wall gets primed and painted. Then the repair shows up as a flat spot, a shiny spot, or a dull ring around the patch. On Portland-area jobs, I see that more after water damage because the surrounding drywall has often absorbed moisture differently than the new compound.
Prime the repair before you judge it
Fresh mud, patched paper, and old painted drywall do not take paint the same way. Primer evens out that absorption so the finish coat dries with a more consistent color and sheen. Skip that step, and even a well-matched texture can flash through the paint.
Primer also works as an inspection coat. It exposes ridges, pinholes, edge lines, and shallow sanding scratches that were hard to see when the patch was still blotchy white and gray.
Primer shows the repair the way paint will show it.
Use a quality drywall primer on the full repaired area, including the feathered edges. If the patch came from a leak, stain-blocking primer may be the better choice, but only after the drywall is fully dry and the source of the moisture is fixed. In the Pacific Northwest, rushing that part is a common mistake. Damp drywall can look stable for a week, then telegraph stains or bubbles back through the finish.
Paint for uniform sheen, not just color
Color match matters, but sheen is usually what gives a patch away. A close color in the wrong finish still catches the eye when afternoon light hits the wall.
Roll or brush beyond the exact patch so the new paint blends into the surrounding field. On small repairs, that may mean coating from natural break to natural break, such as inside corner to inside corner. In a hallway or on a long wall with side light, repainting a broader section often saves time compared with trying to hide a tiny painted island in the middle.
A few habits make the final result cleaner:
- Prime the entire patched and feathered zone: Do not spot-prime only the center.
- Match the existing sheen as closely as possible: Flat, matte, eggshell, and satin all reflect differently.
- Check the wall in daylight and side light: Overhead lighting hides flaws that windows expose.
- Plan on two finish coats if needed: One coat rarely evens out a repair on patched texture.
- Repaint wider if the wall has old sun fade or past moisture staining: The patch may be right, but the field around it has changed.
On higher-visibility walls, the best-looking repair often comes from doing a little more painting than you wanted, not a little less. That is the trade-off. A quart of extra paint and one more pass with the roller is cheaper than staring at a visible patch every time you walk by.
When to Call a Professional Drywall Contractor
You can get away with a small patch behind a door or in a low-light bedroom. A failed repair in a bright living room, a ceiling, or a wall that has seen water is a different job.
That is where I tell Portland-area homeowners to be honest about the goal. If you want the wall to look clean from across the room, a careful DIY repair may be enough. If you want the patch to disappear in daylight, survive our wet seasons, and hold up under fresh paint, skill and judgment matter as much as the mud itself.
In the Pacific Northwest, moisture changes the equation. A brown stain, soft gypsum, peeling tape, or a patch that keeps swelling back up usually means the drywall problem started before the surface damage showed. You are no longer just matching texture. You are checking for hidden deterioration, drying the area fully, replacing compromised material, and making sure the repair does not telegraph back through the finish a month later.
Professional help makes the most sense when:
- Moisture is part of the problem: Active leaks, recurring stains, soft drywall, bubbling paint, or any sign that the wall did not dry out properly.
- The repair sits in unforgiving light: Large windows, long hallways, stairwells, and ceilings show every hump, edge, and mismatch.
- The texture has to match closely: Knockdown, skip trowel, heavy orange peel, and older hand-applied textures take practice to blend.
- The damaged area is larger than a simple patch: Bigger repairs often need backing, board replacement, stronger tape work, and better feathering to stay flat.
- The result affects a sale or turnover: Listing photos, buyer walk-throughs, and rental prep are not the time for a patch that looks good only at night.
I see this a lot in Portland, Tigard, and Lake Oswego homes getting ready for market. Owners do the sensible thing and handle painting, trim touch-ups, and other finish work themselves, then call for help on the one wall that still catches the eye. That is usually the right trade-off.
If the patch is visible, the texture will not cooperate, or the damage involves past or present moisture, CS1 Real Interiors handles drywall repair services and works throughout the metro area, including Portland drywall projects. They also provide interior painting, insulation, and metal stud framing for homeowners, property managers, and small commercial spaces that need a clean interior finish.
For a larger repair or a second opinion before you repaint, contact CS1 Real Interiors for professional help.