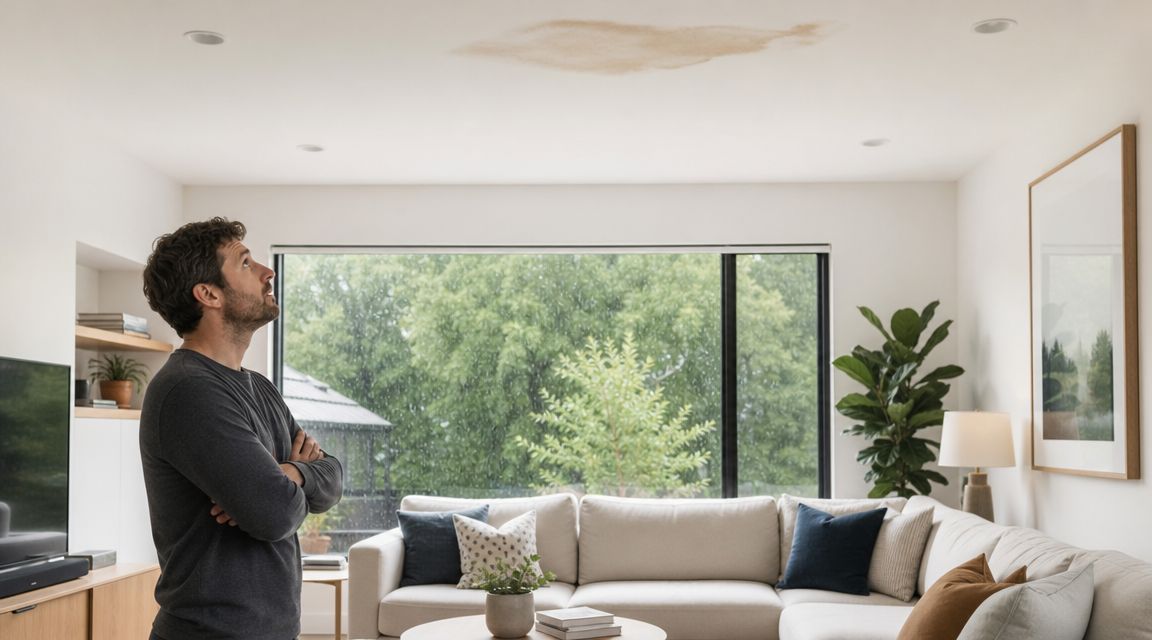
A lot of Portland drywall projects start the same way. A ceiling stain shows up after a stretch of rain. A plumber opens a wall in Beaverton. A homeowner in Lake Oswego removes old cabinets and finds torn paper, cracked corners, and uneven texture behind them. At that point, the question isn't what drywall is. They're trying to figure out who can fix it properly, how to compare bids, and how to avoid paying twice for a bad patch.
That's where hiring gets difficult. One Portland contractor directory lists 74 verified drywall companies in the metro area, which tells you this is a crowded market with plenty of options and plenty of variation in workmanship, communication, and follow-through. A cheap patch can look acceptable on day one and still fail under paint, telegraph joints in window light, or trap moisture behind the wall.
If you're looking for a drywall contractor in Portland, or nearby cities like Hillsboro, Tigard, Gresham, or Vancouver, WA, it helps to know what a professional process looks like before the first estimate is scheduled. That's what this guide is for.
Table of Contents
- Your Guide to a Flawless Drywall Project in Portland
- First Steps Defining Your Drywall Project Scope
- How to Vet Contractors and What to Ask
- Comparing Bids Costs and Project Timelines
- Understanding Drywall Finish Levels for Your Home
- Preparing Your Home and Final Steps
- Frequently Asked Questions About Drywall Projects
Your Guide to a Flawless Drywall Project in Portland
A drywall job usually looks simple from a distance. Cut out the damage, patch it, sand it, paint it. In practice, the hard part is deciding what's underneath the visible problem, what finish the room needs, and whether the crew on site knows how to leave a wall paint-ready instead of merely patched.
In Portland, that uncertainty gets amplified by weather and remodeling patterns. Older homes often have previous repairs hidden under texture. Basement updates in Hillsboro and tenant improvements in Portland often require drywall, painting, insulation, and framing to be coordinated in the right order. If one trade gets ahead of the surface prep, the final wall tells on everybody.
Practical rule: The right drywall contractor doesn't just price the patch. They diagnose the reason the wall failed, define the finish target, and sequence the work so the painter or next trade isn't fixing drywall problems later.
That matters whether you're dealing with a cracked seam in Tigard, a damaged ceiling in Vancouver, WA, or a full interior update in Beaverton. A professional job should leave clean lines, controlled dust, straight corners, and a realistic schedule. It should also come with a quote that makes sense on paper, not just a low number over the phone.
For homeowners, builders, and property managers, the hiring process is where most problems are either prevented or created. If you ask better questions up front, you're far more likely to get a clean, durable result.
First Steps Defining Your Drywall Project Scope
Before you call anyone, get clear on what you're asking them to price. Most bad estimates start with vague descriptions like “some water damage” or “a few cracks in the ceiling.” That language is too loose. Contractors can't compare scope if each one is imagining a different job.
Start with the actual problem
Write your project down room by room. Keep it simple, but be specific.
- Location of the work: Note whether it's a wall, ceiling, stairwell, garage, basement, or a high foyer. Access changes labor.
- Type of damage: Is it a crack, hole, sagging section, stained ceiling, torn paper, failed tape joint, or water-damaged drywall?
- How widespread it is: Is it one patch in one room, or repeated issues across several rooms?
- What caused it: Plumbing leak, roof leak, settling, remodel demolition, electrical work, cabinet removal, or tenant damage.
- What needs to happen after drywall: Primer only, paint-ready finish, texture matching, full painting, insulation replacement, or framing corrections.
If you can, take wide photos and close-up photos. A wide shot shows the room context. A close-up helps identify seam failure, impact damage, or swelling from moisture. That gives you better conversations and better bids.
A homeowner in Portland might only need a ceiling cut-out and patch after a leak. A property manager in Gresham may need multiple wall repairs plus repainting before a unit turnover. A builder in Hillsboro may need hanging, finishing, and paint-ready surfaces for a remodel addition. Those are all drywall jobs, but they are not the same scope.
Write down the finish you expect
A lot of disputes come from finish expectations that were never written down. One person expects “smooth.” The other prices a standard patch with visible texture transition under certain light.
Use plain language:
- Good enough for repainting after minor repair
- Texture matched to blend with surrounding wall or ceiling
- Smooth wall finish for a remodeled room
- High-end finish in rooms with strong natural light
- Ready for cabinets, tile, or trim installation
If you don't define the finished appearance before the quote, you're not comparing the same job from one contractor to the next.
This is especially important in modern Portland-area homes with larger windows and flatter wall finishes. Window light exposes every ridge, seam, and shallow crown in the patch. In older homes, matching existing texture or blending around settled framing can be the harder part.
For local planning, it also helps to note where the property sits and how fast access can be arranged. Condo projects in Portland, remodels in Lake Oswego, and occupied rentals in Beaverton all come with different scheduling constraints. If you need local service context, review the Portland service area before requesting estimates so you can describe your location and project type clearly.
How to Vet Contractors and What to Ask
A Portland homeowner usually calls after the problem has already changed shape. What started as a ceiling stain now includes soft drywall, peeling tape, or a wall that never looked right after the first patch. At that point, the right contractor is the one who can explain what failed, what needs to be opened, and what finish the room can realistically support.

Price matters, but it does not tell you much about workmanship. A low bid can still leave you with dust through the house, poor texture matching, flashing under window light, or a patched area that fails again because nobody addressed moisture in the cavity.
The better conversation is about process, supervision, and judgment on site. In Portland-area homes, that matters even more because older houses often have irregular framing, and newer remodels with large windows and smooth walls show every joint line.
Questions that reveal how a contractor works
Ask these directly and listen for clear, specific answers.
- Who will be on site: Find out whether the person writing the estimate will manage the work or hand it off to a crew with no walkthrough.
- How will the home be protected: Ask about floor covering, plastic containment, dust control, debris removal, and end-of-day cleanup.
- How do you approach patch blending: A good repair is not just filling a hole. It is getting the patch to disappear as much as the surrounding surface allows.
- What is included in the quote: Demo, disposal, hanging, taping, sanding, texture work, primer, paint touch-up, and cleanup should be spelled out.
- How are changes handled after opening the wall: Hidden damage happens. You want a written change-order process, not a verbal surprise halfway through the job.
Credentials still matter. Oregon homeowners should verify license, bond, and insurance status before signing a proposal. If you want background on what licensing means in the trade, this guide on getting your contractor license gives useful context.
Ask directly about moisture decisions
Portland contractors should be able to talk about moisture without hesitation.
Water damage is common here, and drywall work often gets priced as if every stain is cosmetic. It is not. If the board is still damp, the paper is delaminating, or the framing shows signs of ongoing moisture, patching over it is a shortcut that usually costs more later. A professional should explain whether the area needs to be opened further, dried, sealed, or fully replaced before finish work starts.
Ask questions like these:
- How do you decide between patching and replacing drywall?
- What signs tell you the material or backing is still compromised?
- How dry does the area need to be before you close the wall?
- If the leak path is larger than the stain, how far do you open it up?
- Can you match the existing texture, or will the repair still show under side light?
That last question matters in a lot of Portland remodels. Modern Pacific Northwest interiors often use smoother wall finishes, bigger windows, and simpler trim details. That combination is less forgiving than heavy texture. A contractor who does not discuss light exposure and finish expectations up front may be pricing for speed, not appearance.
If a contractor treats every water-damaged area like a routine patch, keep looking.
This short video gives a useful visual sense of professional drywall handling and project discussion.
Need a quote from a qualified team
If your project involves drywall repair, installation, painting, insulation, or metal stud framing, get an estimate from a contractor who will put the work sequence and finish standard in writing. One option for Portland-area homeowners and small commercial clients is CS1 Real Interiors, especially for projects that involve coordinated interior trades rather than a simple patch.
A detailed estimate is easier to compare, easier to schedule, and easier to hold accountable.
Comparing Bids Costs and Project Timelines
A Portland homeowner will often get three drywall bids that look close on price and completely different in scope. One includes protection, texture blending, primer, and haul-off. Another is just a number in a text. The cheapest one can become the most expensive if the contractor prices for hanging board and leaves out the finish work that makes the repair disappear.
A solid drywall bid should let you see how the contractor is planning the job. If you cannot tell what materials are being used, what finish is expected, or how long the room will be tied up, you are not comparing bids yet. You are comparing guesswork.
What a solid bid should include
In Portland, pricing swings for good reasons. Water-damaged repairs take longer than clean new installation. High walls, occupied homes, stair access, dust control, and smooth-wall matching all add labor. In older Portland houses, crews also run into framing irregularities, previous patch layers, and hidden moisture issues that do not show up in a quick walk-through.
A usable bid usually spells out:
- Scope of work: Demolition, drywall installation, patching, finishing, texture work, primer, paint, and cleanup
- Materials: Board type, corner bead, tape, compound, floor protection, masking, and insulation replacement if needed
- Finish expectation: Standard patch, texture match, Level 4, or Level 5 style finish
- Timeline: Start date, working days, drying time between coats, and when the space is ready for paint or normal use
- Payment terms: Deposit, progress payments if applicable, and what triggers final payment
If you're comparing repair proposals, it helps to review a dedicated service page like drywall repair services so you can see whether the bid matches the kind of work your project requires.
Cheap bids usually leave something out
The missing line items are usually predictable. Protection gets treated lightly. Texture matching is excluded. Primer is left for someone else. Ceiling work is priced like a wall patch even though overhead finishing takes more time and tends to show defects faster under light.
Schedule language matters too. Drywall work happens in stages, especially in the Portland area where damp conditions can slow drying inside homes without good heat and airflow. If a contractor promises a full-room repair, smooth finish, and paint-ready surface on an unrealistically short schedule, ask how they plan to handle drying, sanding, and touch-up without cutting corners.
Efficient crews still need drying time. A realistic schedule protects the finish quality.
Use the same checklist on every bid:
| Bid Item | Why It Matters |
|---|---|
| Surface prep | Affects bond, flatness, and how well the patch holds up |
| Moisture-related scope | Prevents closing up damp or damaged material in Portland's wet climate |
| Finish level | Determines how the wall will look under paint and window light |
| Texture blending | Reduces visible flashing and patch outlines after repainting |
| Cleanup and protection | Matters if the home is occupied during the work |
| Timeline | Sets clear expectations for access, noise, dust, and paint-ready handoff |
The best bid is usually the one that answers the questions a homeowner has not thought to ask yet. That is usually a sign the contractor has seen the common problems before and priced the work to finish it properly.
Understanding Drywall Finish Levels for Your Home
A Portland homeowner usually notices finish quality after the painter leaves and the afternoon light hits the wall from the side. What looked fine during a bid walk can turn into visible joints, shallow waves, and patch outlines once the room is back in use.
That is why finish level should be decided before the work starts, not after the board is hung.
Where Level 4 works well
Level 4 is the standard finish for a lot of residential work. Joints and fasteners are taped and coated for a clean painted surface, and it performs well in rooms that do not have harsh side light or a design style that calls attention to every surface.
It makes sense in bedrooms, hallways, utility spaces, rental turns, and homes where orange peel or another existing texture is already doing some of the visual work. It is also a reasonable choice when the goal is a solid repair at a controlled price.
The trade-off is simple. Level 4 can look good, but it is less forgiving on long smooth walls, high ceilings, and areas with large west-facing windows, which are common in updated Portland homes.
When Level 5 is worth paying for
Level 5 is usually the better fit for modern Pacific Northwest interiors with smooth walls, open layouts, and a lot of natural light. In those rooms, even small finish defects show up fast. You see that most often in living rooms, kitchens, entry walls, stairwells, and primary suites.
A proper Level 5 approach takes more labor. The finisher has to widen transitions, control tool marks, and leave the surface uniform enough that primer and paint do not telegraph every repair line. That matters even more in older Portland houses where new drywall meets plaster, patched framing, or walls that are not perfectly straight to begin with.
Smooth walls ask for better prep and better finishing. Cheap bids often miss that.
Strong window light exposes every shortcut. If a room gets side light for part of the day, the finish level needs to match it.
Portland's damp climate adds another layer to the decision. Homes with past moisture issues often have repaired sections, replaced insulation, or framing movement around windows and exterior walls. In those areas, a higher finish standard helps reduce visible transitions, but only if the substrate is dry and stable first. No finish level hides movement or moisture problems for long.
Drywall finish levels compared
| Feature | Level 4 Finish | Level 5 Finish |
|---|---|---|
| Appearance | Clean standard finish for many painted rooms | More uniform surface for smooth painted walls |
| Best use | Textured walls, secondary rooms, practical repair work | Smooth walls, main living areas, rooms with strong natural light |
| Labor approach | Standard joint finishing and fastener treatment | Added surface refinement, wider blending, skim or near-skim treatment as needed |
| Visibility under paint | More likely to show minor variation in critical lighting | Better at reducing visible seams, flashing, and patch boundaries |
| Budget impact | Lower cost | Higher cost because of added labor and inspection time |
The right finish level depends on the room, the lighting, and what kind of result the homeowner expects after paint. A closet wall and a front entry wall do not need to be priced the same way. A good drywall contractor will say that clearly, and explain why.
Preparing Your Home and Final Steps
The crew is scheduled for Monday. By Sunday night, the room still has a full bookcase, framed art on the wall, and a sofa parked under the repair area. That setup turns a straightforward drywall job into a slower, riskier one.
Good prep protects your home and helps the contractor work cleanly. In Portland-area houses, that matters even more because many jobs involve moisture repairs near windows, exterior walls, basements, or ceilings under older roofs. If those areas are still damp, or if access is tight, the schedule gets longer and the finish usually suffers.
How to get the space ready
Start by clearing enough room for full sheets, ladders, lights, and dust control. Drywall crews do better work when they are not squeezing around furniture or stacking tools in a hallway.
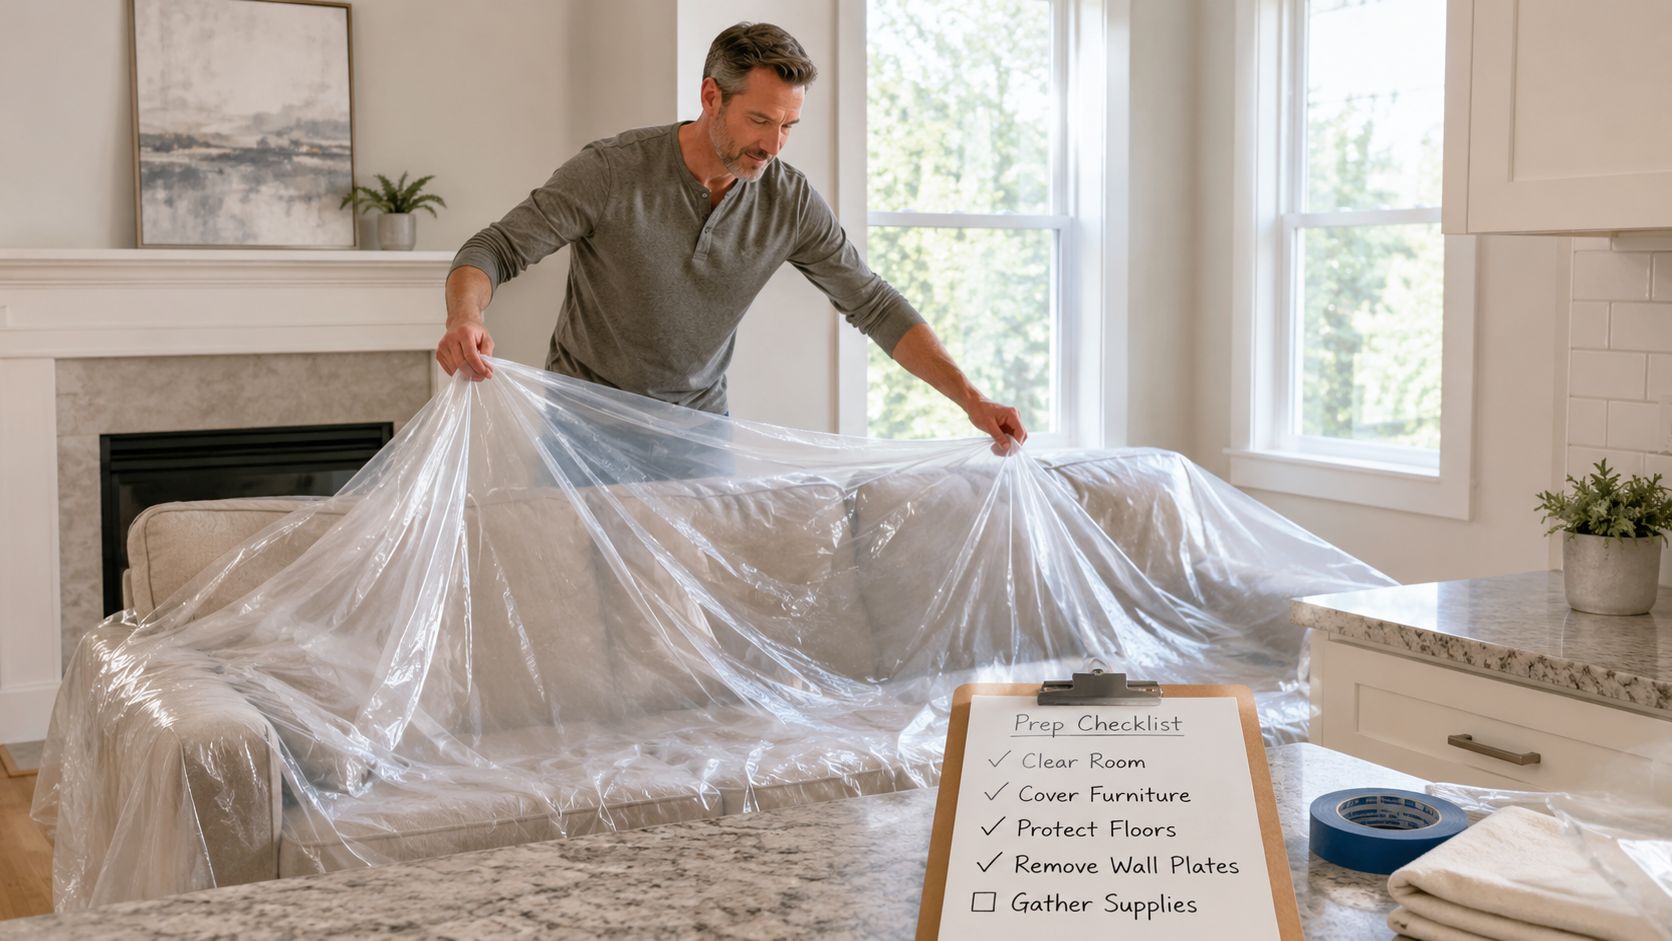
Before the first workday, handle these basics:
- Move furniture away from the work area: Open floor space makes material handling safer and reduces accidental damage.
- Remove wall art, mirrors, and fragile items: Vibration and traffic can shift or crack nearby items.
- Clear shelves, counters, and electronics nearby: Fine dust travels farther than many homeowners expect.
- Keep pets and children out of the zone: Plastic barriers, cords, knives, stilts, and open doors create avoidable hazards.
- Confirm parking and entry details: Portland neighborhoods, condo buildings, and narrow driveways can slow unloading if this is not sorted out in advance.
If the repair is on an exterior wall or in a room with a history of leaks, ask one direct question before work starts: is everything dry enough to close up? New board over damp framing or insulation is one of the faster ways to pay for the same repair twice.
What the work period actually looks like
Drywall work happens in stages. Hanging board is only one part of it. Taping, multiple coats of compound, drying time, sanding, touch-up, and inspection usually take longer than homeowners expect, especially during cool, wet stretches in the Portland metro area.
Drying time is the part people underestimate most. Compound needs time to set up properly, and houses with poor airflow, recent moisture issues, or closed-up winter conditions can slow that process. A contractor who promises to push everything through too fast is often trading schedule for finish quality.
Some days are active and noisy. Other days are quieter because the crew is waiting on materials to dry, checking for shrinkage, or returning for final sanding and touch-up. That is normal.
What matters is whether the site stays controlled:
- Daily cleanup: Floors should be kept reasonably clean, pathways open, and tools organized.
- Dust containment: Plastic barriers, floor protection, and low-dust sanding methods should be part of the plan.
- Clear room access rules: You should know which areas are off-limits and when the room can be used again.
- A defined closeout process: Final walkthrough, punch-list corrections, and a clear standard for what "paint-ready" means.
Final checks before sign-off
Do the walkthrough in good light. Morning and late-day side light will show ridges, lap marks, and shallow sanding scratches that overhead bulbs can hide. That is especially important in the smooth-wall, modern finishes common in Portland remodels.
Check corners, butt joints, patches around outlets, and transitions where new drywall meets old surfaces. Look at repaired areas from more than one angle. If primer is included, ask whether it is meant to seal the board and compound only, or if the contractor is also responsible for getting the wall fully ready for finish paint.
A solid final step is simple. Make sure the area is dry, clean, and finished to the level you agreed on before the painter starts. Once paint goes on, it becomes harder to separate drywall flaws from paint issues, and that can turn a simple punch list into an argument.
Frequently Asked Questions About Drywall Projects
Can a water-damaged ceiling always be patched?
No. Some ceiling stains only need localized replacement and refinishing after the leak is fixed and the area is dry. Others require more material removal because the board has softened, sagged, or stayed damp too long. The right answer depends on the condition of the drywall behind the visible stain.
Is drywall repair a good DIY project?
For tiny cosmetic dings, some homeowners handle it themselves. For ceiling repairs, water damage, larger holes, texture matching, or smooth-wall blending, professional work usually saves frustration. Most DIY repairs fail at the finish stage, not the patch stage.
Why does my crack keep coming back?
Repeated cracks often point to movement, framing stress, poor original taping, or a previous repair that was only skimmed cosmetically. If the cause isn't addressed, the crack often returns through the new paint.
Do I need painting after drywall repair?
Usually, yes. Even a good patch changes surface porosity and sheen. If the goal is for the repair to disappear, paint work often needs to be part of the plan.
What should I do before asking for an estimate?
Take photos, note the rooms involved, describe the cause of damage if known, and write down whether you want a basic repair, texture match, or smooth paint-ready finish. That gives the estimator something concrete to work from.
Can one contractor handle more than drywall?
Yes. Many projects move faster when drywall, interior painting, insulation, and light framing are coordinated together, especially in remodels and small commercial interiors.
If you need help with drywall repair, installation, finishing, interior painting, insulation, or metal stud framing, contact CS1 Real Interiors and request a free estimate. Homeowners, property managers, builders, and small commercial clients across Portland, Beaverton, Hillsboro, Tigard, Lake Oswego, Gresham, and Vancouver, WA can use that form to get professional help for interior projects that need a clean, paint-ready result.