You've probably seen this happen. A remodel looks sharp on paper, the paint color is perfect in the sample, the lighting plan is clean and modern, and then the walls go up. Once sunlight hits them from the side, or a row of fixtures washes light across the surface, faint seams, fastener spots, and shallow ridges start showing through.
That's where a Level 5 finish on drywall stops being a luxury label and starts being the right specification. In Portland-area remodels, custom homes, tenant improvements, and upscale interior updates, the wall finish often determines whether the room feels polished or slightly off. If you're planning smooth walls, darker paint, or strong natural light in places like Portland, Hillsboro, Lake Oswego, or Vancouver, WA, this is a decision worth getting right before paint goes on.
Table of Contents
- The Pursuit of a Perfect Wall in Your Portland Home
- What Exactly Is a Level 5 Drywall Finish?
- Level 4 vs Level 5 Finish A Side-by-Side Comparison
- Ready for a Flawless Finish? Get a Professional Estimate
- When Is a Level 5 Finish Necessary for Your Project?
- The Level 5 Process Materials and Timeline
- DIY vs Hiring a Professional Drywall Contractor
- Achieve Perfect Walls with CS1 Real Interiors
- Frequently Asked Questions About Level 5 Finishes
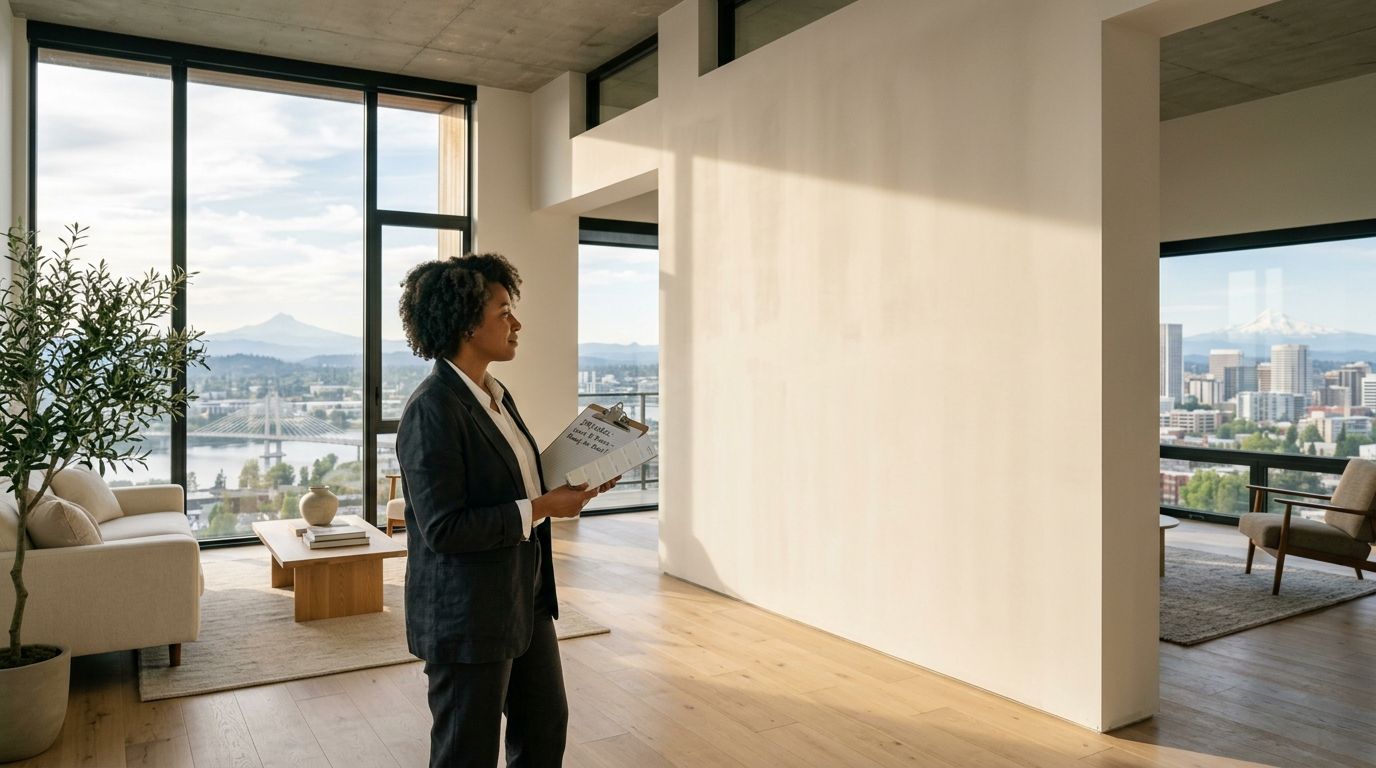
The Pursuit of a Perfect Wall in Your Portland Home
A lot of homeowners don't start out asking for a Level 5 finish. They start by asking for a clean, modern room. Smooth walls. Crisp paint lines. Better lighting. No texture. No patchwork look.
That's common in Portland remodels and custom homes in places like Hillsboro and Lake Oswego. Large windows, open layouts, and deeper paint colors look great. They also expose every small flaw in the drywall surface. A wall that looked acceptable during mudding can look very different once the painter rolls on a richer color and afternoon light starts grazing across it.
What homeowners usually notice first
Drywall technique isn't what's typically noticed. The outcomes are.
- Visible seams: A taped joint catches light differently than the surrounding board.
- Fastener dimples: Screw spots show up after primer and paint.
- Uneven sheen: The wall reflects light inconsistently across the surface.
- Patchy appearance: One area looks smoother or flatter than the next.
Those issues matter most when the design depends on the wall looking monolithic, almost like one continuous plane.
A premium room can be ruined by an average wall finish long before anyone notices the trim, flooring, or fixtures.
Why this matters more in modern interiors
Older homes often hid imperfections with texture, softer lighting, or flatter paint. Today's interiors do the opposite. Smooth walls, recessed lighting, wall washers, oversized windows, and darker accent colors all make the substrate more important.
That's why builders, designers, and homeowners planning a high-visibility space need to think about drywall finishing early, not after paint exposes the problem. The better the design, the less forgiving the walls become.
What Exactly Is a Level 5 Drywall Finish?
A Level 5 drywall finish isn't just contractor shorthand for “really good drywall.” It's a defined finish category tied to the Gypsum Association's finishing system, which uses a 0-to-5 scale. Level 5 is the top standard and is used where the best paint appearance is required, especially under critical lighting conditions or with glossy or non-flat paints. It adds a full skim coat over a Level 4 finish to reduce the visibility of taped joints and fasteners, and inspection expectations include viewing from a minimum 5-foot viewing distance under normal light. That standard is summarized in CertainTeed's overview of Level 5 drywall.
What makes it different
The key difference is the skim coat.
With a lower finish level, the crew treats the joints, corners, and fasteners, then sands and preps the surface. With Level 5, the entire face of the board gets a thin, continuous coat after the Level 4 work is complete. That extra layer helps create a more uniform surface for primer and paint.
Think of it this way. A standard finish can look good on its own. A Level 5 finish is built for conditions that expose small variations in texture and porosity.
What the skim coat actually does
A skim coat isn't there to hide sloppy work. It's there to refine a good wall so it behaves more consistently once it's painted.
It helps with a few things:
- Surface uniformity: The wall takes primer and paint more evenly.
- Reduced show-through: Joints and fasteners are less likely to stand out.
- Better visual continuity: Light travels across the wall with fewer interruptions.
Practical rule: If the wall finish is part of the design, not just the background, Level 5 deserves serious consideration.
For homeowners planning a remodel, addition, or custom interior, this is usually the point where the drywall conversation should shift from “Is it smooth?” to “Will it still look smooth after primer, paint, daylight, and evening lighting?” If you're comparing finish options as part of a larger wall upgrade, it also helps to review the contractor's core drywall installation and finishing services so the finish level is tied to the full scope of work, not treated as an afterthought.
Level 4 vs Level 5 Finish A Side-by-Side Comparison
Most residential walls are finished to Level 4. That's the common baseline for paint-ready drywall in many homes and commercial interiors. It works well in a lot of situations.
The problem is that some rooms ask more from the wall surface. According to National Gypsum's discussion of Level 4 and Level 5 differences, Level 5 adds a full-surface skim coat after all Level 4 steps are complete. That's the main reason it does a better job reducing joint photographing and fastener telegraphing under critical lighting or dark and glossy paints.
Comparison of Drywall Finish Levels 4 and 5
| Attribute | Level 4 Finish (Standard) | Level 5 Finish (Premium) |
|---|---|---|
| Process | Joint and fastener finishing to paint-ready condition | Full Level 4 process plus skim coat over the entire surface |
| Final appearance | Smooth in typical conditions | More uniform under demanding paint and lighting conditions |
| Best for | Flat paints, standard residential spaces, light texture | Smooth walls where the best paint appearance matters |
| Lighting conditions | Works in normal lighting | Better suited to critical or low-angle lighting |
| Paint compatibility | Often acceptable with flatter coatings | Better choice for dark, decorative, glossy, or non-flat coatings |
| Surface behavior | More likely to reveal subtle transitions | Better at evening out porosity and texture |
Where Level 4 usually works well
A Level 4 finish is often a solid choice for:
- Bedrooms and secondary rooms with standard light and flat paint
- Rental turnovers where durability and clean appearance matter more than showcase walls
- Spaces receiving light texture that will disguise minor surface variation
Where the gap becomes visible
The difference usually shows up after paint and lighting are in place.
If the room has long sightlines, large windows, dark feature walls, or decorative fixtures that wash light sideways across the drywall, a Level 4 finish can still look uneven even when the crew did competent work. That doesn't always mean the finish was poor. It may mean the specification was too light for the design.
A Level 4 wall can be technically acceptable and still disappoint visually once the room is finished.
That's why the right question isn't “Which finish is better?” The better question is “Which finish matches the room?”
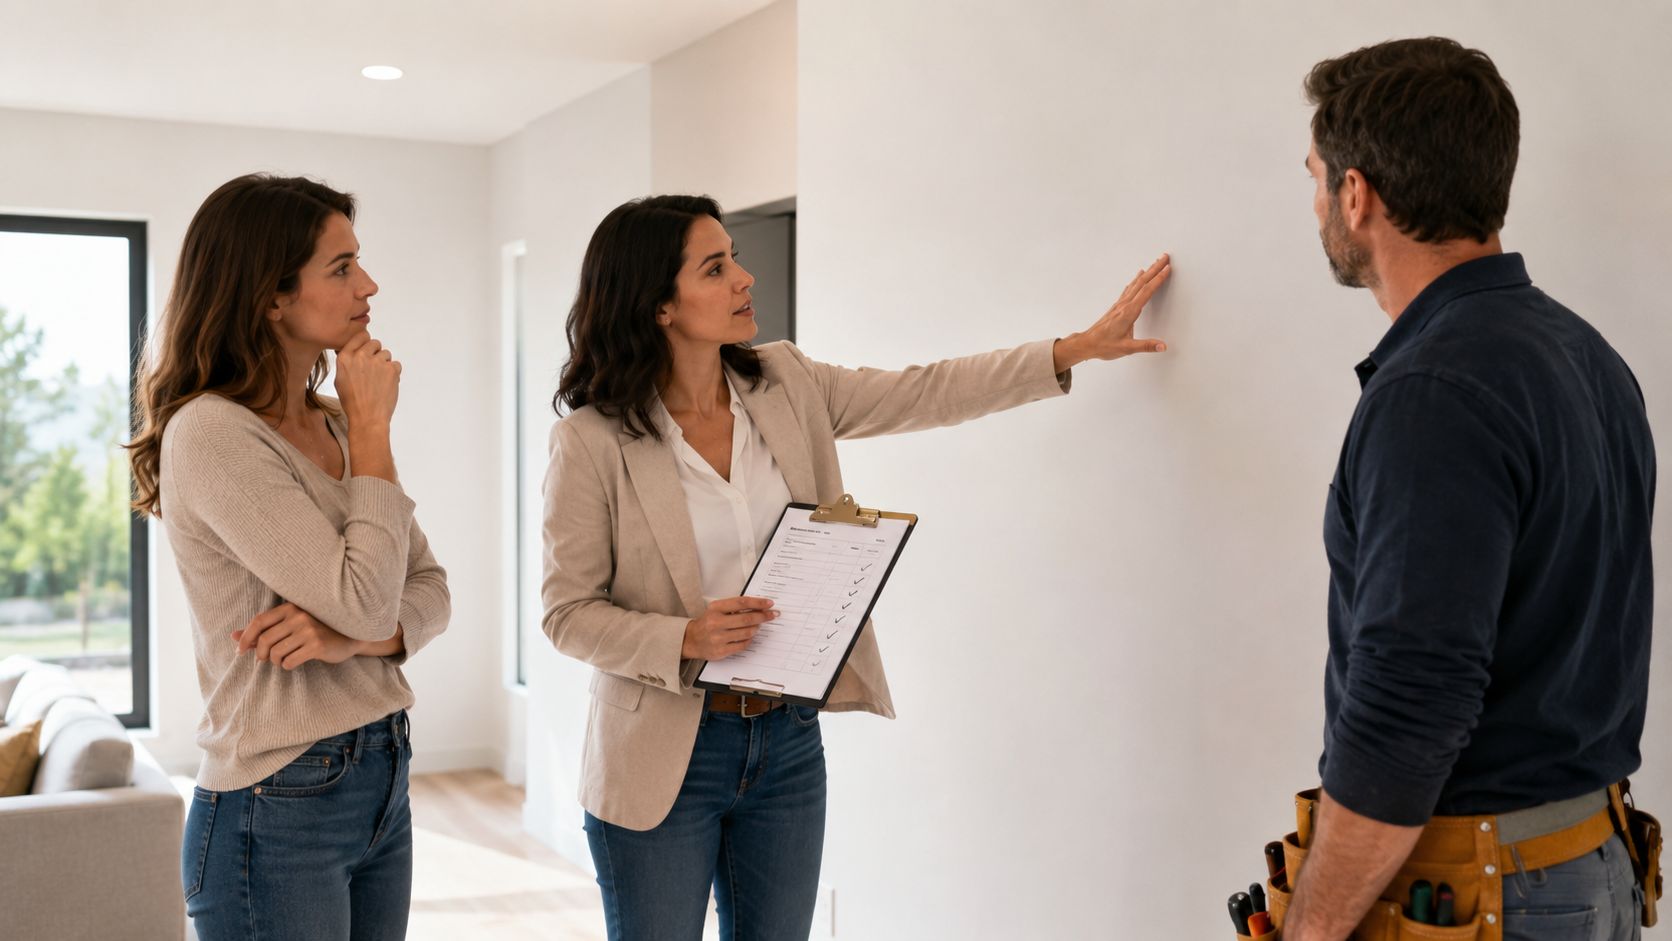
Ready for a Flawless Finish? Get a Professional Estimate
A Level 5 finish should be priced before the walls are closed up and the paint schedule is locked in.
From a contractor's perspective, that conversation works best early, while there is still room to match the finish to the room, the lighting plan, and the paint selection. If a project includes large windows, feature lighting, or darker colors, the wall package needs to reflect that standard from the start. That avoids the common problem of budgeting for a basic finish, then expecting a showroom result after paint.
Good estimating also protects the look of the finished space. It gives the homeowner, builder, and painter a clear expectation of what is being delivered, where the extra labor goes, and why it matters on walls that will be closely seen every day.
When Is a Level 5 Finish Necessary for Your Project?
Not every wall needs a Level 5 finish. Some absolutely do.
The finish becomes most justified when the final decoration makes flaws easier to see. Training and manufacturer guidance summarized by PTT's overview of drywall finish levels says Level 5 is typically specified for non-flat, glossy, decorative, or dark and deep-tone paints, and for walls exposed to low-angle or critical lighting. Those conditions increase contrast across small surface variations, which is why the skim coat helps.
Paint choice changes everything
Paint sheen has a direct effect on what the eye picks up.
Flat paint is forgiving. As sheen increases, so does visibility of surface variation. If you're choosing a satin finish for a hallway, a richer decorative coating for a dining room, or a darker statement color for a living space, the wall prep matters much more.
A few common triggers:
- Darker colors tend to show joints and slight ridges more readily.
- Decorative coatings call attention to substrate quality.
- Non-flat finishes reflect light in a way that reveals inconsistencies.
Lighting can make a good wall look bad
Critical lighting doesn't mean fancy lighting. It means light that travels across the wall in a way that exposes imperfections.
That includes:
- Big windows in Portland and Vancouver living spaces
- Skylights in upper-floor remodels
- Wall sconces or track lighting aimed along the wall
- Long hallways where the eye reads the entire plane at once
In high-end homes around Lake Oswego or modern office build-outs in Vancouver, WA, this comes up often. The room may be beautifully designed, but the walls need to be finished for the light they'll live under.
Good candidates for Level 5
A Level 5 finish on drywall is usually worth discussing for these project types:
- Custom homes and upscale remodels
- Open-concept spaces with lots of natural light
- Feature walls in dark or saturated colors
- Galleries, offices, clinics, and retail interiors where appearance matters
- Homes being prepared for listing where smooth painted walls are part of the upgrade plan
If the room is designed to feel clean, modern, and refined, the drywall finish has to support that look instead of fighting it.
The Level 5 Process Materials and Timeline
A Level 5 finish costs more for a simple reason. It takes more work, more control, and more time to do well.
The formal sequence is more intensive than a lower finish level. Guidance aligned with the Gypsum Association and summarized by USG's drywall finishing information specifies 2 separate coats of joint compound over flat joints, 1 separate coat over interior angles, 3 separate coats over fastener heads and accessories, followed by a skim coat over the entire surface. That same guidance also notes that a minimum temperature of 50°F (10°C) must be maintained continuously for 48 hours prior to and throughout the finishing process.
What the work usually involves
By the time a crew is doing the skim coat, the wall should already be well built and well finished underneath. The skim coat is refinement, not rescue.
A typical sequence looks like this:
- Tape and bed the joints so the seams are stable and properly embedded.
- Build the joints and fasteners through the required finishing coats.
- Inspect the surface carefully before the skim coat starts.
- Apply the skim coat across the full board face for consistent surface character.
- Sand and detail the wall so it's smooth, uniform, and ready for primer.
Why site conditions matter
Drywall finishing is sensitive to the environment. Cold, damp, poorly ventilated spaces slow drying and make consistency harder to maintain.
That's one reason occupied remodels and winter work in the Portland area need planning. If the house isn't conditioned properly, or if different rooms are drying at different rates, the finish can become harder to control. Builders and homeowners in areas like Portland drywall projects benefit from discussing schedule, heat, access, and paint timing before the finishing phase begins.
The wall doesn't care what the calendar says. If temperature and drying conditions aren't stable, the finish quality can suffer.
Why the timeline stretches
The extra time comes from process, not delay. Each stage has to dry, be checked, and be refined before the next one starts. Rushing the wall usually creates more sanding, more touch-up, and more frustration later.
That's why a proper Level 5 finish should be treated as a planned premium scope, not a last-minute add-on after the paint color has already been selected.
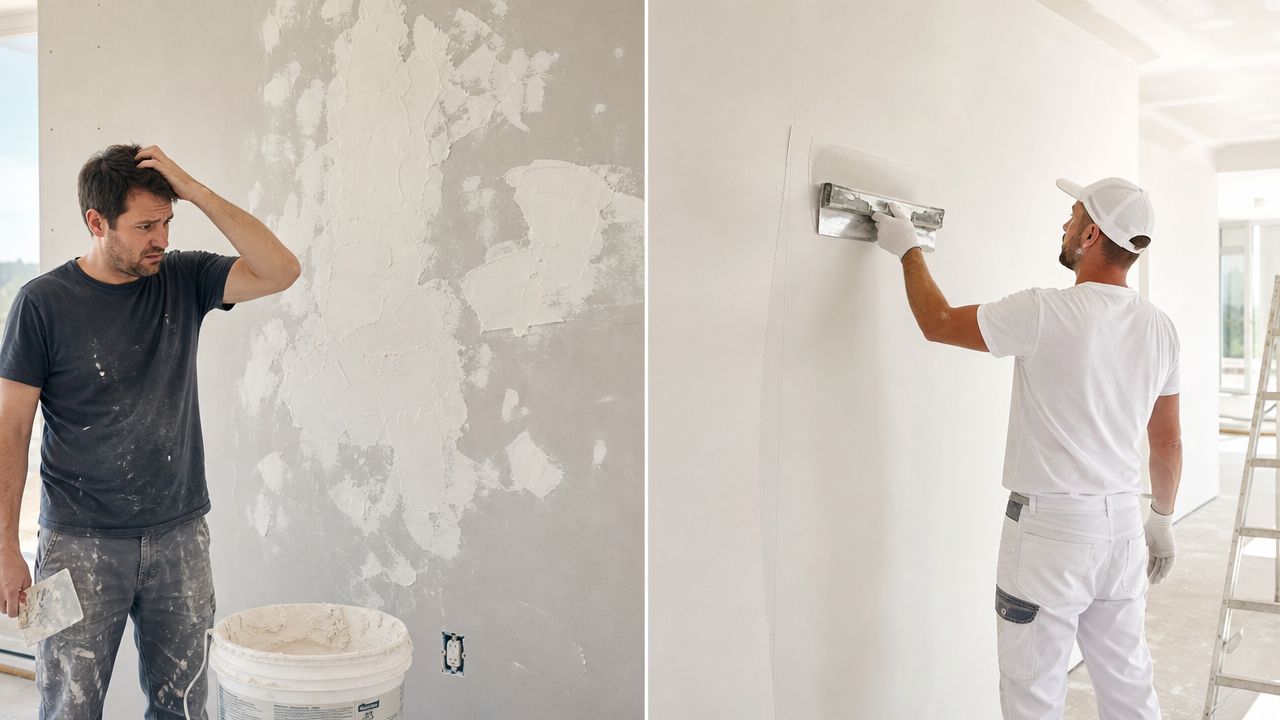
DIY vs Hiring a Professional Drywall Contractor
A homeowner can patch drywall, fix a small hole, and even get decent results on straightforward repairs. A true Level 5 finish is a different category of work.
It's hard to produce a wall that looks uniformly smooth across an entire room, especially after primer and paint reveal everything. The challenge isn't applying mud. The challenge is applying it consistently, controlling edges, avoiding over-sanding, reading light correctly, and keeping the whole surface even from corner to corner.
What DIYers usually underestimate
Most problems show up after the wall seems finished.
Common trouble spots include:
- Knife lines and lap marks that weren't obvious until primer hit the wall
- Inconsistent skim thickness across wider surfaces
- Over-sanded areas that flash differently under paint
- Dust control issues that turn the house into a mess
- Time creep when one room takes far longer than expected
A pro crew brings experience, but also workflow. They know how to sequence the work, spot problems early, and keep the wall moving toward paint-ready condition without creating more repair behind them.
The tool gap is real
This kind of finish often depends on wide knives, sanding systems with dust capture, strong surface lighting for inspection, and practiced technique. Even with the right tools, the learning curve is steep.
That matters for homeowners, and it matters for contractors managing leads and schedules too. If your company is trying to stay responsive while field work is moving, operational systems matter almost as much as finish quality. Resources like tested virtual receptionist solutions for contractors can help teams avoid missed calls while crews stay focused on production.
This short video gives a useful visual sense of how demanding high-level drywall finishing can be in practice:
When hiring a pro makes the most sense
Professional help is usually the better path when:
- The walls will be smooth and highly visible
- The paint color is dark or higher sheen
- The room has strong side lighting
- The project is part of a remodel schedule
- You want the result right the first time
If the finish needs to impress after paint, not just before paint, this is usually professional work.
Achieve Perfect Walls with CS1 Real Interiors
You usually notice the value of a Level 5 finish after the paint goes on. Morning light hits one wall. A darker color goes up. What looked acceptable during drywall suddenly shows joints, slight texture changes, and sanding marks. That is the point where finish quality stops being abstract and becomes visible.
CS1 Real Interiors approaches wall finishing with that final result in mind. The goal is not to sell every project the highest finish level. The goal is to match the surface to the room, the lighting, and the paint selection so the walls hold up visually once the space is complete.
Designers and homeowners often focus on color, trim, and fixtures first. Those choices matter, but smooth walls do a lot of the visual work in a finished room. If you want a clear example of how presentation changes perception, these Roomstage AI before and afters show how much the background surfaces influence the whole space.
CS1 Real Interiors handles drywall repair, drywall installation, Level 4 and Level 5 finishing, interior painting, insulation, and metal stud framing across Portland and nearby cities. For homeowners and builders, that means practical guidance, clean execution, and walls that look right under real lighting, not just at the end of the drywall phase.
Frequently Asked Questions About Level 5 Finishes
Is Level 5 always necessary
No. Many rooms look completely appropriate with a Level 4 finish. The need usually depends on lighting, paint sheen, color choice, and how visually demanding the space will be.
Will a Level 5 finish make damaged or poorly framed walls perfect
No. A skim coat improves surface uniformity, but it doesn't fix bad framing, movement, moisture damage, or poor board layout by itself. The underlying wall still has to be built correctly.
Is Level 5 only for luxury homes
No. It's common in upscale work, but it also makes sense in offices, clinics, retail spaces, remodels, and listing prep when smooth walls are part of the final look.
Can you apply Level 5 in one problem area only
Sometimes, but isolated premium finishing can be tricky if adjacent walls or ceilings will be seen in the same light. The decision should be based on what the eye will compare in the completed room.
Does primer replace a Level 5 skim coat
No. Primer is part of the paint system. It doesn't do the same job as a full skim coat across the board face.
What projects call for professional help right away
Professional finishing is the smart move if you're dealing with visible cracks, water-damaged drywall, a major remodel, ceiling repairs, texture removal, or a design that depends on smooth walls. It's also the better choice when the schedule is tight and you can't afford rework.
If you're planning drywall repair, new drywall installation, interior painting, or a smooth wall upgrade in Portland, Beaverton, Hillsboro, Tigard, Lake Oswego, Gresham, or Vancouver, WA, professional planning up front usually saves a lot of frustration later.
If you want smooth, paint-ready walls that hold up under real lighting and real design expectations, CS1 Real Interiors is ready to help. Request a free estimate for your drywall or interior project and get experienced support for drywall repair, drywall installation, Level 5 finishing, painting, insulation, and metal stud framing across the Portland metro area.