


A lot of people start searching for drywall repair in my area at the exact moment they don't want one more house problem. A ceiling stain shows up after a Portland rainstorm. A door swings open too hard and leaves a hole in the wall. A crack starts above a doorway and suddenly seems more noticeable every day. In older homes in Portland, Beaverton, and Lake Oswego, that kind of damage is common. In newer homes and remodeled spaces, it happens too.
Drywall repair isn't unusual. It's routine home maintenance because drywall is used in 96% of homes according to industry research on drywall use and market demand. Around the Portland metro area, that matters because we work in everything from older houses with settling cracks to updated homes getting ready for sale, rental turnovers, and small commercial spaces that need walls cleaned up fast.
What matters most is making the right call early. Some damage needs a quick patch. Some needs a larger cut-out and replacement. Water damage is where homeowners get in trouble, especially in the Pacific Northwest, because the stain you see on the surface often isn't the whole problem.
We handle that full range of work every day, from drywall repair and texture matching to painting, insulation, and metal stud framing. If you're trying to figure out what's fixable, what needs replacement, and when it's smarter to call a pro, this guide will help you make that decision with less stress.
Table of Contents
- That Dent, Crack, or Stain on Your Wall Has a Solution
- How to Assess Drywall Damage Like a Pro
- The DIY Dilemma Should You Fix It Yourself or Hire a Pro
- Finding a Trusted Drywall Contractor in the Portland Area
- What to Expect During a Professional Drywall Repair
- Preparing Your Home and Caring for Your New Wall
That Dent, Crack, or Stain on Your Wall Has a Solution
Most wall damage looks worse than it is. That's the good news.
The hard part is that different drywall problems need very different fixes. A hairline crack near a doorway might come from normal movement. A dent from moving furniture is usually straightforward. A brown ceiling stain under a bathroom or roof line is different because the visible mark may be only the surface evidence of a deeper issue.
In Portland and nearby cities, we see all of it. Homes in Hillsboro and Tigard often need repair after plumbing work or remodel changes. Homes in Lake Oswego and older Portland neighborhoods may show stress cracks, patch failures from older repairs, or texture mismatch from previous work. Property managers in Vancouver and Gresham often need clean, paint-ready walls after tenant turnover.
What homeowners usually want
Homeowners often aren't just asking for a patch. They want the wall to look normal again.
That means solving the actual problem, not just hiding it. A proper repair should leave you with a surface that's ready for primer and paint, with no obvious ring, hump, tape line, or flashing spot that jumps out every time sunlight hits the wall.
A drywall repair is successful when you stop noticing where the damage was.
That takes judgment. Some surfaces need a simple fill and sand. Some need the damaged section cut back to sound material. Some ceilings need texture matched so the repair doesn't stand out from the rest of the room. If moisture is involved, the first question isn't “How fast can this be patched?” It's “What's still wet, soft, or compromised behind this area?”
The practical approach that works
When we evaluate drywall damage, we look at four things first:
- Cause of damage: Impact, settling, plumbing leak, roof leak, cut-in from electrical or plumbing access, or repeated wear.
- Condition of the surrounding area: Sound drywall holds a repair. Soft, swollen, or crumbling material doesn't.
- Finish requirements: A garage wall, a rental turnover, and a front living room don't all require the same finish expectations.
- What happens next: If painting, remodeling, insulation work, or framing changes are part of the project, the repair plan should support the bigger job.
For homeowners searching for drywall repair in my area, that's the difference between a fast patch and a lasting repair. The right answer depends on what failed, how far it spread, and how clean the final finish needs to be.
How to Assess Drywall Damage Like a Pro
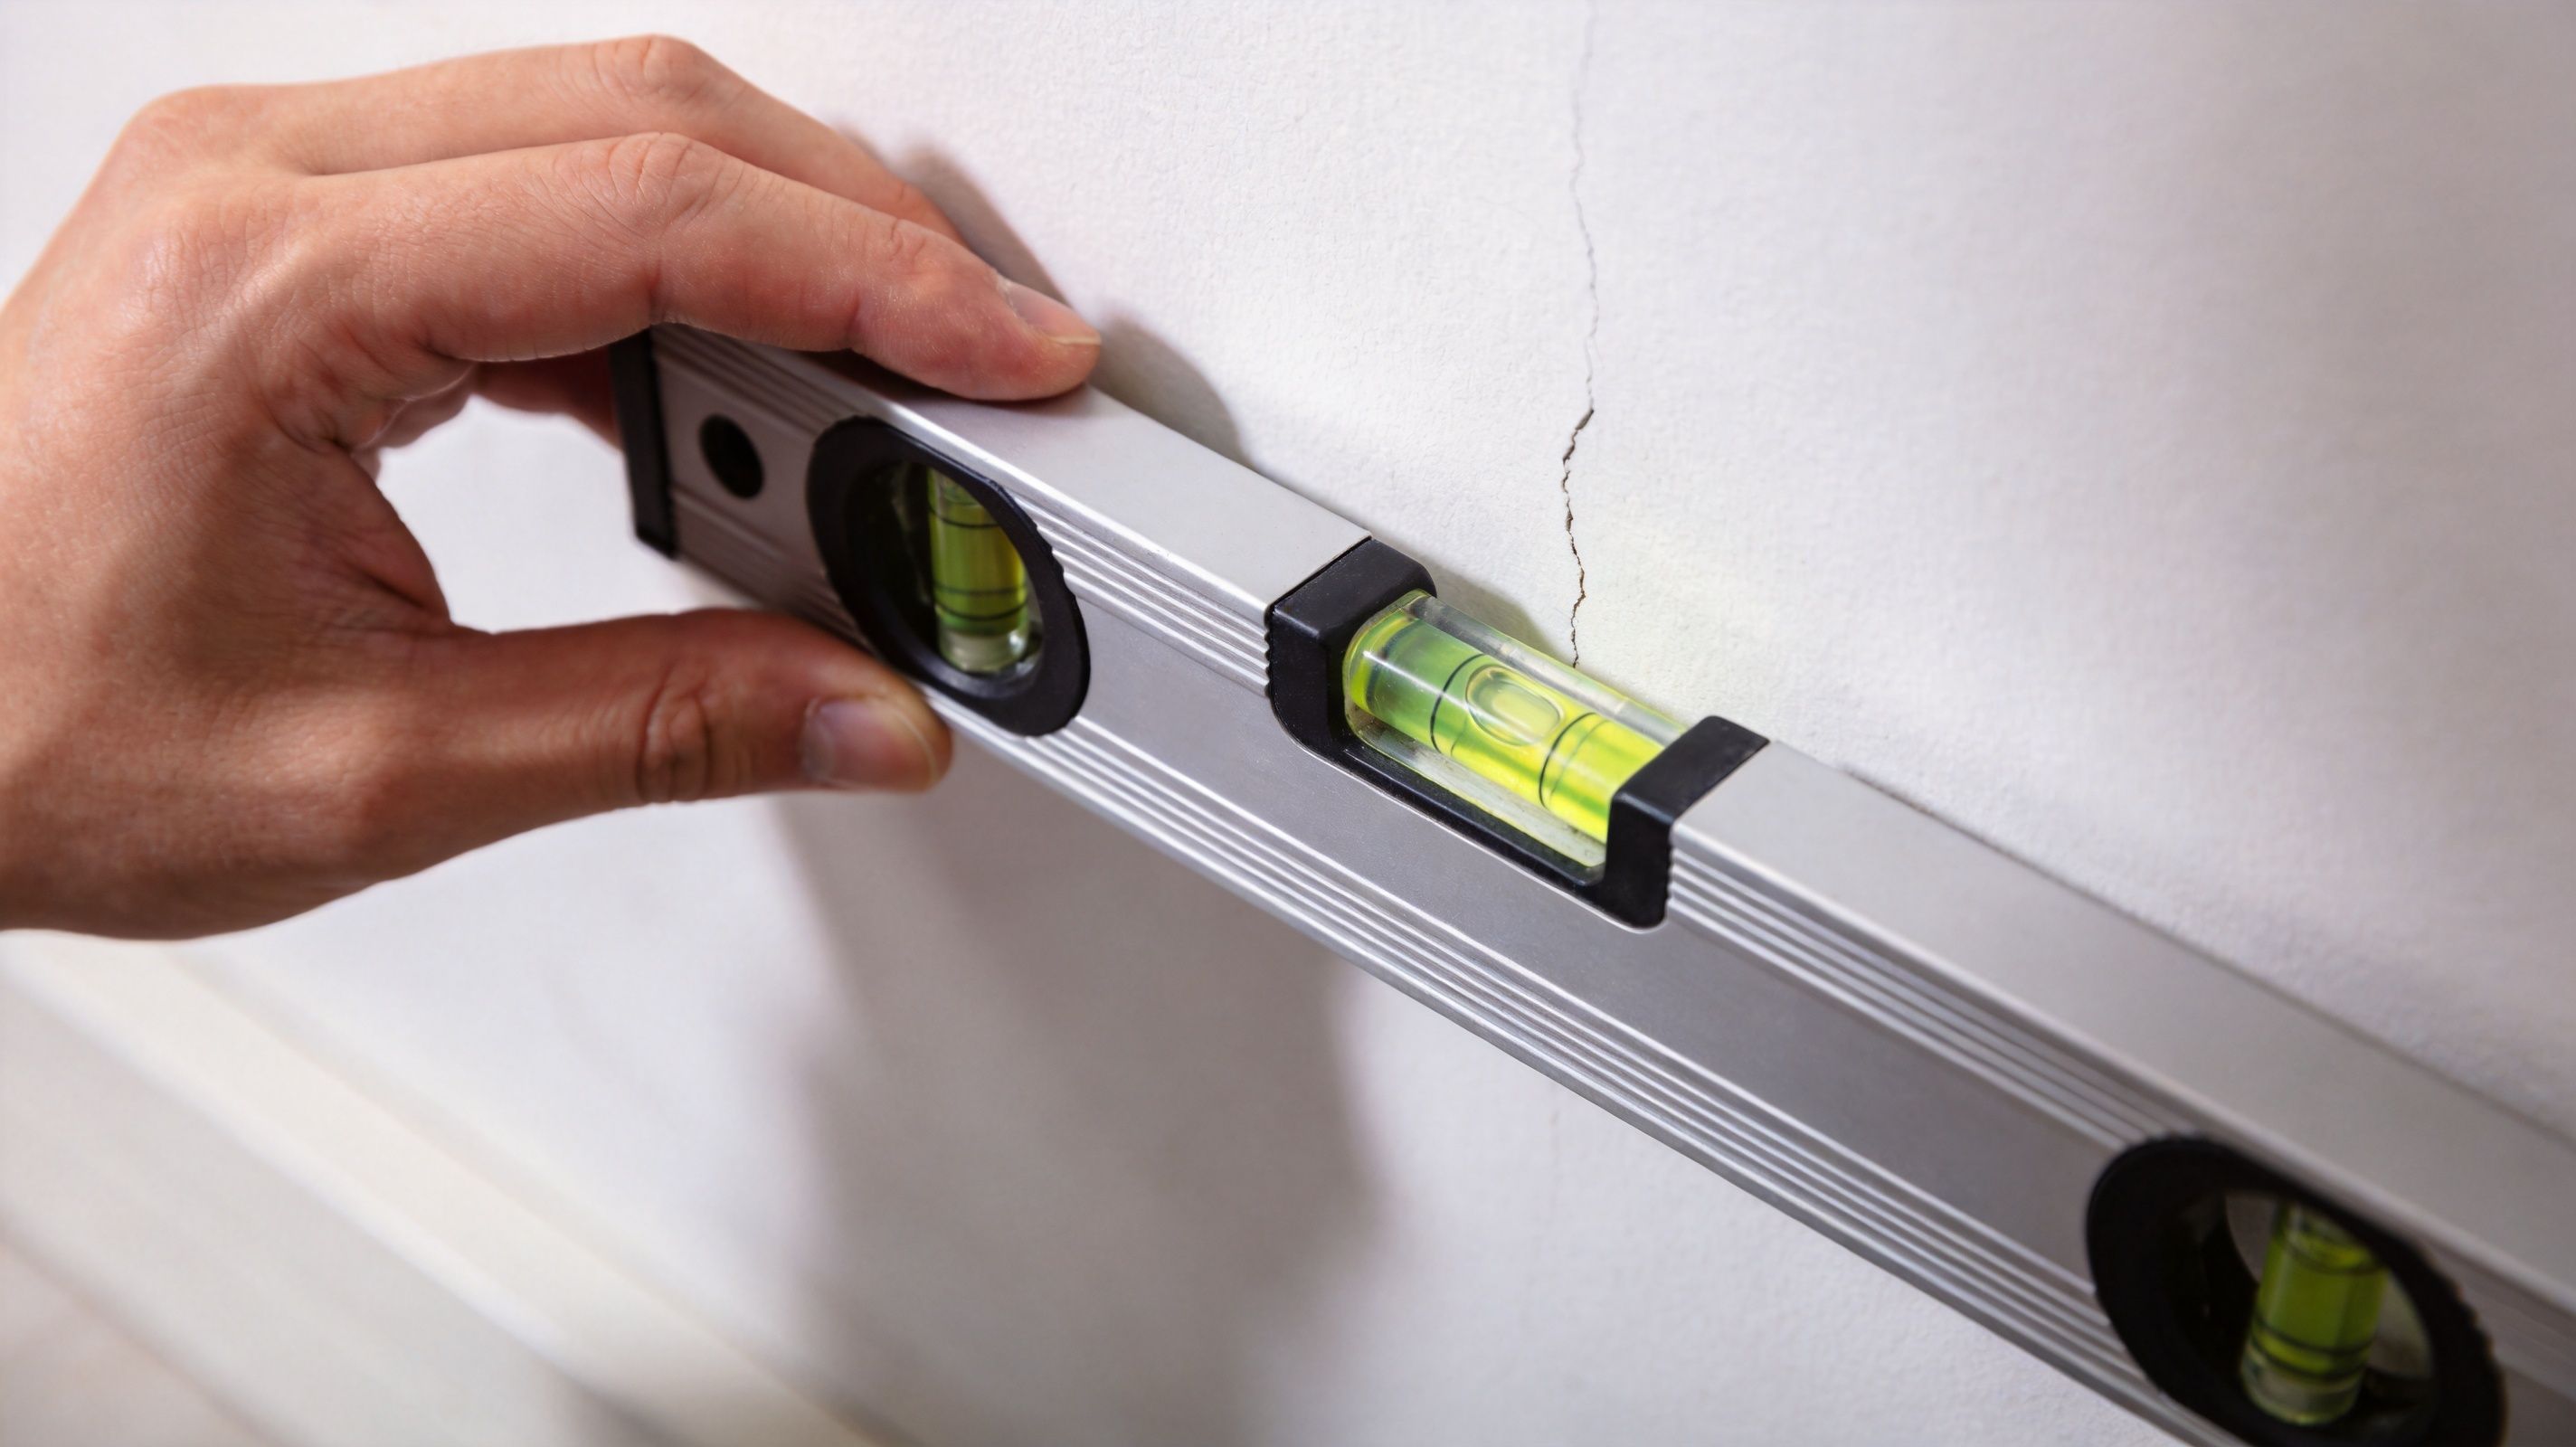
Before you call anyone, take five minutes and look at the damage the way a contractor would. You don't need trade experience to spot the difference between a cosmetic issue and a wall section that needs to come out.
Start with the type of damage
Not all drywall problems belong in the same category.
A small nail pop or shallow dent is usually cosmetic. A crack that keeps returning may point to movement, a weak previous repair, or an area that needs better tape and finish work. A hole from impact often comes down to size, edge condition, and whether the surrounding board is still firm.
Use this simple field check:
| Damage type | What to look for | Typical next step |
|---|---|---|
| Small surface blemish | No softness, no staining, no spreading crack | Fill, sand, prime, paint |
| Localized hole | Clean edges or breakage limited to one spot | Patch or cut-out repair |
| Recurring crack | Reappears after painting or patching | Re-tape or rebuild the repair area |
| Ceiling stain or bubbled paint | Discoloration, swelling, soft paper, peeling | Find moisture source before repair |
If you press lightly and the drywall feels solid, that's a good sign. If the face paper is loose, the board feels soft, or the paint is bubbling, slow down. That's not a normal cosmetic repair anymore.
Water damage needs a different mindset
Homeowners in Portland, Beaverton, and Vancouver often make the wrong call. They see a dried stain and assume it can just be sealed and painted.
Industry guidance is clear that drywall exposed to prolonged moisture often needs removal rather than simple patching. Visible staining can hide damaged paper, softened gypsum, mold risk, or compromised insulation. In other words, the stain isn't the problem. It's the clue.
Practical rule: If the leak source isn't fixed and the material hasn't dried fully, repair work is premature.
Look for these warning signs:
- Softness when pressed: Drywall shouldn't feel spongy.
- Swelling or edge distortion: This often means the gypsum core has been affected.
- Musty odor: That points to moisture that lingered too long.
- Repeated staining: The source may still be active.
- Damage near insulation cavities: Wet insulation changes the repair decision.
A patch may be fine when the moisture exposure was brief, the drywall is still sound, and the cavity dried completely. Replacement is the safer route when the paper is damaged, the board has lost integrity, or you have reason to suspect the moisture spread beyond the visible stain.
If you want a useful first step, take clear photos in good light, note whether the area feels soft, and check if the stain has changed size. That information helps a contractor tell the difference between a repair and a tear-out.
The DIY Dilemma Should You Fix It Yourself or Hire a Pro
It usually starts the same way. A homeowner in Portland sees a stain that looks dry, or a small hole from a doorknob, buys a tub of patching compound, and assumes it will be a quick evening project. Then the patch flashes through the paint, the wall shows every sanding mark in our gray side light, or the area turns out to be softer than it looked.
That is the central DIY dilemma. The question is not whether drywall mud is hard to spread. The question is whether the finished wall will look right, stay sound, and make sense for the amount of time you are about to put into it.
Jobs most homeowners can handle
Some repairs are reasonable DIY work, especially if the area is out of the main sightline and the goal is a solid, clean result rather than a perfect finish.
Good candidates include:
- Tiny nail or screw holes: Fill, sand lightly, prime, and touch up.
- Small shallow dings: These are manageable if the drywall paper is intact.
- Minor repairs in low-visibility spaces: Closets, laundry rooms, and garages are more forgiving than a living room wall near a big window.
The trade-off is finish quality. A patch can be flat enough for a utility space and still stand out in a dining room once the paint dries.
When hiring a pro is the better call
Ceilings, larger holes, texture matching, recurring cracks, and anything related to moisture are where homeowners usually lose time. In the Portland area, water-damaged drywall is the big one. A patch may cover the surface, but if the paper has loosened, the gypsum softened, or moisture reached the cavity, repair is often the wrong choice and replacement is the safer one.
That distinction matters more here than it does in drier climates.
We see homeowners spend a weekend patching a wall that still needed to be cut out and replaced. By then, they have paid for materials, lost time, and made the final repair harder because the damaged area is now buried under fresh mud and paint.
Here is the practical comparison:
| If you do it yourself | If you hire a pro |
|---|---|
| Lower upfront cost on small cosmetic fixes | Better finish quality where flaws will show |
| Works for simple holes and dents | Better for larger patches, ceilings, and texture work |
| You set your own schedule | The scope, sequence, and drying stages are planned out |
| Easy to underestimate sanding and repainting | Fewer callbacks to fix flashing, ridges, or shrinkage |
| Fine if “good enough” is truly acceptable | Better choice if the repair needs to disappear |
Most drywall mistakes do not fail structurally. They fail visually.
If the wall gets strong daylight, if the repair sits in the middle of a large open surface, or if you are getting the house ready to sell, professional work usually pays for itself. The same is true when there is any doubt about whether a stained section should be repaired or replaced.
For homeowners who want the wall repair and final finish handled together, our drywall repair and painting services are designed to bring the room back to a consistent, finished condition.
Finding a Trusted Drywall Contractor in the Portland Area
A Portland homeowner calls after a winter leak, points to a brown ceiling stain, and asks the question we hear all the time. Can this be repaired, or does it need to be replaced? Before price even enters the conversation, that is the decision that matters. In our climate, hiring the right drywall contractor means finding someone who can judge moisture risk, not just someone who can spread mud and sand a patch.
Portland has plenty of drywall companies, and the trade is highly local. Analysts at IBISWorld industry data on drywall and insulation installers describe a fragmented market with a large number of operators. That matches what homeowners run into here. Some crews do clean, durable finish work. Others leave visible patches, mismatched texture, or stained material that should have been cut out.
What to verify before you hire anyone
Start with the basics, then push past them.
- License status: In Oregon, confirm the contractor is properly licensed for the work they perform.
- Insurance coverage: Liability and workers' compensation protect the homeowner, the property, and the crew.
- Local experience: Portland bungalows, Beaverton remodels, and Vancouver rental turnovers each create different drywall and paint-matching problems.
- Scope clarity: Ask what is included. Patching, replacement, texture match, priming, painting, dust control, and cleanup should be spelled out.
Then ask the question that separates experienced contractors from estimate-chasers. What happens if the stain or soft spot turns out to be worse after opening the wall?
A good contractor answers that directly. If drywall is swollen, crumbly, or still reading damp, replacement is often the better choice. If the damage is dry, limited, and structurally sound, a repair may hold up fine. In Portland, the judgment call matters because a cosmetic patch over moisture-damaged material can fail early, especially on ceilings, exterior-facing walls, and bathrooms with weak ventilation.
What good communication looks like
The estimate should sound like a work plan, not a sales pitch.
Look for these signs:
- Clear scheduling and access expectations
- Straight answers about drying time and return visits
- An honest explanation of whether the texture can be matched or only blended
- A written description of prep, protection, and final paint-ready condition
We also recommend paying attention to how a contractor talks about trade-offs. If they promise every texture match will disappear completely, be careful. Older Portland homes often have patched layers, prior repainting, and light conditions that expose even good work. An experienced contractor will tell you where perfection is realistic and where the smarter goal is a repair that disappears to everyone except the person who knows exactly where to look.
CS1 Real Interiors is a local contractor serving Portland-area residential and small commercial interiors with drywall repair, drywall installation, painting, insulation, and metal stud framing. For homeowners in Washington County comparing nearby options, it helps to review drywall contractor work in Beaverton and see whether the scope and finish quality match the kind of project you have.
What to Expect During a Professional Drywall Repair
A professional repair should feel organized from the first visit. The estimate should identify the damaged area, explain whether the scope is patching or replacement, and note any finish concerns such as texture matching, ceiling blending, or paint prep.
How the repair actually unfolds
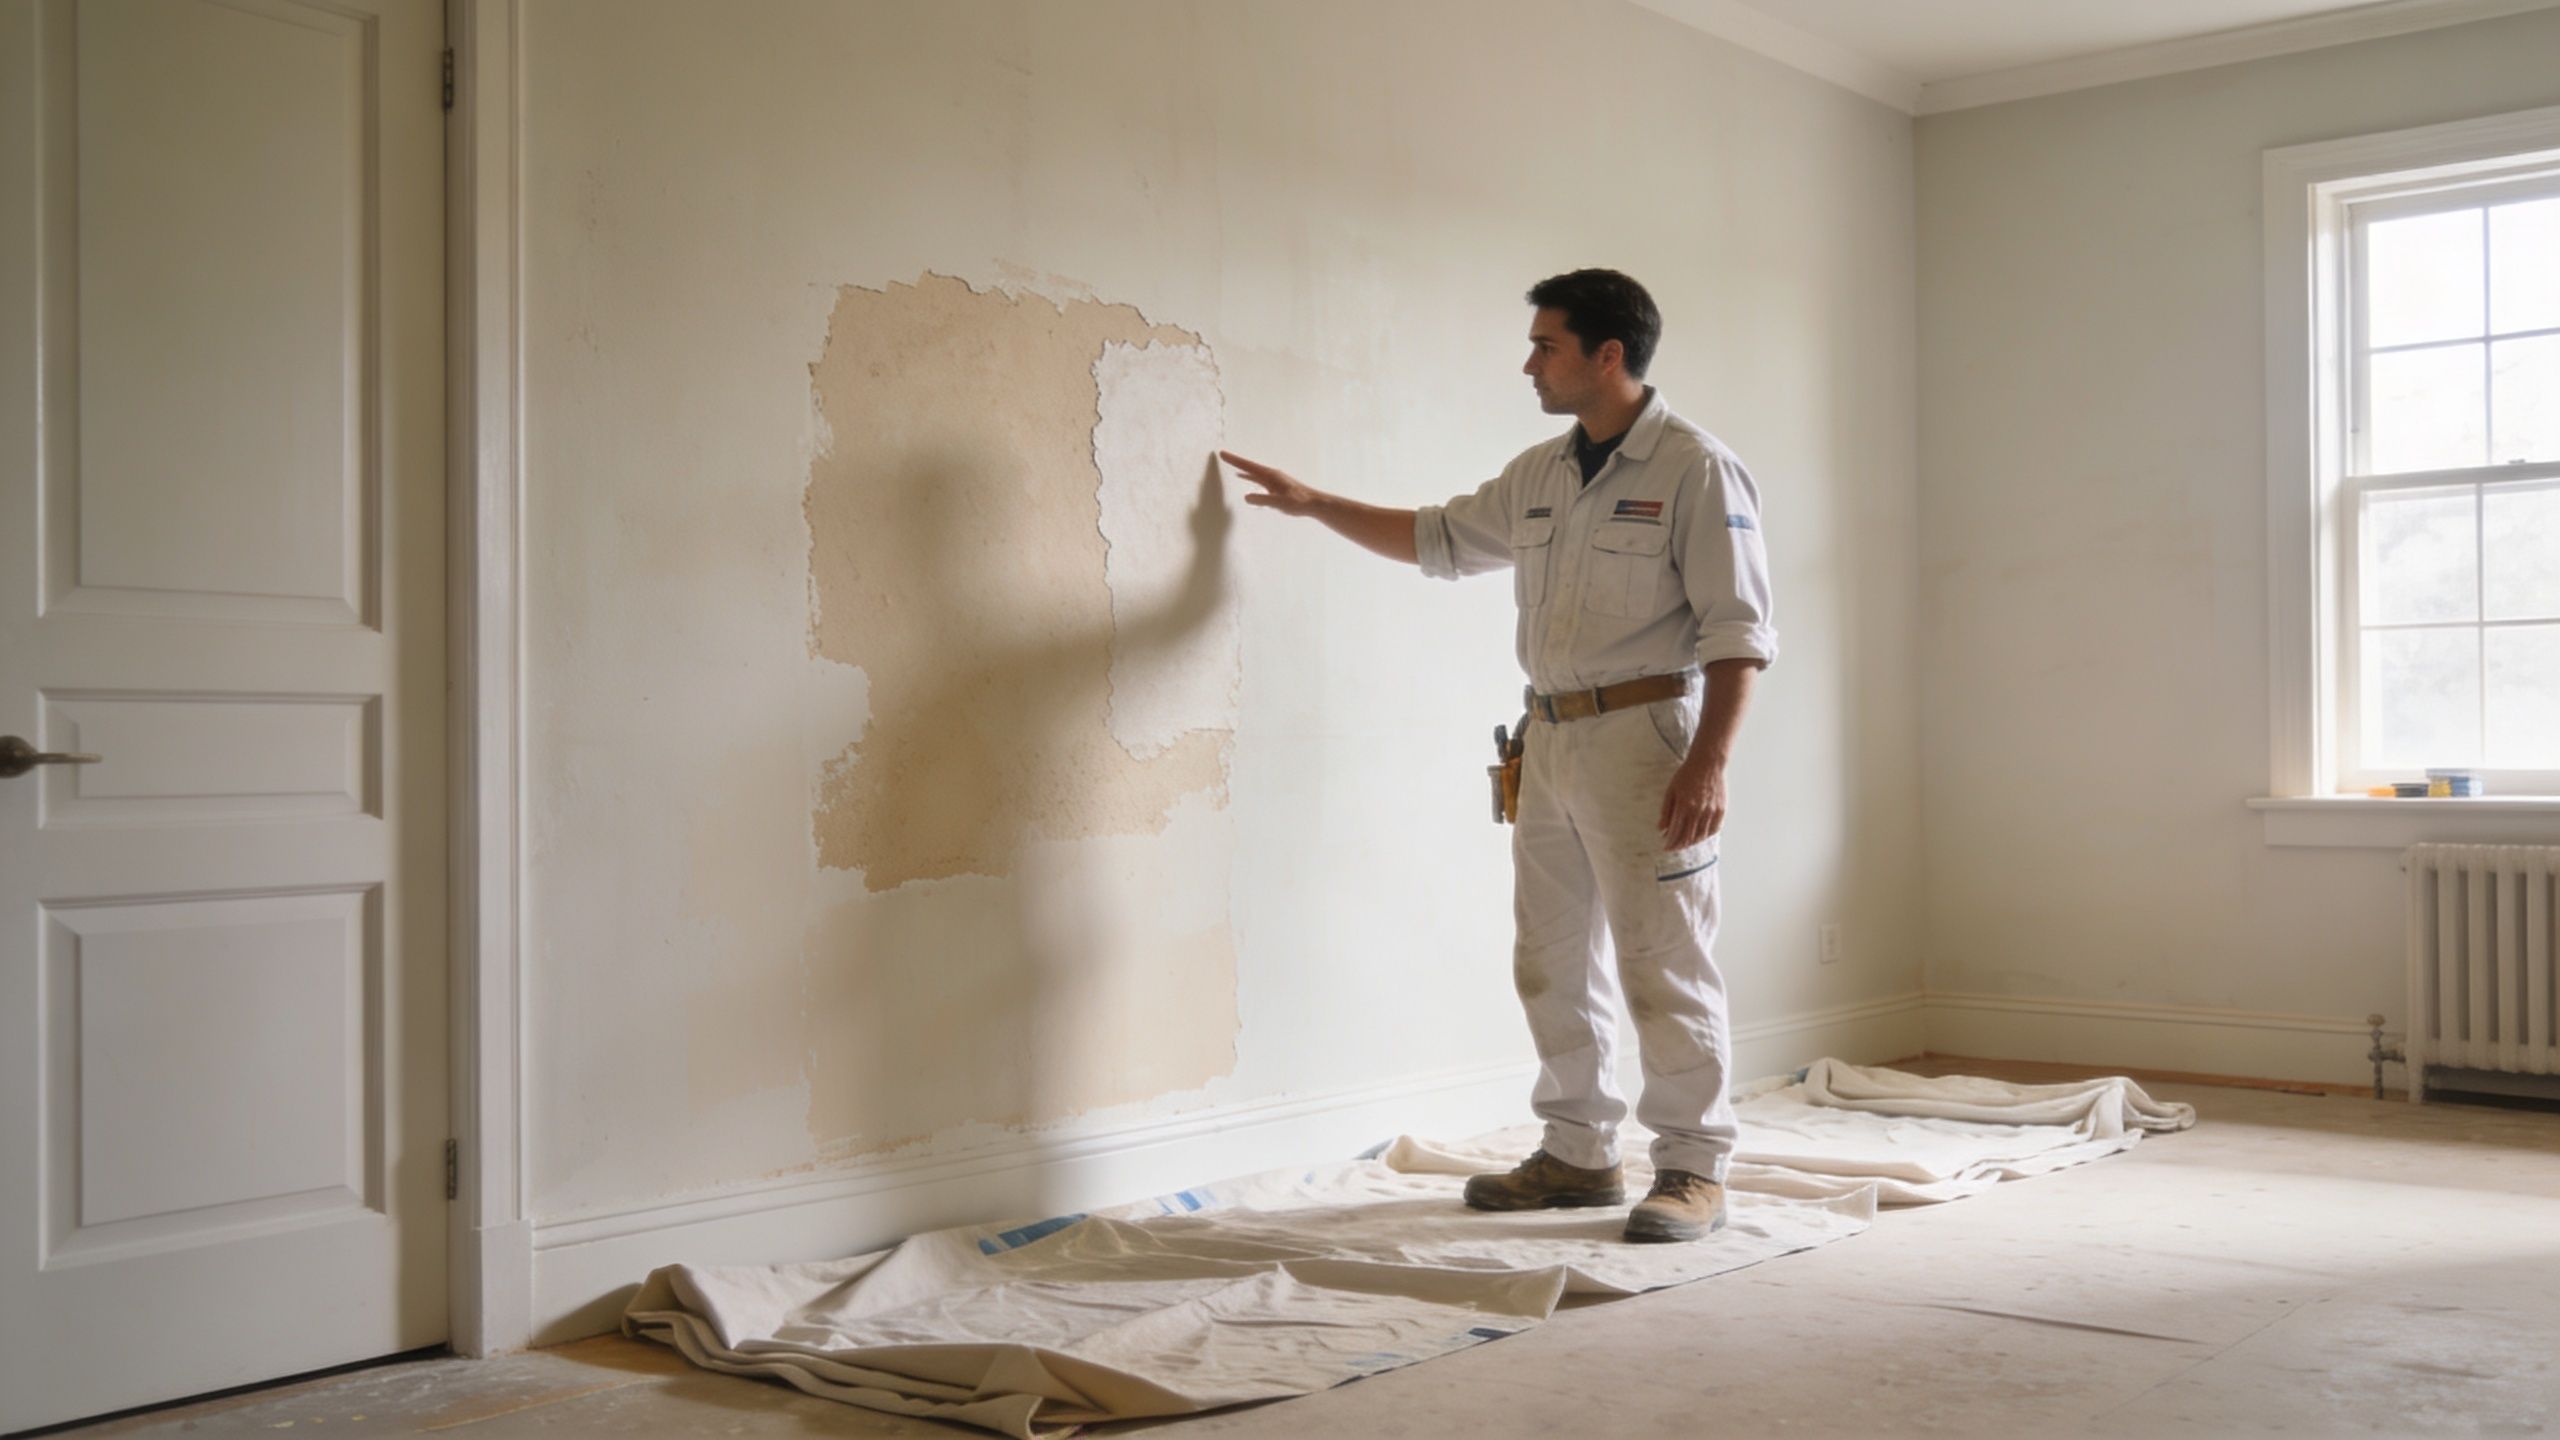
Homeowners often think drywall repair is one step. It isn't. Good work follows a sequence.
A practical field workflow is described in this guide to drywall repair techniques and finish quality. The basic sequence is to square up the damaged area, secure the patch to stable backing where needed, and apply multiple thin coats of joint compound, feathering each coat wider than the last. That's what creates a paint-ready surface instead of a visible patch.
Here's what that often looks like on site:
- Protect the work area. Floors, nearby furniture, and adjacent finishes should be covered before cutting or sanding starts.
- Remove failed material. Loose paper, soft drywall, and weak edges have to go.
- Install backing or patch material. The repair has to be anchored to something solid.
- Tape and coat in stages. Thin coats perform better than one heavy pass.
- Sand and inspect under light. Waves, ridges, and shallow depressions get caught during this step.
- Prime and prepare for paint. Primer matters because patched areas absorb paint differently than finished walls.
Thin coats win. Heavy mud shrinks, cracks, and leaves more sanding behind.
For homeowners who want to see the general process in action, this video gives a useful visual reference before the crew arrives.
Why texture and paint prep matter
A repair can be structurally fine and still fail visually. That happens most often with texture and paint.
Texture matching is part skill, part judgment. Knockdown, orange peel, and hand-applied textures all react differently depending on patch size, wall height, room lighting, and existing paint build. Sometimes the best-looking result is matching the repair area only. Sometimes a wider blend gives a cleaner finish.
Smooth wall work is even less forgiving. On Level 4 and Level 5 style finishes, every ridge and shallow spot becomes obvious when light hits the wall at an angle. That's why professional finishing is as much about restraint as it is about applying compound. You're building flatness, not just filling a hole.
A solid contractor should also explain where the repair ends and the painting begins. If the surrounding wall has faded, patch paint may still show. In many rooms, the right answer is repairing the drywall properly and then repainting the entire wall plane for a consistent final appearance.
Preparing Your Home and Caring for Your New Wall
Drywall repair goes smoother when the room is ready before the crew walks in. A little prep saves time, protects your belongings, and gives the team space to do cleaner work.
Before the crew arrives
Move small furniture, wall art, and fragile items away from the repair area. If the damage is on a ceiling, clear more floor space than you think is necessary because ladders, drop cloths, and dust control all need room.
A simple prep checklist helps:
- Clear access paths: Make it easy to carry tools and materials in and out.
- Protect valuables: Dust travels farther than most homeowners expect.
- Secure pets: Open doors, ladders, and wet materials don't mix well with curious animals.
- Point out related issues: If a stain appeared after a leak, mention where the water came from and whether it has been fixed.

After the repair is complete
Fresh repair areas need a little care, even when they look finished.
If the wall is being painted later, make sure the surface is fully ready for primer and finish paint. Rushing that stage is one of the easiest ways to turn a good patch into a visible one. Patched areas absorb paint differently, so primer helps even out the surface and reduces flashing.
If you can still see the patch after paint, the problem usually started before the paint ever went on.
Keep an eye on any area that had previous moisture exposure. A new stain, bubbling, or odor means the source issue may still be active. In that case, don't keep repainting over it. Get it inspected.
For homeowners in Portland, Hillsboro, Tigard, Lake Oswego, Gresham, or Vancouver, WA, drywall repair is usually less stressful when the plan is clear from the start. Assess the damage accurately, don't shortcut moisture problems, and choose a contractor who treats the final finish as seriously as the patch itself.
If you need help with drywall cracks, holes, ceiling damage, texture matching, painting, insulation, or interior build-out work, contact CS1 Real Interiors and request a free estimate. We serve homeowners and small commercial clients across Portland and surrounding cities, and we'll help you figure out whether your wall needs a simple repair, partial replacement, or a more complete interior solution.